Page 13 of 416

WARNING:Under engine misfire conditions, excessive exhaust
temperatures could damage the catalytic converter, the fuel
system, interior floor coverings or other vehicle components, possibly
causing a fire.
Powertrain malfunction/reduced
power (RTT) (if equipped):
Displays when the engine has
defaulted to a “limp-home”
operation. Report the fault to a
dealer at the earliest opportunity.
Brake system warning light:To
confirm the brake system warning
light is functional, it will
momentarily illuminate when the
ignition is turned to the on position
when the engine is not running, or in a position between on and start, or
by applying the parking brake when the ignition is turned to the on
position. If the brake system warning light does not illuminate at this
time, seek service immediately from your authorized dealer. Illumination
after releasing the parking brake indicates low brake fluid level and the
brake system should be inspected immediately by your authorized dealer.
WARNING:Driving a vehicle with the brake system warning
light on is dangerous. A significant decrease in braking
performance may occur. It will take you longer to stop the vehicle.
Have the vehicle checked by your authorized dealer. Driving extended
distances with the parking brake engaged can cause brake failure and
the risk of personal injury.
Anti-lock brake system:If the
ABS light stays illuminated or
continues to flash, a malfunction has
been detected, have the system
serviced immediately by your
authorized dealer. Normal braking is still functional unless the brake
warning light also is illuminated.
P!
BRAKE
ABS
2009 Expedition(exd)
Owners Guide, 1st Printing
USA(fus)
Instrument Cluster
13
Page 105 of 416
Replacing the high-mount brakelamp
To change the high-mount
brakelamp bulbs:
1. Remove the two screws holding
the lamp assembly in place.
2. Pull the lamp assembly straight
out.
3. Disconnect the wire harness.
4. Depress the four tabs that hold
the light assembly on, one at a time,
and pull the black bulb carrier away
from the lamp.
5. Pull the old bulb out and replace
with the new bulb.
6. Snap the black bulb carrier into
the lamp assembly.
7. Connect the wire harness.
8. Install the lamp assembly with
two screws.
Replacing fog lamp bulbs
1. From underneath the vehicle,
rotate the harness/bulb assembly
counterclockwise, to remove from
the fog lamp assembly.
2. Carefully disconnect the bulb
from the harness assembly via the
two snap clips.
Install the new bulb in reverse
order.
2009 Expedition(exd)
Owners Guide, 1st Printing
USA(fus)
Lights
105
Page 184 of 416
SEATING
Adjustable head restraints
Your vehicle is equipped with front row outboard head restraints that are
vertically adjustable.
WARNING:To minimize the risk of neck injury in the event of a
crash, the driver and passenger occupants should not sit in
and/or operate the vehicle, until the head restraint is placed in its
proper position. The driver should never adjust the head restraint
while the vehicle is in motion.
The adjustable head restraints
consist of :
•a trimmed energy absorbing foam
and structure (1),
•two steel stems (2),
•a guide sleeve adjust/release
button (3),
•and a guide sleeve unlock/remove
button (4).
To adjust the head restraint, do the following:
1. Adjust the seatback to an upright driving/riding position.
2. Raise the head restraint by
pulling up on the head restraint.
2009 Expedition(exd)
Owners Guide, 1st Printing
USA(fus)
Seating and Safety Restraints
184
Page 193 of 416
Climate controlled seats air filter replacement (if equipped)
The climate controlled seat system includes air filters that must be
replaced periodically. Refer to thescheduled maintenance information
for more information.
•There is a filter located under
each front seat.
•The filter can be accessed from the second row seat. Move the front
seats all the way forward and up to ease access.
To remove an air filter:
1. Remove key from ignition.
2. Push up on the outside rigid edge
of the filter and rotate toward the
front of the vehicle once tabs are
released.
3. Remove filter.
2009 Expedition(exd)
Owners Guide, 1st Printing
USA(fus)
Seating and Safety Restraints
193
Page 291 of 416

Anti-lock brake system (ABS)
On ABS-equipped vehicles, a noise from the hydraulic pump motor and
pulsation in the pedal may be observed during ABS braking events. Pedal
pulsation coupled with noise while braking under panic conditions or on
loose gravel, bumps, wet or snowy roads is normal and indicates proper
functioning of the vehicle’s anti-lock brake system. The ABS performs a
self-check after you start the engine and begin to drive away. A brief
mechanical noise may be heard during this test. This is normal. If a
malfunction is found, the ABS warning light will come on. If the vehicle
has continuous vibration or shudder in the steering wheel while braking,
the vehicle should be inspected by an authorized dealer.
The ABS operates by detecting the onset of wheel lockup during brake
applications and compensates for this tendency. The wheels are
prevented from locking even when the brakes are firmly applied.
Using ABS
•In an emergency or when maximum efficiency from the four-wheel
ABS is required, apply continuous force on the brake. The four wheel
ABS will be activated immediately, thus allowing you to retain steering
control of your vehicle and, providing there is sufficient space, will
enable you to avoid obstacles and bring the vehicle to a controlled
stop.
•The anti-lock system does not always reduce stopping distance.
Always leave enough room between your vehicle and the vehicle in
front of you to stop.
•We recommend that you familiarize yourself with this braking
technique. However, avoid taking any unnecessary risks.
ABS warning lamp
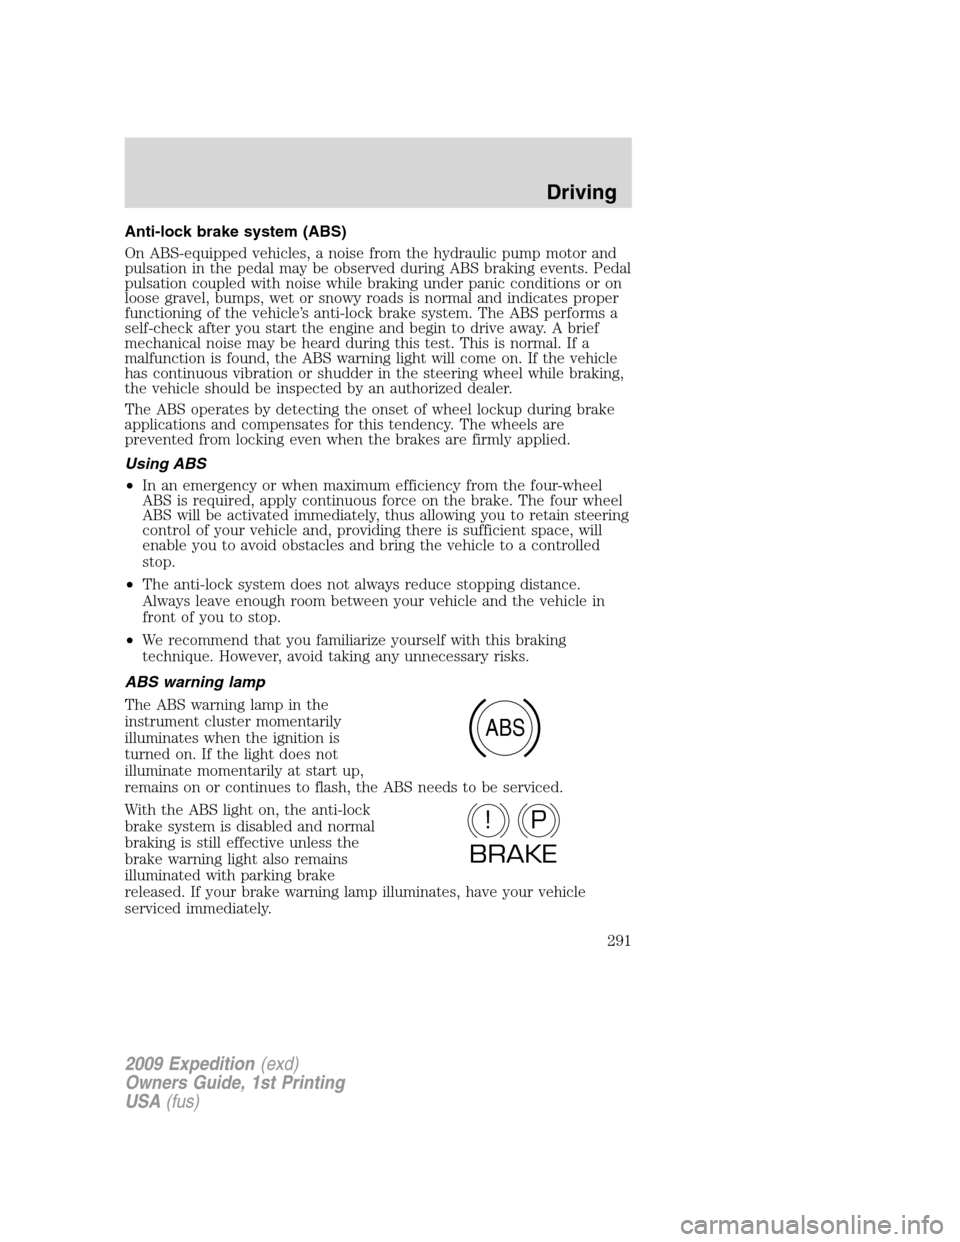
The ABS warning lamp in the
instrument cluster momentarily
illuminates when the ignition is
turned on. If the light does not
illuminate momentarily at start up,
remains on or continues to flash, the ABS needs to be serviced.
With the ABS light on, the anti-lock
brake system is disabled and normal
braking is still effective unless the
brake warning light also remains
illuminated with parking brake
released. If your brake warning lamp illuminates, have your vehicle
serviced immediately.
ABS
P!
BRAKE
2009 Expedition(exd)
Owners Guide, 1st Printing
USA(fus)
Driving
291
Page 297 of 416

Switching Off AdvanceTrac�with RSC�
If the vehicle is stuck in snow, mud or sand, and seems to lose engine
power, switching off certain features of the AdvanceTrac�with RSC�
system may be beneficial because the wheels are allowed to spin. This
will restore full engine power and will enhance momentum through the
obstacle. To switch off the AdvanceTrac�with RSC�system press the
AdvanceTrac�with RSC��Off�button. Full features of the AdvanceTrac�
with RSC�system can be restored by pressing the AdvanceTrac�with
RSC��Off�button again or by turning off and restarting the engine.
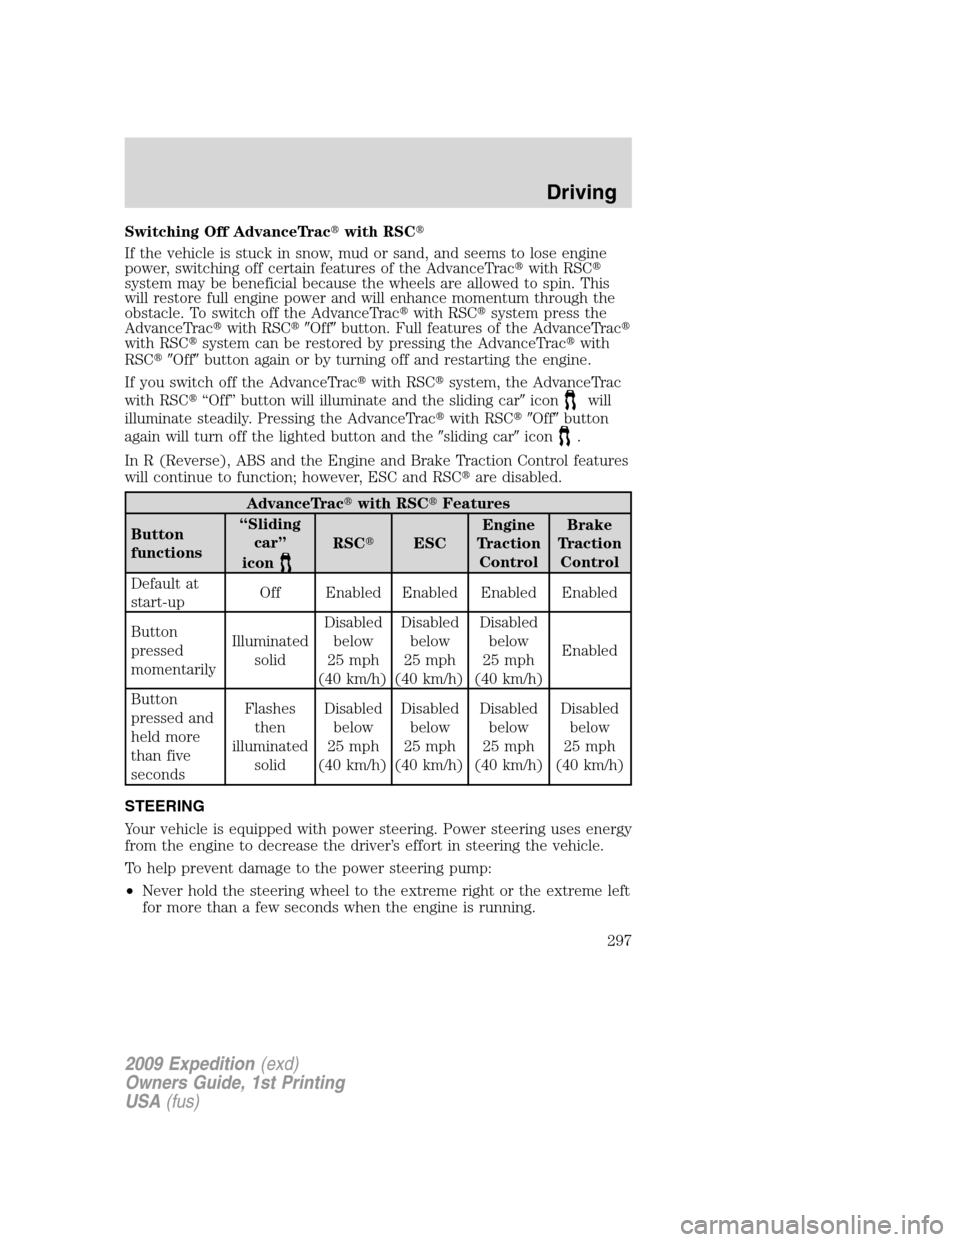
If you switch off the AdvanceTrac�with RSC�system, the AdvanceTrac
with RSC�“Off” button will illuminate and the sliding car�icon
will
illuminate steadily. Pressing the AdvanceTrac�with RSC��Off�button
again will turn off the lighted button and the�sliding car�icon
.
In R (Reverse), ABS and the Engine and Brake Traction Control features
will continue to function; however, ESC and RSC�are disabled.
AdvanceTrac�with RSC�Features
Button
functions“Sliding
car”
icon
RSC�ESCEngine
Traction
ControlBrake
Traction
Control
Default at
start-upOff Enabled Enabled Enabled Enabled
Button
pressed
momentarilyIlluminated
solidDisabled
below
25 mph
(40 km/h)Disabled
below
25 mph
(40 km/h)Disabled
below
25 mph
(40 km/h)Enabled
Button
pressed and
held more
than five
secondsFlashes
then
illuminated
solidDisabled
below
25 mph
(40 km/h)Disabled
below
25 mph
(40 km/h)Disabled
below
25 mph
(40 km/h)Disabled
below
25 mph
(40 km/h)
STEERING
Your vehicle is equipped with power steering. Power steering uses energy
from the engine to decrease the driver’s effort in steering the vehicle.
To help prevent damage to the power steering pump:
•Never hold the steering wheel to the extreme right or the extreme left
for more than a few seconds when the engine is running.
2009 Expedition(exd)
Owners Guide, 1st Printing
USA(fus)
Driving
297
Page 325 of 416
Passenger compartment fuse panel
The fuse panel is located under the right-hand side of the instrument
panel.
To remove the trim panel for access
to the fuse box, pull the panel
toward you and swing it out away
from the side and remove it. To
reinstall it, line up the tabs with the
grooves on the panel, then push it
shut.
To remove the fuse box cover, press in the tabs on both sides of the
cover, then pull the cover off.
To reinstall the fuse box cover, place the top part of the cover on the
fuse panel, then push the bottom part of the cover until you hear it click
shut. Gently pull on the cover to make sure it is seated properly.
2009 Expedition(exd)
Owners Guide, 1st Printing
USA(fus)
Roadside Emergencies
325
Page 330 of 416
Fuse/Relay
LocationFuse Amp
RatingProtected Circuits
36 30A** Power liftgate
37 — Trailer tow left hand stop/turn
relay
38 — Trailer tow right hand stop/turn
relay
39 — Back up lamps
40 — Blower motor relay
41 10A* TCM PCM KAPWR
42 — Not used
43 15A* Brake on/off switch
44 20A* Fuel pump relay
45 25A* Trailer tow stop turn relay feed
46 — Not used
47 — Not used
48 30A** Rear air suspension module
49 — Not used
50 30A** Front wiper motor
51 40A** Heated backlite/mirror relay
52 10A* ABS R/S feed
53 10A* Rear air suspension module R/S
feed
54 5A* TCM R/S power
55 5A* Fuel pump relay R/S feed
56 30A* SPJB R/S feed
57 10A* Blower motor R/S feed
58 15A* Trailer tow backup lamps
59 15A* Heated mirrors
60 — One-touch Start diode
61 — Fuel pump diode
62 — Not used
63 — Not used
2009 Expedition(exd)
Owners Guide, 1st Printing
USA(fus)
Roadside Emergencies
330