Page 241 of 320
WARNING:To lessen the risk of personal injury, do not put any
part of your body under the vehicle while changing a tire. Do not
start the engine when your vehicle is on the jack. The jack is only
meant for changing the tire.
2. Position the jack to raise the front or rear wheel.
•Never use the front or rear
differential as a jacking point.
Rear axle jacking points - All
models except E-350 Dual Rear
Wheel (DRW) and E-450:
Rear axle jacking points - E-350
Dual Rear Wheel (DRW) and
E-450:
2009 Econoline(eco)
Owners Guide, 2nd Printing
USA(fus)
Roadside Emergencies
241
ProCarManuals.com
Page 248 of 320
4. Make the final connection of the negative (-) cable to an exposed
metal part of the stalled vehicle’s engine, away from the battery and the
carburetor/fuel injection system.Do notuse fuel lines, engine rocker
covers or the intake manifold asgroundingpoints.
WARNING:Do not connect the end of the second cable to the
negative (-) terminal of the battery to be jumped. A spark may
cause an explosion of the gases that surround the battery.
5. Ensure that the cables are clear of fan blades, belts, moving parts of
both engines, or any fuel delivery system parts.
Jump starting
1. Start the engine of the booster vehicle and run the engine at
moderately increased speed.
2. Start the engine of the disabled vehicle.
3. Once the disabled vehicle has been started, run both engines for an
additional three minutes before disconnecting the jumper cables.
+–+–
2009 Econoline(eco)
Owners Guide, 2nd Printing
USA(fus)
Roadside Emergencies
248
ProCarManuals.com
Page 282 of 320

•Refer to the chart on the coolant container to ensure the
coolant concentration in your vehicle will provide adequate
protection at the temperatures in which you drive.
Vehicles driven year-round in non-extreme climates should use a 50/50
mixture of engine coolant and distilled water for optimum cooling system
and engine protection.
What you should know about fail-safe cooling (if equipped)
If the engine coolant supply is depleted, this feature allows the vehicle to
be driven temporarily before incremental component damage is incurred.
The “fail-safe” distance depends on ambient temperatures, vehicle load
and terrain.
How fail-safe cooling works
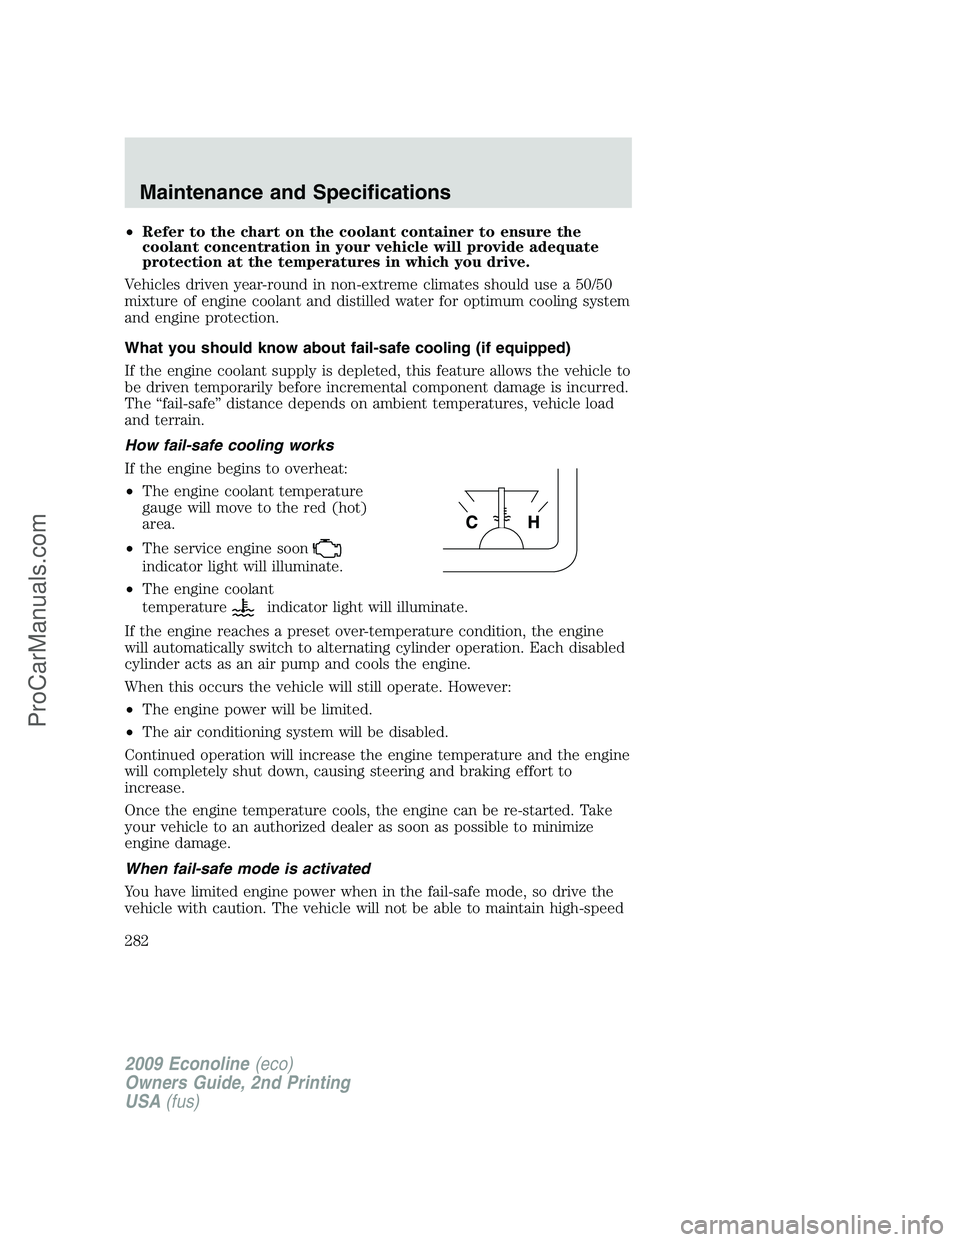
If the engine begins to overheat:
•The engine coolant temperature
gauge will move to the red (hot)
area.
•The service engine soon
indicator light will illuminate.
•The engine coolant
temperature
indicator light will illuminate.
If the engine reaches a preset over-temperature condition, the engine
will automatically switch to alternating cylinder operation. Each disabled
cylinder acts as an air pump and cools the engine.
When this occurs the vehicle will still operate. However:
•The engine power will be limited.
•The air conditioning system will be disabled.
Continued operation will increase the engine temperature and the engine
will completely shut down, causing steering and braking effort to
increase.
Once the engine temperature cools, the engine can be re-started. Take
your vehicle to an authorized dealer as soon as possible to minimize
engine damage.
When fail-safe mode is activated
You have limited engine power when in the fail-safe mode, so drive the
vehicle with caution. The vehicle will not be able to maintain high-speed
2009 Econoline(eco)
Owners Guide, 2nd Printing
USA(fus)
Maintenance and Specifications
282
ProCarManuals.com
Page 291 of 320

•Use the same filling rate setting (low — medium — high) each time
the tank is filled.
•Allow no more than two automatic click-offs when filling.
•Always use fuel with the recommended octane rating.
•Use a known quality gasoline, preferably a national brand.
•Use the same side of the same pump and have the vehicle facing the
same direction each time you fill up.
•Have the vehicle loading and distribution the same every time.
Your results will be most accurate if your filling method is consistent.
Calculating fuel economy
1. Fill the fuel tank completely and record the initial odometer reading
(in miles or kilometers).
2. Each time you fill the tank, record the amount of fuel added (in
gallons or liters).
3. After at least three to five tank fill-ups, fill the fuel tank and record
the current odometer reading.
4. Subtract your initial odometer reading from the current odometer
reading.
5. Follow one of the simple calculations in order to determine fuel
economy:
Calculation 1:Divide total miles traveled by total gallons used.
Calculation 2:Multiply liters used by 100, then divide by total
kilometers traveled.
Keep a record for at least one month and record the type of driving (city
or highway). This will provide an accurate estimate of the vehicle’s fuel
economy under current driving conditions. Additionally, keeping records
during summer and winter will show how temperature impacts fuel
economy. In general, lower temperatures give lower fuel economy.
Driving style — good driving and fuel economy habits
Give consideration to the lists that follow and you may be able to change
a number of variables and improve your fuel economy.
Habits
•Smooth, moderate operation can yield up to 10% savings in fuel.
•Steady speeds without stopping will usually give the best fuel
economy.
•Idling for long periods of time (greater than one minute) may waste
fuel.
2009 Econoline(eco)
Owners Guide, 2nd Printing
USA(fus)
Maintenance and Specifications
291
ProCarManuals.com
Page 311 of 320
Vehicle identification number (VIN)
The VIN is located on the driver side instrument panel or on the
certification label. It contains the following information:
1. World manufacturer identifier
2. Brake system / Gross Vehicle
Weight Rating (GVWR) / Restraint
System
3. Vehicle line, series, body type
4. Engine type
5. Check digit
6. Model year
7. Assembly plant
8. Production sequence number
Certification label for incomplete vehicles
On completed derivations of incomplete vehicles, the certification label is
affixed at a location determined by a subsequent stage manufacturer of
the completed vehicle. In these cases the completed vehicle is
manufactured in two or more stages by two or more separate
manufacturers.
2009 Econoline(eco)
Owners Guide, 2nd Printing
USA(fus)
Maintenance and Specifications
311
ProCarManuals.com
Page 313 of 320

GENUINE FORD ACCESSORIES FOR YOUR VEHICLE
A wide selection of Genuine Ford Accessories are available for your
vehicle through your local Ford or Ford of Canada dealer. These quality
accessories have been specifically engineered to fulfill your automotive
needs; they are custom designed to complement the style and
aerodynamic appearance of your vehicle. In addition, each accessory is
made from high quality materials and meets or exceeds Ford’s rigorous
engineering and safety specifications. Ford Motor Company will repair or
replace any properly dealer-installed Genuine Ford Accessories found to
be defective in factory-supplied materials or workmanship during the
warranty period, as well as any component damaged by the defective
accessories. The accessories will be warranted for whichever provides
you the greatest benefit:
•12 months or 12,000 miles (20,000 km) (whichever occurs first), or
•the remainder of your new vehicle limited warranty.
Contact your dealer for details and a copy of the warranty.
The following is a list of several Genuine Ford Accessories. Not all
accessories are available for all models. For a complete listing of the
accessories that are available for your vehicle, please contact your dealer
or visit our online store at: www.fordaccessories.com.
Exterior style
Bug shields
Deflectors
Running boards
Splash guards
Interior style
Electrochromatic compass/temperature interior mirrors
Floor mats
Lifestyle
Trailer hitches, wiring harnesses and accessories
Peace of mind
Mobile-Ease™ hands-free communication system
Remote start
Vehicle security systems
2009 Econoline(eco)
Owners Guide, 2nd Printing
USA(fus)
Accessories
313
ProCarManuals.com