2009 FORD E450 warning
[x] Cancel search: warningPage 68 of 320
SPEED CONTROL (IF EQUIPPED)
With speed control set, you can maintain a set speed without keeping
your foot on the accelerator pedal.
WARNING:Do not use the speed control in heavy traffic or on
roads that are winding, slippery or unpaved.
Setting speed control
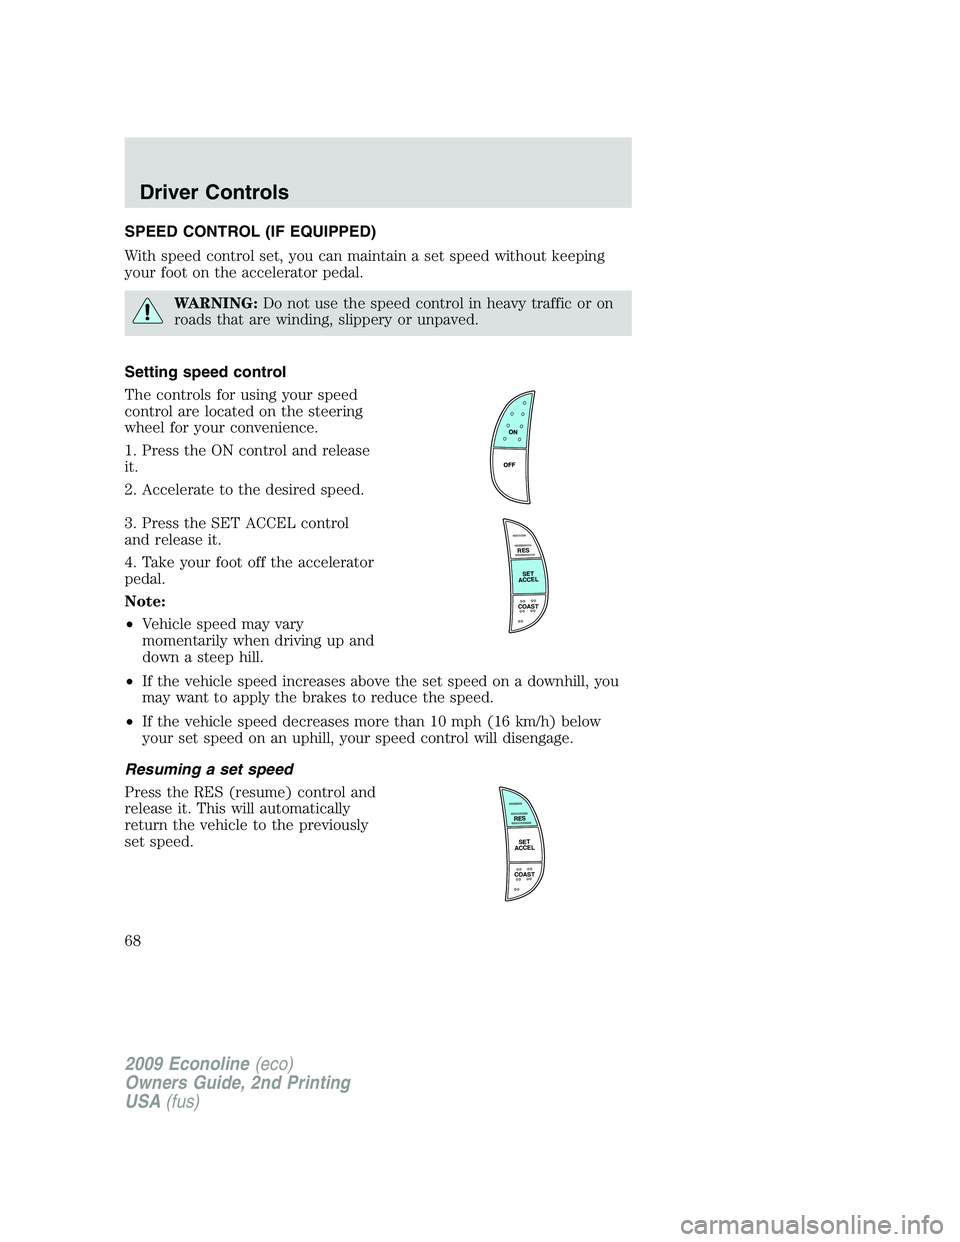
The controls for using your speed
control are located on the steering
wheel for your convenience.
1. Press the ON control and release
it.
2. Accelerate to the desired speed.
3. Press the SET ACCEL control
and release it.
4. Take your foot off the accelerator
pedal.
Note:
•Vehicle speed may vary
momentarily when driving up and
down a steep hill.
•If the vehicle speed increases above the set speed on a downhill, you
may want to apply the brakes to reduce the speed.
•If the vehicle speed decreases more than 10 mph (16 km/h) below
your set speed on an uphill, your speed control will disengage.
Resuming a set speed
Press the RES (resume) control and
release it. This will automatically
return the vehicle to the previously
set speed.
R
E
S
S
E
T
A
C
C
E
L
C
O
A
S
T
R
E
S
S
E
T
A
C
C
E
L
C
O
A
S
T
2009 Econoline(eco)
Owners Guide, 2nd Printing
USA(fus)
Driver Controls
68
Page 71 of 320
They are coded as follows:
Switch Circuit number Wire color Fuse
AUX 1 CAC05 Yellow 30A
AUX 2 CAC06 Green with
Brown Trace30A
AUX 3 CAC07 Violet with
Green Trace10A
AUX 4 CAC08 Brown 15A
More detailed information about the Upfitter switches can be found in
theUpfitter Switchesbulletin found at
www.fleet.ford.com/truckbbas/non-html/Q117R1.pdf.
MESSAGE CENTER (IF EQUIPPED)
With the ignition on, the message
center, located on your instrument
cluster, displays important vehicle
informationthrough a constant
monitor of vehicle systems.Yo u
may select display features on the
message center for a display of status. The system will also notify you of
potential vehicle problems with a display of system warnings followed by
a long indicator chime.
Selectable features
Press and release the SELECT/RESET stem, located in the speedometer,
to scroll and reset the following functions. Select or reset the function by
holding the SELECT/RESET stem for more than two seconds.
Info menu
This menu displays the following control displays:
•Odometer/Trip Odometer
•Distance to Empty (DTE)
•Average Fuel Economy (AFE)
•Setup Menu
•System check
•Blank (odometer off)
Odometer/Trip odometer
Refer toGaugesin theInstrument Clusterchapter.
2009 Econoline(eco)
Owners Guide, 2nd Printing
USA(fus)
Driver Controls
71
Page 72 of 320
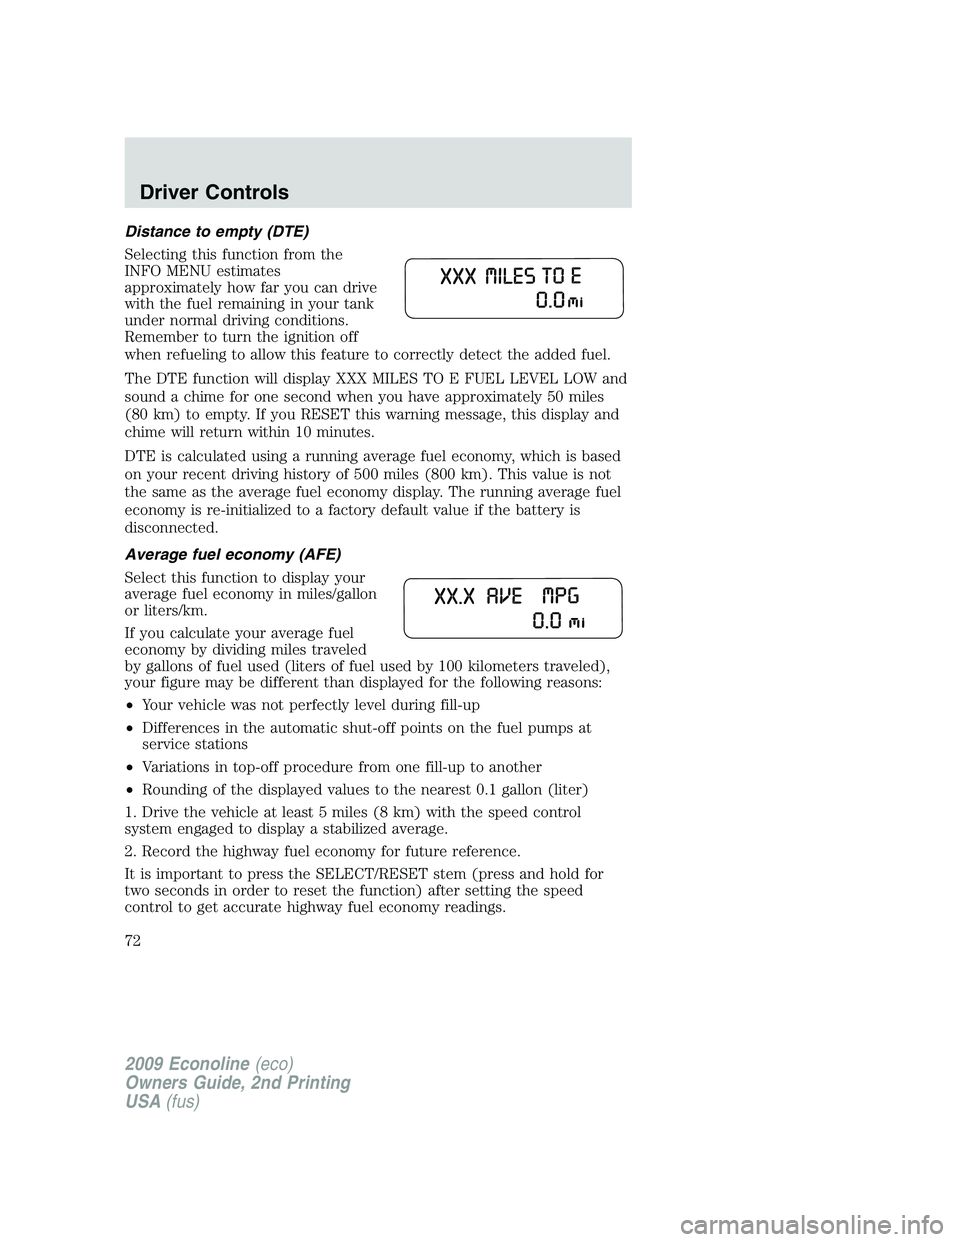
Distance to empty (DTE)
Selecting this function from the
INFO MENU estimates
approximately how far you can drive
with the fuel remaining in your tank
under normal driving conditions.
Remember to turn the ignition off
when refueling to allow this feature to correctly detect the added fuel.
The DTE function will display XXX MILES TO E FUEL LEVEL LOW and
sound a chime for one second when you have approximately 50 miles
(80 km) to empty. If you RESET this warning message, this display and
chime will return within 10 minutes.
DTE is calculated using a running average fuel economy, which is based
on your recent driving history of 500 miles (800 km). This value is not
the same as the average fuel economy display. The running average fuel
economy is re-initialized to a factory default value if the battery is
disconnected.
Average fuel economy (AFE)
Select this function to display your
average fuel economy in miles/gallon
or liters/km.
If you calculate your average fuel
economy by dividing miles traveled
by gallons of fuel used (liters of fuel used by 100 kilometers traveled),
your figure may be different than displayed for the following reasons:
•Your vehicle was not perfectly level during fill-up
•Differences in the automatic shut-off points on the fuel pumps at
service stations
•Variations in top-off procedure from one fill-up to another
•Rounding of the displayed values to the nearest 0.1 gallon (liter)
1. Drive the vehicle at least 5 miles (8 km) with the speed control
system engaged to display a stabilized average.
2. Record the highway fuel economy for future reference.
It is important to press the SELECT/RESET stem (press and hold for
two seconds in order to reset the function) after setting the speed
control to get accurate highway fuel economy readings.
2009 Econoline(eco)
Owners Guide, 2nd Printing
USA(fus)
Driver Controls
72
Page 74 of 320

2. Press and hold the SELECT/RESET stem to select a new language.
Selectable languages are English, Spanish and French
3. Press the SELECT/RESET stem for the next SETUP MENU item or
wait for more than four seconds to return to the INFO MENU.
Autolock
This feature automatically locks all vehicle doors when the vehicle is
shifted into any gear and when the vehicle is in motion over 13 mph
(20 km/h) or higher.
1. To disable/enable the autolock
feature, select this function from the
SETUP MENU.
2. Press and hold the
SELECT/RESET stem to turn the
autolock feature ON or OFF.
3. Press the SELECT/RESET stem for the next SETUP MENU item or
wait for more than four seconds to return to the INFO MENU.
Autounlock
This feature automatically unlocks all vehicle doors when the driver’s
door is opened within 10 minutes of the ignition being turned off.
1. To disable/enable the autounlock
feature, select this function from the
SETUP MENU.
2. Press and hold the
SELECT/RESET stem to turn the
autounlock ON or OFF.
3. Press the SELECT/RESET stem for the next SETUP MENU item or
wait for more than four seconds to return to the INFO MENU.
Park Aid (if equipped)
This feature sounds a warning tone to warn the driver of obstacles near
the rear bumper, and functions only when R (Reverse) gear is selected.
1. To disable/enable the reverse
sensing system feature with the
vehicle in P (Park), select this
function from the SETUP MENU or
put the vehicle in R (Reverse).
2. Press and hold the SELECT/RESET stem to turn the park aid ON or
OFF.
2009 Econoline(eco)
Owners Guide, 2nd Printing
USA(fus)
Driver Controls
74
Page 75 of 320
3. Press the SELECT/RESET stem for the next SETUP MENU item or
wait for more than four seconds to return to the INFO MENU.
Oil Life Reset and Start Value
An oil change is required whenever indicated by the message center and
according to the recommended maintenance schedule. USE ONLY
RECOMMENDED ENGINE OILS.
To reset the oil monitoring system to 100% after each oil change
(approximately 7,500 miles [12,000 km] or six months) perform the
following:
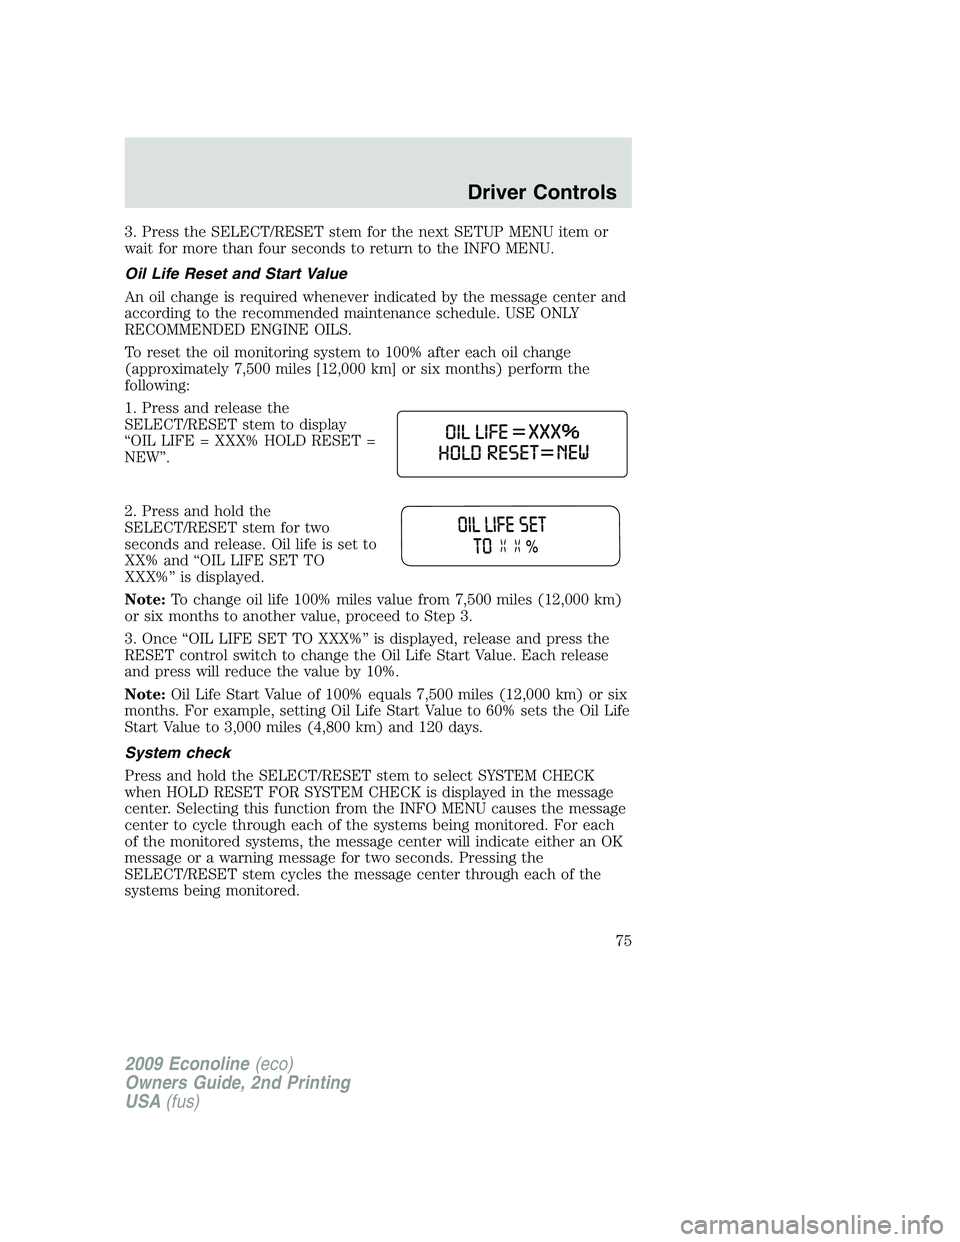
1. Press and release the
SELECT/RESET stem to display
“OIL LIFE = XXX% HOLD RESET =
NEW”.
2. Press and hold the
SELECT/RESET stem for two
seconds and release. Oil life is set to
XX% and “OIL LIFE SET TO
XXX%” is displayed.
Note:To change oil life 100% miles value from 7,500 miles (12,000 km)
or six months to another value, proceed to Step 3.
3. Once “OIL LIFE SET TO XXX%” is displayed, release and press the
RESET control switch to change the Oil Life Start Value. Each release
and press will reduce the value by 10%.
Note:Oil Life Start Value of 100% equals 7,500 miles (12,000 km) or six
months. For example, setting Oil Life Start Value to 60% sets the Oil Life
Start Value to 3,000 miles (4,800 km) and 120 days.
System check
Press and hold the SELECT/RESET stem to select SYSTEM CHECK
when HOLD RESET FOR SYSTEM CHECK is displayed in the message
center. Selecting this function from the INFO MENU causes the message
center to cycle through each of the systems being monitored. For each
of the monitored systems, the message center will indicate either an OK
message or a warning message for two seconds. Pressing the
SELECT/RESET stem cycles the message center through each of the
systems being monitored.
2009 Econoline(eco)
Owners Guide, 2nd Printing
USA(fus)
Driver Controls
75
Page 76 of 320
The sequence of the system check report and how it appears in the
message center is as follows:
1. OIL LIFE
2. ENGINE HOURS (Diesel engine only)
3. ENGINE IDLE HOURS (Diesel engine only)
4. CHARGING SYSTEM
5. AIR FILTER (Diesel engine only)
6. DOOR AJAR
7. BRAKE SYSTEM
8. TBC GAIN = XX.X
NO TRAILER (if equipped and no trailer connected)
9. TBC GAIN = XX.X
OUTPUT = ////// (if equipped and trailer connected)
10. XX MILES TO E FUEL LEVEL XXX
System warnings
System warnings alert you to possible problems or malfunctions in your
vehicle’s operating systems.
In the event of a multiple warning situation, the message center will
cycle the display to show all warnings by displaying each one for four
seconds.
The message center will display the last selected feature if there are no
more warning messages. This allows you to use the full functionality of
the message center after you acknowledge the warning by pressing the
SELECT/RESET stem and clearing the warning message.
Warning messages that have been reset are divided into two categories:
•They will reappear on the display 10 minutes from the reset.
•They will not reappear until an ignition off-on cycle has been
completed.
This acts as a reminder that these warning conditions still exist within
the vehicle.
2009 Econoline(eco)
Owners Guide, 2nd Printing
USA(fus)
Driver Controls
76
Page 77 of 320

Warning display Status
Park brake engaged Warning returns after 10 minutes if
condition still exists.
Check brake system
Service RSC now
XXX miles to E fuel level low Warning returns after the ignition key
is turned from off to on.
Wiring fault on trailer (if
equipped)
Trailer brake module fault (if
equipped)
Trailer connected (if equipped)
Trailer disconnected (if
equipped)
Brake fluid level low
Check rear park aid (if
equipped)
Low tire pressure (if equipped) Warning can be cleared by pressing
the SELECT/RESET button. Warning
can reappear if the condition is still
present. Warning will reappear on the
next ignition key-cycle if the condition
still exists. Tire monitor fault (if equipped)
Tire sensor fault (if equipped)
Check air filter (diesel engine
only)
Drain water separator (diesel
engine only)
Oil life change soon
Oil change required
2009 Econoline(eco)
Owners Guide, 2nd Printing
USA(fus)
Driver Controls
77
Page 78 of 320
PARK BRAKE ENGAGED— Displayed when the parking brake is
applied (or not fully released).
CHECK BRAKE SYSTEM— Displayed when a fault has been detected
by the ABS module.
SERVICE RSC NOW— Displayed when the RSC system is not
operating properly. If the warning stays on or continues to come on,
contact your authorized dealer as soon as possible.
XXX MILES TO E FUEL LEVEL LOW— Displayed as an early
reminder of a low fuel condition.
WIRING FAULT ON TRAILER (if equipped)— Displayed and
accompanied by a single chime if there are certain faults in the vehicle
wiring and trailer wiring/brake system. Refer toTrailer towingin the
Tires, Wheels and Loadingchapter for more information.
TRAILER BRAKE MODULE FAULT (if equipped)— Displayed and
accompanied by a single chime, in response to faults sensed by the TBC.
Refer toTrailer towingin theTires, Wheels and Loadingchapter for
more information.
TRAILER CONNECTED (if equipped)— Displayed when a correct
trailer connection (a trailer with electric trailer brakes) is sensed during
a given ignition cycle. Refer toTrailer towingin theTires, Wheels and
Loadingchapter for more information.
TRAILER DISCONNECTED (if equipped)— Displayed and
accompanied by a single chime when a trailer connection becomes
disconnected, either intentionally or unintentionally, and has been sensed
during a given ignition cycle. Refer toTrailer towingin theTires,
Wheels and Loadingchapter for more information.
BRAKE FLUID LEVEL LOW— Indicates the brake fluid level is low
and the brake system should be inspected immediately. Refer toBrake
fluidin theMaintenance and Specificationschapter.
CHECK REAR PARK AID (if equipped)— Displayed when the
transmission is in R (Reverse). Refer toReverse sensing systemin the
Drivingchapter.
LOW TIRE PRESSURE (if equipped)— Displayed when one or more
tires on your vehicle have low tire pressure. Refer toInflating Your
Tiresin theTires, Wheels and Loadingchapter.
2009 Econoline(eco)
Owners Guide, 2nd Printing
USA(fus)
Driver Controls
78