Page 216 of 320

WARNING:Always set the parking brake fully and make sure
the gearshift is latched in P (Park). Turn the ignition to the
LOCK position and remove the key whenever you leave your vehicle.
R (Reverse)
With the gearshift lever in R (Reverse), the vehicle will move backward.
Always come to a complete stop before shifting into and out of R
(Reverse).
N (Neutral)
With the gearshift lever in N (Neutral), the vehicle can be started and is
free to roll. Hold the brake pedal down while in this position.
D (Drive) with Overdrive
D (Drive) with Overdrive is the normal driving position for the best fuel
economy. The overdrive function allows automatic upshifts and
downshifts through gears one through five.
D (Drive) without Overdrive
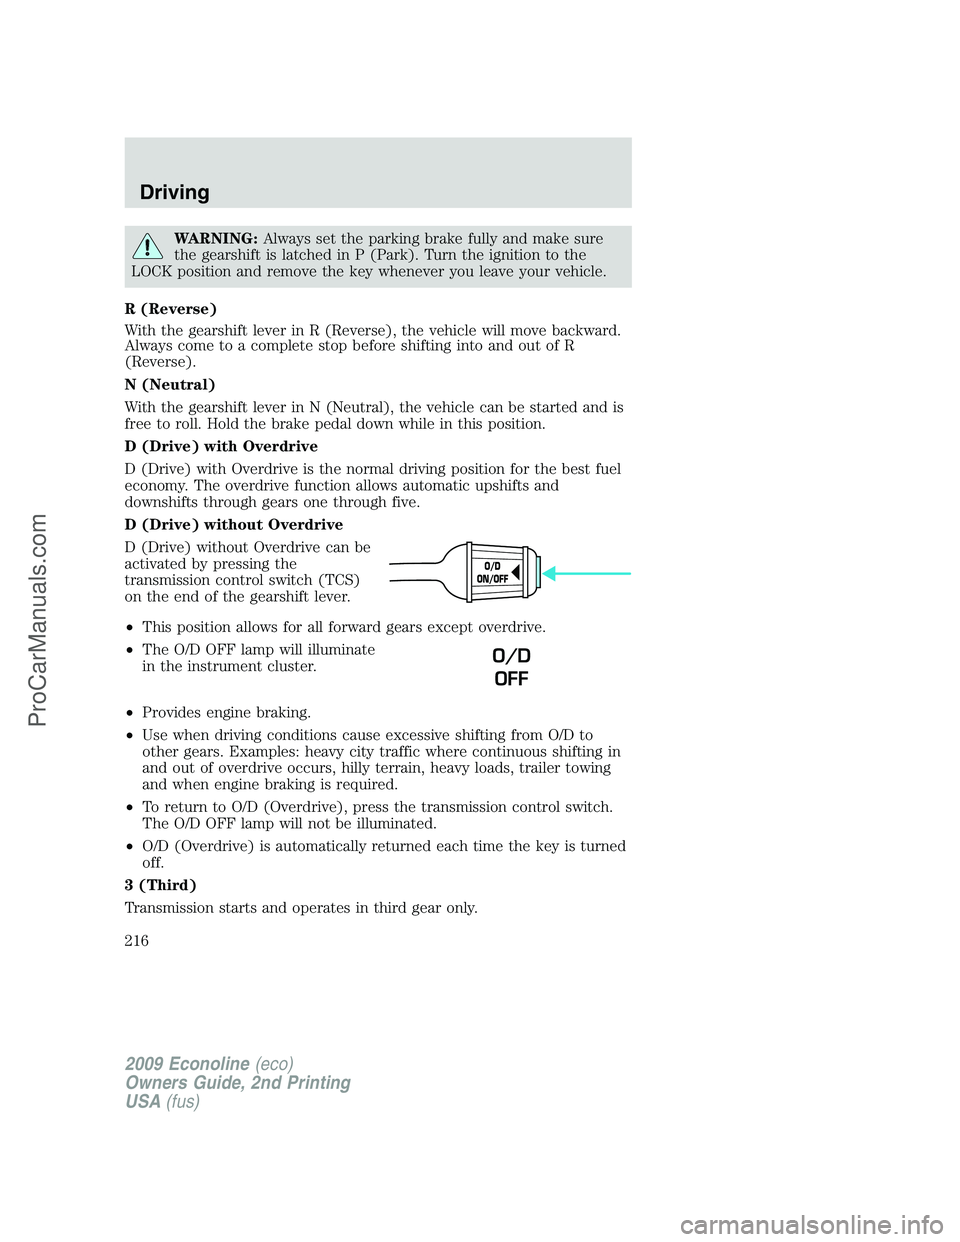
D (Drive) without Overdrive can be
activated by pressing the
transmission control switch (TCS)
on the end of the gearshift lever.
•This position allows for all forward gears except overdrive.
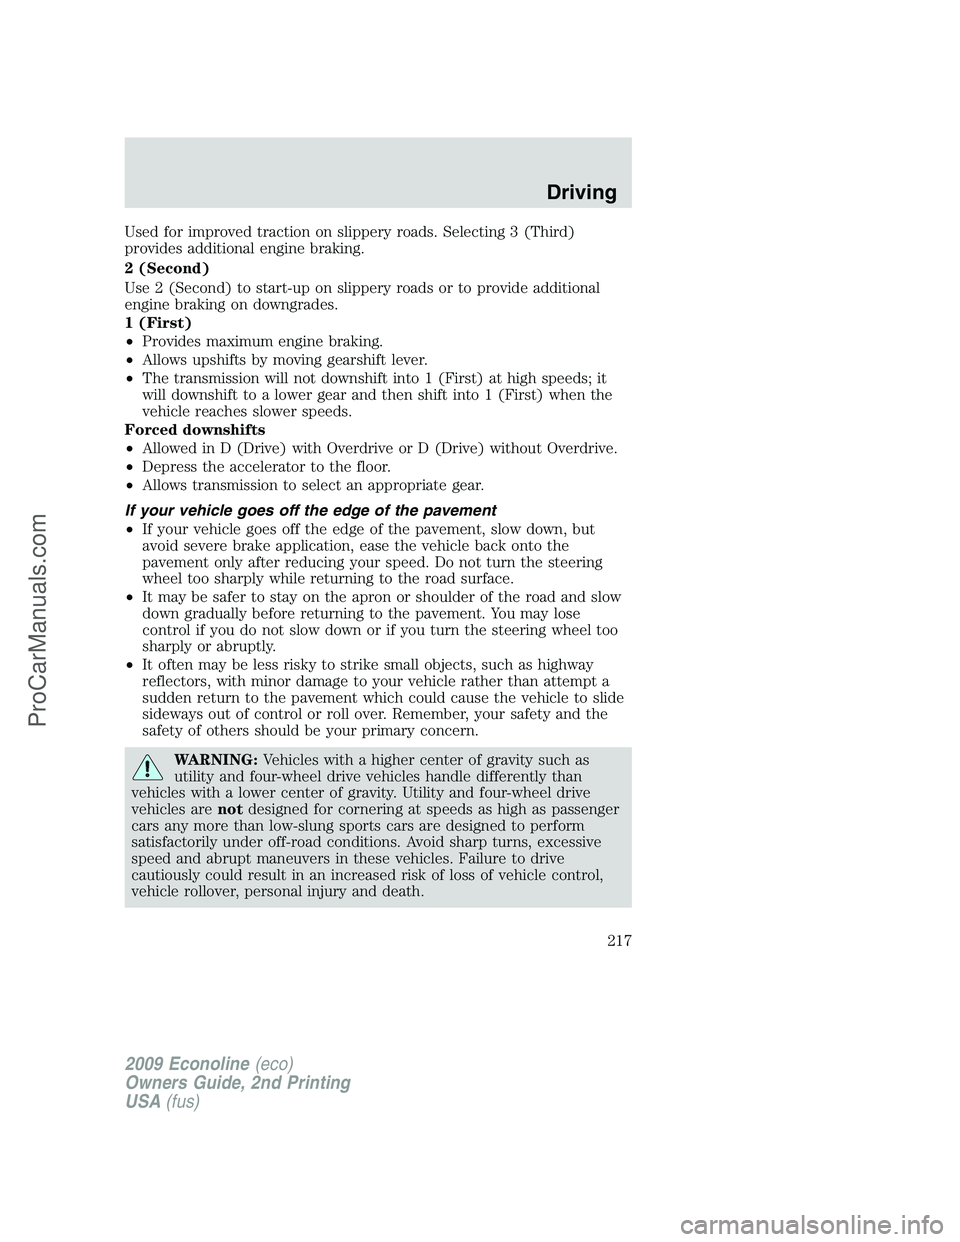
•The O/D OFF lamp will illuminate
in the instrument cluster.
•Provides engine braking.
•Use when driving conditions cause excessive shifting from O/D to
other gears. Examples: heavy city traffic where continuous shifting in
and out of overdrive occurs, hilly terrain, heavy loads, trailer towing
and when engine braking is required.
•To return to O/D (Overdrive), press the transmission control switch.
The O/D OFF lamp will not be illuminated.
•O/D (Overdrive) is automatically returned each time the key is turned
off.
3 (Third)
Transmission starts and operates in third gear only.
O/D
ON/OFF
O/D
OFF
2009 Econoline(eco)
Owners Guide, 2nd Printing
USA(fus)
Driving
216
ProCarManuals.com
Page 217 of 320

Used for improved traction on slippery roads. Selecting 3 (Third)
provides additional engine braking.
2 (Second)
Use 2 (Second) to start-up on slippery roads or to provide additional
engine braking on downgrades.
1 (First)
•Provides maximum engine braking.
•Allows upshifts by moving gearshift lever.
•The transmission will not downshift into 1 (First) at high speeds; it
will downshift to a lower gear and then shift into 1 (First) when the
vehicle reaches slower speeds.
Forced downshifts
•Allowed in D (Drive) with Overdrive or D (Drive) without Overdrive.
•Depress the accelerator to the floor.
•Allows transmission to select an appropriate gear.
If your vehicle goes off the edge of the pavement
•If your vehicle goes off the edge of the pavement, slow down, but
avoid severe brake application, ease the vehicle back onto the
pavement only after reducing your speed. Do not turn the steering
wheel too sharply while returning to the road surface.
•It may be safer to stay on the apron or shoulder of the road and slow
down gradually before returning to the pavement. You may lose
control if you do not slow down or if you turn the steering wheel too
sharply or abruptly.
•It often may be less risky to strike small objects, such as highway
reflectors, with minor damage to your vehicle rather than attempt a
sudden return to the pavement which could cause the vehicle to slide
sideways out of control or roll over. Remember, your safety and the
safety of others should be your primary concern.
WARNING:Vehicles with a higher center of gravity such as
utility and four-wheel drive vehicles handle differently than
vehicles with a lower center of gravity. Utility and four-wheel drive
vehicles arenotdesigned for cornering at speeds as high as passenger
cars any more than low-slung sports cars are designed to perform
satisfactorily under off-road conditions. Avoid sharp turns, excessive
speed and abrupt maneuvers in these vehicles. Failure to drive
cautiously could result in an increased risk of loss of vehicle control,
vehicle rollover, personal injury and death.
2009 Econoline(eco)
Owners Guide, 2nd Printing
USA(fus)
Driving
217
ProCarManuals.com
Page 223 of 320
DRIVING THROUGH WATER
If driving through deep or standing
water is unavoidable, proceed very
slowly especially when the depth is
not known. Never drive through
water that is higher than the bottom
of the wheel rims (for cars) or the
bottom of the hubs (for trucks).
When driving through water, traction or brake capability may be limited.
Also, water may enter your engine’s air intake and severely damage your
engine or your vehicle may stall.Driving through deep water where
the transmission vent tube is submerged may allow water into the
transmission and cause internal transmission damage.
Once through the water, always dry the brakes by moving your
vehicle slowly while applying light pressure on the brake pedal.
Wet brakes do not stop the vehicle as quickly as dry brakes.
2009 Econoline(eco)
Owners Guide, 2nd Printing
USA(fus)
Driving
223
ProCarManuals.com
Page 227 of 320

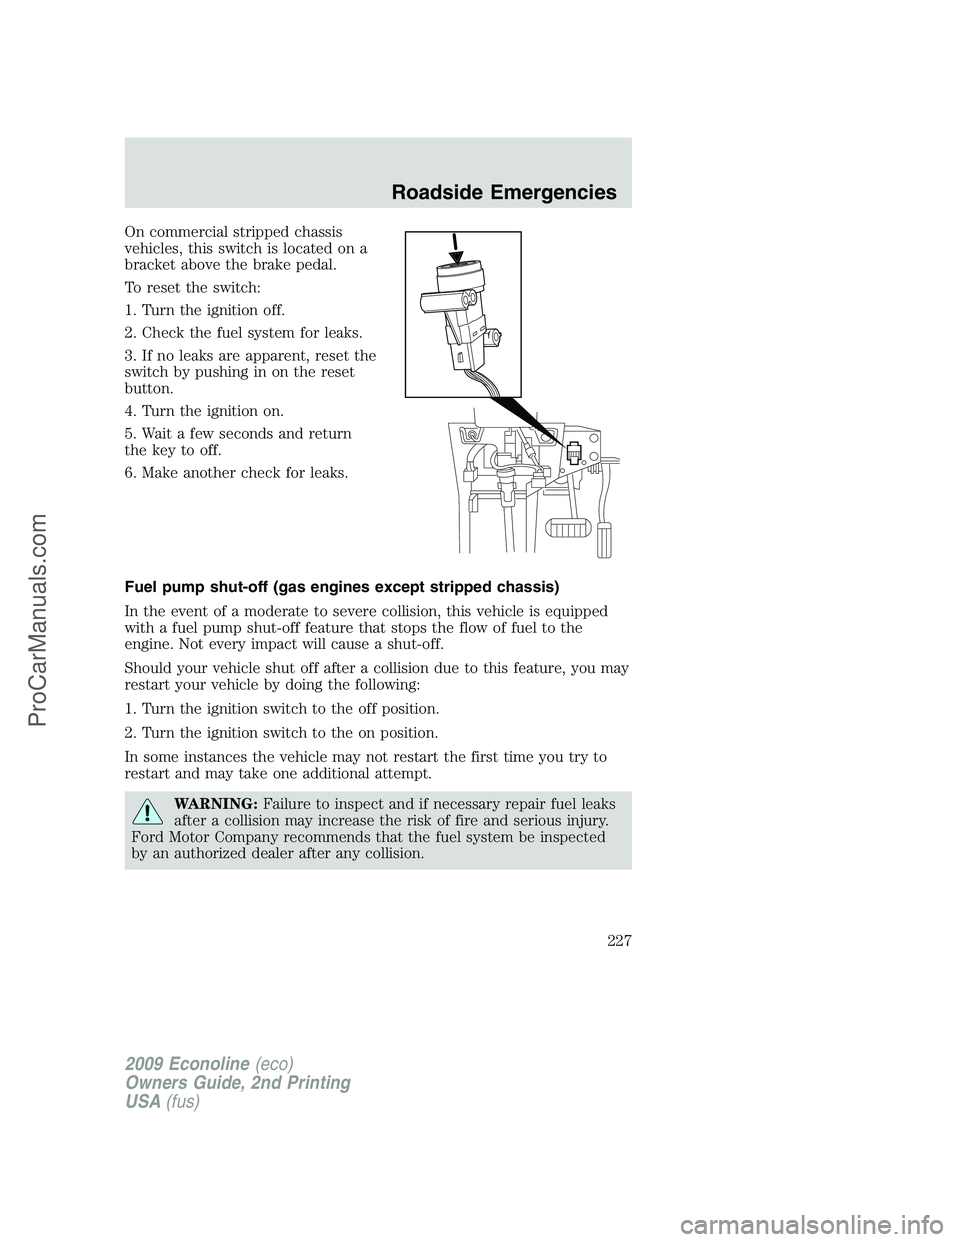
On commercial stripped chassis
vehicles, this switch is located on a
bracket above the brake pedal.
To reset the switch:
1. Turn the ignition off.
2. Check the fuel system for leaks.
3. If no leaks are apparent, reset the
switch by pushing in on the reset
button.
4. Turn the ignition on.
5. Wait a few seconds and return
the key to off.
6. Make another check for leaks.
Fuel pump shut-off (gas engines except stripped chassis)
In the event of a moderate to severe collision, this vehicle is equipped
with a fuel pump shut-off feature that stops the flow of fuel to the
engine. Not every impact will cause a shut-off.
Should your vehicle shut off after a collision due to this feature, you may
restart your vehicle by doing the following:
1. Turn the ignition switch to the off position.
2. Turn the ignition switch to the on position.
In some instances the vehicle may not restart the first time you try to
restart and may take one additional attempt.
WARNING:Failure to inspect and if necessary repair fuel leaks
after a collision may increase the risk of fire and serious injury.
Ford Motor Company recommends that the fuel system be inspected
by an authorized dealer after any collision.
2009 Econoline(eco)
Owners Guide, 2nd Printing
USA(fus)
Roadside Emergencies
227
ProCarManuals.com
Page 228 of 320

FUSES AND RELAYS
Fuses
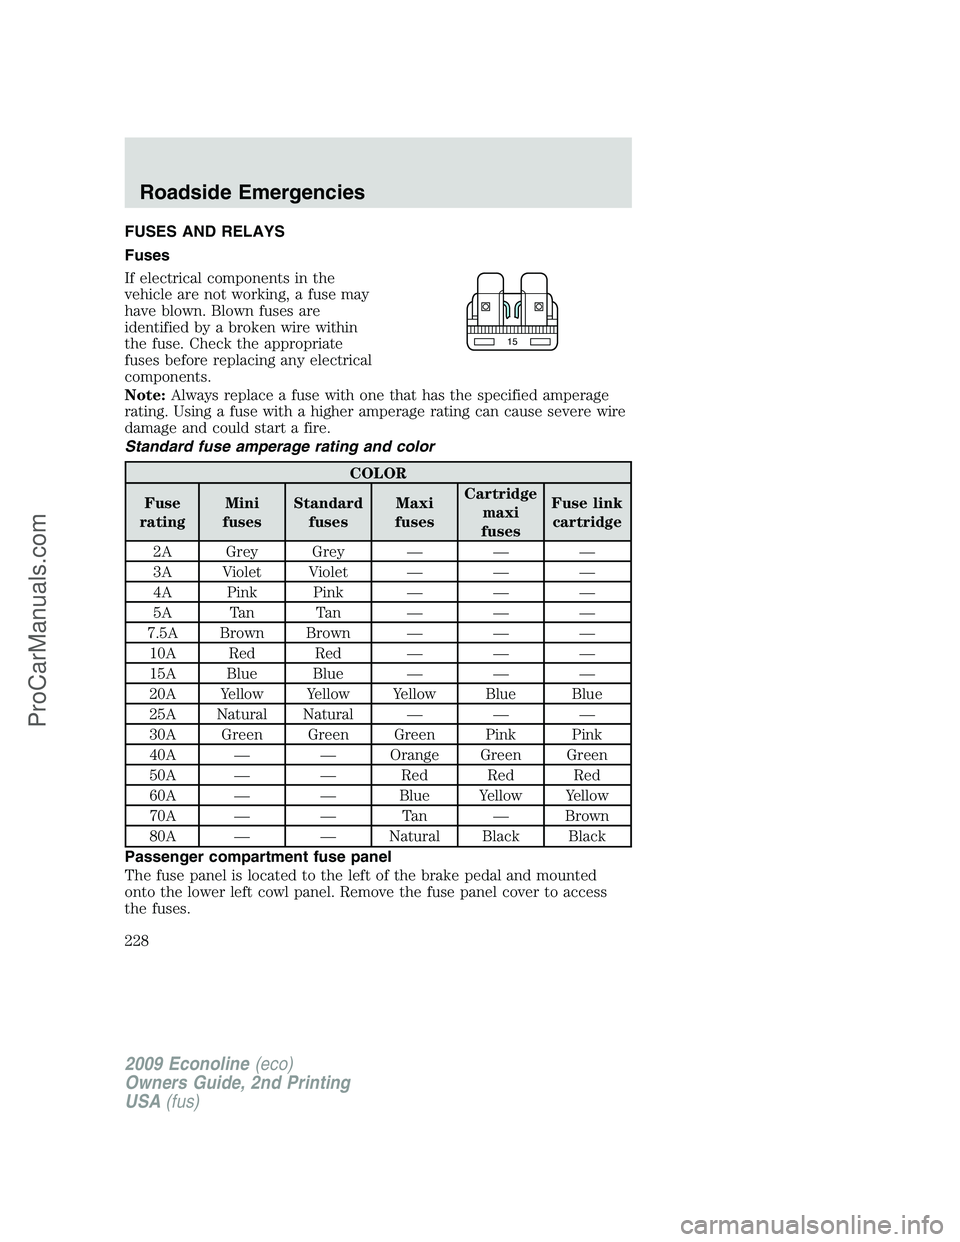
If electrical components in the
vehicle are not working, a fuse may
have blown. Blown fuses are
identified by a broken wire within
the fuse. Check the appropriate
fuses before replacing any electrical
components.
Note:Always replace a fuse with one that has the specified amperage
rating. Using a fuse with a higher amperage rating can cause severe wire
damage and could start a fire.
Standard fuse amperage rating and color
COLOR
Fuse
ratingMini
fusesStandard
fusesMaxi
fusesCartridge
maxi
fusesFuse link
cartridge
2A Grey Grey — — —
3A Violet Violet — — —
4A Pink Pink — — —
5A Tan Tan — — —
7.5A Brown Brown — — —
10A Red Red — — —
15A Blue Blue — — —
20A Yellow Yellow Yellow Blue Blue
25A Natural Natural — — —
30A Green Green Green Pink Pink
40A — — Orange Green Green
50A — — Red Red Red
60A — — Blue Yellow Yellow
70A — — Tan — Brown
80A — — Natural Black Black
Passenger compartment fuse panel
The fuse panel is located to the left of the brake pedal and mounted
onto the lower left cowl panel. Remove the fuse panel cover to access
the fuses.
15
2009 Econoline(eco)
Owners Guide, 2nd Printing
USA(fus)
Roadside Emergencies
228
ProCarManuals.com
Page 229 of 320
WARNING:Always disconnect the battery before servicing high
current fuses.
If your vehicle is equipped with an auxiliary battery,
disconnecting the primary under-hood battery DOES NOT remove
power from all circuits.
To remove a fuse use the fuse puller tool provided on the inside of the
fuse panel cover.
The fuses are coded as follows.
Fuse/Relay
LocationFuse Amp
RatingProtected Circuits
1 30A Not used (spare)
2 15A Not used (spare)
3 15A Not used (spare)
4 30A Not used (spare)
5 10A SPDJB/Brake shift interlock
2009 Econoline(eco)
Owners Guide, 2nd Printing
USA(fus)
Roadside Emergencies
229
ProCarManuals.com
Page 230 of 320
Fuse/Relay
LocationFuse Amp
RatingProtected Circuits
6 20A Turn signal, Hazard, Stop lamps
7 10A Left low beam
8 10A Right low beam
9 15A Courtesy lamps
10 15A Switch illumination
11 10A Not used (spare)
12 7.5A Not used (spare)
13 5A Mirrors
14 10A Not used (spare)
15 10A Not used (spare)
16 15A Not used (spare)
17 20A Door locks
18 20A Not used (spare)
19 25A Not used (spare)
20 15A Diagnostic connector (except
stripped chassis)
21 15A Not used (spare)
22 15A Park lamps, License plate lamps
23 15A High beams
24 20A Horn (except stripped chassis)
25 10A Demand lighting
26 10A Cluster (except stripped chassis)
27 20A Ignition switch feed
28 5A Audio mute (start)
29 5A Cluster (except stripped chassis)
30 5A Not used (spare)
31 10A Not used (spare)
32 10A Restraints module
33 10A Trailer Brake Controller
34 5A Not used (spare)
2009 Econoline(eco)
Owners Guide, 2nd Printing
USA(fus)
Roadside Emergencies
230
ProCarManuals.com
Page 233 of 320
Fuse/Relay
LocationFuse Amp
RatingProtected Circuits
13 30A** Starter solenoid relay
14 40A** Run start relay
15 40A** Modified vehicle and stripped
chassis battery
16 50A** Auxiliary A/C blower
17 50A** Auxiliary battery feed, Trailer tow
battery charge, trailer tow park
feed
18 30A** Electric trailer brake, Trailer
brake controller
19 30A** Upfitter #1
20 30A** Upfitter #2
21 50A** IDM relay (diesel engine only)
22 — Not used
23 G8VA relay A/C clutch
24 G8VA relay Horn relay (Stripped chassis)
25 HC Micro relay Run/start
26 — Not used
27 — Not used
28 20A* Back up lamp
29 10A* A/C clutch
30 10A* BOO switch
31 10A* Cluster battery (stripped chassis
only), IDM coil (diesel engine
only)
32 50A** Blower motor
33 40A** ABS pump
34 20A** Stripped chassis horn
35 40A** PCM relay
36 20A** Ignition switch (Stripped chassis
only)
37 G8VA relay Trailer tow stop/LH turn signal
2009 Econoline(eco)
Owners Guide, 2nd Printing
USA(fus)
Roadside Emergencies
233
ProCarManuals.com