2009 FIAT DUCATO indicator
[x] Cancel search: indicatorPage 95 of 282

94
SAFETY
DEVICES
CORRECT USE
OF THE
VEHICLE
WARNING
LIGHTS AND
MESSAGES
IN AN
EMERGENCY
VEHICLE
MAINTENANCE
TECHNICAL
SPECIFICATIONS
INDEX
DASHBOARD
AND CONTROLS
DEAD LOCK DEVICE
(where provided)
This safety device enables to inhibit:
❒door internal handles;
❒locking/unlocking buttons A-B fig. 110;
thus hindering doors opening from inside
the passenger’s compartment in case of at-
tempt to break-into (e.g.: window breaking).
The dead lock device guarantees the best
protection against unwanted access.
Therefore, it should be actuated every
time the vehicle is parked and left unat-
tended.
Once the dead lock device
has been actuated, doors
cannot be opened from the passen-
ger’s compartment in any way what-
soever. For this reason, make sure
there are no person left inside the ve-
hicle. If the battery of the key with
remote control is down, the dead lock
device can be deactivated only by fit-
ting the metal insert of the key in
both front door revolving plugs as de-
scribed previously: in this case the
dead lock device will stay engaged
only on the rear doors.
WARNINGDevice activation
The dead lock device is automatically ac-
tivated on every door when pressing twice
briefly the remote control button
Ø, fig.
107.
Device activation is indicated by 3 flashing
of direction indicators and flashing of the
button led A-fig. 110.
If one of the doors is not perfectly closed,
the dead lock device will not activate, thus
preventing that a person getting into the ve-
hicle from the open door remains blocked
inside the passenger’s compartment when
she/he closes the door.
Device deactivation
The device is deactivated automatically on
every door in the following cases:
❒when opening the driver’s door using
the key without remote control;
❒when unlocking doors using the re-
mote control;
❒turning the ignition key to MAR.
Page 145 of 282

144
WARNING
LIGHTS AND
MESSAGES
IN AN
EMERGENCY
VEHICLE
MAINTENANCE
TECHNICAL
SPECIFICATIONS
INDEX
DASHBOARD
AND CONTROLS
SAFETY
DEVICES
CORRECT USE
OF THE VEHICLE
VEHICLE INACTIVITY
If the vehicle is to be left inactive for longer
than a month, the following precautions
should be noted:
❒park the vehicle in covered, dry and
if possible well-ventilated premises;
❒engage a gear;
❒make sure the handbrake is not en-
gaged;
❒disconnect the battery negative ter-
minal and check the battery charge.
This check is to be repeated every
three months. Recharge if the optical
indicator shows a dark colour without
the central green area (see “Recharg-
ing the battery” in section “In an emer-
gency”); if the vehicle is equipped with
a battery disconnection function (dis-
connector), see the description of the
procedure in the “Controls” para-
graph in the “Dashboard and controls”
chapter;
❒clean and protect the painted parts us-
ing protective wax;
❒clean and protect the shiny metal parts
using special compounds readily avail-
able;
❒sprinkle talcum powder on the rubber
windscreen and rear window wiper
blades and lift them off the glass;
❒slightly open the windows;
❒cover the vehicle with a cloth or per-
forated plastic sheet. Do not use
sheets of non-perforated plastic as
they do not allow moisture on the ve-
hicle body to evaporate;
❒inflate tyres to +0.5 bar above the
normal specified pressure and check it
at intervals;
❒if you don’t disconnect the battery
from the electric system, check its
charge every month and recharge it if
the optical indicator shows a dark
colour without the central green area;
❒do not drain the engine cooling sys-
tem.
IMPORTANT Where relevant, switch off
the vehicle alarm with the remote control.
Keep your speed down when
snow chains are fitted. Do
not exceed 50 km/h. Avoid
potholes, steps and pave-
ments and avoid also to dri-
ve for long distances on
roads not covered with snow to pre-
vent damaging the vehicle and the
roadbed.
WARNING
Page 146 of 282

145
IN AN
EMERGENCY
VEHICLE
MAINTENANCE
TECHNICAL
SPECIFICATIONS
INDEX
DASHBOARD
AND CONTROLS
SAFETY
DEVICES
CORRECT USE
OF THE
VEHICLE
WARNING
LIGHTS AND
MESSAGES
GENERAL WARNINGS ..................................................... 146
LOW BRAKE FLUID............................................................ 146
HANDBRAKE ON................................................................ 146
AIR BAG FAILURE................................................................ 147
ENGINE COOLANT
HIGH TEMPERATURE......................................................... 147
LOW BATTERY CHARGE................................................. 148
LOW ENGINE OIL PRESSURE.......................................... 148
EXHAUSTED OIL ................................................................ 148
INCOMPLETE DOOR LOCKING.................................... 149
SEAT BELTS NOT FASTENED.......................................... 149
EBD SYSTEM FAILURE........................................................ 149
INJECTION SYSTEM FAILURE ......................................... 150
FRONT PASSENGER AIR BAG DEACTIVATED.......... 150
ABS SYSTEM FAILURE......................................................... 150
FUEL RESERVE....................................................................... 150
GLOW PLUG WARMING ................................................ 151
GLOW PLUG WARMING FAILURE............................... 151
WATER IN DIESEL FUEL FILTER .................................... 151
VEHICLE PROTECTION SYSTEM FAILURE
FIAT CODE ........................................................................... 151
EXTERNAL LIGHTS FAILURE........................................... 152
REAR FOGLIGHTS............................................................... 152
GENERIC FAILURE INDICATION ................................. 152ESP - ASR SYSTEM FAILURE ............................................. 153
DIESEL PARTICULATE FILTER CLOGGED................... 153
BRAKE PAD WEAR ............................................................ 153
HILL HOLDER FAILURE .................................................... 153
PARKING SENSOR FAILURE............................................ 154
SIDELIGHTS AND LOW BEAMS..................................... 154
FOLLOW ME HOME........................................................... 154
FRONT FOG LIGHTS.......................................................... 154
LEFT-HAND DIRECTION INDICATOR........................ 154
RIGHT-HAND DIRECTION INDICATOR.................... 155
CRUISE CONTROL ............................................................ 155
MAIN BEAM HEADLIGHTS............................................... 155
ASR SYSTEM ......................................................................... 155
POWER STEERING FAILURE............................................ 155
POSSIBLE PRESENCE OF ICE ON THE ROAD ........... 156
LIMITED RANGE ................................................................. 156
SPEED LIMIT EXCEEDED .................................................. 156
SCHEDULED SERVICING.................................................. 156
SELF-LEVELLING SUSPENSIONS FAILURE.................... 156
AUTOMATIC TRANSMISSION FAILURE/
MAX. GEARBOX OIL TEMPERATURE........................... 156
WW W
A A
R R
N N
I I
N N
G G
L L
I I
G G
H H
T T
S S
A A
N N
D D
M M
E E
S S
S S
A A
G G
E E
S S
Page 153 of 282

152
IN AN
EMERGENCY
VEHICLE
MAINTENANCE
TECHNICAL
SPECIFICATIONS
INDEX
DASHBOARD
AND CONTROLS
SAFETY
DEVICES
CORRECT USE
OF THE
VEHICLE
WARNING
LIGHTS AND
MESSAGES
GENERIC FAILURE
INDICATION
(amber)
The warning light turns on in the follow-
ing circumstances.
Engine oil pressure
sensor failure
The warning light comes on when the en-
gine oil pressure sensor is faulty. Contact
Fiat Dealership as soon as possible.
Inertial fuel cut-off switch
intervened
The warning light comes on when the in-
ertial fuel cut-off switch is triggered.
The display will show the dedicated mes-
sage.
è
EXTERNAL LIGHT
FAILURE (amber)
The warning light turns on
when one of the following lights
is failing:
– sidelights
– brake lights
– rear fog guards
– direction indicators.
The failure referring to these lights could
be: one or more blown bulbs, a blown
protection fuse or an electric connection
cut-off.
On certain versions the dedicated message
is displayed.
W
REAR FOG LIGHTS
(amber)
The warning light turns on
when the rear fog lights are turned on.
4
Rain sensor failure
(versions with multifunction
display)
The warning light on the dial turns on
when the rain sensor is faulty. Contact Fi-
at Dealership.
The display will show the dedicated mes-
sage.
Parking sensor failure
(versions with multifunction
display)
See what described for warning light
t.
Page 155 of 282

154
IN AN
EMERGENCY
VEHICLE
MAINTENANCE
TECHNICAL
SPECIFICATIONS
INDEX
DASHBOARD
AND CONTROLS
SAFETY
DEVICES
CORRECT USE
OF THE
VEHICLE
WARNING
LIGHTS AND
MESSAGES
FRONT FOG LIGHTS
(green)
The warning light turns on
when the front fog lights are turned on.
5
LEFT-HAND
DIRECTION
INDICATOR
(green - intermittent)
The warning light turns on when the di-
rection indicator control lever is moved
downwards or, together with the right in-
dicator, when the hazard warning light
button is pressed.
F
PARKING SENSOR
FAILURE
(where provided)
(amber)
The warning light turns on when failure
is detected in parking sensors.
On certain versions warning light èturns
on as an alternative.
Contact Fiat Dealership.
On certain versions the dedicated mes-
sage is displayed.
t
SIDE/TAILLIGHTS
AND LOW BEAMS
(green)
FOLLOW ME HOME
(green)
Side/taillights and low beams
The warning light turns on when side/tail-
lights or low beams are turned on.
Follow me home
The warning light will turn when this de-
vice is active (see “Follow me home” in
section “Dashboard and controls”).
The display will show the dedicated mes-
sage.
3
Page 156 of 282

155
IN AN
EMERGENCY
VEHICLE
MAINTENANCE
TECHNICAL
SPECIFICATIONS
INDEX
DASHBOARD
AND CONTROLS
SAFETY
DEVICES
CORRECT USE
OF THE
VEHICLE
WARNING
LIGHTS AND
MESSAGES
CRUISE CONTROL
(where provided) (green)
Turning the ignition key to
MARthe warning light will turn on but
it should go off after a few seconds.
The instrument panel warning light turns
on when turning the knurled ring of the
Cruise Control to ON.
On certain versions the dedicated mes-
sage is displayed.
Ü
MAIN BEAMS (blue)
The warning light turns on
when the main beams are
turned on.
1
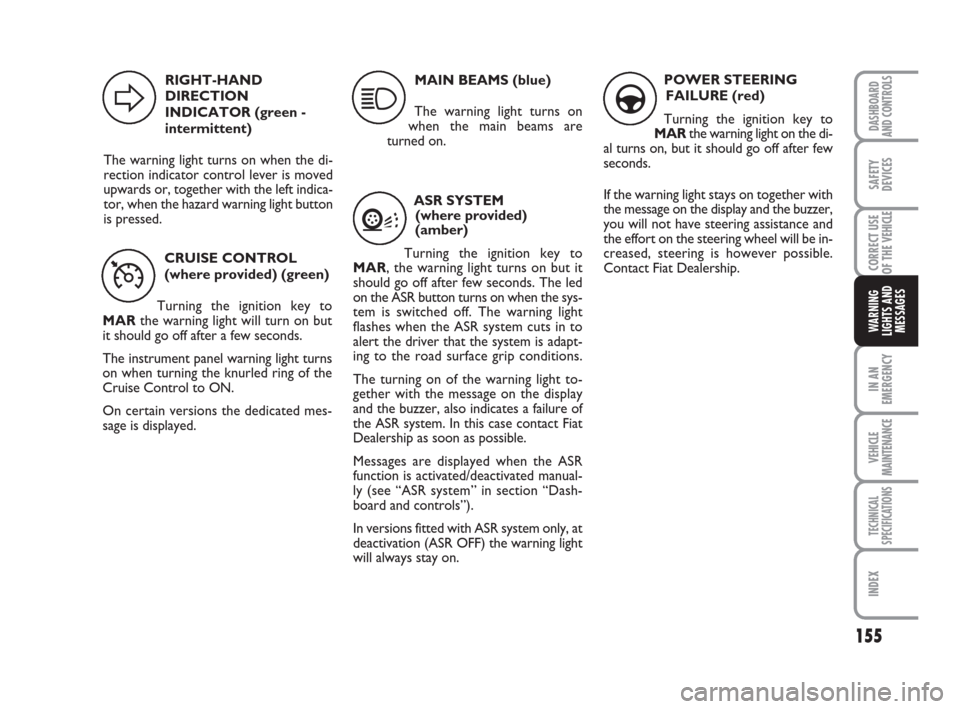
RIGHT-HAND
DIRECTION
INDICATOR (green -
intermittent)
The warning light turns on when the di-
rection indicator control lever is moved
upwards or, together with the left indica-
tor, when the hazard warning light button
is pressed.
D
ASR SYSTEM
(where provided)
(amber)
Turning the ignition key to
MAR, the warning light turns on but it
should go off after few seconds. The led
on the ASR button turns on when the sys-
tem is switched off. The warning light
flashes when the ASR system cuts in to
alert the driver that the system is adapt-
ing to the road surface grip conditions.
The turning on of the warning light to-
gether with the message on the display
and the buzzer, also indicates a failure of
the ASR system. In this case contact Fiat
Dealership as soon as possible.
Messages are displayed when the ASR
function is activated/deactivated manual-
ly (see “ASR system” in section “Dash-
board and controls”).
In versions fitted with ASR system only, at
deactivation (ASR OFF) the warning light
will always stay on.
V
POWER STEERING
FAILURE (red)
Turning the ignition key to
MARthe warning light on the di-
al turns on, but it should go off after few
seconds.
If the warning light stays on together with
the message on the display and the buzzer,
you will not have steering assistance and
the effort on the steering wheel will be in-
creased, steering is however possible.
Contact Fiat Dealership.
g
Page 170 of 282

169
WARNING
LIGHTS AND
MESSAGES
VEHICLE
MAINTENANCE
TECHNICAL
SPECIFICATIONS
INDEX
DASHBOARD
AND CONTROLS
SAFETY
DEVICES
CORRECT USE
OF THE
VEHICLE
IN AN
EMERGENCY
Bulbs Ref. figure Type Power
Main-beam headlights
Dipped beam headlights
Front sidelights
Front fog lights (where provided)
Front direction indicators
Side direction indicators
Rear direction indicators
Side lights
Taillights
Brake lights
Third brake light (additional brake light)
Reversing light
Rear fog lights
Rear fog lights (Heavy-Duty van)
Number plate light
Front ceiling light with movable lens
Rear ceiling light
(*) XL and free time versions
(▼) all other versionsH1
H7
W5W
H1
PY21W
W16WF(*)/WY5W(▼)
PY21W
W5W
P21/5W
P21/5W
P21W
P21W
P21W
P21W
C5W
12V10W
12V10W D
D
A
–
B
A
B
A
B
B
B
–
–
–
A
C
C55W
55W
5W
55W
21W
16W(*)/5W(▼)
21W
5W
5W
5W
21W
21W
21W
21W
5W
10W
10W
Page 171 of 282

170
WARNING
LIGHTS AND
MESSAGES
VEHICLE
MAINTENANCE
TECHNICAL
SPECIFICATIONS
IINDEX
DASHBOARD
AND CONTROLS
SAFETY
DEVICES
CORRECT USE
OF THE
VEHICLE
IN AN
EMERGENCY
IF AN EXTERIOR LIGHT
BURNS OUT
For the type of bulb and power rating, see
“When needing to change a bulb”.
FRONT LIGHT UNITS fig. 19
The front light units contain sidelights,
dipped beam, main beam and direction in-
dicator bulbs.
The bulbs are arranged inside the light unit
as follows:
Adirection indicators
Bsidelights/dipped beams (double light)
Cmain beams
To replace the main beam bulb, remove
cap A-fig. 20.
To replace the dipped beams/sidelights
bulb, remove cap B-fig. 20.
To replace the direction indicators bulb,
remove the bulb holder C-fig. 20.
After replacing the bulb, refit caps and
check for proper locking.SIDELIGHTS fig. 21
To change the bulb, proceed as follows:
❒remove the protection cover B-fig.
20turning it counterclockwise;
❒remove the snap-fitted bulb holder
unit A; remove the bulb Band replace
it;
❒refit the snap-fitted bulb holder unit
A;
❒refit the protection cover B-fig. 20
turning it clockwise and check for
proper locking.
fig. 19F0N0079mfig. 21F0N0082m
fig. 20F0N0080m