Page 308 of 429
9. Repeat steps 7 and 8 with the transmission in DRIVE.
10. Shut OFF the engine and place the ignition key in the
unlocked OFF position.
11. Shift transmission into PARK.
12. Apply the parking brake.
13. Attach vehicle to tow vehicle with tow bar.
14. Release the parking brake.
CAUTION!
Damage to the transmission may occur if the trans-
mission is shifted into PARK with the transfer case in
NEUTRAL and the engine running. With the transfer
case in NEUTRAL ensure that the engine is OFF prior
to shifting the transmission into PARK.
Returning to Normal Operation — Manual Shift
Transfer Case
Use the following procedure to prepare your vehicle for
normal usage:
1. Bring the vehicle to a complete stop.
2. Apply the parking brake.
3. Shut OFF the engine.
4. Depress the brake pedal.
5. Shift transmission into NEUTRAL.
6. Shift transfer case lever to desired position.
7. Shift transmission into PARK.
306 STARTING AND OPERATING
Page 318 of 429

WARNING!
After using the jack and tools, always reinstall them
in the original carrier and location. While driving
you may experience abrupt stopping, rapid accelera-
tion, or sharp turns. A loose jack, tools, bracket or
other objects in the vehicle may move around with
force, resulting in serious injury.
4500/5500 Models
These vehicles do not come equipped with a jack.
NOTE:Jacking and tire changing on 4500/5500 models
should be performed by an authorized dealer, or knowl-
edgeable service personnel with the appropriate heavy
duty equipment, like a tire service company.
Preparations For Jacking
1. Park the vehicle on a firm level surface. Avoid ice or
slippery areas.
WARNING!
Do not attempt to change a tire on the side of the
vehicle close to moving traffic. Pull far enough off
the road to avoid the danger of being hit when
operating the jack or changing the wheel.
2. Set the parking brake.
3. Place the shift lever into PARK (automatic transmis-
sion) or REVERSE (manual transmission). On 4-Wheel
drive vehicles, shift the transfer case to the “4L” position.
4. Turn OFF the ignition.
5. Turn on the Hazard Warning flasher.
316 WHAT TO DO IN EMERGENCIES
Page 319 of 429
6. Block both the front and rear of the
wheel diagonally opposite the jacking
position. For example, if the right front
wheel is being changed, block the left
rear wheel.
NOTE: Passengers should not remain in the vehicle
when the vehicle is being jacked.
Jacking Instructions
Instructions
WARNING!
Carefully follow these tire changing warnings to
help prevent personal injury or damage to your
vehicle:
(Continued)
WARNING! (Continued)
•Always park on a firm, level surface as far from
the edge of the roadway as possible before raising
the vehicle.
•Block the wheel diagonally opposite the wheel to
be raised.
•Set the parking brake firmly and set an automatic
transmission in PARK; a manual transmission in
REVERSE.
•Never start or run the engine with the vehicle on a
jack.
•Do not let anyone sit in the vehicle when it is on a
jack.
•Do not get under the vehicle when it is on a jack.
•Only use the jack in the positions indicated and
for lifting this vehicle during a tire change.(Continued)
WHAT TO DO IN EMERGENCIES 317
6
Page 334 of 429
NOTE:The transfer case must be in the neutral position,
and the transmission must be in PARK (automatic trans-
mission), or in gear (manual transmission) to tow a
4-Wheel Drive vehicle with one end of the vehicle raised.
The manufacturer recommends towing with all wheels
OFF the ground. Acceptable methods are to tow the
vehicle on a flatbed or with one end of vehicle raised and
the opposite end on a towing dolly.
2–Wheel Drive Vehicles
Provided that the transmission is operable, tow with the
transmission in NEUTRAL and the ignition key in the
OFF position along with the front wheels raised and the
rear wheels on the ground. Speed must not exceed
30 mph (50 km/h) and distance must not exceed 15 miles
(25 km).
CAUTION!
Towing faster than 30 mph (50 km/h) or for more than
15 miles (25 km) can cause severe damage to the
transmission.
If the vehicle is to be towed faster than 30 mph (50 km/h)
or more than 15 miles (25 km) the vehicle must be towed
with the rear wheels raised and the front wheels on the
ground. It may also be towed on a flatbed or with the
front wheels raised and the rear wheels on a dolly.
332 WHAT TO DO IN EMERGENCIES
Page 358 of 429
Lubricant Selection
Refer to “Fluids, Lubricants, and Genuine Parts” in this
section for the correct fluid type.
NOTE:The presence of water in the gear lubricant will
result in corrosion and possible failure of differential
components. Operation of the vehicle in water, as may be
encountered in some off-highway types of service, will
require draining and refilling the axle to avoid damage.
Limited-Slip Differentials DO NOT REQUIRE any
limited slip oil additive (friction modifiers).
NOTE: Slight noise and mild shuddering may be evi-
dent while turning a vehicle with limited slip differential
on concrete or dry pavement. These conditions should be
considered normal operation of the limited slip
differential.
Transfer Case — If Equipped
Drain And Refill
Refer to the “Maintenance Schedule” in Section 8 of this
manual for the proper maintenance intervals.
Lubricant Selection
Refer to “Fluids, Lubricants, and Genuine Parts” in this
section for the correct fluid type.
Fluid Level Check
This fluid level can be checked by removing the filler
plug. The fluid level should be to the bottom edge of the
filler plug hole with the vehicle in a level position.
Automatic Transmission
Selection Of Lubricant
It is important that the proper lubricant is used in the
transmission to assure optimum transmission perfor-
mance. Use only manufacturer ’s recommended transmis-
sion fluid. Refer to “Fluids, Lubricants, and Genuine
356 MAINTAINING YOUR VEHICLE
Page 360 of 429
6. Remove the dipstick again and note the fluid level on
both sides. The fluid level should be between the HOT
(upper) reference holes on the dipstick at normal operat-
ing temperature. Verify that a solid coating of oil is seen
on both sides of the dipstick. If the fluid is low, add as
required into the dipstick tube.Do not overfill.After
adding any quantity of oil through the dipstick tube, wait
a minimum of two minutes for the oil to fully drain into
the transmission before rechecking the fluid level.
NOTE: If it is necessary to check the transmission below
the operating temperature, the fluid level should be
between the two cold (lower) holes on the dipstick with
the fluid at approximately 70°F (21°C) (room tempera-
ture). If the fluid level is correctly established at room
temperature, it should be between the HOT (upper)
reference holes when the transmission reaches 180°F
(21°C). Remember it is best to check the level at the
normal operating temperature.CAUTION!
Be aware that if the fluid temperature is below 50°F
(10°C), it may not register on the dipstick. Do not add
fluid until the temperature is elevated enough to
produce an accurate reading.
7. Check for leaks. Release the parking brake.
NOTE: To prevent dirt and water from entering the
transmission after checking or replenishing fluid, make
certain that the dipstick cap is properly reseated. It is
normal for the dipstick cap to spring back slightly from
its fully seated positions, as long as its seal remains
engaged in the dipstick tube.
Automatic Transmission Fluid and Filter Change
Refer to the “Maintenance Schedule” in Section 8 of this
manual for the proper maintenance intervals.
358 MAINTAINING YOUR VEHICLE
Page 416 of 429

Fabric Care............................ 361
Filters Air Cleaner .......................... 340
Engine Fuel .......................... 378
Engine Oil ..................... 338,340,378
Flashers Turn Signal .......................... 127
Flat Tire Stowage ........................ 326
Flooded Engine Starting ................... 222
Fluid, Brake ........................... 379
Fluid Capacities ......................... 377
Fluid Level Checks Brake .............................. 353
Manual Transmission ................... 356
Power Steering ........................ 253
Transfer Case ......................... 356
Fluids, Lubricants and Genuine Parts .......... 378
Fog Lights ....................... 126,167,374
Fold Flat Load Floor ..................... 154 Four Wheel Drive
....................... 230
Four-Way Hazard Flasher .................. 314
Freeing A Stuck Vehicle ................... 330
Front Axle (Differential) ................... 355
Fuel ................................. 281
Adding ............................. 285
Diesel .............................. 378
Filler Cap (Gas Cap) .................... 286
Filter ............................... 378
Gauge .............................. 171
Light ............................... 172
Octane Rating ........................ 281
Requirements ......................... 281
Tank Capacity ........................ 377
Fuses ................................ 364
Gas Cap (Fuel Filler Cap) ...............286,336
Gasoline (Fuel) ......................... 281
Gasoline, Reformulated ................... 281
414 INDEX
Page 420 of 429
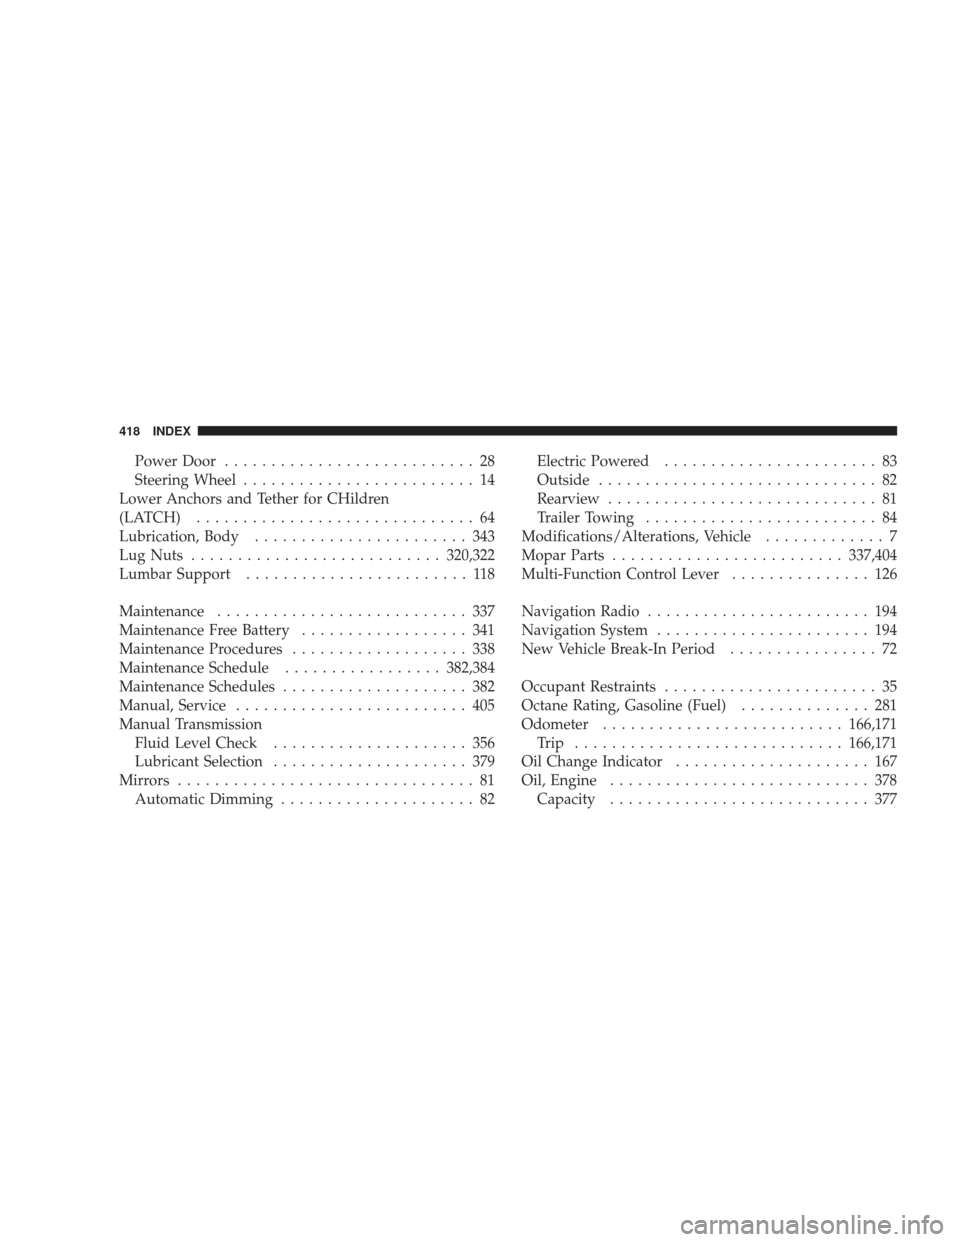
Power Door........................... 28
Steering Wheel ......................... 14
Lower Anchors and Tether for CHildren
(LATCH) .............................. 64
Lubrication, Body ....................... 343
Lug Nuts ........................... 320,322
Lumbar Support ........................ 118
Maintenance ........................... 337
Maintenance Free Battery .................. 341
Maintenance Procedures ................... 338
Maintenance Schedule .................382,384
Maintenance Schedules .................... 382
Manual, Service ......................... 405
Manual Transmission Fluid Level Check ..................... 356
Lubricant Selection ..................... 379
Mirrors ................................ 81
Automatic Dimming ..................... 82 Electric Powered
....................... 83
Outside .............................. 82
Rearview ............................. 81
Trailer Towing ......................... 84
Modifications/Alterations, Vehicle ............. 7
Mopar Parts ......................... 337,404
Multi-Function Control Lever ............... 126
Navigation Radio ........................ 194
Navigation System ....................... 194
New Vehicle Break-In Period ................ 72
Occupant Restraints ....................... 35
Octane Rating, Gasoline (Fuel) .............. 281
Odometer .......................... 166,171
Trip ............................. 166,171
Oil Change Indicator ..................... 167
Oil, Engine ............................ 378
Capacity ............................ 377
418 INDEX