Page 355 of 429

If an examination of your engine compartment shows no
evidence of radiator or hose leaks, the vehicle may be
safely driven. The vapor will soon dissipate.
•Do not overfill the coolant recovery bottle.
•Check engine coolant (antifreeze) freeze point in the
radiator and in the coolant recovery bottle. If engine
coolant (antifreeze) needs to be added, contents of
coolant recovery bottle must also be protected against
freezing.
•If frequent engine coolant (antifreeze) additions are
required, or if the level in the coolant recovery bottle
does not drop when the engine cools, the cooling
system should be pressure tested for leaks.
•Maintain engine coolant (antifreeze) concentration at
50% HOAT engine coolant (antifreeze) (minimum)
and distilled water for proper corrosion protection of
your engine, which contains aluminum components.
•Make sure that the radiator and coolant recovery
bottle overflow hoses are not kinked or obstructed.
•Keep the front of the radiator clean. If your vehicle is
equipped with air conditioning, keep the front of the
condenser clean.
•Do not change the thermostat for Summer or Winter
operation. If replacement is ever necessary, install
ONLY the correct type thermostat. Other designs may
result in unsatisfactory cooling performance, poor gas
mileage, and increased emissions.
Brake System
Brake Master Cylinder – Brake Fluid Level Check
The fluid level of the master cylinder should be checked
when performing under the hood service, or immedi-
ately if the brake system warning lamp indicates system
failure.
MAINTAINING YOUR VEHICLE 353
7
Page 356 of 429

The brake master cylinder has a translucent plastic
reservoir. On the outboard side of the reservoir, there is a
“MAX” mark and an “MIN” mark (4500/5500 vehicles
only). The fluid level must be kept within these two
marks. Do not add fluid above the full mark because
leakage may occur at the cap.
With disc brakes, the fluid level can be expected to fall as
the brake linings wear. However, an unexpected drop in
fluid level may be caused by a leak and a system check
should be conducted.
Refer to “Fluids, Lubricants, and Genuine Parts” in this
section for the correct fluid type.WARNING!
•Use of a brake fluid that may have a lower initial
boiling point, or unidentified as to specification,
may result in sudden brake failure during hard
prolonged braking. You could have an accident.
•Overfilling the brake fluid reservoir can result in
spilling brake fluid on hot engine parts and the
brake fluid catching fire.
Use only brake fluid that has been in a tightly closed or
sealed container to avoid contamination from foreign
matter or moisture.
CAUTION!
Do not allow a petroleum-based fluid to contaminate
the brake fluid. Seal damage and loss of brake
performance may result.
354 MAINTAINING YOUR VEHICLE
Page 359 of 429

Parts” in this section for the correct fluid type. It is
important that the transmission fluid be maintained at
the prescribed level using the recommended fluid.
CAUTION!
Using a transmission fluid other than the manufac-
turer’s recommended fluid may cause deterioration
in transmission shift quality and/or torque converter
shudder. Using a transmission fluid other than the
manufacturer’s recommended fluid will result in
more frequent fluid and filter changes. Refer to
“Fluids, Lubricants, and Genuine Parts” in this sec-
tion for the correct fluid type.
Fluid Level Check – 545RFE Transmission
Check the fluid level while the transmission is at normal
operating temperature 180°F (82°C). This occurs after at
least 15 miles (25 km) of driving. At normal operatingtemperature, the fluid on the end of the dipstick cannot
be held comfortably between the fingertips.
Procedure For Checking Fluid Level
To properly check the automatic transmission fluid level,
the following procedure must be used:
1. Operate the engine at idle speed and normal operating
temperature.
2. The vehicle must be on level ground.
3. Fully apply parking brake.
4. Place the shift lever momentarily in each gear position
ending with the lever in PARK.
5. Remove the dipstick, wipe it clean and reinsert it until
seated.
MAINTAINING YOUR VEHICLE 357
7
Page 360 of 429

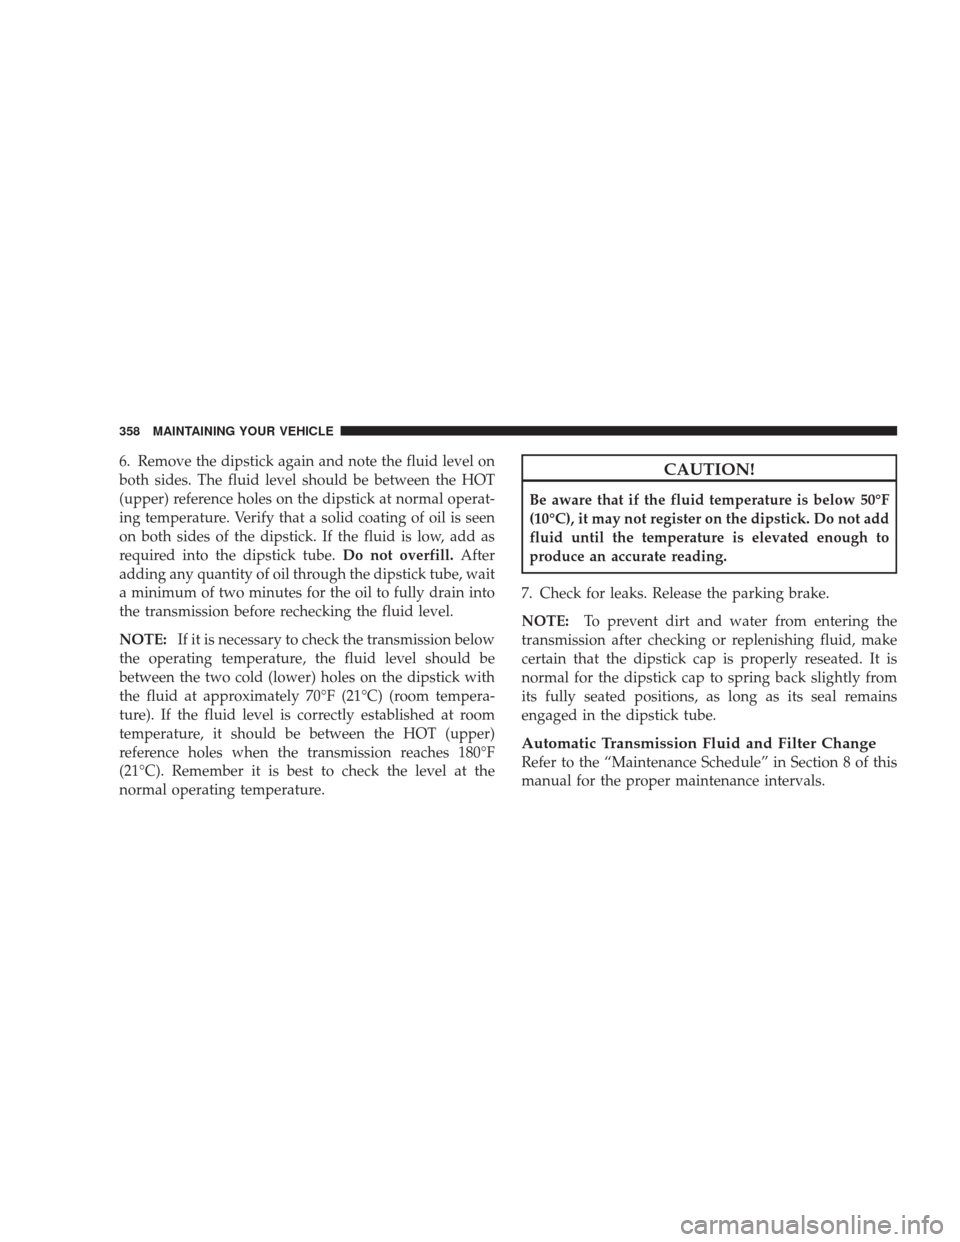
6. Remove the dipstick again and note the fluid level on
both sides. The fluid level should be between the HOT
(upper) reference holes on the dipstick at normal operat-
ing temperature. Verify that a solid coating of oil is seen
on both sides of the dipstick. If the fluid is low, add as
required into the dipstick tube.Do not overfill.After
adding any quantity of oil through the dipstick tube, wait
a minimum of two minutes for the oil to fully drain into
the transmission before rechecking the fluid level.
NOTE: If it is necessary to check the transmission below
the operating temperature, the fluid level should be
between the two cold (lower) holes on the dipstick with
the fluid at approximately 70°F (21°C) (room tempera-
ture). If the fluid level is correctly established at room
temperature, it should be between the HOT (upper)
reference holes when the transmission reaches 180°F
(21°C). Remember it is best to check the level at the
normal operating temperature.CAUTION!
Be aware that if the fluid temperature is below 50°F
(10°C), it may not register on the dipstick. Do not add
fluid until the temperature is elevated enough to
produce an accurate reading.
7. Check for leaks. Release the parking brake.
NOTE: To prevent dirt and water from entering the
transmission after checking or replenishing fluid, make
certain that the dipstick cap is properly reseated. It is
normal for the dipstick cap to spring back slightly from
its fully seated positions, as long as its seal remains
engaged in the dipstick tube.
Automatic Transmission Fluid and Filter Change
Refer to the “Maintenance Schedule” in Section 8 of this
manual for the proper maintenance intervals.
358 MAINTAINING YOUR VEHICLE
Page 363 of 429

•If you detect any stone chips or scratches in the paint,
touch them up immediately. The cost of such repairs is
considered the responsibility of the owner.
•If your vehicle is damaged due to an accident or
similar cause which destroys the paint and protective
coating, have your vehicle repaired as soon as pos-
sible. The cost of such repairs is considered the respon-
sibility of the owner.
•If you carry special cargo such as chemicals, fertilizers,
de-icer salt, etc., be sure that such materials are well
packaged and sealed.
•If a lot of driving is done on gravel roads, consider
mud or stone shields behind each wheel.
•Use MOPAR�Touch Up Paint on scratches as soon as
possible. Your authorized dealer has touch up paint to
match the color of your vehicle.
Wheel and Wheel Trim Care
All wheels and wheel trim, especially aluminum and
chrome plated wheels should be cleaned regularly with a
mild soap and water to prevent corrosion. To remove
heavy soil and/or excessive brake dust, use MOPAR �
Wheel Cleaner (05066247AB) or equivalent or, select a
nonabrasive, non-acidic cleaner. Do not use scouring
pads, steel wool, a bristle brush, or metal polishes. Only
MOPAR� or equivalent is recommended. Do not use
oven cleaner. Avoid automatic car washes that use acidic
solutions or harsh brushes that may damage the wheels’
protective finish.
YES Essentials� Fabric Cleaning Procedure – If
equipped
YES Essentials� seats may be cleaned in the following
manner:
•Remove as much of the stain as possible by blotting
with a clean, dry towel.
MAINTAINING YOUR VEHICLE 361
7
Page 368 of 429
Cavity CartridgeFuseMini
Fuse Description
12 30 Amp Pink Electric Brake
13 25 Amp NaturalPower-Battery
RWAL/ABS Module
Feed
14 15 Amp BluePark Lights Left
15 20 Amp YellowTrailer Park Lights
16 15 Amp BluePark Lights Right
17 — —
18 40 Amp Green ABS Pump
19 30 Amp Pink Trailer Tow Battery
FeedCavity Cartridge
FuseMini
Fuse Description
20 10 Amp
RedOccupant Restraints
Controller (ORC) 2
21 10 Amp
RedOccupant Restraints/
Pass Disable Switch
22 2 Amp
GrayIGN Switch Feed
23 10 Amp
RedHVAC
24 20 Amp Blue AISIN Relay Feed
(Diesel Only)
25 10 Amp
RedPower Mirror/T-Case
Brake
26 20 Amp
YellowBrake Switch/Center
High Mount Stop
Light (CHMSL)/
Aftermarket CHMSL
366 MAINTAINING YOUR VEHICLE
Page 381 of 429
Chassis
ComponentFluid, Lubricant, or Genuine Part
Automatic Transmission (5-Speed
545RFE) MOPAR�
ATF+4 Automatic Transmission Fluid
Transfer Case MOPAR�ATF+4 Automatic Transmission Fluid
Front and Rear Axle Fluid (4500/
5500) GL-5 SAE 75W-90 Synthetic (MS-9763) or equivalent.
Brake Master Cylinder MOPAR�DOT 3 and SAE J1703 should be used or equivalent. If DOT 3
brake fluid is not available, then DOT 4 is acceptable. Use only recom-
mended brake fluids.
Power Steering Reservoir MOPAR�ATF+4 Automatic Transmission Fluid
MAINTAINING YOUR VEHICLE 379
7
Page 385 of 429

•Change your engine oil more often if you drive your
vehicle off-road for an extended period of time.
•Under no circumstances should oil change intervals
exceed 6,000 miles (10,000 km) or 6 months, whichever
comes first.
Your dealer will reset the oil change indicator message
after completing the scheduled oil change. If this sched-
uled oil change is performed by someone other than your
dealer the message can be reset by referring to the steps
described under “Odometer/Trip Odometer” under “In-
strument Cluster Description” in Section 4 of this.
At Each Stop for Fuel
•Check the engine oil level about 5 minutes after a fully
warmed engine is shut off. Checking the oil level while
the vehicle is on level ground will improve the accu-
racy of the oil level reading. Add oil only when the
level is at or below the ADD or MIN mark.
•Check the windshield washer solvent and add if
required.
Once a Month
•Check tire pressure and look for unusual wear or
damage.
•Inspect the battery and clean and tighten the terminals
as required.
•Check the fluid levels of coolant reservoir, brake
master cylinder, power steering and transmission and
add as needed.
•Check all lights and other electrical items for correct
operation.
MAINTENANCE SCHEDULES 383
8
M A I
N T
E
N A
N CE
S
C
H E
D
U L
E
S