Page 76 of 532

SAFETY TIPS
Transporting PassengersNEVER TRANSPORT PASSENGERS IN THE CARGO
AREA.
WARNING!
•
It is extremely dangerous to ride in a cargo area,
inside or outside of a vehicle. In a collision, people
riding in these areas are more likely to be seri-
ously injured or killed.
•
Do not allow people to ride in any area of your
vehicle that is not equipped with seats and seat
belts.
•
Be sure everyone in your vehicle is in a seat and
using a seat belt properly.
Exhaust Gas
WARNING!
Exhaust gases can injure or kill. They contain carbon
monoxide (CO), which is colorless and odorless.
Breathing it can make you unconscious and can
eventually poison you. To avoid breathing (CO)
follow these safety tips:
Do not run the engine in a closed garage or in confined
areas any longer than needed to move your vehicle in or
out of the area.
If it is necessary to sit in a parked vehicle with the engine
running, adjust your heating or cooling controls to force
outside air into the vehicle. Set the blower at high speed.
74 THINGS TO KNOW BEFORE STARTING YOUR VEHICLE
Page 132 of 532
Press the switch once to select High-level heat-
ing. Press the switch a second time to select
Low-level heating. Press the switch a third time
to shut the heating elements Off.
WARNING!
•
Persons who are unable to feel pain to the skin
because of advanced age, chronic illness, diabetes,
spinal cord injury, medication, alcohol use, ex-
haustion or other physical condition must exercise
care when using the seat heater. It may cause burns
even at low temperatures, especially if used for
long periods of time.
•
Do not place anything on the seat that insulates
against heat, such as a blanket or cushion. This
may cause the seat heater to overheat.
TO OPEN AND CLOSE THE HOODTo open the hood, two latches must be released.
1. Pull the hood release lever located below the steering
wheel at the base of the instrument panel.
Hood Release Lever
130 UNDERSTANDING THE FEATURES OF YOUR VEHICLE
Page 159 of 532

7. Return to the vehicle and press the programmed
HomeLink�button twice (holding the button for two
seconds each time). If the device is plugged in and
activates, programming is complete.
If the device does not activate, press the button a third
time (for two seconds) to complete the training.
If you are have any problems, or require assistance,
please call toll-free 1–800–355–3515 or, on the Internet at
www.HomeLink.com for information or assistance.
To program the remaining two HomeLink� buttons,
repeat each step for each remaining button. DO NOT
erase the channels.Gate Operator/Canadian ProgrammingCanadian radio-frequency laws require transmitter sig-
nals to “time-out” (or quit) after several seconds of
transmission – which may not be long enough for
HomeLink� to pick up the signal during programming. Similar to this Canadian law, some U.S. gate operators are
designed to “time-out” in the same manner.
It may be helpful to unplug the device during the cycling
process to prevent possible overheating of the garage
door or gate motor.
If you are having difficulties programming a garage door
opener or a gate operator, replace “Programming
HomeLink,” Step 3, with the following:
3. Continue to press and hold the HomeLink�
button,
while you press and release )“cycle”), your hand-held
transmitter every two seconds until HomeLink� has
successfully accepted the frequency signal. The indica-
tor(s) will change from a slow flash to a rapid flash
when trained.
If you unplugged the device for training, plug it back in
at this time.
Then proceed with Step 4 under, “Programming
HomeLink�,” earlier in this section.
UNDERSTANDING THE FEATURES OF YOUR VEHICLE 157
3
Page 166 of 532

CAUTION!
•
Many accessories that can be plugged in draw
power from the vehicle’s battery, even when not in
use (i.e., cellular phones, etc.). Eventually, if
plugged in long enough, the vehicle’s battery will
discharge sufficiently to degrade battery life
and/or prevent the engine from starting.
•
Accessories that draw higher power (i.e., coolers,
vacuum cleaners, lights, etc.), will discharge the
battery even more quickly. Only use these inter-
mittently and with greater caution.
•
After the use of high power draw accessories, or
long periods of the vehicle not being started (with
accessories still plugged in), the vehicle must be
driven a sufficient length of time to allow the
generator to recharge the vehicle’s battery.
CIGAR LIGHTER AND ASH RECEIVERThe removable ash receiver is located in the instrument
panel cupholder tray.
The cigar lighter is located on the instrument panel,
above and to the left of the ash receiver.
As a child safety precaution, the lighter only operates
with the ignition switch ON. It heats when pushed in and
pops out automatically when ready for use.To preserve
the heating element, do not hold the lighter in the
heating position.
164 UNDERSTANDING THE FEATURES OF YOUR VEHICLE
Page 175 of 532
CAUTION!
Failure to follow these cautions can cause damage to
the heating elements:•
Use care when washing the inside of the rear
window. Do not use abrasive window cleaners on
the interior surface of the window. Use a soft cloth
and a mild washing solution, wiping parallel to
the heating elements. Labels can be peeled off
after soaking with warm water.
•
Do not use scrapers, sharp instruments, or abra-
sive window cleaners on the interior surface of the
window.
•
Keep all objects a safe distance from the window.
Power Sliding Rear Window — If EquippedThe power sliding rear window switch is located on the
instrument panel below the climate controls. Press the
right side of the switch to open the glass and the left side
of the switch to close the glass.
Power Sliding Rear Window Switch
UNDERSTANDING THE FEATURES OF YOUR VEHICLE 173
3
Page 185 of 532
▫Using The PTY (Program Type) Button —
If Equipped ........................ 229
▫ PTY Button Scan ................... 230
▫ PTY Button Seek ................... 230
▫ Satellite Antenna ................... 230
▫ Reception Quality ................... 230
� Video Entertainment System (VES)™ —
If Equipped .......................... 231
� Remote Sound System Controls —
If Equipped .......................... 231
▫ Radio Operation .................... 232
▫ CD Player ........................ 232 �
CD/DVD Maintenance ................ 232
� Radio Operation And Cellular Phones ...... 233
� Climate Controls ..................... 234
▫ Heater Only — If Equipped ............ 234
▫ Air Conditioning And Heating —
If Equipped ........................ 237
▫ Air Conditioning With Dual Zone
Temperature Control — If Equipped ....... 240
▫ Operating Tips ..................... 244
▫ Operating Tips Chart ................ 246
UNDERSTANDING YOUR INSTRUMENT PANEL 183
4
Page 202 of 532

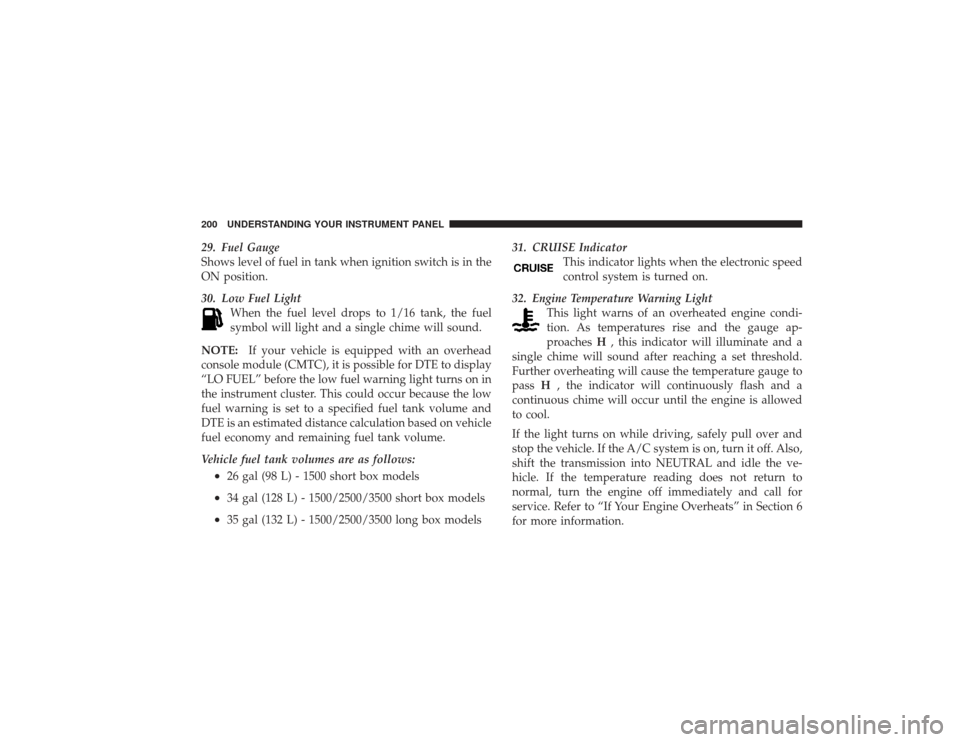
29. Fuel Gauge
Shows level of fuel in tank when ignition switch is in the
ON position.
30. Low Fuel LightWhen the fuel level drops to 1/16 tank, the fuel
symbol will light and a single chime will sound.
NOTE: If your vehicle is equipped with an overhead
console module (CMTC), it is possible for DTE to display
“LO FUEL” before the low fuel warning light turns on in
the instrument cluster. This could occur because the low
fuel warning is set to a specified fuel tank volume and
DTE is an estimated distance calculation based on vehicle
fuel economy and remaining fuel tank volume.
Vehicle fuel tank volumes are as follows:•
26 gal (98 L) - 1500 short box models
•
34 gal (128 L) - 1500/2500/3500 short box models
•
35 gal (132 L) - 1500/2500/3500 long box models 31. CRUISE Indicator
This indicator lights when the electronic speed
control system is turned on.
32. Engine Temperature Warning Light This light warns of an overheated engine condi-
tion. As temperatures rise and the gauge ap-
proaches H, this indicator will illuminate and a
single chime will sound after reaching a set threshold.
Further overheating will cause the temperature gauge to
pass H, the indicator will continuously flash and a
continuous chime will occur until the engine is allowed
to cool.
If the light turns on while driving, safely pull over and
stop the vehicle. If the A/C system is on, turn it off. Also,
shift the transmission into NEUTRAL and idle the ve-
hicle. If the temperature reading does not return to
normal, turn the engine off immediately and call for
service. Refer to “If Your Engine Overheats” in Section 6
for more information.
200 UNDERSTANDING YOUR INSTRUMENT PANEL
Page 236 of 532
CLIMATE CONTROLSThe controls for the heating and ventilation system in this
vehicle consist of a series of rotary knobs. These comfort
controls can be set to obtain desired interior conditions.
Heater Only — If Equipped
The mode control (at the right of the
control panel) can be set in any of the
following positions:
Climate Control Location
Manual Heating Controls
234 UNDERSTANDING YOUR INSTRUMENT PANEL