Page 355 of 459
WHAT TO DO IN EMERGENCIES
CONTENTS
�Hazard Warning Flasher................. 354
�If Your Engine Overheats................ 355
�Jacking And Tire Changing............... 356
▫Jack Location....................... 356
▫Spare Tire Stowage................... 356
▫Spare Tire Removal................... 357▫Preparations For Jacking................ 358
▫Jacking Instructions................... 358
�Jump-Starting........................ 362
�Towing A Disabled Vehicle............... 364
▫2-Wheel Drive Vehicles................ 364
▫4-Wheel Drive Vehicles................ 364
6
Page 359 of 459
Spare Tire Removal
Fit the jack handle extension over the drive nut. Use the
lug wrench to rotate the nut counterclockwise until the
spare is on the ground with enough slack in the cable to
allow you to pull the tire out from under the vehicle.CAUTION!
The winch mechanism is designed for use with the
jack extension tube only. Use of an air wrench or
other power tools is not recommended and they can
damage the winch.
When the spare is clear, tilt the retainer at the end of the
cable and pull it through the center of the wheel.
Lowering/Raising Spare Tire
WHAT TO DO IN EMERGENCIES 357
6
Page 361 of 459
WARNING! (Continued)
•Set the parking brake firmly and set an automatic
transmission in PARK; a manual transmission in
REVERSE.
•Never start or run the engine with the vehicle on a
jack.
•Do not let anyone sit in the vehicle when it is on a
jack.
•Do not get under the vehicle when it is on a jack.
•Only use the jack in the positions indicated and
for lifting this vehicle during a tire change.
•If working on or near a roadway, be extremely
careful of motor traffic.
•To assure that spare tires, flat or inflated are
securely stowed, spares must be stowed with the
valve stem facing the ground.
•Turn on the Hazard Warning Flasher.1. Remove spare tire.
2. Remove jack and tools from mounting bracket. As-
semble the tools by connecting the driver to the exten-
sion, and then to the lug wrench.
3. Loosen (but do not remove) the wheel lug nuts by
turning them to the left one turn while the wheel is still
on the ground.
Jack Warning Label
WHAT TO DO IN EMERGENCIES 359
6
Page 362 of 459
4. Locate the jack as shown. For the front tires, place it in
the notch on the body weld seam behind wheel to be
changed. For the rear tires, place it under the axle by the
wheel to be changed. Position the jack handle on the jack.
Do not raise the vehicle until you are sure the jack is
fully engaged.
5. Raise the vehicle by turning the jack screw to the right.
Raise the vehicle only until the tire just clears the surface
and enough clearance is obtained to install the spare tire.
Minimum tire lift provides maximum stability.
Front Jacking Location
Rear Jacking Location
360 WHAT TO DO IN EMERGENCIES
Page 363 of 459

WARNING!
Raising the vehicle higher than necessary can make
the vehicle less stable and cause an accident. It could
slip off the jack and hurt someone near it. Raise the
vehicle only enough to remove the tire.
6. Remove the lug nuts and wheel.
7. Position the spare wheel/tire on the vehicle and install
the lug nuts with the cone-shaped end toward the wheel.
Lightly tighten the nuts. To avoid the risk of forcing the
vehicle off the jack, do not tighten the nuts fully until the
vehicle has been lowered.
8. Lower the vehicle by turning the jack screw to the left,
and remove the jack and wheel blocks.9. Finish tightening the lug nuts. Push down on the
wrench while tightening for increased leverage. Alternate
nuts until each nut has been tightened twice. Correct
wheel nut tightness is 95 ft lbs (130 N·m). If in doubt
about the correct tightness, have them checked with a
torque wrench by your authorized dealer or at a service
station.
10. Lower the jack to its fully closed position.
WARNING!
A loose tire or jack thrown forward in a collision or
hard stop could endanger the occupants of the ve-
hicle. Always stow the jack parts and the spare tire in
the places provided.
11. Secure the tire, jack, and tools in their proper
locations.
WHAT TO DO IN EMERGENCIES 361
6
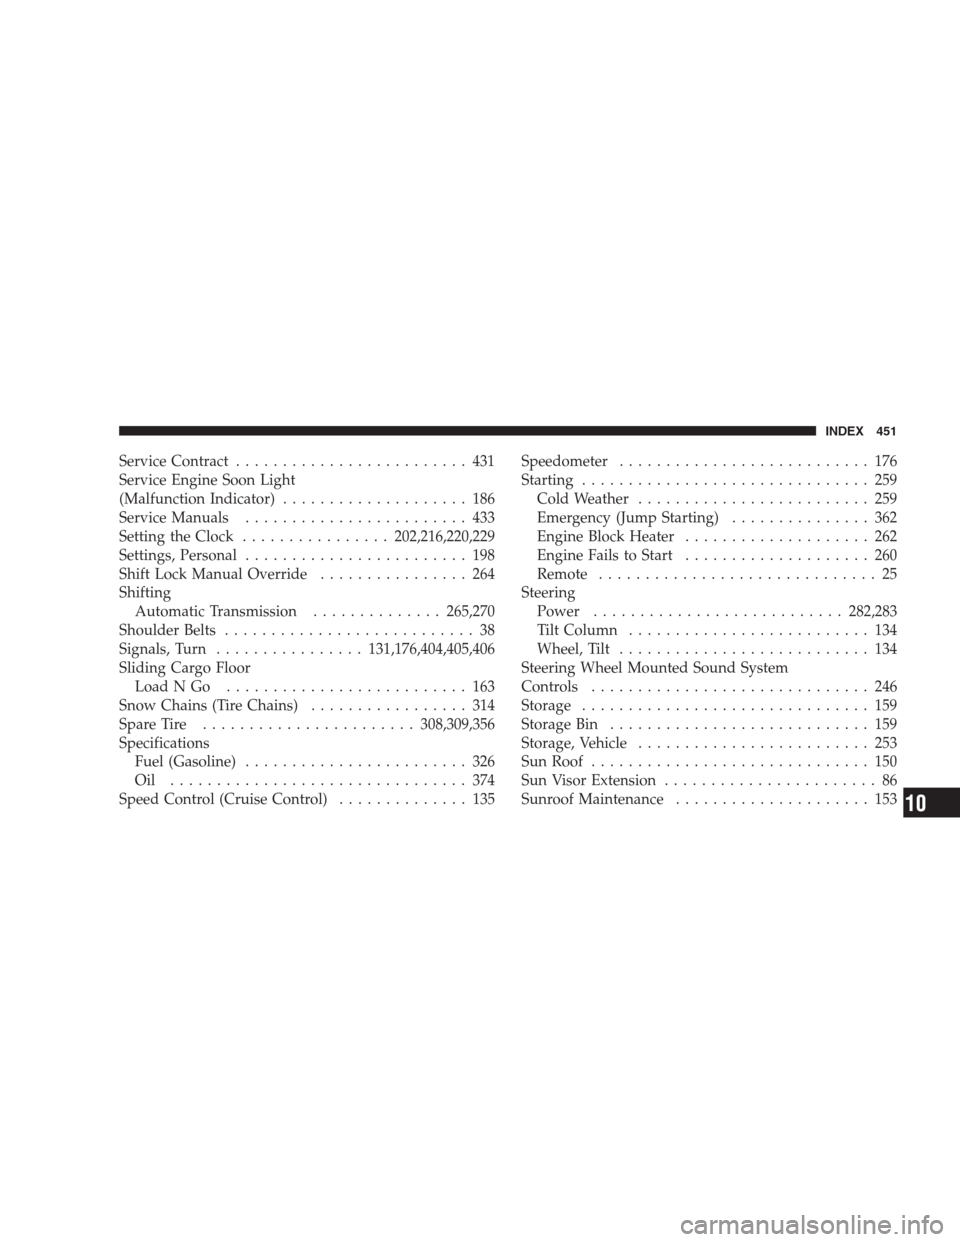
Page 453 of 459

Service Contract......................... 431
Service Engine Soon Light
(Malfunction Indicator).................... 186
Service Manuals........................ 433
Setting the Clock................202,216,220,229
Settings, Personal........................ 198
Shift Lock Manual Override................ 264
Shifting
Automatic Transmission..............265,270
Shoulder Belts........................... 38
Signals, Turn................131,176,404,405,406
Sliding Cargo Floor
LoadNGo .......................... 163
Snow Chains (Tire Chains)................. 314
Spare Tire.......................308,309,356
Specifications
Fuel (Gasoline)........................ 326
Oil ................................ 374
Speed Control (Cruise Control).............. 135Speedometer........................... 176
Starting............................... 259
Cold Weather......................... 259
Emergency (Jump Starting)............... 362
Engine Block Heater.................... 262
Engine Fails to Start.................... 260
Remote.............................. 25
Steering
Power...........................282,283
Tilt Column.......................... 134
Wheel, Tilt........................... 134
Steering Wheel Mounted Sound System
Controls.............................. 246
Storage............................... 159
Storage Bin............................ 159
Storage, Vehicle......................... 253
Sun Roof.............................. 150
Sun Visor Extension....................... 86
Sunroof Maintenance..................... 153
INDEX 451
10