Page 279 of 484
Gear Ranges
PARK
PARK supplements the parking brake by locking the
transmission. The engine can be started in this range.
Never use PARK while the vehicle is in motion. Apply
the parking brake when leaving the vehicle in this range.When parking on a flat surface, place the shift lever in the
PARK position first, and then apply the parking brake.
When parking on a hill, it is important to set the parking
brake before placing the shift lever in PARK, otherwise
the load on the transmission locking mechanism may
make it difficult to move the shift lever out of park. As an
added precaution, turn the front wheels toward the curb
on a downhill grade and away from the curb on an uphill
grade.
WARNING!
Never use PARK position on an automatic transmis-
sion as a substitute for the parking brake. Always
apply the parking brake fully when parked to guard
against vehicle movement and possible injury or
damage.Shift Lever
STARTING AND OPERATING 277
5
Page 284 of 484
5-Speed Automatic Transmission
Shifting from DRIVE to PARK or REVERSE should be
done only after the accelerator pedal is released and the
vehicle is stopped. Be sure to keep your foot on the brake
pedal when moving the shift lever between these gears.
Gear Ranges
PARK
PARK supplements the parking brake by locking the
transmission. The engine can be started in this range.
Never use PARK while the vehicle is in motion. Apply
the parking brake when leaving the vehicle in this range.
When parking on a flat surface, place the shift lever in the
PARK position first, and then apply the parking brake.
When parking on a hill, it is important to set the parking
brake before placing the shift lever in PARK, otherwise
the load on the transmission locking mechanism may
make it difficult to move the shift lever out of PARK. As
an added precaution, turn the front wheels toward the
curb on a downhill grade and away from the curb on an
uphill grade.
Shift Lever
282 STARTING AND OPERATING
Page 285 of 484
WARNING!
Never use PARK position on an automatic transmis-
sion as a substitute for the parking brake. Always
apply parking brake fully when parked to guard
against vehicle movement and possible injury or
damage.
The following indicators should be used to ensure that
you have engaged the shift lever in the PARK position:
•When shifting into PARK, move the shift lever all the
way forward and left until it stops and is fully seated.
•Look at the shift indicator display on the instrument
panel to ensure it is in the P position.
CAUTION!
Damage to the shifter could result if the shift lever is
moved out of PARK before the ignition is turned
from the LOCK to ON position.
REVERSE
Shift into REVERSE gear only when the vehicle is com-
pletely stopped.
NEUTRAL
In NEUTRAL, no power is transmitted from the engine to
the drive axle. When the brakes are released, the vehicle
can be moved freely (pushed or towed). Do not engage
NEUTRAL position while driving except to coast when
the vehicle is in danger of skidding (e.g., on icy roads).
The engine may be started in this range. Use this range
for starting your vehicle if it is moving or being towed.
STARTING AND OPERATING 283
5
Page 294 of 484
apparent, and/or the system is not functioning as antici-
pated. Coordinate inspection efforts through an autho-
rized dealer.
No chemical flushes should be used in any power
steering system; only the approved lubricant may be
used.
WARNING!
Fluid level should be checked on a level surface and
with the engine off to prevent injury from moving
parts and to ensure accurate fluid level reading. Do
not overfill. Use only manufacturer’s recommended
power steering fluid.
If necessary, add fluid to restore to the proper indicated
level. With a clean cloth, wipe any spilled fluid from all
surfaces. Refer to “Fluids, Lubricants, and Genuine
Parts” in Section 7 for the correct fluid type.
PARKING BRAKE
The parking brake should always be applied when the
driver is not in the vehicle.
WARNING!
Never use the PARK position as a substitute for the
parking brake. Always apply the parking brake fully
when parked to guard against vehicle movement and
possible injury or damage.
When parking on a flat surface, place the shift lever in the
PARK position first and then apply the parking brake.
When parking on a hill, it is important to apply the
parking brake before placing the shift lever in PARK,
otherwise the load on the transmission locking mecha-
nism may make it difficult to move the shift lever out of
292 STARTING AND OPERATING
Page 295 of 484
PARK. As an added precaution, turn the front wheels
toward the curb on a downhill grade and away from the
curb on an uphill grade.
The foot operated parking brake is positioned below the
lower left corner of the instrument panel. To apply the
parking brake, push the parking brake pedal down and
then remove your foot from the pedal. To release the
parking brake, push down on the parking brake pedal
and then release.The BRAKE light in the instrument cluster will turn on
when the parking brake is applied and the ignition
switch is ON.
NOTE:This light only shows that the parking brake is
applied. It does not show the degree of brake application.
Parking Brake
STARTING AND OPERATING 293
5
Page 296 of 484
WARNING!
•Never leave children alone in a vehicle. Leaving
unattended children in a vehicle is dangerous for a
number of reasons. A child or others could be
seriously or fatally injured. Do not leave the key in
the ignition. A child could operate power win-
dows, other controls, or move the vehicle.
•Be sure the parking brake is fully disengaged
before driving; failure to do so can lead to brake
failure and an accident.
ANTI-LOCK BRAKE SYSTEM
The Anti-Lock Brake System (ABS) provides increased
vehicle stability and brake performance under most
braking conditions. The system automatically “pumps”
the brakes during severe braking conditions to prevent
wheel lock-up.The Electronic Brake Force Distribution (EBD) prevents
the rear wheels from over-braking and provides greater
control of available braking forces applied to the rear
axle.
When the vehicle is driven over 7 mph (11 km/h), you
may also hear a slight clicking sound as well as some
related motor noises. These noises are the system per-
forming its self check cycle to ensure that the ABS is
working properly. This self check occurs each time the
vehicle is started and accelerated past 7 mph (11 km/h).
ABS is activated during braking under certain road or
stopping conditions. ABS-inducing conditions can in-
clude ice, snow, gravel, bumps, railroad tracks, loose
debris, or panic stops.
294 STARTING AND OPERATING
Page 351 of 484
WARNING! (Continued)
Make certain that the load is secured in the trailer
and it will not shift during travel. When trailering
cargo that is not fully secured, dynamic load shifts
can occur that may be difficult for the driver to
control. You could lose control of your vehicle and
have an accident.
•When hauling cargo or towing a trailer, do not over-
load your vehicle or trailer. Overloading can cause a
loss of control, poor performance, or damage to
brakes, axle, engine, transmission, steering, suspen-
sion, chassis structure, or tires.
•Safety chains must always be used between your
vehicle and trailer. Always connect the chains to the
frame or hook retainers of the vehicle hitch. Cross the
chains under the trailer tongue and allow enough
slack for turning corners.
•Vehicles with trailers should not be parked on a grade.
When parking, apply the parking brake on the tow
vehicle. Put the tow vehicle automatic transmission in
PARK. Always, block or�chock�the trailer wheels.
•GCWR must not be exceeded.
•Total weight must be distributed between the tow
vehicle and the trailer such that the following four
ratings are not exceeded:
1. Max loading as defined on the “Tire and Loading
Information” placard.
2. GTW
3. GAWR
4. Tongue weight rating for the trailer hitch utilized.
(This requirement may limit the ability to always
achieve the 10% to 15% range of tongue weight as a
percentage of total trailer weight.)
STARTING AND OPERATING 349
5
Page 362 of 484
Preparations For Jacking
6. Park the vehicle on a firm level surface as far from the
edge of the roadway as possible. Avoid icy or slippery
areas.
7. Set the parking brake.
8. Place the shift lever into PARK.
9. Turn OFF the ignition.
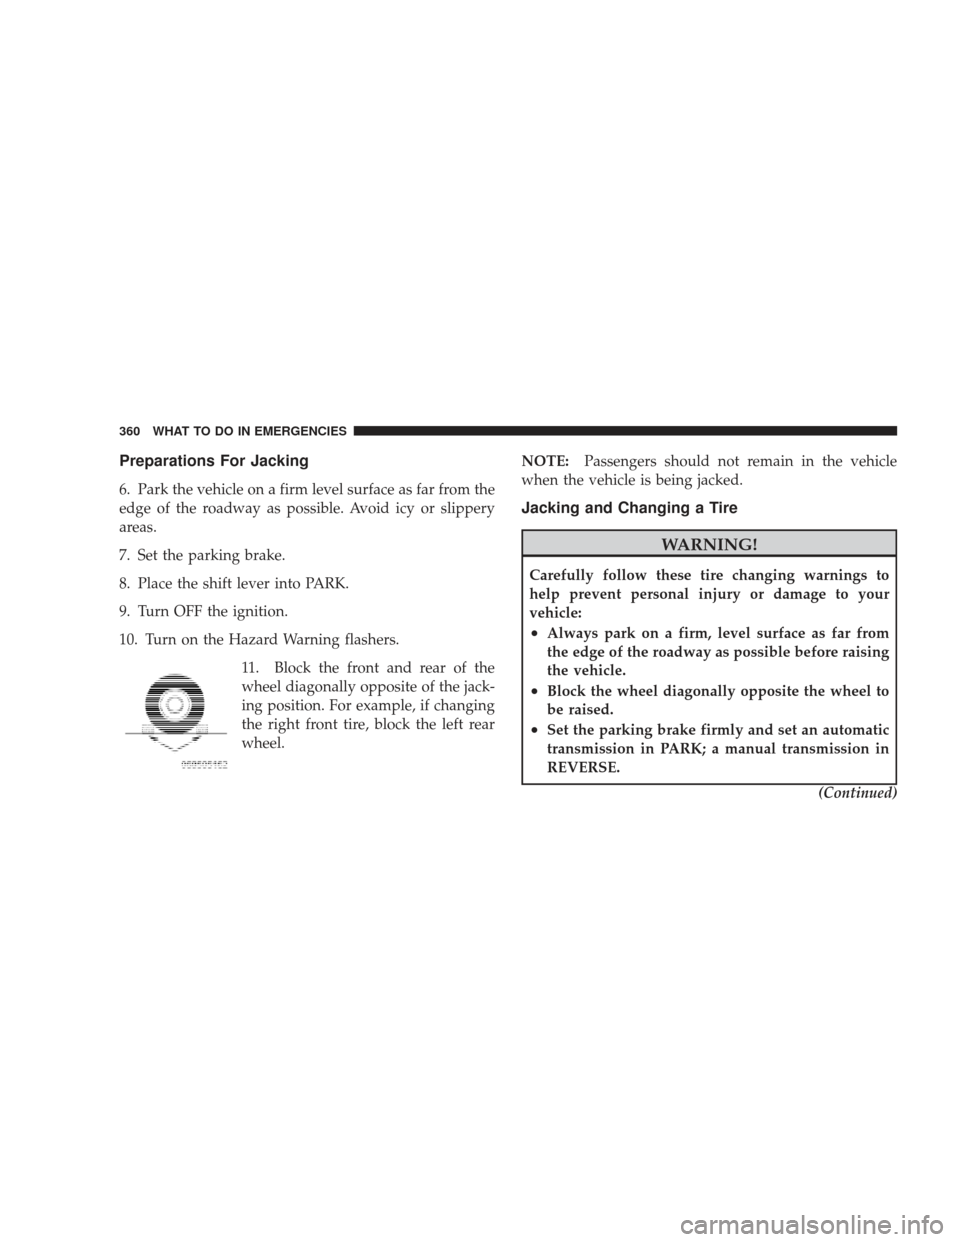
10. Turn on the Hazard Warning flashers.11. Block the front and rear of the
wheel diagonally opposite of the jack-
ing position. For example, if changing
the right front tire, block the left rear
wheel. NOTE:
Passengers should not remain in the vehicle
when the vehicle is being jacked.
Jacking and Changing a Tire
WARNING!
Carefully follow these tire changing warnings to
help prevent personal injury or damage to your
vehicle:
•Always park on a firm, level surface as far from
the edge of the roadway as possible before raising
the vehicle.
•Block the wheel diagonally opposite the wheel to
be raised.
•Set the parking brake firmly and set an automatic
transmission in PARK; a manual transmission in
REVERSE.
(Continued)
360 WHAT TO DO IN EMERGENCIES