Page 45 of 469

chime and flash the Seat Belt Reminder Light for 96 sec-
onds or until the driver’s seat belt is buckled. The
BeltAlert�will be reactivated if the driver’s seat belt is
unbuckled for more than 10 seconds and the vehicle
speed is greater than 5 mph (8 km/h).
BeltAlert�Programming
The BeltAlert�can be enabled or disabled by your
authorized dealer or by performing the following steps:
NOTE:Chrysler LLC does not recommend deactivating
the BeltAlert�.
1. With both doors closed, and the ignition switch in any
position except ON or START, buckle the driver’s seat
belt.
2. Turn the ignition switch to the ON position, but do not
start the engine. Wait for the Seat Belt Reminder Light to
turn off and then proceed to the next step.NOTE:You must perform the following steps within
60 seconds of turning the ignition switch to the ON
position.
3. Within 60 seconds of turning the ignition switch to the
ON position, unbuckle and then re-buckle the driver’s
seat belt at least three times, ending with the seat belt
buckled.
NOTE:Watch for the Seat Belt Reminder Light to turn
on while unbuckling the seat belt and turn off while
re-buckling the seat belt. It may be necessary to retract
the seat belt.
4. Turn the ignition switch to the LOCK position. A
single chime will sound to signify that you have success-
fully completed the programming.
The BeltAlert�can be reactivated by repeating this pro-
cedure.
2
THINGS TO KNOW BEFORE STARTING YOUR VEHICLE 43
Page 55 of 469

throat irritation, move to fresh air. If the irritation
continues, see your doctor. If these particles settle on
your clothing, follow the garment manufacturer’s in-
structions for cleaning.
•It is not advisable to drive your vehicle after the
airbags have been deployed. If you are involved in
another collision, the airbags will not be in place to
protect you.
WARNING!
Deployed airbags cannot protect you in another col-
lision. Have the airbags replaced by an authorized
dealer as soon as possible.
Enhanced Accident Response System
In the event of an impact that causes airbag deployment,
with the vehicle stopped, the vehicle communication
network intact, and the power intact, the Enhanced
Accident Response System performs the following func-
tions:
•Cuts off fuel to the engine.
•Flashes hazard lights.
•Turns on the interior lights, which remain on as long as
the battery has power or until the ignition key is
removed.
•Unlocks the doors automatically.
NOTE:The interior lights can only be deactivated if the
key is removed from the ignition switch or the vehicle is
driven.
2
THINGS TO KNOW BEFORE STARTING YOUR VEHICLE 53
Page 71 of 469

Defroster
Check operation by selecting the defrost mode and place
the blower control on high speed. You should be able to
feel the air directed against the windshield. See your
authorized dealer for service if your defroster is
inoperable.
Periodic Safety Checks You Should Make Outside
the Vehicle
Tires
Examine tires for excessive tread wear and uneven wear
patterns. Check for stones, nails, glass, or other objects
lodged in the tread. Inspect the tread and sidewall for
cuts and cracks. Check the wheel nuts for tightness.
Check the tires (including spare) for proper pressure.
Lights
Have someone observe the operation of exterior lights
while you work the controls. Check turn signal and high
beam indicator lights on the instrument panel.
Door Latches
Check for positive closing, latching, and locking.
Fluid Leaks
Check area under vehicle after overnight parking for fuel,
engine coolant, oil, or other fluid leaks. Also, if gasoline
fumes are detected or if fuel, power steering fluid, or
brake fluid leaks are suspected, the cause should be
located and corrected immediately.
2
THINGS TO KNOW BEFORE STARTING YOUR VEHICLE 69
Page 78 of 469

WARNING!
Vehicles and other objects seen in the passenger-side
convex mirror will look smaller and farther away
than they really are. Relying too much on your
passenger-side convex mirror could cause you to
collide with another vehicle or other object. Use your
inside mirror when judging the size or distance of a
vehicle seen in the passenger-side convex mirror.
Outside Mirrors Folding Feature
All models have exterior mirrors that are hinged. The
hinge allows the mirror to pivot forward and rearward to
resist damage. The hinge has three detent positions: full
forward, full rearward, and normal.
Power Mirrors
The power mirror switch is located on the driver’s door
trim panel next to the power door lock switch. A rotary
knob selects the left mirror, right mirror, or off position.After selecting a mirror, move the knob in the same
direction you want the mirror to move. Use the center off
position to guard against accidentally moving a mirror
position.
Power Mirror Control
76 UNDERSTANDING THE FEATURES OF YOUR VEHICLE
Page 125 of 469

High Beam/Low Beam Select Switch
Push the multifunction lever away from you to switch
the headlights to high beam. Pull the multifunction lever
toward you to switch the headlights back to low beam.
Flash-to-Pass
You can signal another vehicle with your headlights by
lightly pulling the multifunction lever toward you. This
will turn on the high beam headlights until the lever is
released.
Overhead Console Map/Reading Lights
These lights are mounted between the sun visors on the
overhead console. Each light is turned on by pressing the
lens. Press the lens a second time to turn off the light.
These lights also turn on when a door is opened, or when
the UNLOCK button on the Remote Keyless Entry (RKE)
transmitter is pressed, or when the dimmer control is
turned fully upward, past the second detent.
Interior Lights
The interior lights come on when a door is opened.
To protect the battery, the interior lights will turn off
automatically 10 minutes after the ignition switch is
moved to the LOCK position. This will occur if the
interior lights were switched on manually or are on
Overhead Console
3
UNDERSTANDING THE FEATURES OF YOUR VEHICLE 123
Page 134 of 469
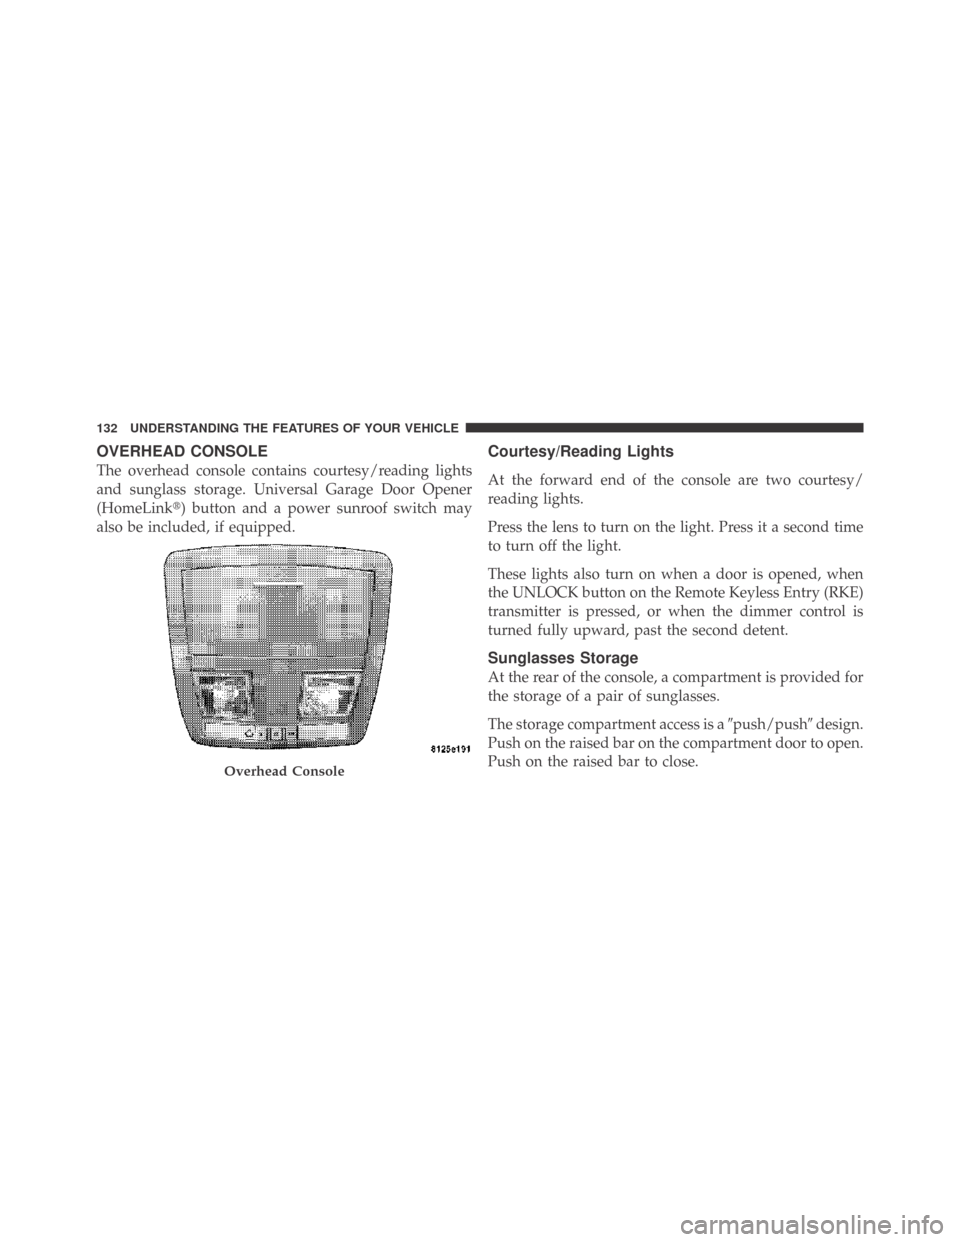
OVERHEAD CONSOLE
The overhead console contains courtesy/reading lights
and sunglass storage. Universal Garage Door Opener
(HomeLink�) button and a power sunroof switch may
also be included, if equipped.
Courtesy/Reading Lights
At the forward end of the console are two courtesy/
reading lights.
Press the lens to turn on the light. Press it a second time
to turn off the light.
These lights also turn on when a door is opened, when
the UNLOCK button on the Remote Keyless Entry (RKE)
transmitter is pressed, or when the dimmer control is
turned fully upward, past the second detent.
Sunglasses Storage
At the rear of the console, a compartment is provided for
the storage of a pair of sunglasses.
The storage compartment access is a�push/push�design.
Push on the raised bar on the compartment door to open.
Push on the raised bar to close.
Overhead Console
132 UNDERSTANDING THE FEATURES OF YOUR VEHICLE
Page 139 of 469
 after several seconds of
transmission – which may not be long enough for
Ho")
Gate Operator/Canadian Programming
Canadian radio-frequency laws require transmitter sig-
nals to “time-out” (or quit) after several seconds of
transmission – which may not be long enough for
HomeLink�to pick up the signal during programming.
Similar to this Canadian law, some U.S. gate operators are
designed to “time-out” in the same manner.
It may be helpful to unplug the device during the cycling
process to prevent possible overheating of the garage
door or gate motor.
If you are having difficulties programming a garage door
opener or a gate operator, replace “Programming
HomeLink” Step 3 with the following:
3. Continue to press and hold the HomeLink�button
while you press and release - every two seconds
(“cycle”) your hand-held transmitter until HomeLink�has successfully accepted the frequency signal. The
EVIC display will change from “CHANNEL # TRAIN-
ING” to “CHANNEL # TRAINED.”
If you unplugged the device for training, plug it back in
at this time.
Then proceed with Step 4 under “Programming
HomeLink�” earlier in this section.
Using HomeLink�
To operate, simply press and release the programmed
HomeLink�button. Activation will now occur for the
trained device (i.e., garage door opener, gate operator,
security system, entry door lock, home/office lighting,
etc.) The hand-held transmitter of the device may also be
used at any time.
3
UNDERSTANDING THE FEATURES OF YOUR VEHICLE 137
Page 144 of 469

NOTE:The sunshade cannot be closed if the sunroof is
open.
Wind Buffeting
Wind buffeting can be described as the perception of
pressure on the ears or a helicopter-type sound in the
ears. Your vehicle may exhibit wind buffeting with the
windows down, or the sunroof (if equipped) in certain
open or partially open positions. This is a normal occur-
rence and can be minimized. If the buffeting occurs with
the sunroof open, then adjust the sunroof opening to
minimize the buffeting or open any window.
Sunroof Maintenance
Use only a nonabrasive cleaner and a soft cloth to clean
the glass panel.
Ignition Off Operation
The power sunroof switch will remain active for up to
60 minutes after the ignition switch is turned OFF.
Opening either door will cancel this feature. The time forthis feature is programmable. Refer to “Delay Power Off
to Accessories Until Exit,” under “Personal Settings
(Customer-Programmable Features)” under “Electronic
Vehicle Information Center (EVIC)” in Section 4.
Sunroof Fully Closed
Press the switch forward and release to ensure that the
sunroof is fully closed.
ELECTRICAL POWER OUTLETS
There are two 12-Volt electrical power outlets on this
vehicle. Both of the outlets are protected by a fuse.
The front 12-Volt power outlet has power available only
when the ignition is ON. This power outlet will also
operate a conventional cigar lighter unit.
NOTE:If desired, the front power outlet can be con-
verted by your authorized dealer to provide power with
the ignition switch in the LOCK position.
142 UNDERSTANDING THE FEATURES OF YOUR VEHICLE