Page 110 of 469
Commands
The Voice Recognition (VR) system understands two
types of commands. Universal commands are available at
all times. Local commands are available if the supported
radio mode is active.
Changing the Volume
1. Start a dialogue by pressing the VR button.
2. Say a command (e.g., “Help”).
3. Use the ON/OFF VOLUME rotary knob to adjust the
volume to a comfortable level while the Voice Recogni-
tion (VR) system is speaking. Please note the volume
setting for VR is different than the audio system.
Main Menu
Start a dialogue by pressing the VR button. You may say
“Main Menu” to switch to the main menu.In this mode, you can say the following commands:
•“Radio” (to switch to the radio mode)
•“Disc” (to switch to the disc mode)
•“Memo” (to switch to the memo recorder)
•“System Setup” (to switch to system setup)
Radio AM (or Radio Long Wave or Radio Medium
Wave — If Equipped)
To switch to the AM band, say “AM” or “Radio AM”. In
this mode, you may say the following commands:
•“Frequency” (to change the frequency)
•“Next Station” (to select the next station)
•“Previous Station” (to select the previous station)
•“Radio Menu” (to switch to the radio menu)
•“Main Menu” (to switch to the main menu)
108 UNDERSTANDING THE FEATURES OF YOUR VEHICLE
Page 112 of 469
Memo
To switch to the voice recorder mode, say “Memo”. In
this mode, you may say the following commands:
•“New Memo” (to record a new memo) — During the
recording, you may press the VR button to stop
recording. You proceed by saying one of the following
commands:
�“Save” (to save the memo)
�“Continue” (to continue recording)
�“Delete” (to delete the recording)
•“Play Memos” (to play previously recorded memos)
— During the playback you may press the VR button
to stop playing memos. You proceed by saying one of
the following commands:
�“Repeat” (to repeat a memo)
�“Next” (to play the next memo)
�“Previous” (to play the previous memo)
�“Delete” (to delete a memo)
•“Delete All” (to delete all memos)
System Setup
To switch to system setup, say “Setup”. In this mode, you
may say the following commands:
•“Language German”
•“Language Dutch”
•“Language Italian”
•“Language English”
•“Language French”
•“Language Spanish”
•“Tutorial”
•“Voice Training”
110 UNDERSTANDING THE FEATURES OF YOUR VEHICLE
Page 122 of 469
Automatic Headlights — If Equipped
This system automatically turns the headlights on or off
according to ambient light levels. To turn the system on,
rotate the headlight switch counterclockwise to the
AUTO (A) position. When the system is on, the headlight
time delay feature is also on. This means the headlights
will stay on for up to 90 seconds after you turn the
ignition switch OFF. To turn the automatic system off,
move the headlight switch out of the AUTO (A) position.
NOTE:The engine must be running before the head-
lights will come on in the automatic mode.
Headlights On with Wipers (Available with Auto
Headlights Only)
When this feature is active, the headlights will turn on
approximately 10 seconds after the wipers are turned on
if the headlight switch is placed in the AUTO (A)position. In addition, the headlights will turn off when
the wipers are turned off if they were turned on by this
feature.
The Headlights On with Wipers feature can be enabled or
disabled. Refer to ”Headlights On with Wipers,” under
“Personal Settings (Customer-Programmable Features)”
under “Electronic Vehicle Information Center (EVIC)” in
Section 4.
Headlight Time Delay
This feature provides the safety of headlight illumination
for up to 90 seconds (programmable) when leaving your
vehicle in an unlit area.
To activate the delay feature, turn off the ignition switch
while the headlights are still on. Then, turn off the
headlights within 45 seconds. The delay interval begins
when the headlight switch is turned off.
120 UNDERSTANDING THE FEATURES OF YOUR VEHICLE
Page 126 of 469
because a door is open. This includes the glove box light,
but not the trunk light. To restore interior light operation,
either turn the ignition switch ON or cycle the light
switch.
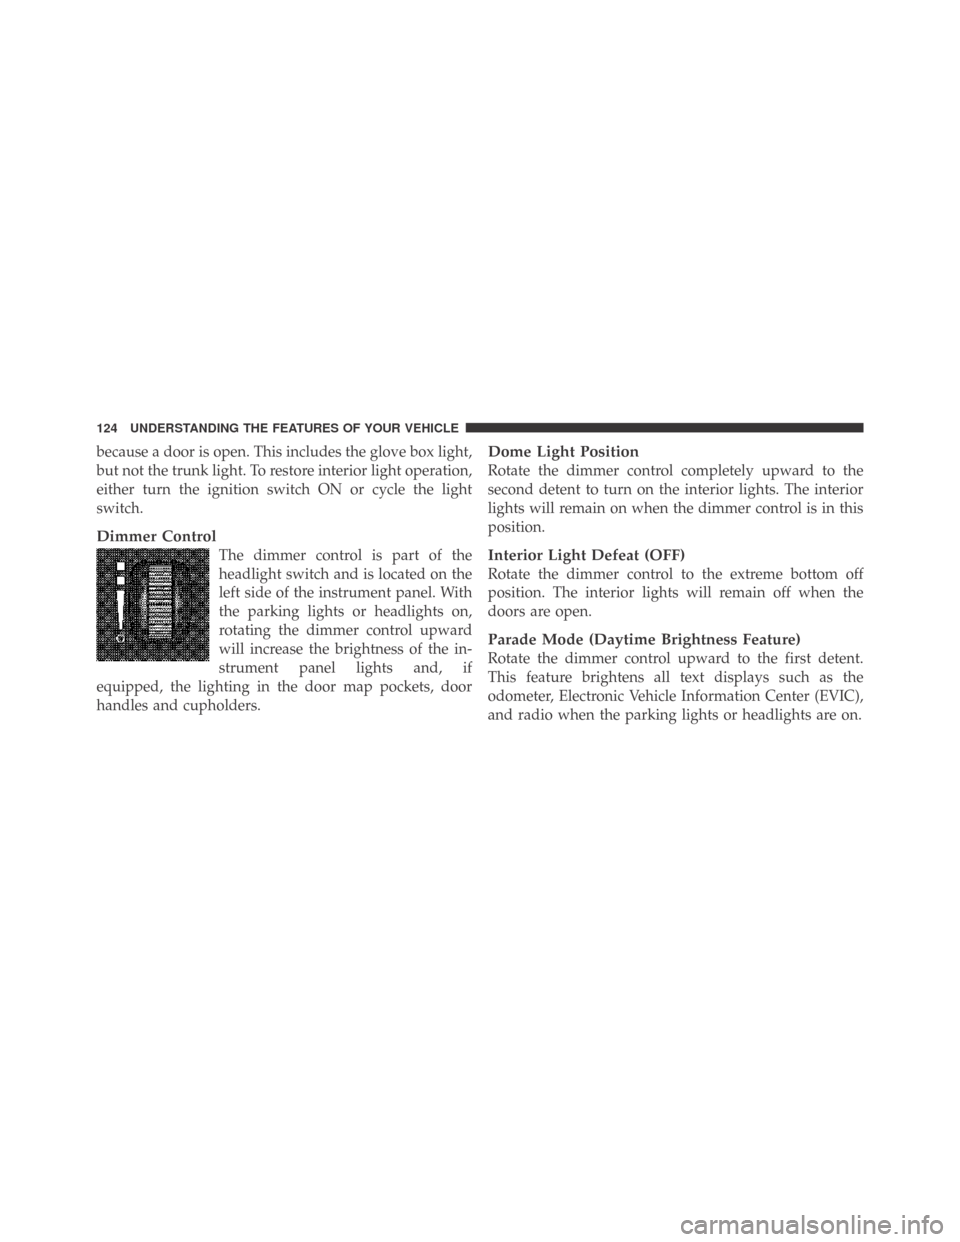
Dimmer Control
The dimmer control is part of the
headlight switch and is located on the
left side of the instrument panel. With
the parking lights or headlights on,
rotating the dimmer control upward
will increase the brightness of the in-
strument panel lights and, if
equipped, the lighting in the door map pockets, door
handles and cupholders.
Dome Light Position
Rotate the dimmer control completely upward to the
second detent to turn on the interior lights. The interior
lights will remain on when the dimmer control is in this
position.
Interior Light Defeat (OFF)
Rotate the dimmer control to the extreme bottom off
position. The interior lights will remain off when the
doors are open.
Parade Mode (Daytime Brightness Feature)
Rotate the dimmer control upward to the first detent.
This feature brightens all text displays such as the
odometer, Electronic Vehicle Information Center (EVIC),
and radio when the parking lights or headlights are on.
124 UNDERSTANDING THE FEATURES OF YOUR VEHICLE
Page 136 of 469
WARNING!
•Your motorized door or gate will open and close
while you are training the Universal Transceiver.
Do not train the transceiver if people or pets are in
the path of the door or gate. Only use this trans-
ceiver with a garage door opener that has a “stop
and reverse” feature as required by federal safety
standards. This includes most garage door opener
models manufactured after 1982. Do not use a
garage door opener without these safety features.
Call toll-free 1–800–355–3515 or, on the Internet at
www.HomeLink.com for safety information or as-
sistance.
•Vehicle exhaust contains carbon monoxide, a dan-
gerous gas. Do not run your vehicle in the garage
while training the transceiver. Exhaust gas can
cause serious injury or death.
Programming HomeLink�
Before You Begin
If you have not trained any of the HomeLink�buttons,
erase all channels before you begin training.
To do this, press and hold the two outside buttons for up
to 20 seconds. The EVIC will display “CLEARING
CHANNELS.” Release the buttons when the EVIC mes-
sage states “CHANNELS CLEARED.”
It is recommended that a new battery be placed in the
hand-held transmitter of the device being programmed
to HomeLink�for more efficient training and accurate
transmission of the radio-frequency signal.
Your vehicle should be parked outside of the garage
while training.
1. Turn the ignition switch to the ON/RUN position.
134 UNDERSTANDING THE FEATURES OF YOUR VEHICLE
Page 149 of 469
REAR WINDOW FEATURES
Rear Window Defroster
The rear window defroster button is located on the
climate control (Mode) knob. Press this button to
turn on the rear window defroster and the heated outside
mirrors (if equipped). An indicator in the button will
illuminate when the rear window defroster is on. The
rear window defroster automatically turns off after ap-
proximately 10 minutes. For an additional five minutes of
operation, press the button a second time.
NOTE:To prevent excessive battery drain, use the rear
window defroster only when the engine is operating.
Center Console
3
UNDERSTANDING THE FEATURES OF YOUR VEHICLE 147
Page 152 of 469
▫Operating Instructions - Radio Mode...... 182
▫Operation Instructions - (Disc Mode For CD
And MP3/WMA Audio Play)............ 187
▫Notes On Playing MP3/WMA Files....... 189
▫List Button (Disc Mode For
MP3/WMAPlay) .................... 191
▫Info Button (Disc Mode For MP3/WMA
Play) ............................. 192
�Sales Code (RER/REN) — AM/FM/CD/DVD
Radio – If Equipped.................... 194
▫Operating Instructions — Voice Recognition
System (VR) — If Equipped............. 194
▫Operating Instructions — uconnect�phone
— If Equipped...................... 194
▫Clock Setting Procedure............... 194�Sales Code RES — AM/FM Stereo Radio With
CD Player (MP3 AUX Jack)............... 197
▫Operating Instructions — Radio Mode..... 197
▫Operation Instructions — CD Mode For CD
And MP3 Audio Play................. 200
▫NotesOnPlayingMP3Files ............ 202
▫Operation Instructions - Auxiliary Mode.... 205
�Sales Code RES/RSC — AM/FM Stereo Radio
With CD Player (MP3 AUX Jack) And Sirius
Radio............................... 205
▫Operating Instructions — Radio Mode..... 206
▫Operation Instructions — CD Mode For CD
And MP3 Audio Play................. 211
▫NotesOnPlayingMP3Files ............ 213
▫ListButton(CDModeForMP3Play) ...... 216
150 UNDERSTANDING YOUR INSTRUMENT PANEL
Page 158 of 469
INSTRUMENT CLUSTER DESCRIPTION
1. Fuel Gauge
The pointer shows the level of fuel in the fuel tank when
the ignition switch is in the ON position.
2. Trip Odometer Button
Premium Cluster
Press this button to change the display from odometer to
either of two trip odometer settings. The letter “A” or “B”
will appear when in the trip odometer mode. Push in and
hold the button for two seconds to reset the trip odometer
to 0 miles (km). The odometer must be in TRIP mode to
reset it.
Base Cluster
The word�Tr i p�will appear when this button is pressed.
Push in and hold the button for two seconds when thetrip odometer is displayed to reset it to 0 miles (km). A
second press of the button will display the outside
temperature in the odometer.
3. Speedometer
Indicates vehicle speed.
4. Electronic Speed Control Indicator Light
This light will turn on when the electronic
speed control is on.
5. Tachometer
The red segments indicate the maximum permissible
engine revolutions per minute (RPM x 1000) for each gear
range. Ease up on the accelerator before reaching the red
area.
156 UNDERSTANDING YOUR INSTRUMENT PANEL