Page 54 of 411

4.If your vehicle has side airbags, do not lean against
the door. Airbags will inflate forcefully into the space
between you and the door.
5. If the airbag system in this vehicle needs to be
modified to accommodate a disabled person, contact the
Customer Center. Phone numbers are provided under�If
You Need Assistance�in Section 9 of this manual.
WARNING!
•Relying on the airbags alone could lead to more
severe injuries in a collision. The airbags work
with your seat belt to restrain you properly. In
some collisions the airbags won’t deploy at all.
Always wear your seat belts even though you have
airbags.
(Continued)
WARNING! (Continued)
•Being too close to the steering wheel or instrument
panel during front airbag deployment could cause
serious injury. Airbags need room to inflate. Sit
back, comfortably extending your arms to reach
the steering wheel or instrument panel.
•If the vehicle has side airbags, they also need room
to inflate. Do not lean against the door. Sit upright
in the center of the seat.
The front airbag system consists of the following:
•Occupant Restraint Controller (ORC)
•Side Remote Acceleration Sensors (if equipped)
•Airbag Warning Light
•Driver Airbag
•Front Passenger Airbag
52 THINGS TO KNOW BEFORE STARTING YOUR VEHICLE
Page 136 of 411
On steep hills, a greater speed loss or gain may occur so
it may be preferable to drive without Electronic Speed
Control.
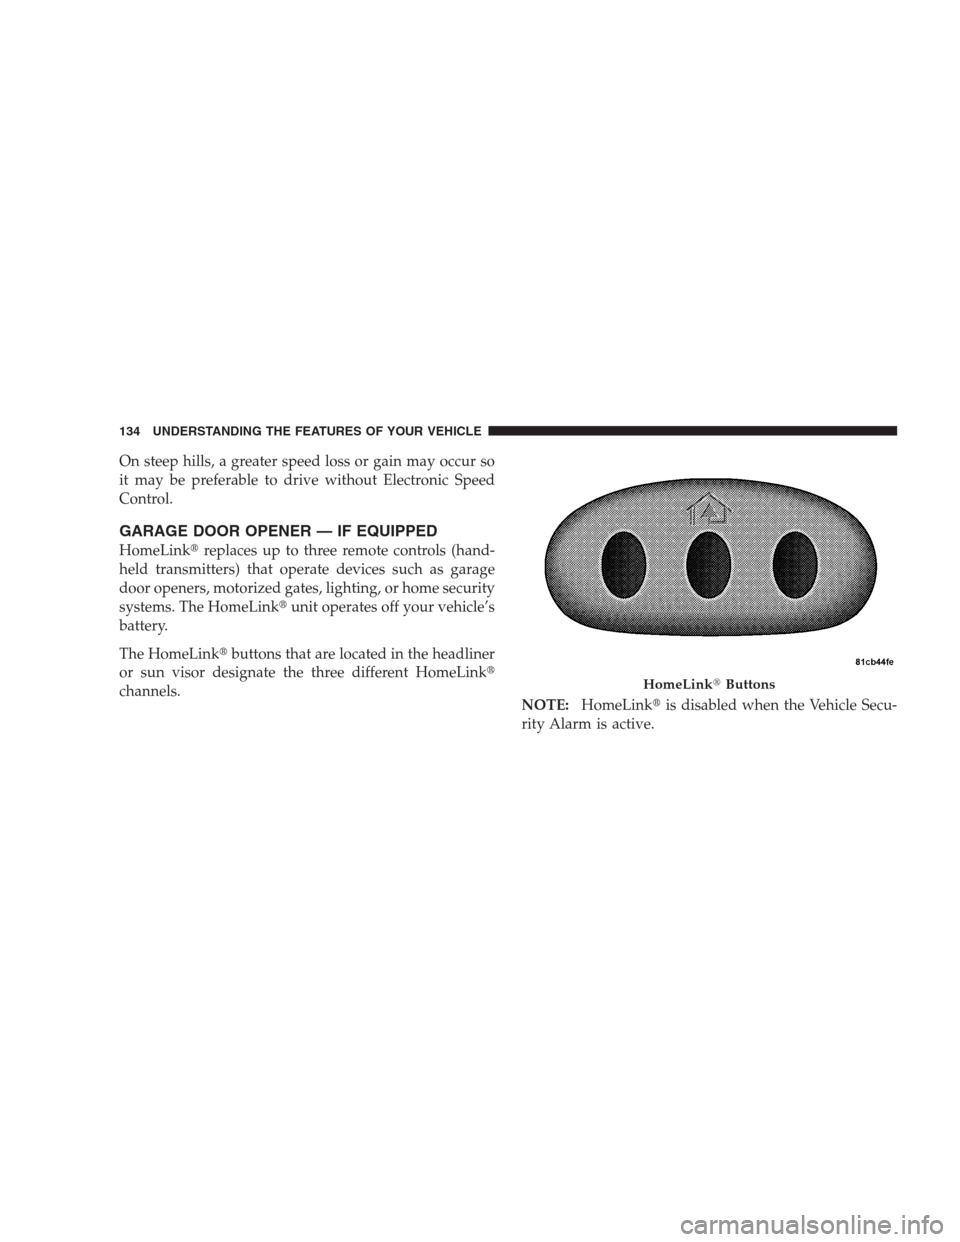
GARAGE DOOR OPENER — IF EQUIPPED
HomeLink�replaces up to three remote controls (hand-
held transmitters) that operate devices such as garage
door openers, motorized gates, lighting, or home security
systems. The HomeLink�unit operates off your vehicle’s
battery.
The HomeLink�buttons that are located in the headliner
or sun visor designate the three different HomeLink�
channels.
NOTE:HomeLink�is disabled when the Vehicle Secu-
rity Alarm is active.
HomeLink�Buttons
134 UNDERSTANDING THE FEATURES OF YOUR VEHICLE
Page 161 of 411
 And Sirius
Radio............................... 216
▫Operating Instructions — Radio Mode...... 216
▫Operation Instruction")
�Sales Code RES/RSC — AM/FM Stereo Radio
With CD Player (MP3 AUX Jack) And Sirius
Radio............................... 216
▫Operating Instructions — Radio Mode...... 216
▫Operation Instructions — CD Mode For CD
And MP3 Audio Play.................. 222
▫Notes On Playing MP3 Files............. 224
▫List Button (CD Mode For MP3 Play)...... 227
▫Info Button (CD Mode For MP3 Play)...... 227
�Satellite Radio — If Equipped
(REN/REQ/RER/RES/REU Radios Only)..... 228
▫System Activation.................... 228
▫Electronic Serial Number/Sirius
Identification Number (ESN/SID)......... 229
▫Selecting Satellite Mode................ 229▫Satellite Antenna..................... 230
▫Reception Quality.................... 230
▫Operating Instructions — Satellite Mode.... 230
▫Operating Instructions — Hands-Free Phone
(If Equipped)........................ 233
▫Operating Instructions — Video
Entertainment System (VES)™
(If Equipped)........................ 233
�Kicker�High Performance Sound System With
Driver-Selectable Surround (DSS) –
If Equipped........................... 233
�Remote Sound System Controls —
If Equipped........................... 236
▫Radio Operation..................... 236
▫CD Player.......................... 237
UNDERSTANDING YOUR INSTRUMENT PANEL 159
4
Page 195 of 411

By pressing the SEEK button when the Music Type icon is
displayed, the radio will be tuned to the next frequency
station with the same selected Music Type name. The
Music Type function only operates when in the FM mode.
If a preset button is activated while in the Music Type
(Program Type) mode, the Music Type mode will be
exited and the radio will tune to the preset station.
SETUP Button
Pressing the SETUP button allows you to select between
the following items:
NOTE:Turn the TUNE/SCROLL control knob to scroll
through the entries. Push the AUDIO/SELECT button to
select an entry and make changes.
•DVD Enter -When the disc is in DVD Menu mode,
selecting DVD Enter will allow you to play the current
highlighted selection. Use the remote control to scroll
up and down the menu (if equipped).
•DISC Play/Pause -You can toggle between
playing the DVD and pausing the DVD by
pushing the SELECT button (if equipped).
•DVD Play Options -Selecting the DVD Play Options
will display the following:
•Subtitle – Repeatedly pressing SELECT will switch
subtitles to different subtitle languages that are
available on the disc (if equipped).
•Audio Stream – Repeatedly pressing SELECT will
switch to different audio languages (if supported on
the disc) (if equipped).
•Angle – Repeatedly pressing SELECT will change
the viewing angle if supported by the DVD disc (if
equipped).
UNDERSTANDING YOUR INSTRUMENT PANEL 193
4
Page 196 of 411

NOTE:
•The available selections for each of the above entries
varies depending upon the disc.
•These selections can only be made while playing a
DVD.
•VES™ Power -Allows you to turn VES™ ON and
OFF (if equipped).
•VES™ Lock -Locks out rear VES™ remote controls (if
equipped).
•VES™ CH1/CH2 -Allows the user to change the
mode of either the IR1 or IR2, wireless headphones by
pressing the AUDIO/SELECT button (if equipped).
•Set Home Clock -Pressing the SELECT button allows
you to set the clock. Turn the TUNE/SCROLL control
knob to adjust the hours and then press and turn theTUNE/SCROLL control knob to adjust the minutes.
Press the TUNE/SCROLL control knob again to save
changes.
•Player Defaults -Selecting this item will allow the
user to scroll through the following items, and set
defaults according to customer preference.
Menu Language — If Equipped
Selecting this item will allow the user to choose the
default startup DVD menu language (effective only if
language supported by disc). If you want to select a
language not listed, then scroll down and select�other.�
Enter the four-digit country code using the TUNE/
SCROLL control knob to scroll up and down to select the
number and then push to select.
194 UNDERSTANDING YOUR INSTRUMENT PANEL
Page 197 of 411
. You can select a language not listed by scro")
Audio Language — If Equipped
Selecting this item allows you to choose a default audio
language (effective only if the language is supported by
the disc). You can select a language not listed by scrolling
down and selecting�other.�Enter the country code using
the TUNE/SCROLL control knob to scroll up and down
to select the number and then push to select.
Subtitle Language — If Equipped
Selecting this item allows you to choose a default subtitle
language (effective only if the language is supported by
the disc). You can select a language not listed by scrolling
down and selecting�other.�Enter the country code using
the TUNE/SCROLL control knob to scroll up and down
to select the number and then push to select.
Subtitles — If Equipped
Selecting this item allows you to choose between subtitle
Off or On.Audio DRC — If Equipped
Selecting this item allows you to limit maximum audio
dynamic range. The default is set to�High,�and under
this setting, dialogues will play at 11 db higher than if the
setting is�Normal.�
Aspect Ratio — If Equipped
Selecting this item allows you to choose between wide
screen, pan scan, and letter box.
AutoPlay — If Equipped
When this is set to On and a DVD video is inserted, it will
bypass the DVD menu screen and automatically play the
movie. In some rare cases, the DVD player may not
auto-play the main title. In such cases, use the MENU
button on the remote control to select desired title to play.
UNDERSTANDING YOUR INSTRUMENT PANEL 195
4
Page 238 of 411
REMOTE SOUND SYSTEM CONTROLS — IF
EQUIPPED
The remote sound system controls are located on the rear
surface of the steering wheel. Reach behind the wheel to
access the switches.The right-hand control is a rocker type switch with a
pushbutton in the center. Pressing the top of the switch
will increase the volume and pressing the bottom of the
switch will decrease the volume.
The button located in the center of the right-hand control
will switch modes to Radio or CD.
The left-hand control is a rocker type switch with a
pushbutton in the center. The function of the left-hand
control is different depending on which mode you are in.
The following describes the left-hand control operation in
each mode.
Radio Operation
Press the top of the switch to SEEK up for the next
listenable station. Press the bottom of the switch to SEEK
down for the next listenable station.
Remote Sound System Controls
236 UNDERSTANDING YOUR INSTRUMENT PANEL
Page 243 of 411
 to the right position.")
Fan Control
Use this control to regulate the
amount of air forced through the
system in any mode you select.
The fan speed increases as you
move the control from the left
(OFF) to the right position.
NOTE:For vehicles equipped with Remote Start, the
climate controls will not function during Remote Start
operation if the blower control is left in the “O” (Off)
position.
Temperature Control
Use this control to regulate the
temperature of the air inside the
passenger compartment. The blue
area of the scale indicates cooler
temperatures while the red area
indicates warmer temperatures.
NOTE:If your air conditioning performance seems
lower than expected, check the front of the A/C con-
denser, located in front of the radiator, for an accumula-
tion of dirt or insects. Clean with a gentle water spray
from behind the radiator and through the condenser.
Fabric front fascia protectors may reduce airflow to the
condenser, reducing air conditioning performance.
UNDERSTANDING YOUR INSTRUMENT PANEL 241
4