Page 53 of 543
•The power liftgate must be in the full open or close
positions for any of the buttons to operate. If the
liftgate is not in the full open or close positions, it must
be opened or closed manually.
•If the liftgate release button is activated while the
power liftgate is closing, the liftgate will reverse to the
full open position.
•The power liftgate buttons will not operate if the shift
lever is in gear or the vehicle speed is above 0 mph
(0 km/h).
•The power liftgate will not operate in temperatures
below�12°F (�24°C) or temperatures above 143°F
(62°C). Be sure to remove any buildup of snow or ice
from the liftgate before pressing any of the power
liftgate buttons.
•If the power liftgate encounters multiple obstructions
within the same cycle, the system will automatically
stop and must be opened or closed manually.
WARNING!
•Driving with the liftgate open can allow poison-
ous exhaust gases into your vehicle. You and your
passengers could be injured by these fumes. Keep
the liftgate closed when you are operating the
vehicle.
•If you are required to drive with the liftgate open,
make sure that all windows are closed, and the
climate control blower switch is set at high speed.
DO NOT use the recirculation mode.
Gas props support the liftgate in the open position.
However, because the gas pressure drops with tempera-
ture, it may be necessary to assist the props when
opening the liftgate in cold weather.
2
THINGS TO KNOW BEFORE STARTING YOUR VEHICLE 51
Page 97 of 543
If you are required to drive with the liftgate open, make
sure that all windows are closed and the climate control
BLOWER switch is set at high speed. DO NOT use the
recirculation mode.
The best protection against carbon monoxide entry into
the vehicle body is a properly maintained engine exhaust
system.
Whenever a change is noticed in the sound of the exhaust
system, when exhaust fumes can be detected inside the
vehicle, or when the underside or rear of the vehicle is
damaged, have a competent mechanic inspect the com-
plete exhaust system and adjacent body areas for broken,
damaged, deteriorated, or mispositioned parts. Open
seams or loose connections could permit exhaust fumes
to seep into the passenger compartment. In addition,
inspect the exhaust system each time the vehicle is raised
for lubrication or oil change. Replace as required.Safety Checks You Should Make Inside the
Vehicle
Seat Belts
Inspect the belt system periodically, checking for cuts,
frays, and loose parts. Damaged parts must be replaced
immediately. Do not disassemble or modify the system.
Front seat belt assemblies must be replaced after a
collision. Rear seat belt assemblies must be replaced after
a collision if they have been damaged (i.e., bent retractor,
torn webbing, etc.). If there is any question regarding belt
or retractor condition, replace the belt.
Airbag Warning Light
The light should come on and remain on for six to eight
seconds as a bulb check when the ignition switch is first
turned ON. If the light is not lit during starting, see your
authorized dealer. If the light stays on, flickers, or comes
on while driving, have the system checked by an autho-
rized dealer.
2
THINGS TO KNOW BEFORE STARTING YOUR VEHICLE 95
Page 235 of 543
3. Pull rearward to disengage from floor and remove
console.
To reinstall the console:
1. Position the console at a slight angle (rear slightly
higher than the front).
2. Slide the console forward into the floor bracket.
3. Rotate the rear of the console down until it is resting
on the floor bracket.
4. Push down on the rear of the console until it is seated
in the rear floor bracket.
5. Pull up on the console to be sure it is firmly latched.WARNING!
In an accident, serious injury could result if the
removable floor console is not properly installed.
Always be sure the removable floor console is fully
latched.
REAR WINDOW FEATURES
Rear Window Defroster
The rear window defroster button is located on the
climate control (Mode) knob. Press this button to
turn on the rear window defroster and the heated outside
mirrors (if equipped). An indicator in the button will
illuminate when the rear window defroster is on. The
rear window defroster automatically turns off after ap-
proximately 10 minutes. For an additional five minutes of
operation, press the button a second time.
3
UNDERSTANDING THE FEATURES OF YOUR VEHICLE 233
Page 243 of 543
�uconnect� studios (Satellite Radio) — If
Equipped (REN/REQ/RER/RES/REU Radios
Only) ............................... 302
▫ System Activation ................... 302
▫ Electronic Serial Number/Sirius
Identification Number (ESN/SID) ......... 302
▫ Selecting uconnect� studios (Satellite) Mode 303
▫ Satellite Antenna ................... 303
▫ Reception Quality ................... 303
▫ Operating Instructions — uconnect� studios
(Satellite) Mode ..................... 304
▫ Operating Instructions — uconnect� phone
(If Equipped) ....................... 306 ▫
Operating Instructions — Video
Entertainment System (VES)™
(If Equipped) ....................... 306
� uconnect� studios (Sirius Backseat TV™) — If
Equipped ............................ 307
� Video Entertainment System (VES)™ — If
Equipped ............................ 307
� Remote Sound System Controls — If Equipped 309
▫ Radio Operation .................... 309
▫ CD Player ........................ 310
� CD/DVD Maintenance ................ 310
� Radio Operation And Cellular Phones ...... 311
� Climate Controls ..................... 311
▫ Manual Heating And Air Conditioning
System ............................ 311
4
UNDERSTANDING YOUR INSTRUMENT PANEL 241
Page 244 of 543
▫Rear Manual Climate Control
— If Equipped ...................... 317
▫ Automatic Temperature Control (ATC) — If
Equipped .......................... 319
▫ Summer Operation .................. 328
▫ Winter Operation ................... 328 ▫
Vacation/Storage ................... 328
▫ Window Fogging ................... 329
▫ Outside Air Intake .................. 329
▫ Operating Tips ..................... 329
▫ A/C Air Filter— If Equipped ........... 330
242 UNDERSTANDING YOUR INSTRUMENT PANEL
Page 245 of 543
INSTRUMENT PANEL FEATURES
1 — Air Vents5 — Analog Clock9 — DVD – (If Equipped) 13 — Switch Bank
2 — Instrument Cluster 6 — Upper Glove Compartment 10 — Cup Holders 14 — Ignition Switch
3 — Shift Lever 7 — Lower Glove Compart-
ment11 — Storage Bin
15 — Dimmer Switch
4 — Radio 8 — Climate Controls12 — Power Supply – 12V 16 — Headlight Switch
4
UNDERSTANDING YOUR INSTRUMENT PANEL 243
Page 313 of 543
oversized, or have protection encoding. Try a known
good disc before considering disc player service.
RADIO OPERATION AND CELLULAR PHONES
Under certain conditions, the cellular phone being on in
your vehicle can cause erratic or noisy performance from
your radio. This condition may be lessened or eliminated
by relocating the cellular phone antenna. This condition
is not harmful to the radio. If your radio performance
does not satisfactorily “clear” by the repositioning of the
antenna, it is recommended that the radio volume be
turned down or off during cellular phone operation.
CLIMATE CONTROLS
The Climate Control System allows you to regulate the
temperature, amount, and direction of air circulating
throughout the vehicle. The controls are located on the
instrument panel, below the radio.
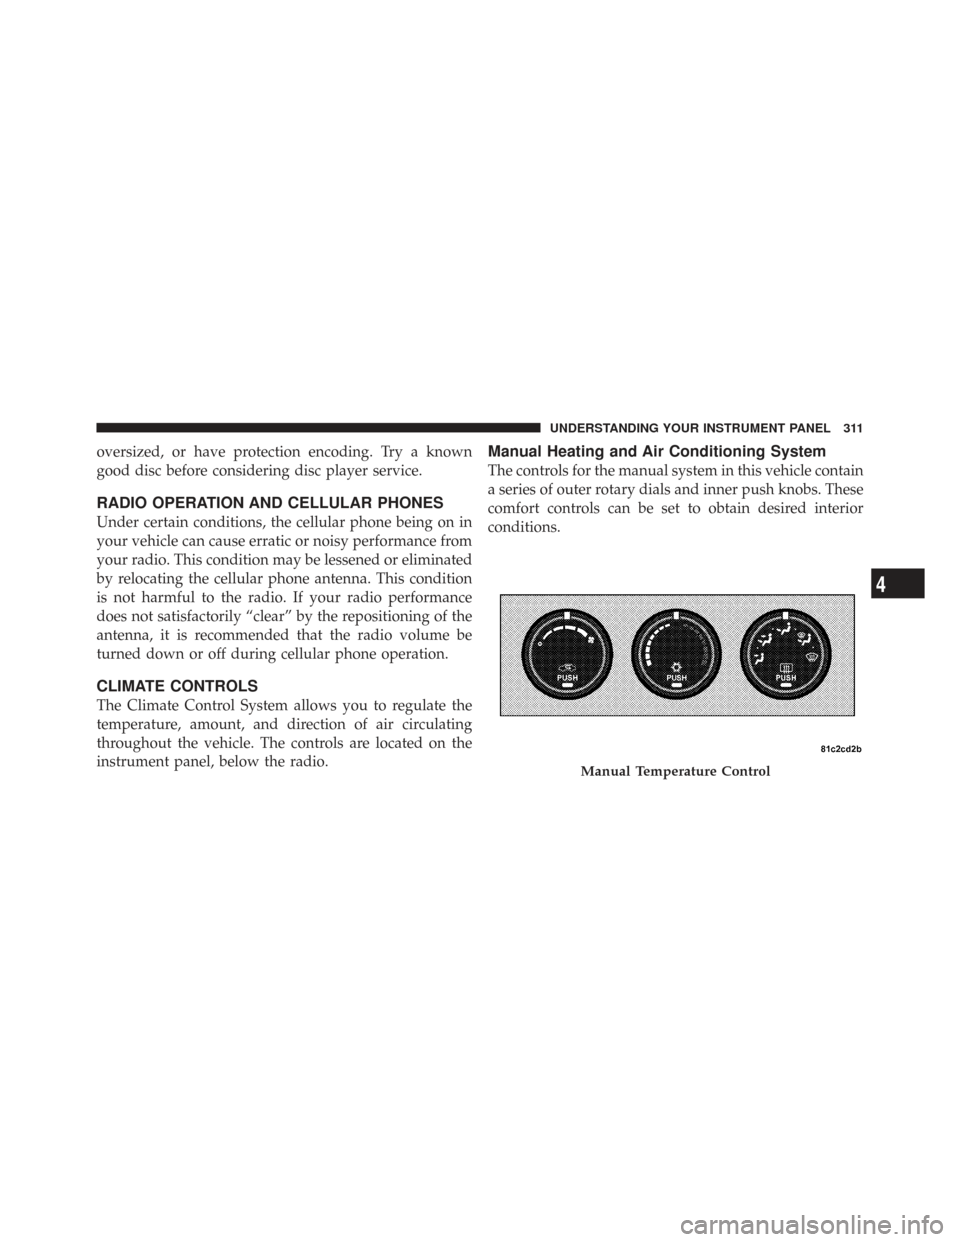
Manual Heating and Air Conditioning System
The controls for the manual system in this vehicle contain
a series of outer rotary dials and inner push knobs. These
comfort controls can be set to obtain desired interior
conditions.
Manual Temperature Control
4
UNDERSTANDING YOUR INSTRUMENT PANEL 311
Page 314 of 543
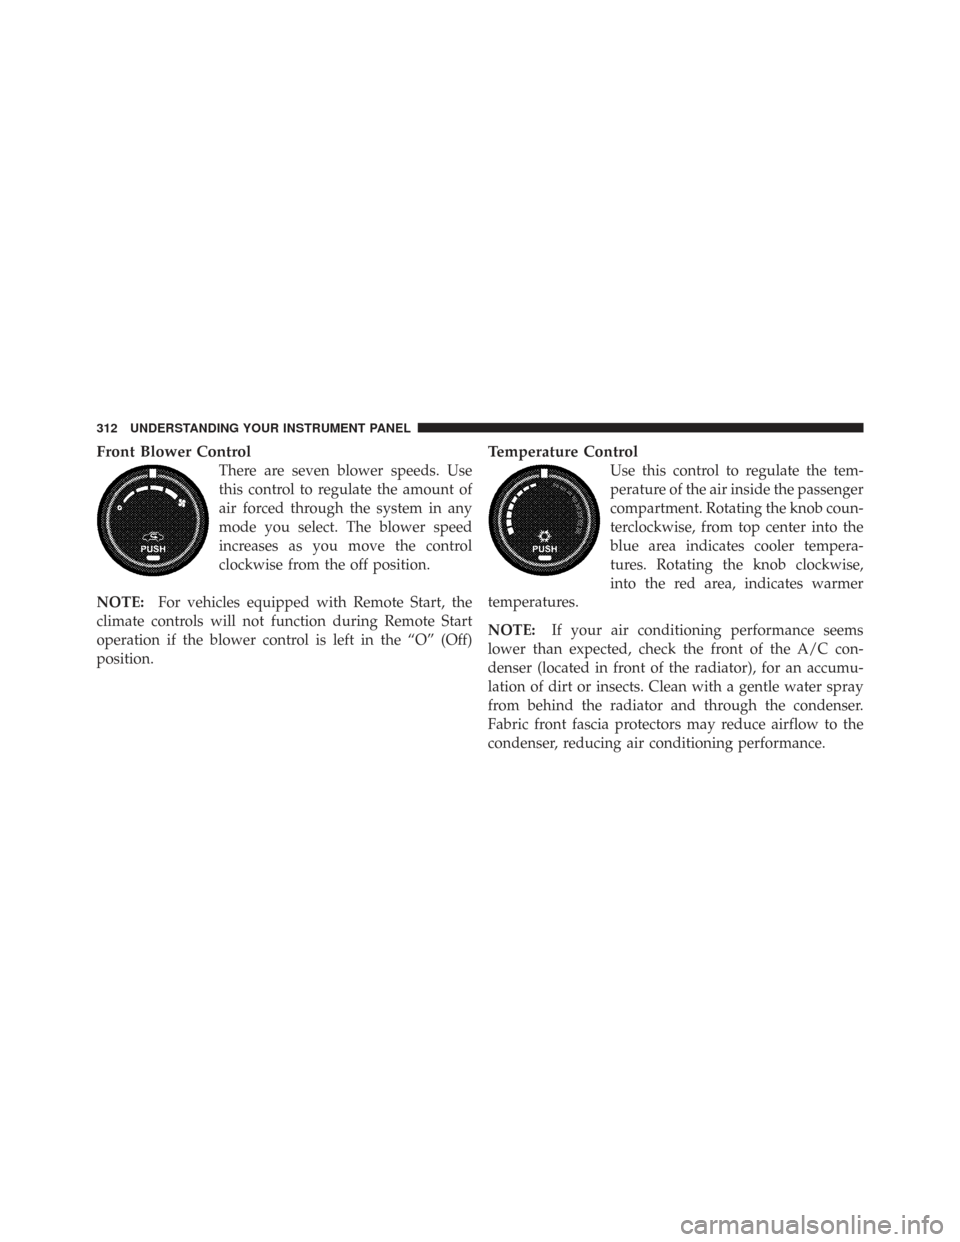
Front Blower Control
There are seven blower speeds. Use
this control to regulate the amount of
air forced through the system in any
mode you select. The blower speed
increases as you move the control
clockwise from the off position.
NOTE: For vehicles equipped with Remote Start, the
climate controls will not function during Remote Start
operation if the blower control is left in the “O” (Off)
position.
Temperature Control
Use this control to regulate the tem-
perature of the air inside the passenger
compartment. Rotating the knob coun-
terclockwise, from top center into the
blue area indicates cooler tempera-
tures. Rotating the knob clockwise,
into the red area, indicates warmer
temperatures.
NOTE: If your air conditioning performance seems
lower than expected, check the front of the A/C con-
denser (located in front of the radiator), for an accumu-
lation of dirt or insects. Clean with a gentle water spray
from behind the radiator and through the condenser.
Fabric front fascia protectors may reduce airflow to the
condenser, reducing air conditioning performance.
312 UNDERSTANDING YOUR INSTRUMENT PANEL