Page 218 of 543
Auto-Express with Anti-Pinch Protection
During express closing, anytime an obstacle that restricts
glass movement is detected, the motor will stop and
reverse travel to avoid pinching the object.
Auto Express will stop and reverse travel up to three
times in succession. After the third time, Auto Express
will enter a manual operation mode. This allows the
operator to manually control the power switch, in order
to close or open the sunroof in case of a malfunction.
Wind Buffeting
Wind buffeting can be described as the perception of
pressure on the ears or a helicopter-type sound in the
ears. Your vehicle may exhibit wind buffeting with the
windows down, or the sunroof (if equipped) in certain
open or partially open positions. This is a normal occur-
rence and can be minimized. If the buffeting occurs with
the rear windows open, open the front and rear windows
together to minimize the buffeting. If the buffeting occurswith the sunroof open, adjust the sunroof opening to
minimize the buffeting or open any window.
Sunroof Maintenance
Use only a non-abrasive cleaner and a soft cloth to clean
the glass panel.
ELECTRICAL POWER OUTLETS — IF EQUIPPED
Two 12-Volt power outlets are located on the lower
instrument panel, next to the open storage bin. The upper
power outlet is controlled by the ignition switch and the
lower power outlet is connected directly to the battery.
The upper power outlet will also operate a conventional
cigar lighter unit (if equipped with an optional Smoker’s
Package). To ensure proper operation, a MOPAR
�cigar
knob and element must be used.
216 UNDERSTANDING THE FEATURES OF YOUR VEHICLE
Page 219 of 543
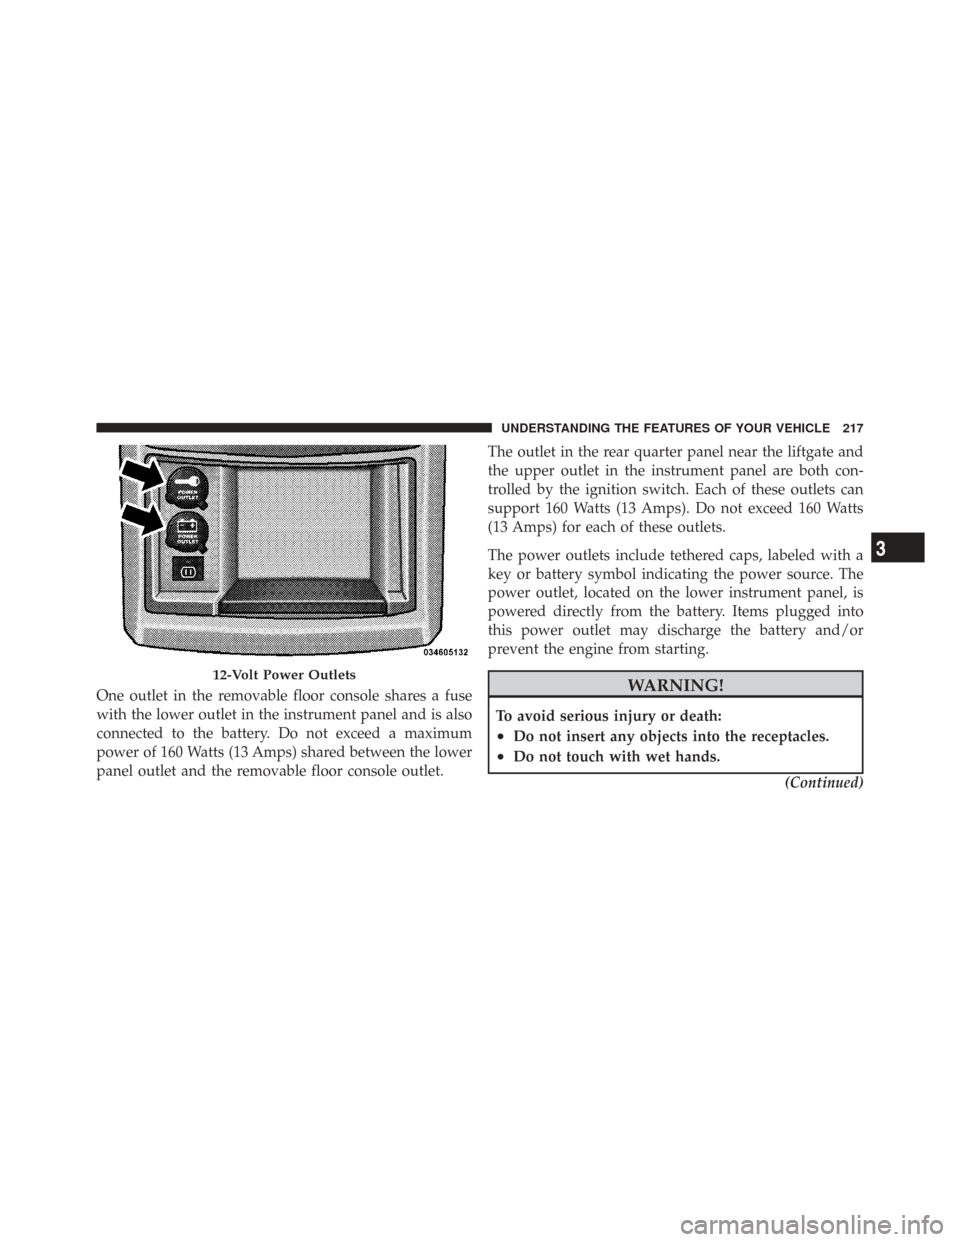
One outlet in the removable floor console shares a fuse
with the lower outlet in the instrument panel and is also
connected to the battery. Do not exceed a maximum
power of 160 Watts (13 Amps) shared between the lower
panel outlet and the removable floor console outlet.The outlet in the rear quarter panel near the liftgate and
the upper outlet in the instrument panel are both con-
trolled by the ignition switch. Each of these outlets can
support 160 Watts (13 Amps). Do not exceed 160 Watts
(13 Amps) for each of these outlets.
The power outlets include tethered caps, labeled with a
key or battery symbol indicating the power source. The
power outlet, located on the lower instrument panel, is
powered directly from the battery. Items plugged into
this power outlet may discharge the battery and/or
prevent the engine from starting.WARNING!
To avoid serious injury or death:
•Do not insert any objects into the receptacles.
•Do not touch with wet hands.
(Continued)
12-Volt Power Outlets
3
UNDERSTANDING THE FEATURES OF YOUR VEHICLE 217
Page 220 of 543
WARNING! (Continued)
•Close the lid when not in use and while driving
the vehicle.
•If this outlet is mishandled, it may cause an
electric shock and failure.
CAUTION!
•Many accessories that can be plugged in draw
power from the vehicle’s battery, even when not in
use (i.e., cellular phones, etc.). Eventually, if
plugged in long enough, the vehicle’s battery will
discharge sufficiently to degrade battery life
and/or prevent the engine from starting.(Continued)
CAUTION! (Continued)
•Accessories that draw higher power (i.e., coolers,
vacuum cleaners, lights, etc.), will degrade the
battery even more quickly. Only use these inter-
mittently and with greater caution.
•After the use of high power draw accessories, or
long periods of the vehicle not being started (with
accessories still plugged in), the vehicle must be
driven a sufficient length of time to allow the
alternator to recharge the vehicle’s battery.
•Power outlets are designed for accessory plugs
only. Do not hang any type of accessory or acces-
sory bracket from the plug. Improper use of the
power outlet can cause damage.
218 UNDERSTANDING THE FEATURES OF YOUR VEHICLE
Page 236 of 543
NOTE:
•You can turn off the heated mirror feature at anytime
by pressing the rear window defroster switch a second
time.
•To prevent excessive battery drain, use the rear win-
dow defroster only when the engine is operating.
CAUTION!
Failure to follow these cautions can cause damage to
the heating elements:
•Use care when washing the inside of the rear
window. Do not use abrasive window cleaners on
the interior surface of the window. Use a soft cloth
and a mild washing solution, wiping parallel to
the heating elements. Labels can be peeled off
after soaking with warm water.(Continued)
CAUTION! (Continued)
•Do not use scrapers, sharp instruments, or abra-
sive window cleaners on the interior surface of the
window.
•Keep all objects a safe distance from the window.
LOAD-LEVELING SYSTEM
The automatic load-leveling system will provide a level
riding vehicle under most passenger and cargo loading
conditions.
A hydraulic pump contained within the shock absorbers
raises the rear of the vehicle to the correct height. It takes
approximately 1 mile (1.6 km) of driving for the leveling
to complete depending on road surface conditions.
If the leveled vehicle is not moved for approximately
15 hours, the leveling system will bleed itself down. The
vehicle must be driven to reset the system.
234 UNDERSTANDING THE FEATURES OF YOUR VEHICLE
Page 261 of 543
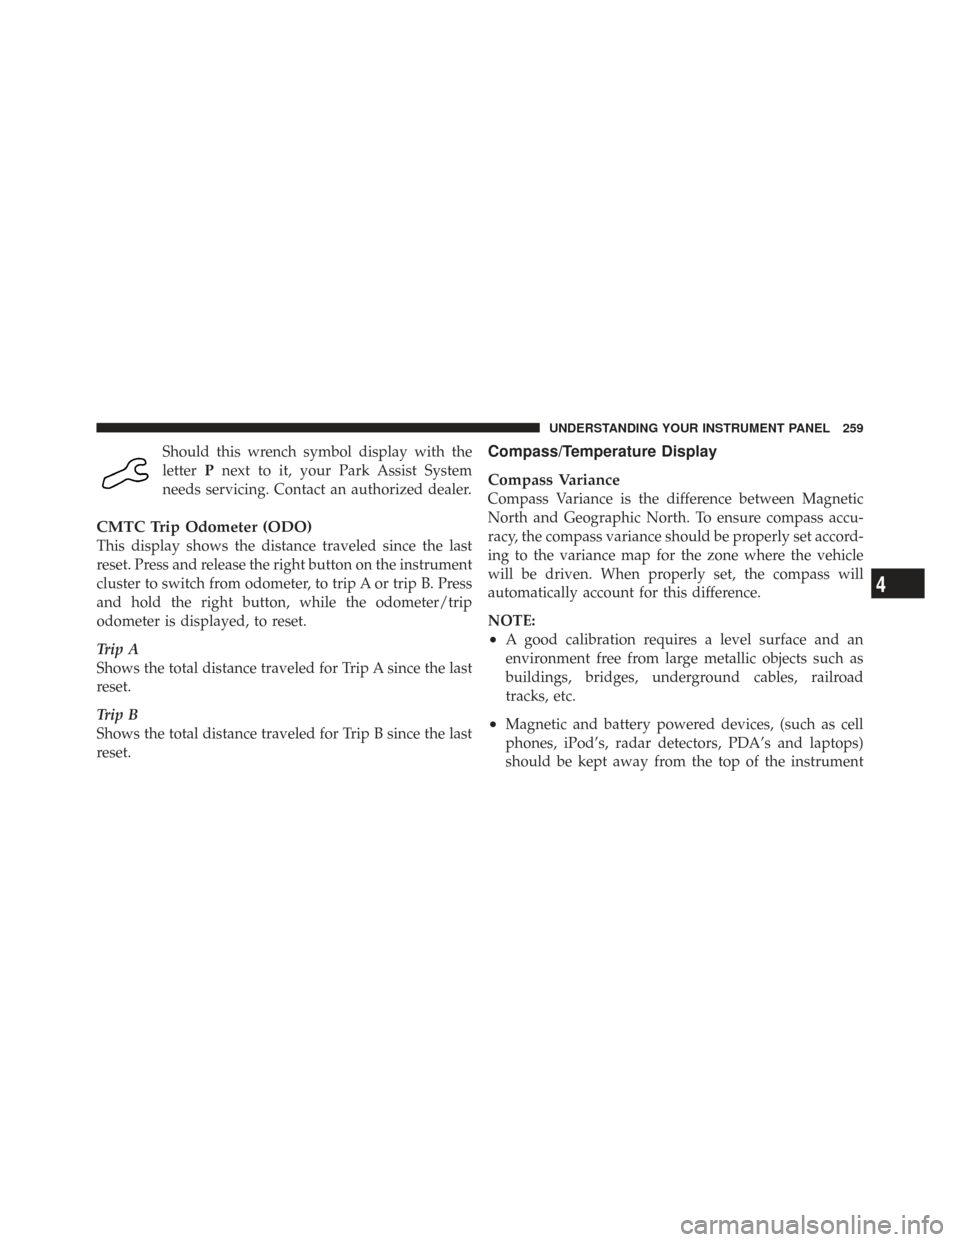
Should this wrench symbol display with the
letterPnext to it, your Park Assist System
needs servicing. Contact an authorized dealer.
CMTC Trip Odometer (ODO)
This display shows the distance traveled since the last
reset. Press and release the right button on the instrument
cluster to switch from odometer, to trip A or trip B. Press
and hold the right button, while the odometer/trip
odometer is displayed, to reset.
Trip A
Shows the total distance traveled for Trip A since the last
reset.
Trip B
Shows the total distance traveled for Trip B since the last
reset.
Compass/Temperature Display
Compass Variance
Compass Variance is the difference between Magnetic
North and Geographic North. To ensure compass accu-
racy, the compass variance should be properly set accord-
ing to the variance map for the zone where the vehicle
will be driven. When properly set, the compass will
automatically account for this difference.
NOTE:
•A good calibration requires a level surface and an
environment free from large metallic objects such as
buildings, bridges, underground cables, railroad
tracks, etc.
•Magnetic and battery powered devices, (such as cell
phones, iPod’s, radar detectors, PDA’s and laptops)
should be kept away from the top of the instrument
4
UNDERSTANDING YOUR INSTRUMENT PANEL 259
Page 265 of 543
Press this button to RESET Trip Functions and
change Personal Settings.
Electronic Vehicle Information Center (EVIC)
Displays
When the appropriate conditions exist, the EVIC displays
the following messages:
•Door(s) Ajar (with a single chime, if vehicle is in
motion)
•Liftgate Ajar (chime will sound when vehicle starts
moving)
•Hood Ajar (if equipped with hood switch)
•Check TPM System (refer to “Tire Pressure Monitoring
System” in Section 5 of this manual)
•Turn Signal On
•RKE Battery Low
•LOW WASHER FLUID
•Oil Change Required
•Left Front Turn Signal Light Out
•Left Rear Turn Signal Light Out
•Right Front Turn Signal Light Out
•Right Rear Turn Signal Light Out
•Park Assist Disabled
•Service Park Assist System
•Personal Settings Not Available — Vehicle Not in Park
•Blind Spot System Off — This message is displayed
when the ignition is turned to ON to indicate the Blind
Spot System has been turned off.
4
UNDERSTANDING YOUR INSTRUMENT PANEL 263
Page 300 of 543
•If the iPod�battery is completely discharged, it may
not communicate with the UCI system until a mini-
mum charge is attained. Leaving the iPod� connected
to the UCI system may charge it to the required level.
Using This Feature
By using the provided connection cable to connect an
iPod� to the vehicle’s UCI 16–pin connector port:
•The iPod� audio can be played on the vehicle’s sound
system, providing metadata (artist, track title, album,
etc.) information on the radio display.
•The iPod� can be controlled using the radio buttons to
Play, Browse, and List the iPod� contents.
•The iPod�battery charges when plugged into the UCI
connector (if supported by the specific iPod� device)
Controlling The iPod�Using Radio Buttons
To get into the UCI (iPod�) mode and access a connected
iPod�, press the “AUX” button on the radio faceplate. Once in the UCI (iPod�) mode, iPod�
audio tracks (if
available from iPod�) start playing over the vehicle’s
audio system.
Play Mode
When switched to UCI mode, the iPod� automatically
starts Play mode. In Play mode, you may use the
following buttons on the radio faceplate to control the
iPod� and display data:
•Use the TUNE control knob to select the next or
previous track.
•Turning it clockwise (forward) by one click, while
playing a track, skips to the next track.
•Turning it counterclockwise (backward) by one
click, during the first two seconds of the track, will
jump to the previous track in the list. Turning this
button at any other time in the track, will jump to
the beginning of the current track.
298 UNDERSTANDING YOUR INSTRUMENT PANEL
Page 309 of 543
uconnect�studios (SIRIUS BACKSEAT TV™) —
IF EQUIPPED
Satellite video uses direct satellite receiver broadcasting
technology to provide streaming video. The subscription
service provider is SIRIUS Satellite Radio. SIRIUS Back-
seat TV™ offers three video channels for family enter-
tainment, directly from its satellites and broadcasting
studios.
NOTE: SIRIUS service is not available in Hawaii and
has limited coverage in Alaska.
Refer to your Video Entertainment System (VES)™, RER
Navigation or REN Multimedia User Manuals for de-
tailed operating instructions.
VIDEO ENTERTAINMENT SYSTEM (VES)™ — IF
EQUIPPED
The optional Video Entertainment System (VES)™ is
available with:
•One or two video screens
•Third row swivel screen — If Equipped
•Additional single-disc DVD player with two-screen
system
•Battery-powered two-channel remote control
•Two remote headphones
•Integrated remote storage in either screen location
•Three different medias can be played simultaneously
(Cabin speakers and Headphone Channels 1 and 2)
•Easy menu-driven functions on touch-screen radios
•Video and audio input jacks available in rear seating
area
4
UNDERSTANDING YOUR INSTRUMENT PANEL 307