Page 353 of 475
WHAT TO DO IN EMERGENCIES
CONTENTS
�Hazard Warning Flasher................ 352
�If Your Engine Overheats................ 352
▫Engine Oil Overheating — 2.4L Engine Only
(If Equipped)....................... 353
�Jacking And Tire Changing............... 354
▫Preparations For Jacking............... 354
▫Jack Location....................... 355
▫Spare Tire Stowage................... 355▫Jacking Instructions................... 356
�Jump-Starting Procedure................ 361
�Freeing A Stuck Vehicle................. 364
�Towing A Disabled Vehicle............... 365
▫With The Ignition Key................. 365
▫Without The Ignition Key.............. 366
6
Page 354 of 475

HAZARD WARNING FLASHER
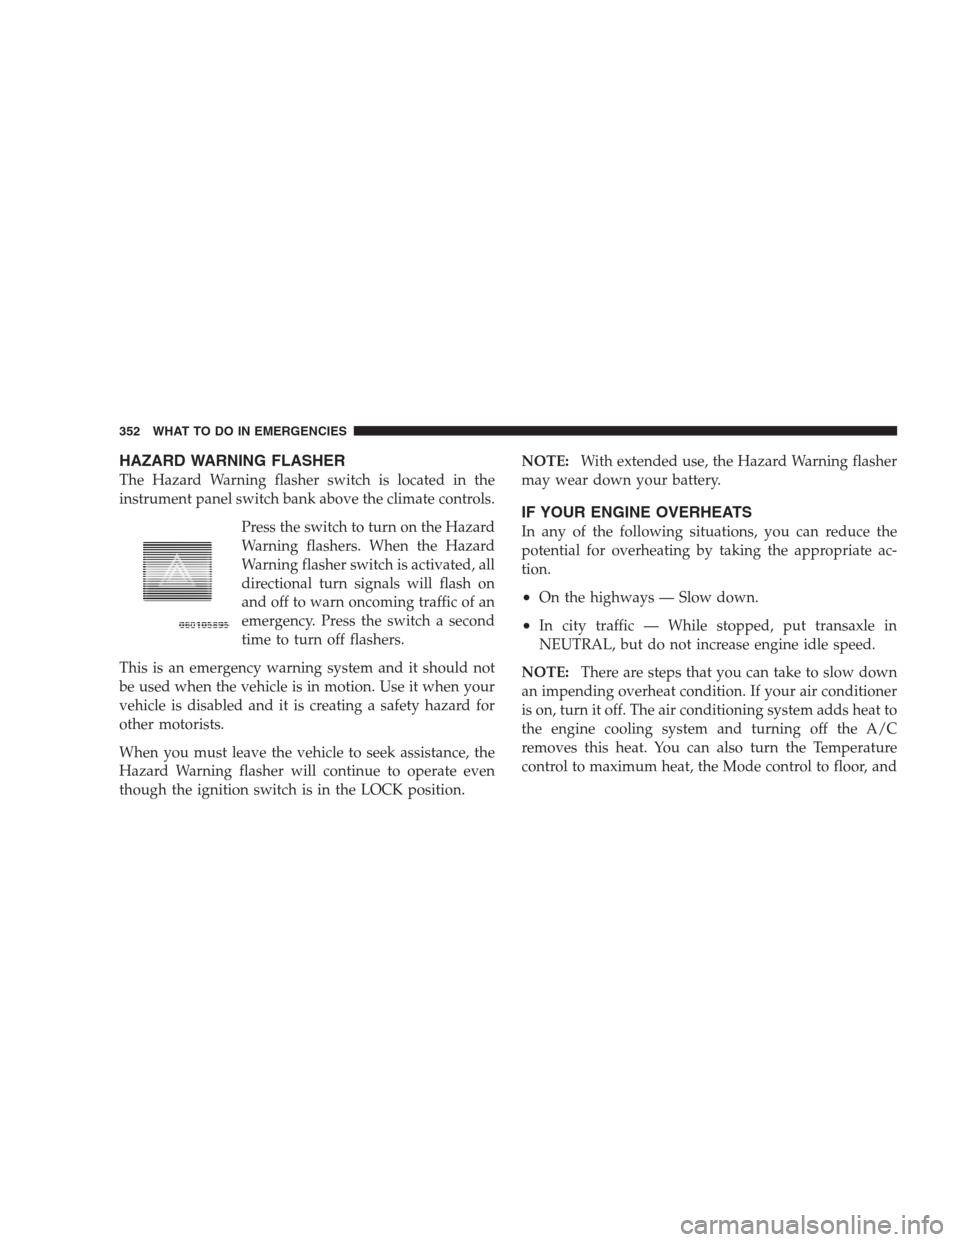
The Hazard Warning flasher switch is located in the
instrument panel switch bank above the climate controls.
Press the switch to turn on the Hazard
Warning flashers. When the Hazard
Warning flasher switch is activated, all
directional turn signals will flash on
and off to warn oncoming traffic of an
emergency. Press the switch a second
time to turn off flashers.
This is an emergency warning system and it should not
be used when the vehicle is in motion. Use it when your
vehicle is disabled and it is creating a safety hazard for
other motorists.
When you must leave the vehicle to seek assistance, the
Hazard Warning flasher will continue to operate even
though the ignition switch is in the LOCK position.NOTE:With extended use, the Hazard Warning flasher
may wear down your battery.
IF YOUR ENGINE OVERHEATS
In any of the following situations, you can reduce the
potential for overheating by taking the appropriate ac-
tion.
•On the highways — Slow down.
•In city traffic — While stopped, put transaxle in
NEUTRAL, but do not increase engine idle speed.
NOTE:There are steps that you can take to slow down
an impending overheat condition. If your air conditioner
is on, turn it off. The air conditioning system adds heat to
the engine cooling system and turning off the A/C
removes this heat. You can also turn the Temperature
control to maximum heat, the Mode control to floor, and
352 WHAT TO DO IN EMERGENCIES
Page 355 of 475

the fan control to High. This allows the heater core to act
as a supplement to the radiator and aids in removing heat
from the engine cooling system.
CAUTION!
Driving with a hot cooling system could damage
your vehicle. If the pointer rises to the H (red) mark,
the instrument cluster will sound a chime. Pull over
and stop the vehicle with the engine at idle, when
safe. Turn off the air conditioning and wait until the
pointer drops back into the normal range. If the
pointer remains on the H (red) mark for more than a
minute, turn the engine off immediately and call for
service.
WARNING!
A hot engine cooling system is dangerous. You or
others could be badly burned by steam or boiling
coolant. You may want to call a service center if your
vehicle overheats. If you decide to look under the
hood yourself, refer to Section 7, Maintenance, of this
manual. Follow the warnings under the Cooling
System Pressure Cap paragraph.
Engine Oil Overheating — 2.4L Engine Only (If
Equipped)
During sustained high-speed driving or trailer tow up
long grades on hot day, the engine oil temperature may
become too hot. If this happens, the “HOTOIL” message
flashes, the vehicle speed will be reduced to 53 mph
(85 km/h) until the engine oil temperature is reduced.
WHAT TO DO IN EMERGENCIES 353
6
Page 356 of 475

NOTE:Engine speed is reduced to 53 mph (85 km/h) at
the maximum. You may of course, reduce your speed
further if needed.
JACKING AND TIRE CHANGING
WARNING!
•Do not attempt to change a tire on the side of the
vehicle close to moving traffic. Pull far enough off
the road to avoid the danger of being hit when
operating the jack or changing the wheel.
•Getting under a jacked-up vehicle is dangerous.
The vehicle could slip off the jack and fall on you.
You could be crushed. Never get any part of your
body under a vehicle that is on a jack. Never start
or run the engine while the vehicle is on a jack. If
you need to get under a raised vehicle, take it to a
service center where it can be raised on a lift.
(Continued)
WARNING! (Continued)
•The jack is designed to use as a tool for changing
tires only. The jack should not be used to lift the
vehicle for service purposes. The vehicle should
be jacked on a firm level surface only. Avoid ice or
slippery areas.
Preparations For Jacking
1. Park the vehicle on a firm level surface as far from the
edge of the roadway as possible. Avoid icy or slippery
areas.
2. Set the parking brake.
3. Place the shift lever into PARK (automatic transaxle)
or REVERSE (manual transaxle).
4. Turn the ignition switch to the LOCK position.
5. Turn on the Hazard Warning Flasher.
354 WHAT TO DO IN EMERGENCIES
Page 358 of 475
Jacking Instructions
WARNING!
Carefully follow these tire changing warnings to
help prevent personal injury or damage to your
vehicle:
•Always park on a firm, level surface as far from
the edge of the roadway as possible before raising
the vehicle.
•Block the wheel diagonally opposite the wheel to
be raised.
•Set the parking brake firmly and set an automatic
transmission in PARK; a manual transmission in
REVERSE.
•Never start or run the engine with the vehicle on a
jack.
(Continued)
WARNING! (Continued)
•Do not let anyone sit in the vehicle when it is on a
jack.
•Do not get under the vehicle when it is on a jack.
•Only use the jack in the positions indicated and
for lifting this vehicle during a tire change.
•If working on or near a roadway, be extremely
careful of motor traffic.
•To assure that spare tires, flat or inflated are
securely stowed, spares must be stowed with the
valve stem facing the ground.
•Turn on the Hazard Warning Flasher.
356 WHAT TO DO IN EMERGENCIES
Page 359 of 475
1. Remove the scissors jack and lug wrench from the
spare wheel as an assembly. Turn the jack screw to the left
to loosen the lug wrench, and remove the wrench from
the jack assembly.
NOTE:The Jack Handle attaches to the side of the jack
with two attachment points. When the jack is partially
expanded, the tension between the two attachment
points holds the jack handle in place.2. Loosen, but do not remove, the wheel nuts by turning
them to the left one turn while the wheel is still on the
ground.
Jack Warning Label
Removing Jack Handle From Jack
WHAT TO DO IN EMERGENCIES 357
6
Page 361 of 475

CAUTION!
Do not attempt to raise the vehicle by jacking on
locations other than those indicated in Step 3.
3. There is one front jacking location and one rear jacking
location on each side of the vehicle. The front locations
are outlined by two triangular cutouts, the rear ones by
two rectangular cutouts. For vehicles equipped with
plastic trim, the plastic has been cut away to expose the
jacking locations in the body.
Do not raise the vehicle until you are sure the jack is
securely engaged.
4. Turn the jack screw to the left until the jack can be
placed under the jacking location. Once the jack is
positioned, turn the jack screw to the right until the jackhead is properly engaged with the lift area closest to the
wheel to be changed. Do not raise the vehicle until you
are sure the jack is securely engaged.
WARNING!
Raising the vehicle higher than necessary can make
the vehicle less stable. It could slip off the jack and
hurt someone near it. Raise the vehicle only enough
to remove the tire.
5. Raise the vehicle by turning the jack screw to the right,
using the swivel wrench. Raise the vehicle only until the
tire just clears the surface and enough clearance is
obtained to install the spare tire. Minimum tire lift
provides maximum stability.
WHAT TO DO IN EMERGENCIES 359
6
Page 362 of 475

6. Remove the wheel nuts, and pull the wheel and wheel
covers (if equipped) off the hub. Install the spare wheel
and wheel nuts with the cone shaped end of the nuts
toward the wheel. Lightly tighten the nuts. To avoid the
risk of forcing the vehicle off the jack, do not tighten the
nuts fully until the vehicle has been lowered.
WARNING!
To avoid possible personal injury, handle the wheel
covers with care to avoid contact with any sharp
edges.
NOTE:For vehicles so equipped, the wheel cover is
held on the wheel by the wheel nuts. When reinstalling
the original wheel, properly align the wheel cover to the
valve stem, place the wheel cover onto the wheel, and
then install the wheel nuts.
7. Lower the vehicle by turning the jack screw to the left.8. Finish tightening the nuts. Push down on the wrench
while tightening the wheel nuts. Alternate nuts, until
each nut has been tightened twice. Correct wheel nut
torque is 100 ft. lbs (135 N. m). If you doubt that you have
tightened the nuts correctly, have them checked with a
torque wrench by your dealer or at a service station.
9. Remove the wheel blocks and lower the jack until it is
free. Reassemble the lug wrench to the jack assembly and
stow it in the spare tire area. Secure the assembly using
the means provided.
WARNING!
A loose tire or jack thrown forward in a collision or
hard stop could endanger the occupants of the ve-
hicle. Always stow the jack parts and the spare tire in
the places provided. Have the deflated (flat) tire
repaired or replaced immediately.
360 WHAT TO DO IN EMERGENCIES