2009 CHRYSLER PT CRUISER spare wheel
[x] Cancel search: spare wheelPage 75 of 410

Airbag Warning Light
The light should come on and remain on for six to eight
seconds as a bulb check when the ignition switch is first
turned ON. If the light is not lit during starting, see your
authorized dealer. If the light stays on, flickers, or comes
on while driving, have the system checked by an autho-
rized dealer.
Defroster
Check operation by selecting the defrost mode and place
the blower control on high speed. You should be able to
feel the air directed against the windshield. See your
authorized dealer for service if your defroster is
inoperable.
Periodic Safety Checks You Should Make Outside
the Vehicle
Tires
Examine tires for excessive tread wear and uneven wear
patterns. Check for stones, nails, glass, or other objectslodged in the tread. Inspect the tread and sidewall for
cuts and cracks. Check the wheel nuts for tightness.
Check the tires (including spare) for proper pressure.
Lights
Have someone observe the operation of exterior lights
while you work the controls. Check turn signal and high
beam indicator lights on the instrument panel.
Door Latches
Check for positive closing, latching, and locking.
Fluid Leaks
Check area under vehicle after overnight parking for fuel,
engine coolant, oil, or other fluid leaks. Also, if gasoline
fumes are detected or if fuel, power steering fluid, or
brake fluid leaks are suspected, the cause should be
located and corrected immediately.
2
THINGS TO KNOW BEFORE STARTING YOUR VEHICLE 73
Page 262 of 410

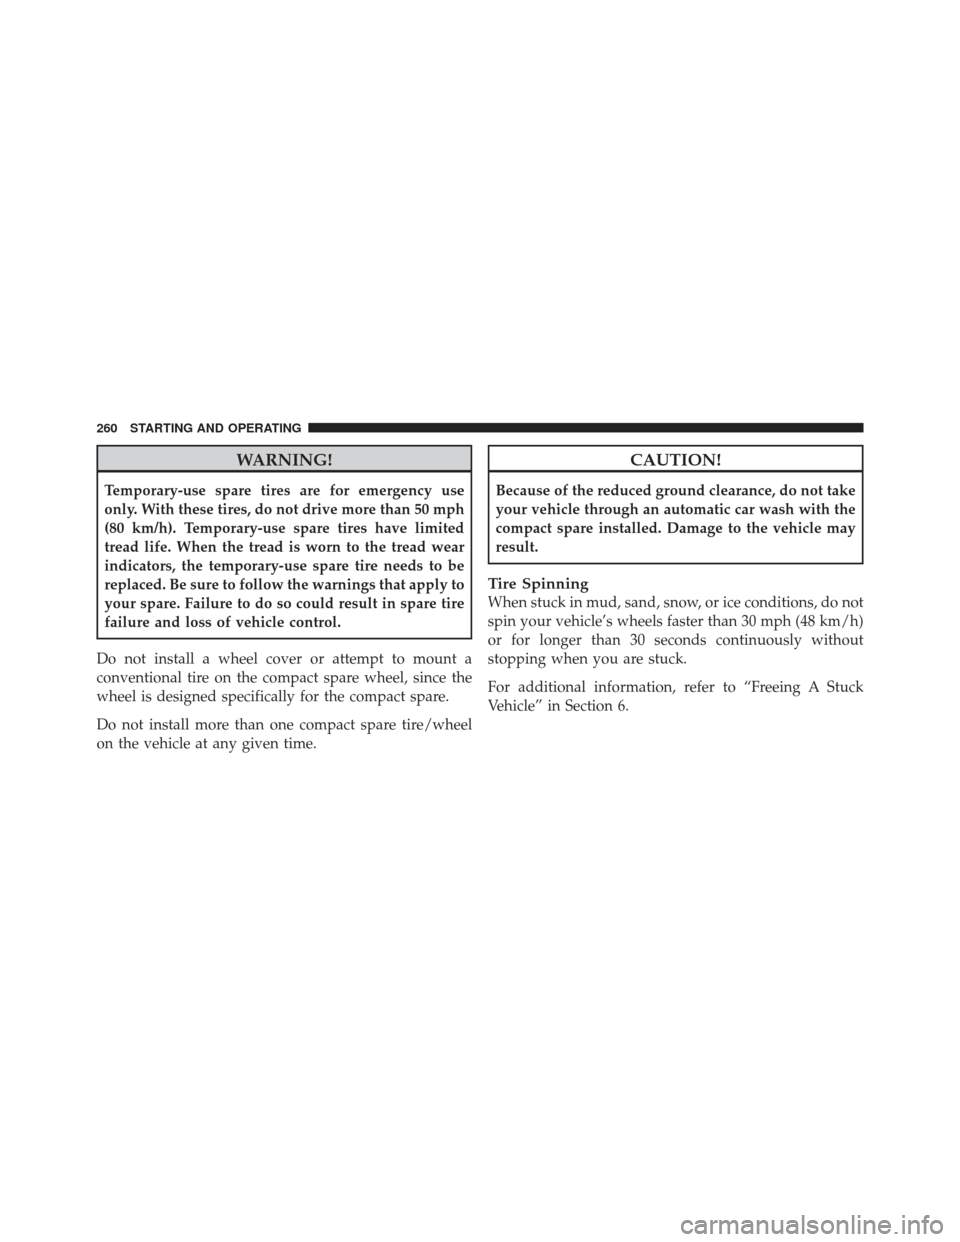
WARNING!
Temporary-use spare tires are for emergency use
only. With these tires, do not drive more than 50 mph
(80 km/h). Temporary-use spare tires have limited
tread life. When the tread is worn to the tread wear
indicators, the temporary-use spare tire needs to be
replaced. Be sure to follow the warnings that apply to
your spare. Failure to do so could result in spare tire
failure and loss of vehicle control.
Do not install a wheel cover or attempt to mount a
conventional tire on the compact spare wheel, since the
wheel is designed specifically for the compact spare.
Do not install more than one compact spare tire/wheel
on the vehicle at any given time.
CAUTION!
Because of the reduced ground clearance, do not take
your vehicle through an automatic car wash with the
compact spare installed. Damage to the vehicle may
result.
Tire Spinning
When stuck in mud, sand, snow, or ice conditions, do not
spin your vehicle’s wheels faster than 30 mph (48 km/h)
or for longer than 30 seconds continuously without
stopping when you are stuck.
For additional information, refer to “Freeing A Stuck
Vehicle” in Section 6.
260 STARTING AND OPERATING
Page 299 of 410

WARNING! (Continued)
•Always park on a firm, level surface as far from
the edge of the roadway as possible before raising
the vehicle.
•Block the wheel diagonally opposite the wheel to
be raised.
•Set the parking brake firmly, and shift a automatic
transmission into PARK; a manual transmission
into REVERSE.
•Never start or run the engine with the vehicle on a
jack.
•Do not let anyone sit in the vehicle when it is on a
jack.
•Do not get under the vehicle when it is on a jack.
•Only use the jack in the positions indicated and
for lifting this vehicle during a tire change.(Continued)
WARNING! (Continued)
•If working on or near a roadway, be extremely
careful of motor traffic.
•To assure that spare tires, flat or inflated, are
securely stowed, spares must be stowed with the
valve stem facing the ground.
•Turn on the Hazard Warning flasher.
1. Remove the scissors jack and lug wrench from the
stowage bag.
Jack Warning Label
6
WHAT TO DO IN EMERGENCIES 297
Page 301 of 410

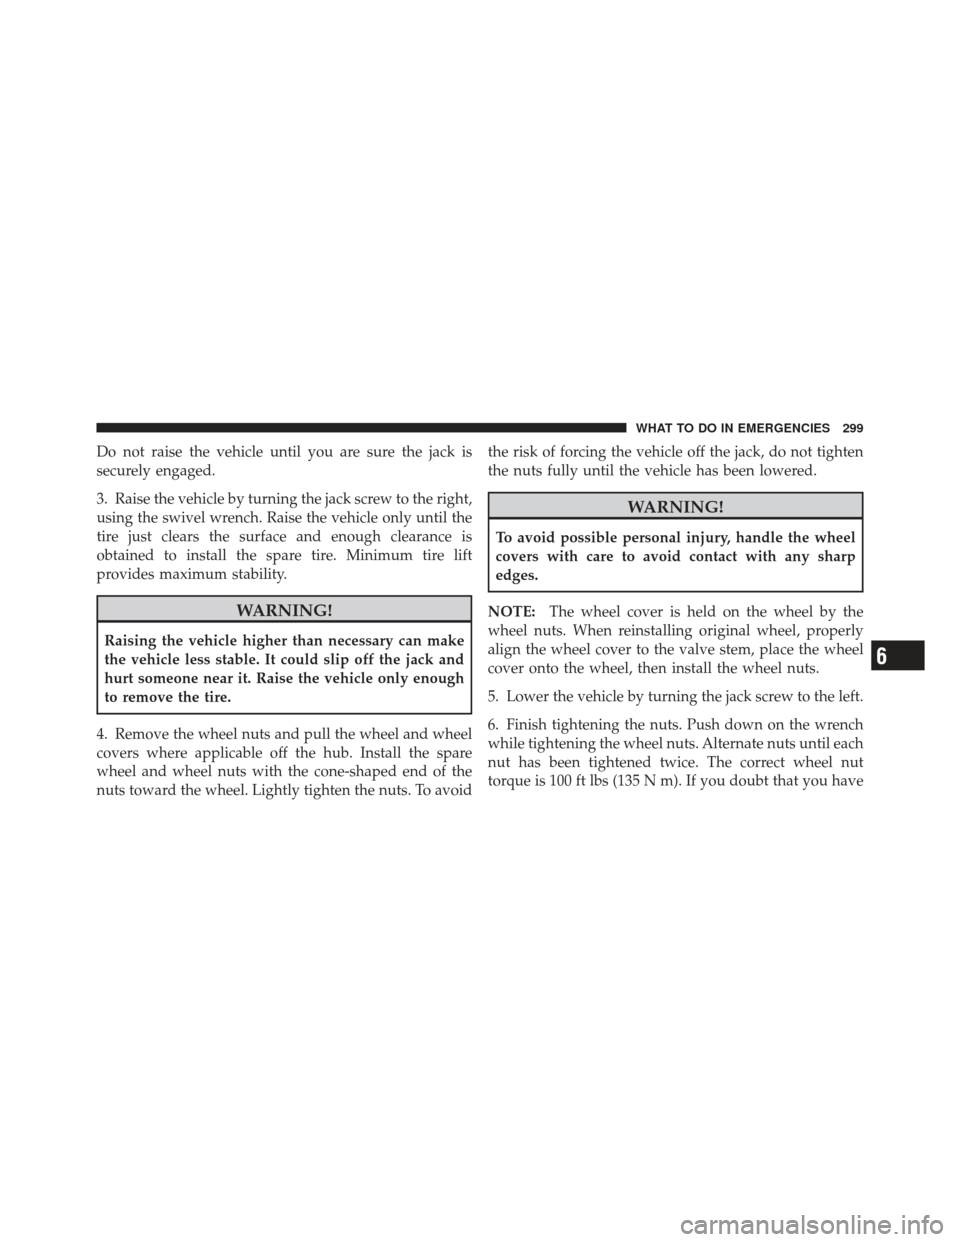
Do not raise the vehicle until you are sure the jack is
securely engaged.
3. Raise the vehicle by turning the jack screw to the right,
using the swivel wrench. Raise the vehicle only until the
tire just clears the surface and enough clearance is
obtained to install the spare tire. Minimum tire lift
provides maximum stability.
WARNING!
Raising the vehicle higher than necessary can make
the vehicle less stable. It could slip off the jack and
hurt someone near it. Raise the vehicle only enough
to remove the tire.
4. Remove the wheel nuts and pull the wheel and wheel
covers where applicable off the hub. Install the spare
wheel and wheel nuts with the cone-shaped end of the
nuts toward the wheel. Lightly tighten the nuts. To avoid the risk of forcing the vehicle off the jack, do not tighten
the nuts fully until the vehicle has been lowered.
WARNING!
To avoid possible personal injury, handle the wheel
covers with care to avoid contact with any sharp
edges.
NOTE: The wheel cover is held on the wheel by the
wheel nuts. When reinstalling original wheel, properly
align the wheel cover to the valve stem, place the wheel
cover onto the wheel, then install the wheel nuts.
5. Lower the vehicle by turning the jack screw to the left.
6. Finish tightening the nuts. Push down on the wrench
while tightening the wheel nuts. Alternate nuts until each
nut has been tightened twice. The correct wheel nut
torque is 100 ft lbs (135 N m). If you doubt that you have
6
WHAT TO DO IN EMERGENCIES 299
Page 302 of 410

tightened the nuts correctly, have them checked with a
torque wrench by your authorized dealer or at a qualified
service station.
7. Remove the wheel blocks and lower the jack until it is
free. Stow the lug wrench, and jack in their designated
location. Secure all parts using the means provided.
WARNING!
A loose tire or jack thrown forward in a collision or
hard stop could endanger the occupants of the ve-
hicle. Always stow the jack parts and the spare tire in
the places provided. Have the deflated (flat) tire
repaired or replaced immediately.
8. Place the deflated (flat) tire in the cargo area, have the
tire repaired or replaced as soon as possible.
9. Check the tire pressure as soon as possible. The correct
pressure as required.
JUMP-STARTING PROCEDURES
WARNING!
•Take care to avoid the radiator cooling fan when-
ever the hood is raised. It can start anytime the
ignition switch is ON. You can be hurt by the fan.
•Do not attempt to push or tow your vehicle to get
it started. Vehicles equipped with an automatic
transaxle cannot be started this way. Unburned
fuel could enter the catalytic converter and once
the engine has started, ignite and damage the
converter and vehicle. If the vehicle has a dis-
charged battery, booster cables may be used to
obtain a start from another vehicle. This type of
start can be dangerous if done improperly, so
follow this procedure carefully.
300 WHAT TO DO IN EMERGENCIES
Page 394 of 410

Check Engine Light
(Malfunction Indicator Light).............168,309
Checking Your Vehicle For Safety ............. 71
Checks, Safety ........................... 71
Child Restraint .......................... 62
Child Restraint Tether Anchors ............... 66
Child Restraint with Automatic Belts ........... 65
Child Safety Locks ........................ 30
Child Seat .............................. 68
Clean Air Gasoline ....................... 270
Cleaning Wheels ............................. 337
Climate Control ......................... 213
Clock ........................... 187,189,203
Clutch ............................... 329
Clutch Fluid ........................... 329
Coin Holder ........................... 148
Compact Disc (CD) Maintenance ............. 212
Compact Spare Tire ...................... 259 Compass
..................... 173,174,176,185
Compass Calibration .................. 176,185
Compass Variance ....................... 175
Computer, Trip/Travel .................... 173
Console .............................. 148
Contract, Service ........................ 383
Cool Down, Turbo ....................... 226
Coolant (Antifreeze) ................... 349,350
Coolant Pressure Cap (Radiator Cap) .......... 326
Cooling System ......................... 323
Adding Coolant (Antifreeze) .............. 325
Coolant Level ...................... 323,327
Disposal of Used Coolant ................ 327
Drain, Flush, and Refill .................. 324
Inspection ........................... 327
Points to Remember .................... 328
Pressure Cap ......................... 326
Radiator Cap ......................... 326
Selection of Coolant (Antifreeze) ........... 324
392 INDEX
Page 405 of 410

Snow Chains (Tire Chains)................. 263
Snow Tires ............................ 264
Spare Tire .......................... 259,295
Speed Control (Cruise Control) ...........133,168
Speedometer ........................... 165
Speedometer and Odometer ................ 161
Starting ............................... 224
Automatic Transmission ................. 224
Engine Fails to Start .................... 225
Manual Transmission ................... 224
Starting and Operating .................... 224
Starting Procedures ...................... 224
Steering Power ........................... 240,241
Tilt Column .......................... 132
Wheel Lock ........................... 14
Storage ............................ 147,344
Stuck, Freeing .......................... 302
Sun Roof .............................. 143 Sun Visor Extension
....................... 81
Supplemental Restraint System - Airbag ........ 45
Synthetic Engine Oil ...................... 315
Tachometer ............................ 165
Temperature Gauge, Engine Coolant .......164,293
Tether Anchor, Child Restraint ............... 66
Theft Alarm (Security Alarm) ................ 18
Theft System (Security Alarm) ............... 18
Tilt Steering Column ..................... 132
Tire and Loading Information Placard ......... 252
Tire Identification Number (TIN) ............. 251
Tire Markings .......................... 248
Tire Safety Information .................... 248
Tires ............................ 73,256,387
Aging (Life of Tires) .................... 262
Air Pressure .......................... 256
Chains .............................. 263
Changing ............................ 294
10
INDEX 403