Page 123 of 526
Radio FM
To switch to the FM band say “FM” or “Radio FM”. In
this mode, you may say the following commands:
•“Frequency” (to change the frequency)
•“Next Station” (to select the next station)
•“Previous Station” (to select the previous station)
•“Radio Menu” (to switch to the radio menu)
•“Main Menu” (to switch to the main menu)
Satellite Radio
To switch to satellite radio mode say “Sat” or “Satellite
Radio”. In this mode, you may say the following com-
mands:
•“Channel Number” (to change the channel by its
spoken number)
•“Next Channel” (to select the next channel)
•“Previous Channel” (to select the previous channel)
•“List Channel” (to hear a list of available channels)
•“Select Name” (to say the name of a channel)
•“Radio Menu” (to switch to the radio menu)
•“Main Menu” (to switch to the main menu)
Disc
To switch to the disc mode say “Disc”. In this mode, you
may say the following commands:
•“Track” (#) (to change the track)
•“Next Track” (to play the next track)
•“Previous Track” (to play the previous track)
•“Main Menu” (to switch to the main menu)
UNDERSTANDING THE FEATURES OF YOUR VEHICLE 121
3
Page 132 of 526
WARNING!
•Be certain that the seatback is securely locked into
position. If the seatback is not securely locked into
position, the seat will not provide the proper
stability for child seats and/or passengers. An
improperly latched seat could cause serious injury.
•The cargo area in the rear of the vehicle (with the
rear seatbacks in the locked-up or folded down
position) should not be used as a play area by
children when the vehicle is in motion. They could
be seriously injured in an accident. Children
should be seated and using the proper restraint
system.
DRIVER MEMORY SEAT — IF EQUIPPED
This feature allows the driver to store up to two different
memory profiles for easy recall through a memory
switch. Each memory profile contains desired positionsettings for the driver seat, side mirrors, adjustable
pedals (if equipped), and power tilt and telescopic steer-
ing column (if equipped) and a set of desired radio
station presets. Your Remote Keyless Entry (RKE) trans-
mitter can also be programmed to recall the same posi-
tions when the unlock button is pressed.
NOTE:Only one RKE transmitter can be linked to each
of the memory positions.
The memory switch is located on the driver’s door trim
panel. The switch contains an (S) button to activate the
memory save function. It also contains a rocker switch
labeled with the number (1) and the number (2). The
rocker switch allows the driver to recall either of two
pre-programmed memory profiles by pressing the appro-
priate side of the switch.
130 UNDERSTANDING THE FEATURES OF YOUR VEHICLE
Page 133 of 526
Programming The Memory Feature
NOTE:Saving a new memory profile will erase an
existing profile from memory.
To create a new memory profile, perform the following:
1. Turn your ignition to the ON position.2. Adjust all memory profile settings to desired prefer-
ences (i.e., seat, side mirror, adjustable pedals [if
equipped], power tilt and telescopic steering column [if
equipped], and radio station presets).
3. Press and release the SET (S) button on the memory
switch.
4. Within five seconds, press and release the memory
button 1 or 2. The Electronic Vehicle Information Center
(EVIC) (if equipped) will display which memory position
has been set.
NOTE:
•Memory profiles can be set without the vehicle in
PARK, but the vehicle must be in PARK to recall a
memory profile.
•The Recall Memory with Remote Key Unlock feature
can be enabled through the EVIC (if equipped). Refer
Memory Switch
UNDERSTANDING THE FEATURES OF YOUR VEHICLE 131
3
Page 145 of 526
because a door is open. This includes the glove box light,
but not the trunk light. To restore interior light operation,
either turn the ignition switch ON or cycle the light
switch.
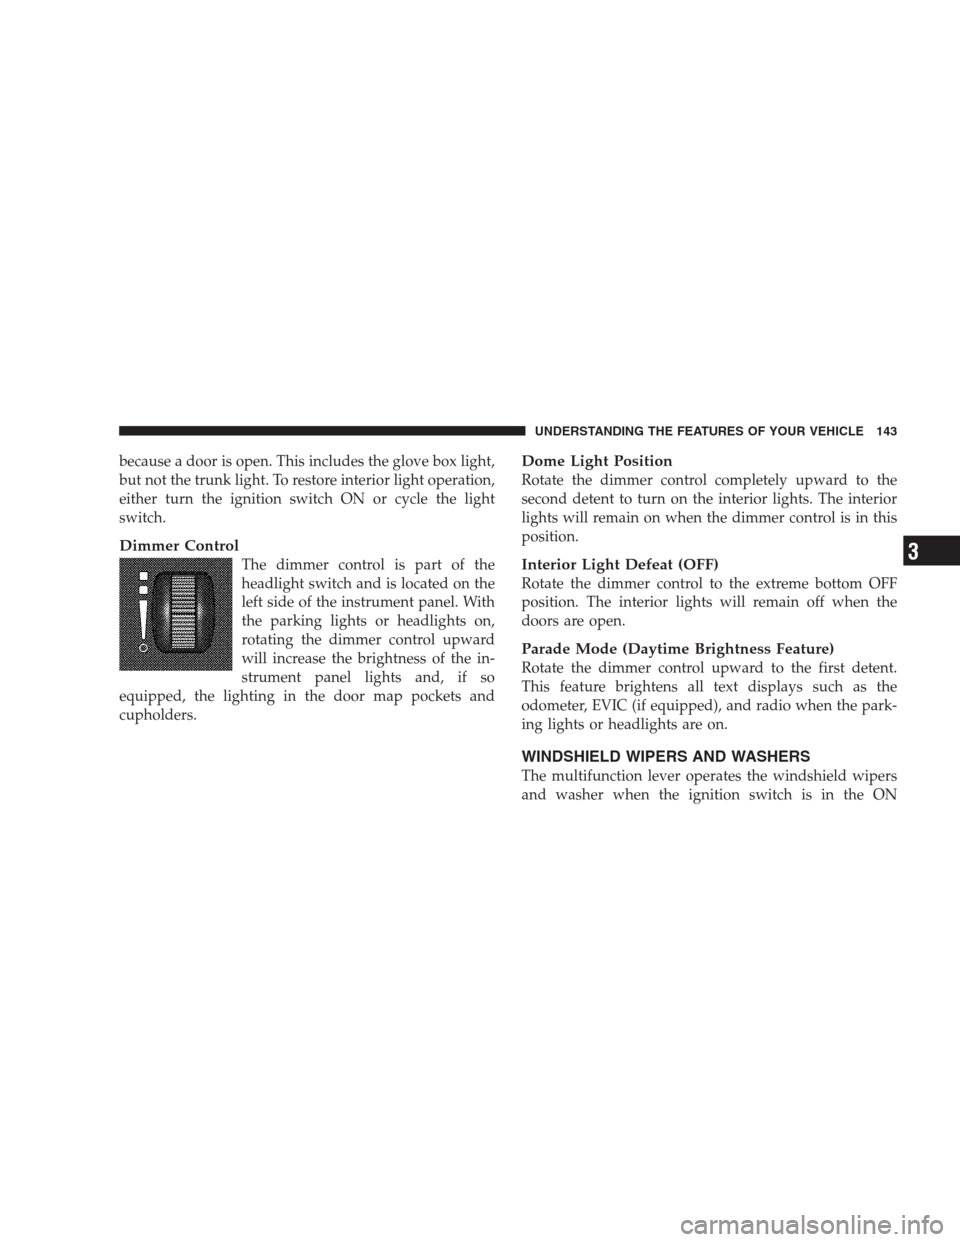
Dimmer Control
The dimmer control is part of the
headlight switch and is located on the
left side of the instrument panel. With
the parking lights or headlights on,
rotating the dimmer control upward
will increase the brightness of the in-
strument panel lights and, if so
equipped, the lighting in the door map pockets and
cupholders.
Dome Light Position
Rotate the dimmer control completely upward to the
second detent to turn on the interior lights. The interior
lights will remain on when the dimmer control is in this
position.
Interior Light Defeat (OFF)
Rotate the dimmer control to the extreme bottom OFF
position. The interior lights will remain off when the
doors are open.
Parade Mode (Daytime Brightness Feature)
Rotate the dimmer control upward to the first detent.
This feature brightens all text displays such as the
odometer, EVIC (if equipped), and radio when the park-
ing lights or headlights are on.
WINDSHIELD WIPERS AND WASHERS
The multifunction lever operates the windshield wipers
and washer when the ignition switch is in the ON
UNDERSTANDING THE FEATURES OF YOUR VEHICLE 143
3
Page 181 of 526
NOTE:The Rear Park Assist will MUTE the radio, if on,
when the system is sounding an audio tone.
WARNING!
•Drivers must be careful when backing up even
when using the Rear Park Assist. Always check
carefully behind your vehicle, look behind you,
and be sure to check for pedestrians, animals,
other vehicles, obstructions, and blind spots be-
fore backing up. You are responsible for safety and
must continue to pay attention to your surround-
ings. Failure to do so can result in serious injury or
death.
(Continued)
WARNING! (Continued)
•Before using the Rear Park Assist, it is strongly
recommended that the ball mount and hitch ball
assembly is disconnected from the vehicle when
the vehicle is not used for towing. Failure to do so
can result in injury or damage to vehicles or
obstacles because the hitch ball will be much
closer to the obstacle than the rear fascia when the
warning display turns the red indicators ON. Also,
the sensors could detect the ball mount and hitch
ball assembly, depending on its size and shape,
giving a false indication that an obstacle is behind
the vehicle.
UNDERSTANDING THE FEATURES OF YOUR VEHICLE 179
3
Page 185 of 526
Programming HomeLink�
Before You Begin
If you have not trained any of the HomeLink�buttons,
erase all channels before you begin training.
To do this, press and hold the two outside buttons for up
to 20 seconds. The EVIC will display “CLEARING
CHANNELS.” Release the buttons when the EVIC mes-
sage states “CHANNELS CLEARED.”
It is recommended that a new battery be placed in the
hand-held transmitter of the device being programmed
to HomeLink�for more efficient training and accurate
transmission of the radio-frequency signal.
Your vehicle should be parked outside of the garage
while training.
1. Turn the ignition switch to the ON/RUN position.2. Place the hand-held transmitter 1 to 3 in (3 to 8 cm)
from the HomeLink�buttons while keeping the EVIC
display in view.
For optimal training, point the battery end of the hand-
held transmitter away from the HomeLink�.
3. Simultaneously, press and hold both the chosen
HomeLink�button and the hand-held transmitter button
until the EVIC display changes from “CHANNEL #
TRAINING” to “CHANNEL # TRAINED.”
Then release both the HomeLink�and hand-held trans-
mitter buttons.
If the EVIC display states “DID NOT TRAIN” repeat
Step 3. If the signal is too weak, replace the battery in the
original hand-held transmitter.
It may take up to 30 seconds, or longer, in rare cases. The
garage door may open and close while you train.
UNDERSTANDING THE FEATURES OF YOUR VEHICLE 183
3
Page 187 of 526
6. Firmly press and release the “learn” or “training”
button. The name and color of the button may vary by
manufacturer.
NOTE:There are 30 seconds in which to initiate the next
step after the “Learn” button has been pressed.
7. Return to the vehicle and press the programmed
HomeLink�button twice (holding the button for two
seconds each time). If the device is plugged in and
activates, programming is complete.
If the device does not activate, press the button a third
time (for two seconds) to complete the training.
If you have any problems, or require assistance, please
call toll-free 1–800–355–3515 or, on the Internet at
www.HomeLink.com for information or assistance.
To program the remaining two HomeLink�buttons,
repeat each step for each remaining button. DO NOT
erase the channels.Gate Operator/Canadian Programming
Canadian radio-frequency laws require transmitter sig-
nals to “time-out” (or quit) after several seconds of
transmission – which may not be long enough for
HomeLink�to pick up the signal during programming.
Similar to this Canadian law, some U.S. gate operators are
designed to “time-out” in the same manner.
It may be helpful to unplug the device during the cycling
process to prevent possible overheating of the garage
door or gate motor.
If you are having difficulties programming a garage door
opener or a gate operator, replace “Programming
HomeLink” Step 3 with the following:
3. Continue to press and hold the HomeLink�button
while you press and release - every two seconds
(“cycle”) your hand-held transmitter until HomeLink�
UNDERSTANDING THE FEATURES OF YOUR VEHICLE 185
3
Page 197 of 526
STORAGE
Console Features
The center console contains two shift bezel cubby bins
with rubber mats for holding small items. For vehicles
not equipped with navigation radio, the console also
contains an extra storage bin located below the climate
control, which holds up to four CD jewel cases.
Without Vehicle Entertainment System (VES�)
Two separate storage compartments are also located
underneath the armrest.
1 — Release button for bottom compartment
2 — Release button for top compartment
3 — Top Compartment
4 — Bottom Compartment. (You can access this compartment
directly, without first exposing the upper compartment, by oper-
ating the Release Button for the bottom compartment with the
armrest down.)UNDERSTANDING THE FEATURES OF YOUR VEHICLE 195
3