Page 278 of 526
Press and hold the INFO button again for three seconds
to return to�elapsed time�display.
Operation Instructions - Auxiliary Mode
The auxiliary (AUX) jack is an audio input jack which
allows the user to plug in a portable device such as an
MP3 player or cassette player and utilize the vehicle’s
audio system to amplify the source and play through the
vehicle speakers.
Pressing the AUX button will change the mode to auxil-
iary device if the AUX jack is connected.
NOTE:The AUX device must be turned on and the
device’s volume set to the proper level. If the AUX audio
is not loud enough, turn the device’s volume up. If the
AUX audio sounds distorted, turn the device’s volume
down.
TIME Button (Auxiliary Mode)
Press this button to change the display to time of day. The
time of day will display for five seconds (when the
ignition is OFF).
Operating Instructions - uconnect�phone (If
Equipped)
Refer to “uconnect�phone” in Section 3.
Operating Instructions - uconnect�studios
(Satellite Radio) (If Equipped)
Refer to “uconnect�studios (Satellite Radio)” in this
section.
UNIVERSAL CONSUMER INTERFACE (UCI) — IF
EQUIPPED
NOTE:This section is for sales code RES and REQ/
REL/RET radios only with uconnect�. For sales code
RER, REN, REP, REW or REZ touch-screen radio UCI
276 UNDERSTANDING YOUR INSTRUMENT PANEL
Page 279 of 526
feature, refer to the separate RER, REN or REZ User’s
Manual. UCI is available only if equipped as an option
with these radios.
This feature allows you to plug an iPod�into the
vehicle’s sound system through a 16–pin connector using
the provided interface cable.
UCI supports Mini, 4G, Photo, Nano, 5G iPod�and
iPhone�devices. Some iPod�software versions may not
fully support the UCI features. Please visit Apple’s
website for software updates.
NOTE:
•If the radio has a USB port, connecting an iPod�to this
port does not play the media. For playing an iPod�,
use the separate 16–pin connector port (in the glove
compartment on some vehicles).
•Connecting an iPod�to the AUX port located in the
radio faceplate, plays media, but does not use the UCI
feature to control the connected device.
Connecting The iPod�
Use the optional connection cable to connect an iPod�to
the vehicle’s 16–pin connector port (which is located in
the glove compartment on some vehicles). Once the
iPod�is connected and synchronized to the vehicle’s UCI
system (iPod�may take a few seconds to connect), the
iPod�starts charging and is ready for use by pressing
radio switches, as described below.
NOTE:
•You may have to remove the connector pin protection
cap from the 16–pin connector port, prior to connect-
ing the cable.
UNDERSTANDING YOUR INSTRUMENT PANEL 277
4
Page 280 of 526
•If the iPod�battery is completely discharged, it may
not communicate with the UCI system until a mini-
mum charge is attained. Leaving the iPod�connected
to the UCI system may charge it to the required level.
Using This Feature
By using the optional connection cable to connect an
iPod�to the vehicle’s UCI 16–pin connector port:
•The iPod�audio can be played on the vehicle’s sound
system, providing metadata (Artist, track title, album,
etc.) information on the radio display.
•The iPod�can be controlled using the radio buttons to
Play, Browse, and List the iPod�contents.
•The iPod�battery charges when plugged into the UCI
connector.
Controlling The iPod�Using Radio Buttons
To get into the UCI (iPod�) mode and access a connected
iPod�, press the ‘AUX’ button on the radio faceplate.Once in the UCI (iPod�) mode, iPod�audio tracks (if
available from iPod�) start playing over the vehicle’s
audio system.
Play Mode
When switched to UCI mode, the iPod�automatically
starts Play mode. In Play mode, you may use the
following buttons on the radio faceplate to control the
iPod�and display data:
•Use the TUNE control knob to select the next or
previous track.
•Turning it clockwise (forward) by one click, while
playing a track, skips to the next track.
•Turning it counterclockwise (backward) by one
click, during the first two seconds of the track, will
jump to the previous track in the list. Turning this
button at any other time in the track, will jump to
the beginning of the current track.
278 UNDERSTANDING YOUR INSTRUMENT PANEL
Page 289 of 526
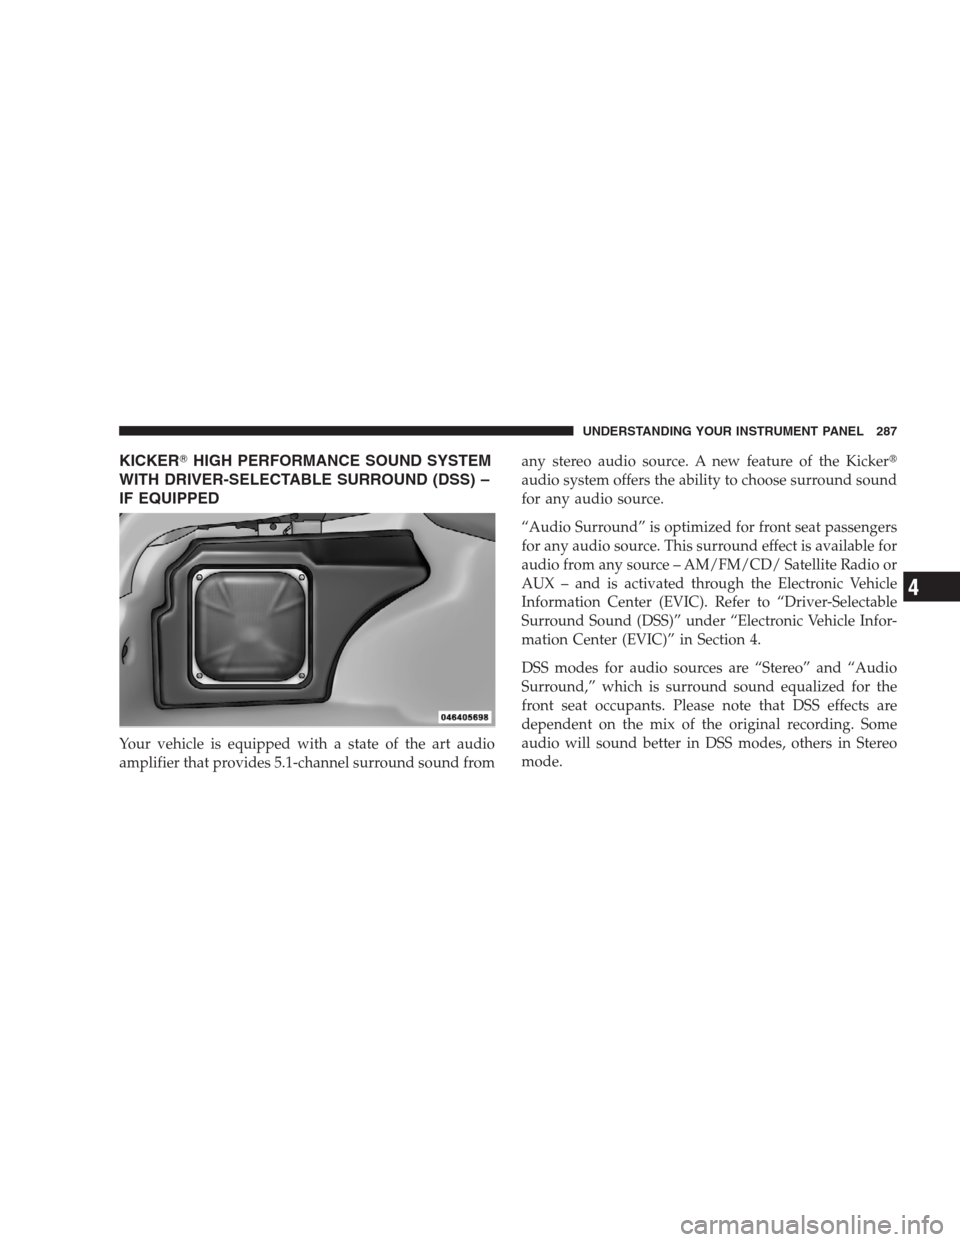
KICKER�HIGH PERFORMANCE SOUND SYSTEM
WITH DRIVER-SELECTABLE SURROUND (DSS) –
IF EQUIPPED
Your vehicle is equipped with a state of the art audio
amplifier that provides 5.1-channel surround sound fromany stereo audio source. A new feature of the Kicker�
audio system offers the ability to choose surround sound
for any audio source.
“Audio Surround” is optimized for front seat passengers
for any audio source. This surround effect is available for
audio from any source – AM/FM/CD/ Satellite Radio or
AUX – and is activated through the Electronic Vehicle
Information Center (EVIC). Refer to “Driver-Selectable
Surround Sound (DSS)” under “Electronic Vehicle Infor-
mation Center (EVIC)” in Section 4.
DSS modes for audio sources are “Stereo” and “Audio
Surround,” which is surround sound equalized for the
front seat occupants. Please note that DSS effects are
dependent on the mix of the original recording. Some
audio will sound better in DSS modes, others in Stereo
mode.
UNDERSTANDING YOUR INSTRUMENT PANEL 287
4
Page 292 of 526
•A battery-powered infrared remote control snaps into
a molded compartment in the center console armrest
upper storage bin.
•Two wireless infrared headsets allow rear seat passen-
gers to listen to the same or individual audio sources.Audio/Video RCA Jacks (AUX Jacks)
on the rear of the center console enable
the monitor to display video directly
from a video camera, connect video
games for display on the screen, or
play music directly from an MP3
player.
1. Video in (yellow)
2. Left audio in (white)
3. Right audio in (red)
NOTE:Refer to your “Vehicle Entertainment System
(VES)™ Users Manual” for detailed operating instruc-
tions.
VES™ Remote Control
290 UNDERSTANDING YOUR INSTRUMENT PANEL
Page 517 of 526
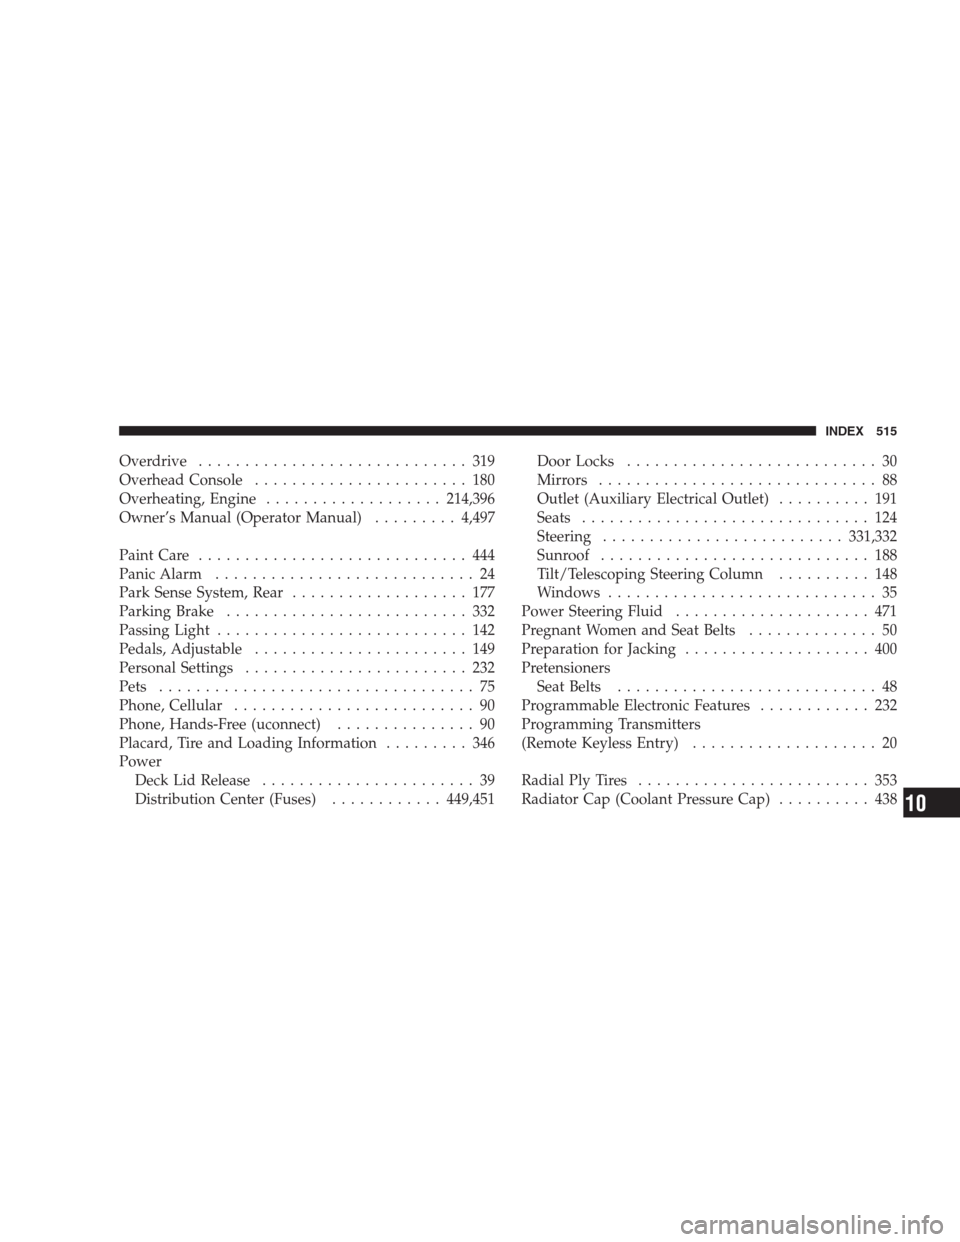
Overdrive............................. 319
Overhead Console....................... 180
Overheating, Engine...................214,396
Owner’s Manual (Operator Manual).........4,497
Paint Care............................. 444
Panic Alarm............................ 24
Park Sense System, Rear................... 177
Parking Brake.......................... 332
Passing Light........................... 142
Pedals, Adjustable....................... 149
Personal Settings........................ 232
Pets.................................. 75
Phone, Cellular.......................... 90
Phone, Hands-Free (uconnect)............... 90
Placard, Tire and Loading Information......... 346
Power
Deck Lid Release....................... 39
Distribution Center (Fuses)............449,451Door Locks........................... 30
Mirrors.............................. 88
Outlet (Auxiliary Electrical Outlet).......... 191
Seats............................... 124
Steering..........................331,332
Sunroof............................. 188
Tilt/Telescoping Steering Column.......... 148
Windows............................. 35
Power Steering Fluid..................... 471
Pregnant Women and Seat Belts.............. 50
Preparation for Jacking.................... 400
Pretensioners
Seat Belts............................ 48
Programmable Electronic Features............ 232
Programming Transmitters
(Remote Keyless Entry).................... 20
Radial Ply Tires......................... 353
Radiator Cap (Coolant Pressure Cap).......... 438
INDEX 515
10