2009 CHEVROLET TRAVERSE center console
[x] Cancel search: center consolePage 9 of 422

Power Lumbar
If the seats have power lumbar, the
controls used to operate this
feature are located on the outboard
side of the seats. See “Power
Lumbar” underPower Seats on
page 1-4for more information.
To increase or decrease lumbar
support, press and hold the front
or rear of the control (C).
Release the control when the
seatback reaches the desired level
of lumbar support.
The lumbar support may need to
be adjusted when changing
the seating position.
Heated Seats
On vehicles with heated front seats,
the controls are located on the center
console. To operate the heated seats
the engine must be running.
I(Heated Seatback):Press to
turn on the heated seatback.
J(Heated Seat and Seatback):
Press to turn on or off the heated
seat and seatback.
The light on the button will come
on to indicate that the feature is on.
Each time the button is pressed, the
temperature settings change from
high, to medium, to low, to off.
Indicator lights above the button
will show the level of heat
selected: three for high, two
for medium, and one for low.
The passenger seat may take longer
to heat up.
If the vehicle has remote vehicle
start and is started using the remote
keyless entry transmitter, the front
heated seats will be turned on to the
high setting if it is cold outside.See “Remote Vehicle Start” under
Remote Keyless Entry (RKE)
System Operation on page 2-4.
When the ignition is turned on, the
heated seat feature will turn off.
To turn the heated seat feature back
on, press the desired button.Heated and Cooled Seats
If the front seats have the heated
and cooled seat feature, the buttons
used to control this feature are
located on the front doors near
the door handle.
H(Cooled Seat):To cool the
entire seat, press the button with
the cooled seat symbol.
This symbol will appear on the
climate control display to indicate
that the feature is on. Press the
button to cycle through the
temperature settings of high,
medium, and low and to turn the
cooled seat off. Indicator bars next
to the symbol designate the level of
cooling selected: three for high, two
for medium, and one for low.
Seats and Restraint System 1-5
Page 14 of 422

Entering and Exiting the
Third Row
{CAUTION
Using the third row seating
position while the second row is
folded, or folded and tumbled,
could cause injury in a sudden stop
or crash. Be sure to return the seat
to the passenger seating position.
Push and pull on the seat to make
sure it is locked into place.
Notice:Folding a rear seat with
the safety belts still fastened may
cause damage to the seat or the
safety belts. Always unbuckle the
safety belts and return them to
their normal stowed position
before folding a rear seat.To access the third row:
1. Remove objects on the �oor in
front of or on the second row
seat, or in the seat tracks on
the �oor.
2. Move the front center console
armrest completely forward.
SeeCenter Console Storage on
page 2-52.3. Place folding armrests in the
upright position.
4. Ensure that the safety belt is
unfastened and in the stowed
position.
5. Pull the sliding seat lever (C)
forward and move the seatback
forward. The seat cushion
will fold, and the entire seat will
slide forward.
1-10 Seats and Restraint System
Page 66 of 422
Storage AreasGlove Box..........................2-52
Cupholders.........................2-52
Instrument Panel Storage......2-52
Center Console Storage.......2-52
Second Row Center
Console............................2-53
Floor Mats..........................2-54
Luggage Carrier..................2-54
Convenience Net.................2-55
Cargo Cover.......................2-55
Cargo Tie Downs................2-55
Cargo Management
System.............................2-55
SunroofSunroof..............................2-56
Keys
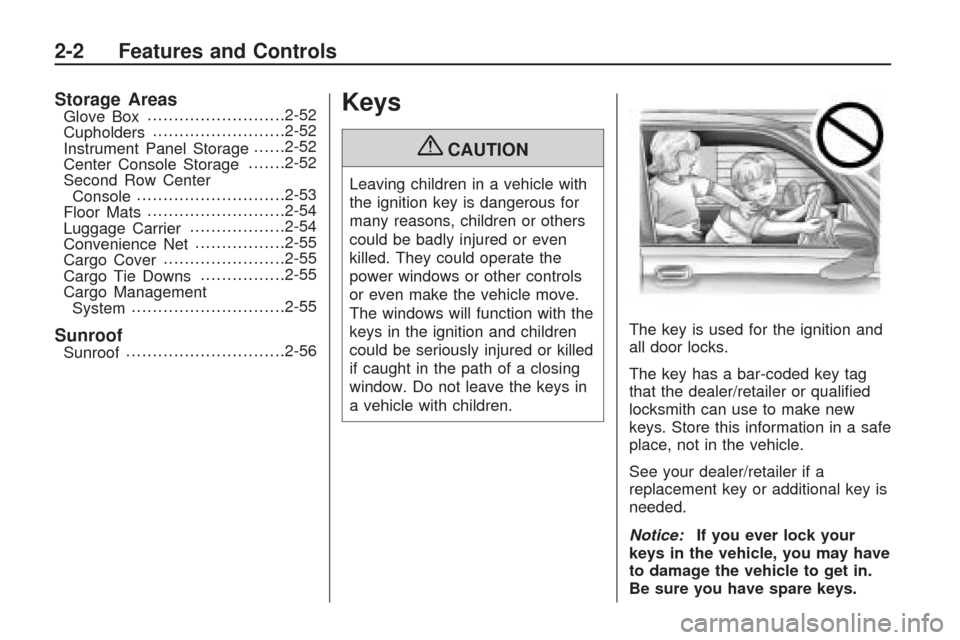
{CAUTION
Leaving children in a vehicle with
the ignition key is dangerous for
many reasons, children or others
could be badly injured or even
killed. They could operate the
power windows or other controls
or even make the vehicle move.
The windows will function with the
keys in the ignition and children
could be seriously injured or killed
if caught in the path of a closing
window. Do not leave the keys in
a vehicle with children.The key is used for the ignition and
all door locks.
The key has a bar-coded key tag
that the dealer/retailer or quali�ed
locksmith can use to make new
keys. Store this information in a safe
place, not in the vehicle.
See your dealer/retailer if a
replacement key or additional key is
needed.
Notice:If you ever lock your
keys in the vehicle, you may have
to damage the vehicle to get in.
Be sure you have spare keys.
2-2 Features and Controls
Page 76 of 422
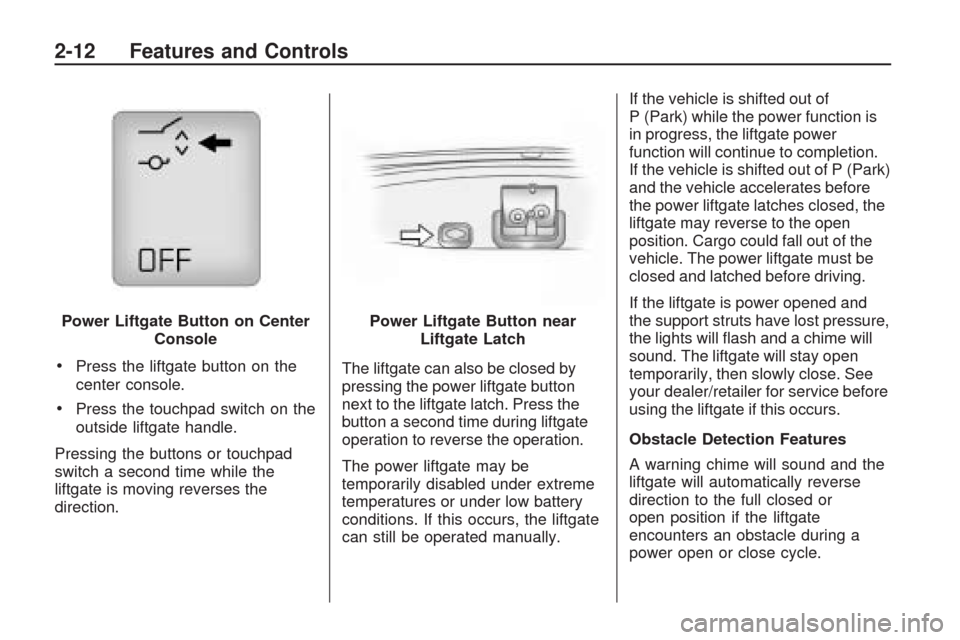
Press the liftgate button on the
center console.
Press the touchpad switch on the
outside liftgate handle.
Pressing the buttons or touchpad
switch a second time while the
liftgate is moving reverses the
direction.The liftgate can also be closed by
pressing the power liftgate button
next to the liftgate latch. Press the
button a second time during liftgate
operation to reverse the operation.
The power liftgate may be
temporarily disabled under extreme
temperatures or under low battery
conditions. If this occurs, the liftgate
can still be operated manually.If the vehicle is shifted out of
P (Park) while the power function is
in progress, the liftgate power
function will continue to completion.
If the vehicle is shifted out of P (Park)
and the vehicle accelerates before
the power liftgate latches closed, the
liftgate may reverse to the open
position. Cargo could fall out of the
vehicle. The power liftgate must be
closed and latched before driving.
If the liftgate is power opened and
the support struts have lost pressure,
the lights will �ash and a chime will
sound. The liftgate will stay open
temporarily, then slowly close. See
your dealer/retailer for service before
using the liftgate if this occurs.
Obstacle Detection Features
A warning chime will sound and the
liftgate will automatically reverse
direction to the full closed or
open position if the liftgate
encounters an obstacle during a
power open or close cycle. Power Liftgate Button on Center
Console
Power Liftgate Button near
Liftgate Latch
2-12 Features and Controls
Page 77 of 422

After removing the obstruction, the
power liftgate operation can be
used again.
If the liftgate comes across more
obstacles on the same power cycle,
the power function deactivates,
and you must manually open
or close the liftgate. A message
displays, LIFTGATE OPEN,
to indicate that the liftgate is open.
SeeDriver Information Center
(DIC) on page 3-44for more
information. After removing the
obstructions, manually open
the liftgate to the full open position
or close the liftgate to the fully
closed and latched position.
The liftgate resumes normal power
operation.
Pinch sensors are located on the
side edges of the liftgate. If an
object is caught between the liftgate
and the vehicle and presses
against this sensor, the liftgate will
reverse direction and open fully.The liftgate will remain open until
it is activated again or closed
manually. Do not force the liftgate
open or closed during a power cycle.
Manual Operation of Power
Liftgate
To change the liftgate to manual
operation, press the switch on
the center console to OFF.
With the power liftgate disabled and
all of the doors unlocked, the liftgate
can be manually opened and closed.To open the liftgate, press the
touchpad on the handle on
the outside of the liftgate and lift the
gate open. To close the liftgate,
use the pull cup to lower the liftgate
and close. The liftgate latch will
power close. Always close the
liftgate before driving.
If the RKE button or the power close
button on the liftgate is pressed while
power operation is disabled, the
lights will �ash three times, but the
liftgate will not move.
It is not recommended that you
drive with the liftgate open.
However, if you must drive with the
liftgate open, the liftgate should
be set to manual operation by
pressing the OFF switch on the
center console.
Features and Controls 2-13
Page 116 of 422
Storage Areas
Glove Box
Lift the glove box handle up to open
it. Use the key to lock and unlock
the glove box.
Cupholders
There are two cupholders, with
removable liners, located in front of
the center console. There may
be cupholders located in the
second row seat armrest.
To access, pull the armrest down.There are additional cupholders
located on each side of the third row
seat and in each door. There may
be cupholders located at the rear
of the center console. To access,
pull the handle down.
Instrument Panel Storage
This vehicle has an instrument panel
storage area located above the
radio. To open the cover, press the
button.
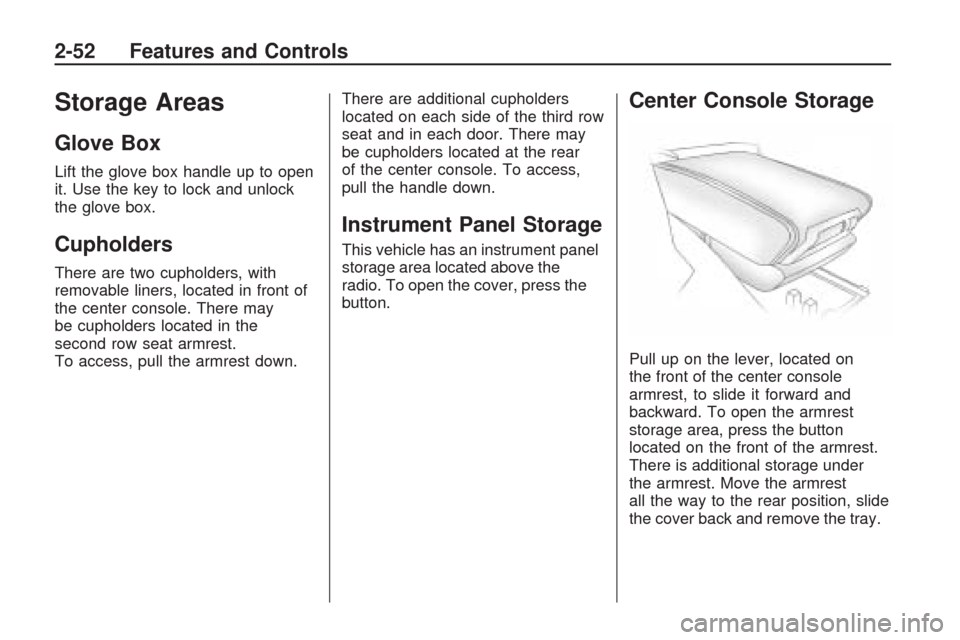
Center Console Storage
Pull up on the lever, located on
the front of the center console
armrest, to slide it forward and
backward. To open the armrest
storage area, press the button
located on the front of the armrest.
There is additional storage under
the armrest. Move the armrest
all the way to the rear position, slide
the cover back and remove the tray.
2-52 Features and Controls
Page 117 of 422
Second Row Center
Console
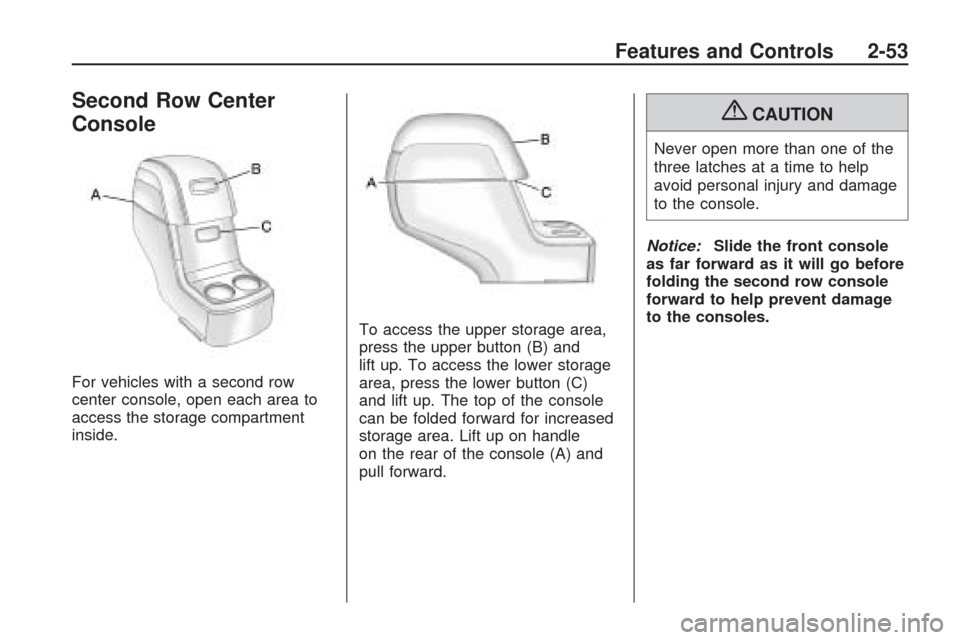
For vehicles with a second row
center console, open each area to
access the storage compartment
inside.To access the upper storage area,
press the upper button (B) and
lift up. To access the lower storage
area, press the lower button (C)
and lift up. The top of the console
can be folded forward for increased
storage area. Lift up on handle
on the rear of the console (A) and
pull forward.
{CAUTION
Never open more than one of the
three latches at a time to help
avoid personal injury and damage
to the console.
Notice:Slide the front console
as far forward as it will go before
folding the second row console
forward to help prevent damage
to the consoles.
Features and Controls 2-53
Page 137 of 422
Accessory Power
Outlet(s)
Accessory power outlets let you plug
in auxiliary electrical equipment,
such as a cellular phone.
The vehicle may have four
accessory power outlets. They
are located on the instrument panel
below the climate controls, under
the front center console cupholders,
at the rear of the center console,
and in the rear cargo area.
To use the outlets, remove the
cover. When not in use, always cover
the outlet with the protective cap.
Notice:Leaving electrical
equipment on for extended
periods will drain the battery.Always turn off electrical
equipment when not in use and
do not plug in equipment that
exceeds the maximum amperage
rating of 20 amperes.
Certain electrical accessories
may not be compatible with the
accessory power outlets and could
result in blown vehicle or adapter
fuses. If you experience a problem,
see your dealer/retailer for
additional information on the
accessory power outlet.
Notice:Adding any electrical
equipment to the vehicle can
damage it or keep other
components from working as
they should. The repairs would
not be covered by the vehiclewarranty. Do not use equipment
exceeding maximum amperage
rating of 20 amperes. Check
with your dealer/retailer before
adding electrical equipment.
When adding electrical equipment,
be sure to follow the installation
instructions included with the
equipment.
Notice:Improper use of the
power outlet can cause damage
not covered by the warranty.
Do not hang any type of
accessory or accessory bracket
from the plug because the
power outlets are designed for
accessory power plugs only.
Instrument Panel 3-17