2009 CHEVROLET SUBURBAN ESP
[x] Cancel search: ESPPage 15 of 578
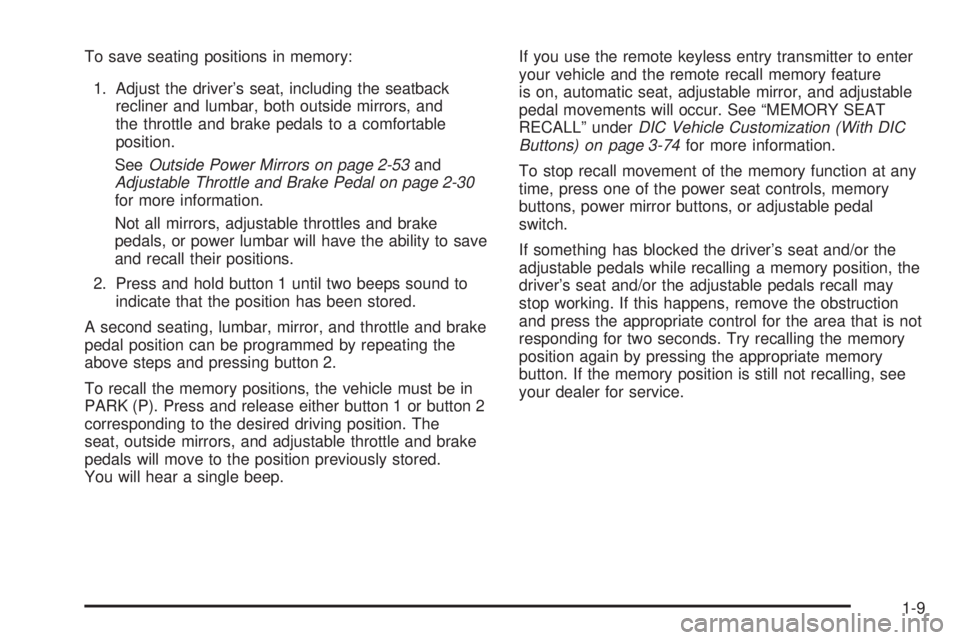
To save seating positions in memory:
1. Adjust the driver’s seat, including the seatback
recliner and lumbar, both outside mirrors, and
the throttle and brake pedals to a comfortable
position.
SeeOutside Power Mirrors on page 2-53and
Adjustable Throttle and Brake Pedal on page 2-30
for more information.
Not all mirrors, adjustable throttles and brake
pedals, or power lumbar will have the ability to save
and recall their positions.
2. Press and hold button 1 until two beeps sound to
indicate that the position has been stored.
A second seating, lumbar, mirror, and throttle and brake
pedal position can be programmed by repeating the
above steps and pressing button 2.
To recall the memory positions, the vehicle must be in
PARK (P). Press and release either button 1 or button 2
corresponding to the desired driving position. The
seat, outside mirrors, and adjustable throttle and brake
pedals will move to the position previously stored.
You will hear a single beep.If you use the remote keyless entry transmitter to enter
your vehicle and the remote recall memory feature
is on, automatic seat, adjustable mirror, and adjustable
pedal movements will occur. See “MEMORY SEAT
RECALL” underDIC Vehicle Customization (With DIC
Buttons) on page 3-74for more information.
To stop recall movement of the memory function at any
time, press one of the power seat controls, memory
buttons, power mirror buttons, or adjustable pedal
switch.
If something has blocked the driver’s seat and/or the
adjustable pedals while recalling a memory position, the
driver’s seat and/or the adjustable pedals recall may
stop working. If this happens, remove the obstruction
and press the appropriate control for the area that is not
responding for two seconds. Try recalling the memory
position again by pressing the appropriate memory
button. If the memory position is still not recalling, see
your dealer for service.
1-9
Page 42 of 578
Questions and Answers About Safety
Belts
Q:Will I be trapped in the vehicle after a crash if I
am wearing a safety belt?
A:Youcouldbe — whether you are wearing a safety
belt or not. But your chance of being conscious
during and after an accident, so youcanunbuckle
and get out, ismuchgreater if you are belted.
And you can unbuckle a safety belt, even if you are
upside down.
Q:If my vehicle has airbags, why should I have to
wear safety belts?
A:Airbags are supplemental systems only; so they
workwithsafety belts — not instead of them.
Whether or not an airbag is provided, all occupants
still have to buckle up to get the most protection.
That is true not only in frontal collisions, but
especially in side and other collisions.
Q:If I am a good driver, and I never drive far from
home, why should I wear safety belts?
A:You may be an excellent driver, but if you are in a
crash — even one that is not your fault — you and
your passenger(s) can be hurt. Being a good
driver does not protect you from things beyond your
control, such as bad drivers.
Most accidents occur within 25 miles (40 km) of
home. And the greatest number of serious injuries
and deaths occur at speeds of less than 40 mph
(65 km/h).
Safety belts are for everyone.
1-36
Page 116 of 578
Doors and Locks
Door Locks
{CAUTION:
Unlocked doors can be dangerous.
Passengers, especially children, can easily
open the doors and fall out of a moving vehicle.
When a door is locked, the handle will not open
it. The chance of being thrown out of the
vehicle in a crash is increased if the doors are
not locked. So, all passengers should wear
safety belts properly and the doors should be
locked whenever the vehicle is driven.
Young children who get into unlocked vehicles
may be unable to get out. A child can be
overcome by extreme heat and can suffer
permanent injuries or even death from heat
stroke. Always lock the vehicle whenever
leaving it.
Outsiders can easily enter through an unlocked
door when you slow down or stop your vehicle.
Locking your doors can help prevent this from
happening.There are several ways to lock and unlock your vehicle.
From the outside, use the Remote Keyless Entry (RKE)
transmitter or the key in the driver’s door.
From the inside, use the power door locks or manual
door locks. To lock or unlock the door with the manual
locks, push down or pull up on the manual lock knob.
Power Door Locks
On vehicles with power door locks, the switches are
located on the front doors.
"(Unlock):Press to unlock the doors.
Q(Lock):Remove the key from the ignition and press
to lock the doors.
2-10
Page 125 of 578
Windows
{CAUTION:
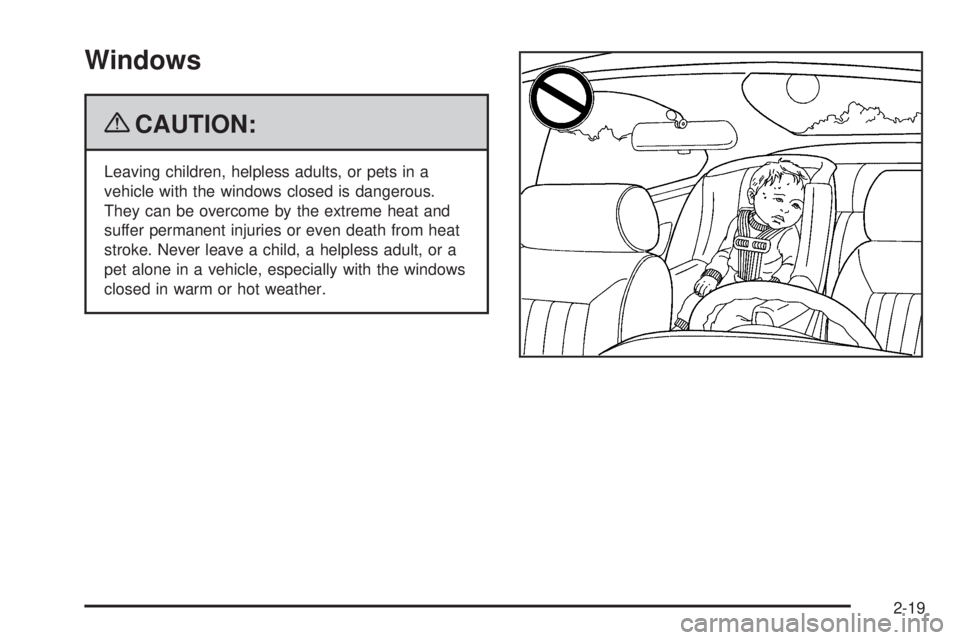
Leaving children, helpless adults, or pets in a
vehicle with the windows closed is dangerous.
They can be overcome by the extreme heat and
suffer permanent injuries or even death from heat
stroke. Never leave a child, a helpless adult, or a
pet alone in a vehicle, especially with the windows
closed in warm or hot weather.
2-19
Page 128 of 578
Theft-Deterrent Systems
Vehicle theft is big business, especially in some cities.
This vehicle has theft-deterrent features, however,
they do not make it impossible to steal.
Content Theft-Deterrent
Your vehicle may have a content theft-deterrent alarm
system.
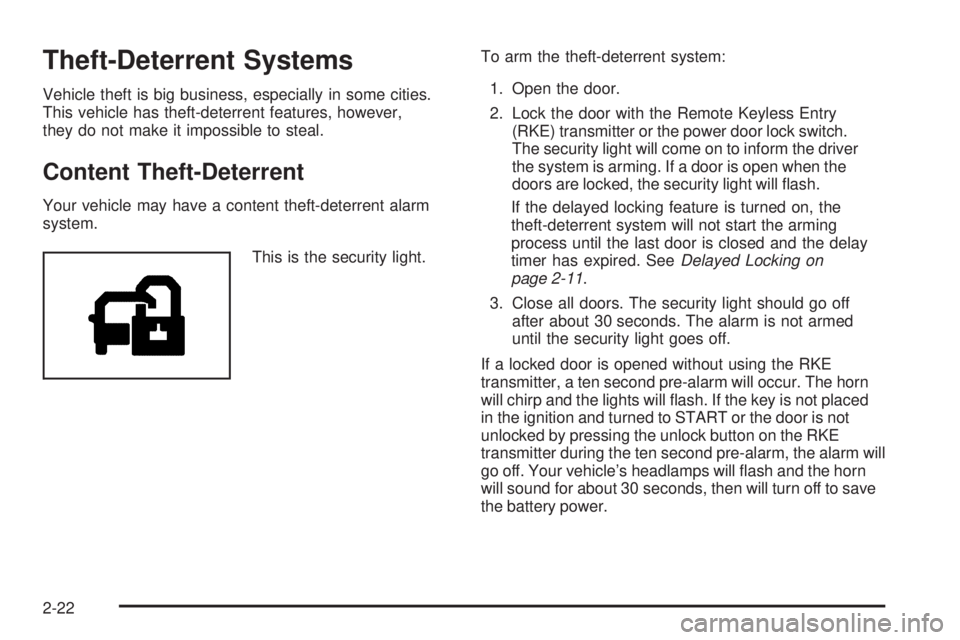
This is the security light.To arm the theft-deterrent system:
1. Open the door.
2. Lock the door with the Remote Keyless Entry
(RKE) transmitter or the power door lock switch.
The security light will come on to inform the driver
the system is arming. If a door is open when the
doors are locked, the security light will �ash.
If the delayed locking feature is turned on, the
theft-deterrent system will not start the arming
process until the last door is closed and the delay
timer has expired. SeeDelayed Locking on
page 2-11.
3. Close all doors. The security light should go off
after about 30 seconds. The alarm is not armed
until the security light goes off.
If a locked door is opened without using the RKE
transmitter, a ten second pre-alarm will occur. The horn
will chirp and the lights will �ash. If the key is not placed
in the ignition and turned to START or the door is not
unlocked by pressing the unlock button on the RKE
transmitter during the ten second pre-alarm, the alarm will
go off. Your vehicle’s headlamps will �ash and the horn
will sound for about 30 seconds, then will turn off to save
the battery power.
2-22
Page 135 of 578
Starting Procedure
1. With your foot off the accelerator pedal, turn the
ignition key to START. When the engine starts, let go
of the key. The idle speed will go down as the engine
gets warm. Do not race the engine immediately after
starting it. Operate the engine and transmission
gently to allow the oil to warm up and lubricate all
moving parts.
The vehicle has a Computer-Controlled Cranking
System. This feature assists in starting the engine
and protects components. If the ignition key is turned
to the START position, and then released when the
engine begins cranking, the engine will continue
cranking for a few seconds or until the vehicle starts.
If the engine does not start and the key is held in
START for many seconds, cranking will be stopped
after 15 seconds to prevent cranking motor damage.
To prevent gear damage, this system also prevents
cranking if the engine is already running. Engine
cranking can be stopped by turning the ignition
switch to the ACC/ACCESSORY or LOCK/OFF
position.
Notice:Cranking the engine for long periods of
time, by returning the key to the START position
immediately after cranking has ended, can overheat
and damage the cranking motor, and drain the
battery. Wait at least 15 seconds between each try,
to let the cranking motor cool down.2. If the engine does not start after 5-10 seconds,
especially in very cold weather (below 0°F or−18°C),
it could be �ooded with too much gasoline.
Try pushing the accelerator pedal all the way to
the �oor and holding it there as you hold the key in
START for up to a maximum of 15 seconds. Wait
at least 15 seconds between each try, to allow the
cranking motor to cool down. When the engine starts,
let go of the key and accelerator. If the vehicle starts
brie�y but then stops again, do the same thing.
This clears the extra gasoline from the engine.
Do not race the engine immediately after starting it.
Operate the engine and transmission gently until
the oil warms up and lubricates all moving parts.
Notice:The engine is designed to work with the
electronics in the vehicle. If you add electrical parts
or accessories, you could change the way the
engine operates. Before adding electrical equipment,
check with your dealer/retailer. If you do not, the
engine might not perform properly. Any resulting
damage would not be covered by the vehicle
warranty.
2-29
Page 138 of 578

Automatic Transmission Operation
If the vehicle is a Two-mode Hybrid, see the Two-mode
Hybrid manual for more information.
If the vehicle is has an automatic transmission, it has an
electronic shift position indicator within the instrument
panel cluster. This display comes on when the ignition
key is turned to the ON/RUN position.
There are several different positions for the shift lever.
See “Range Selection Mode” later in this section.
P (Park):This position locks the rear wheels. It is the
best position to use when starting the engine because
the vehicle cannot move easily. When parked on a
hill, especially when the vehicle has a heavy load, you
might notice an increase in the effort to shift out of
P (Park). See Torque Lock (Automatic Transmission)
underShifting Into Park on page 2-47for more
information.
Hydra-Matic
®4-Speed
Automatic Transmission
Hevay Duty 6-Speed Automatic Transmission
Shown (Light Duty Similar)
2-32
Page 150 of 578
7. If the engine is running, verify that the transfer case
is in N (Neutral) by shifting the transmission to
R (Reverse) for one second, then shift the
transmission to D (Drive) for one second.
8. Turn the ignition to ACC/ACCESSORY, which will
turn the engine off.
9. Place the transmission shift lever in P (Park).
10. Release the parking brake prior to moving the
vehicle.
11. Turn the ignition to LOCK/OFF.
Shifting Out of Neutral
To shift out of N Neutral do the following:
1. Set the parking brake and apply the regular brake
pedal.
2. Turn the ignition to ON/RUN with the engine off,
and shift the transmission to N (Neutral).3. Turn the transfer case dial to the desired transfer
case shift position (Two-Wheel Drive High,
Four-Wheel Drive High, AUTO).
After the transfer case has shifted out of N (Neutral),
the N (Neutral) light will go out.
4. Release the parking brake prior to moving the
vehicle.
Notice:Shifting the transmission into gear before
the Four-Wheel Drive Low indicator light has
stopped �ashing could damage the transfer case.
To help avoid damaging the vehicle, always wait for
the Four-Wheel Drive Low indicator light to stop
�ashing before shifting the transmission into gear.
5. Start the engine and shift the transmission to
the desired position.
Excessively shifting the transfer case into or out of the
different modes may cause the transfer case to enter the
shift protection mode. This will protect the transfer case
from possible damage and will only allow the transfer
case to respond to one shift per 10 seconds. The transfer
case may stay in this mode for up to three minutes.
2-44