2009 CHEVROLET SUBURBAN stop start
[x] Cancel search: stop startPage 141 of 578
The vehicle has a shift stabilization feature that adjusts
the transmission shifting to the current driving conditions
in order to reduce rapid upshifts and downshifts. This shift
stabilization feature is designed to determine, before
making an upshift, if the engine is able to maintain vehicle
speed by analyzing things such as vehicle speed, throttle
position, and vehicle load. If the shift stabilization feature
determines that a current vehicle speed cannot be
maintained, the transmission does not upshift and instead
holds the current gear. In some cases, this could appear
to be a delayed shift, however the transmission is
operating normally.
The vehicle’s transmission uses adaptive shift controls.
Adaptive shift controls continually compares key shift
parameters to pre-programmed ideal shifts stored in the
transmissions computer. The transmission constantly
makes adjustments to improve vehicle performance
according to how the vehicle is being used, such as with
a heavy load or when the temperature changes. During
this adaptive shift control process, shifting might feel
different as the transmission determines the best
settings.
When temperatures are very cold, the Hydra-Matic
®
6-Speed transmission’s gear shifting could be delayed
providing more stable shifts until the engine warms
up. Shifts could be more noticeable with a cold
transmission. This difference in shifting is normal.M (Manual Mode):This position is available on
vehicles with the Hydra-Matic
®6-Speed transmission.
It lets drivers select the range of gears appropriate
for current driving conditions. If the vehicle has
this feature, see Range Select Mode (Hydra-Matic
®
6-Speed transmission) later in this section.
3 (Third):This position is also used for normal driving.
It reduces vehicle speed more than D (Drive) without
using the brakes. You might choose 3 (Third) instead of
D (Drive) when driving on hilly, winding roads, when
towing a trailer, so there is less shifting between gears
and when going down a steep hill.
2 (Second):This position reduces vehicle speed
even more than 3 (Third) without using the brakes.
You can use 2 (Second) on hills. It can help control
vehicle speed as you go down steep mountain roads,
but then you would also want to use the brakes off
and on.
If you manually select 2 (Second) in an automatic
transmission, the transmission will start in second gear.
You can use this feature for reducing the speed of
the rear wheels when you are trying to start the vehicle
from a stop on slippery road surfaces.
2-35
Page 149 of 578
Shifting Out of Four-Wheel Drive Low
To shift from Four-Wheel Drive Low to Four-Wheel
Drive High, AUTO, or Two-Wheel Drive High, the vehicle
must be stopped or moving less than 3 mph (5 km/h)
with the transmission in N (Neutral) and the ignition
in ON/RUN. The preferred method for shifting out of
Four-Wheel Drive Low is to have your vehicle moving
1 to 2 mph (1.6 to 3.2 km/h). Turn the knob to the
Four-Wheel Drive High, AUTO, or Two-Wheel Drive High
position. You must wait for the Four-Wheel Drive High,
AUTO, or Two-Wheel Drive High indicator light to stop
�ashing and remain on before shifting the transmission
into gear.
Notice:Shifting the transmission into gear before
the Four-Wheel Drive Low indicator light has
stopped �ashing could damage the transfer case.
To help avoid damaging the vehicle, always wait for
the Four-Wheel Drive Low indicator light to stop
�ashing before shifting the transmission into gear.
The vehicle may have signi�cant engagement noise
and bump when shifting between Four-Wheel Drive Low
and Four-Wheel Drive High ranges or from N (Neutral)
while the engine is running.If the knob is turned to the Four-Wheel Drive High,
AUTO, or Two-Wheel Drive High switch position when
the vehicle is in gear and/or moving, the Four-Wheel
Drive High, AUTO or Two-Wheel Drive High indicator
light will �ash for 30 seconds but will not complete
the shift unless the vehicle is moving less than 3 mph
(5 km/h) and the transmission is in N (Neutral).
Shifting into Neutral
To shift the transfer case to N (Neutral) do the following:
1. Make sure the vehicle is parked so that it will
not roll.
2. Set the parking brake and apply the regular brake
pedal. SeeParking Brake on page 2-45for more
information.
3. Start the vehicle or turn the ignition to ON/RUN.
4. Put the transmission in N (Neutral).
5. Shift the transfer case to Two-Wheel Drive High.
6. Turn the transfer case dial clockwise to N (Neutral)
until it stops and hold it there until the N (Neutral)
light starts blinking. This will take at least
10 seconds. Then slowly release the dial to the
Four-Wheel Drive Low position. The N (Neutral)
light will come on when the transfer case shift to
N (Neutral) is complete.
2-43
Page 150 of 578
7. If the engine is running, verify that the transfer case
is in N (Neutral) by shifting the transmission to
R (Reverse) for one second, then shift the
transmission to D (Drive) for one second.
8. Turn the ignition to ACC/ACCESSORY, which will
turn the engine off.
9. Place the transmission shift lever in P (Park).
10. Release the parking brake prior to moving the
vehicle.
11. Turn the ignition to LOCK/OFF.
Shifting Out of Neutral
To shift out of N Neutral do the following:
1. Set the parking brake and apply the regular brake
pedal.
2. Turn the ignition to ON/RUN with the engine off,
and shift the transmission to N (Neutral).3. Turn the transfer case dial to the desired transfer
case shift position (Two-Wheel Drive High,
Four-Wheel Drive High, AUTO).
After the transfer case has shifted out of N (Neutral),
the N (Neutral) light will go out.
4. Release the parking brake prior to moving the
vehicle.
Notice:Shifting the transmission into gear before
the Four-Wheel Drive Low indicator light has
stopped �ashing could damage the transfer case.
To help avoid damaging the vehicle, always wait for
the Four-Wheel Drive Low indicator light to stop
�ashing before shifting the transmission into gear.
5. Start the engine and shift the transmission to
the desired position.
Excessively shifting the transfer case into or out of the
different modes may cause the transfer case to enter the
shift protection mode. This will protect the transfer case
from possible damage and will only allow the transfer
case to respond to one shift per 10 seconds. The transfer
case may stay in this mode for up to three minutes.
2-44
Page 197 of 578
Windshield Wipers
Turn the band with the wiper symbol to control the
windshield wipers.
8(Mist):Turn to mist for a single wiping cycle. Hold it
there until the wipers start. Then let go. The wipers
stop after one wipe. Hold the band on mist longer, for
more wipe cycles.
9(Off):Turns the wipers off.
6(Delay):Turn the band to adjust the delay time. The
delay between wiping cycles becomes shorter as
the band is moved to the top of the lever. This can be
very useful in light rain or snow.
6(Low Speed):For steady wiping at low speed.
?(High Speed):For high-speed wiping.
Clear ice and snow from the wiper blades before using
them. If they are frozen to the windshield, gently
loosen or thaw them. Damaged wiper blades may not
clear the windshield well, making it harder to see
and drive safely. If the blades do become damaged,
install new blades or blade inserts. For more information,
seeWindshield Wiper Blade Replacement on page 5-59.Heavy snow or ice can overload the wiper motor. A
circuit breaker will stop the motor until it cools down.
Clear away snow or ice to prevent an overload.
Rainsense™ II Wipers
For vehicles with Rainsense™ II windshield wipers, the
moisture sensor is located next to the inside rearview
mirror and is mounted on the windshield. When active,
these sensors are able to detect moisture on the
windshield and automatically turn on the wipers.
To turn on the Rainsense feature, the wipers must be
set to one of the �ve delay settings on the multifunction
lever. Each of the �ve settings adjusts the sensitivity
of the sensor.
Since different drivers have different setting preferences,
it is recommended that the mid-range setting (position 3)
be used initially. For more wipes, select the higher
settings; for fewer wipes, select the lower settings located
closer to the off position on the multifunction lever.
The sensor will automatically control the frequency of
the wipes from the off setting to the high speed
setting according to the weather conditions. The wipers
can be left in a rainsense mode even when it is not
raining.
3-9
Page 229 of 578
{CAUTION:
The brake system might not be working properly if
the brake system warning light is on. Driving with
the brake system warning light on can lead to a
crash. If the light is still on after the vehicle has
been pulled off the road and carefully stopped,
have the vehicle towed for service.
If the light comes on while driving, pull off the road and
stop carefully. The pedal might be harder to push or
might go closer to the �oor. It can take longer to stop. If
the light is still on, have the vehicle towed for service.
SeeTowing Your Vehicle on page 4-43.
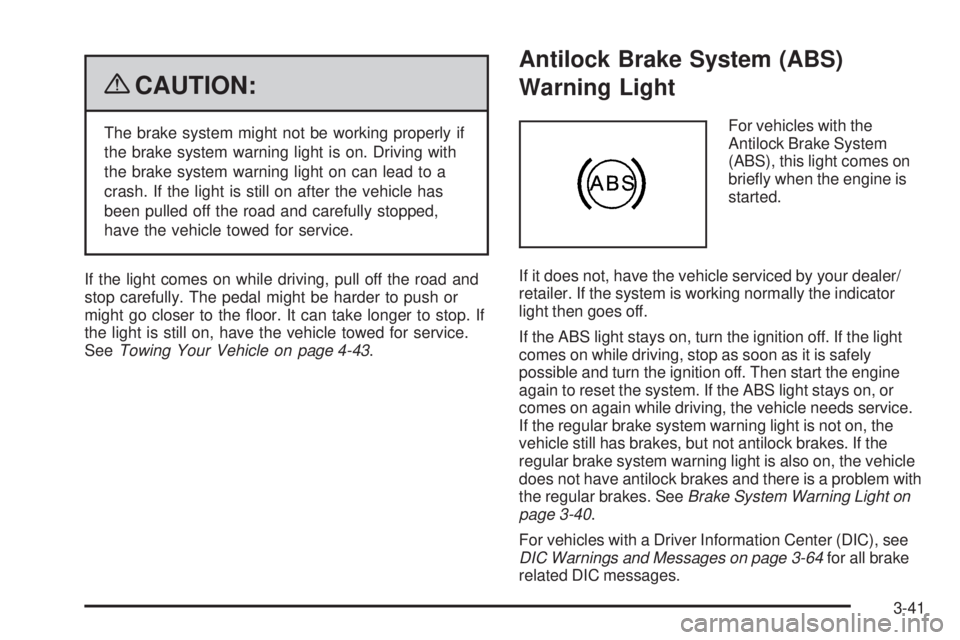
Antilock Brake System (ABS)
Warning Light
For vehicles with the
Antilock Brake System
(ABS), this light comes on
brie�y when the engine is
started.
If it does not, have the vehicle serviced by your dealer/
retailer. If the system is working normally the indicator
light then goes off.
If the ABS light stays on, turn the ignition off. If the light
comes on while driving, stop as soon as it is safely
possible and turn the ignition off. Then start the engine
again to reset the system. If the ABS light stays on, or
comes on again while driving, the vehicle needs service.
If the regular brake system warning light is not on, the
vehicle still has brakes, but not antilock brakes. If the
regular brake system warning light is also on, the vehicle
does not have antilock brakes and there is a problem with
the regular brakes. SeeBrake System Warning Light on
page 3-40.
For vehicles with a Driver Information Center (DIC), see
DIC Warnings and Messages on page 3-64for all brake
related DIC messages.
3-41
Page 231 of 578

Tire Pressure Light
For vehicles with a tire
pressure monitoring
system, this light comes on
brie�y when the engine is
started.
It provides information about tire pressures and the Tire
Pressure Monitoring System.
When the Light is On Steady
This indicates that one or more of the tires is signi�cantly
underin�ated.
A tire pressure message in the Driver Information
Center (DIC), can accompany the light. SeeDIC
Warnings and Messages on page 3-64for more
information. Stop and check the tires as soon as it is
safe to do so. If a tire is underin�ated, in�ate to the
proper pressure. SeeTires on page 5-61for more
information.
When the Light Flashes First and Then is
On Steady
This indicates that there could be a problem with the Tire
Pressure Monitor System. The light �ashes for about a
minute and stays on steady for the remainder of the
ignition cycle. This sequence repeats with every ignition
cycle. SeeTire Pressure Monitor System on page 5-71
for more information.
Malfunction Indicator Lamp
Check Engine Light
A computer system called OBD II (On-Board
Diagnostics-Second Generation) monitors operation of
the fuel, ignition, and emission control systems. It
ensures that emissions are at acceptable levels for the
life of the vehicle, helping to produce a cleaner
environment.
3-43
Page 233 of 578
If the light continues to �ash, when it is safe to do so,
stop the vehicle. Find a safe place to park the vehicle.
Turn the key off, wait at least 10 seconds, and restart
the engine. If the light is still �ashing, follow the previous
steps and see your dealer/retailer for service as soon
as possible.
Light On Steady:An emission control system
malfunction has been detected on the vehicle. Diagnosis
and service might be required.
An emission system malfunction might be corrected by
doing the following:
Make sure the fuel cap is fully installed. SeeFilling
the Tank on page 5-9. The diagnostic system can
determine if the fuel cap has been left off or
improperly installed. A loose or missing fuel cap
allows fuel to evaporate into the atmosphere. A few
driving trips with the cap properly installed should
turn the light off.
If the vehicle has been driven through a deep
puddle of water, the vehicle’s electrical system
might be wet. The condition is usually corrected
when the electrical system dries out. A few driving
trips should turn the light off.
Make sure to fuel the vehicle with quality fuel. Poor
fuel quality causes the engine not to run as
efficiently as designed and can cause: stalling after
start-up, stalling when the vehicle is changed
into gear, mis�ring, hesitation on acceleration, or
stumbling on acceleration. These conditions
might go away once the engine is warmed up.
If one or more of these conditions occurs, change
the fuel brand used. It will require at least one
full tank of the proper fuel to turn the light off.
SeeGasoline Octane on page 5-5.
If none of the above have made the light turn off, your
dealer/retailer can check the vehicle. The dealer/retailer
has the proper test equipment and diagnostic tools to
�x any mechanical or electrical problems that might have
developed.
3-45
Page 242 of 578

Once the vehicle begins moving, the trip odometer will
accumulate mileage. For example, if the vehicle was
driven 5 miles (8 km) before it is started again, and then
the retro-active reset feature is activated, the display will
show 5 miles (8 km). As the vehicle begins moving, the
display will then increase to 5.1 miles (8.2 km), 5.2 miles
(8.4 km), etc.
Fuel Range
Press the trip/fuel button until FUEL RANGE displays.
This display shows the approximate number of remaining
miles (mi) or kilometers (km) the vehicle can be driven
without refueling. The display will show LOW if the fuel
level is low.
The fuel range estimate is based on an average of the
vehicle’s fuel economy over recent driving history
and the amount of fuel remaining in the fuel tank. This
estimate will change if driving conditions change.
For example, if driving in traffic and making frequent
stops, this display may read one number, but if
the vehicle is driven on a freeway, the number may
change even though the same amount of fuel is in the
fuel tank. This is because different driving conditions
produce different fuel economies. Generally, freeway
driving produces better fuel economy than city driving.
Fuel range cannot be reset.
Average Economy
Press the trip/fuel button until AVG ECONOMY displays.
This display shows the approximate average miles
per gallon (mpg) or liters per 100 kilometers (L/100 km).
This number is calculated based on the number of
mpg (L/100 km) recorded since the last time this menu
item was reset. To reset AVG ECONOMY, press
and hold the set/reset button.
Fuel Used
Press the trip/fuel button until FUEL USED displays.
This display shows the number of gallons (gal) or
liters (L) of fuel used since the last reset of this menu
item. To reset the fuel used information, press and hold
the set/reset button while FUEL USED is displayed.
Timer
Press the trip/fuel button until TIMER displays. This
display can be used as a timer.
To start the timer, press the set/reset button while TIMER
is displayed. The display will show the amount of time
that has passed since the timer was last reset, not
including time the ignition is off. Time will continue to be
counted as long as the ignition is on, even if another
display is being shown on the DIC. The timer will record
up to 99 hours, 59 minutes and 59 seconds (99:59:59)
after which the display will return to zero.
3-54