2009 CHEVROLET HHR ECO mode
[x] Cancel search: ECO modePage 190 of 450

OIL LIFE
Press the information button until OIL LIFE displays.
The engine oil life system shows an estimate of the oil’s
remaining useful life. It shows 100% when the system
is reset after an oil change. It alerts you to change the oil
on a schedule consistent with your driving conditions.
In addition to the engine oil life system monitoring the oil
life, additional maintenance is recommended in the
Maintenance Schedule in this manual. SeeEngine Oil
on page 5-17andScheduled Maintenance on page 6-4.
Always reset the engine oil life system after an oil
change. See “How to Reset the Engine Oil Life System”
underEngine Oil Life System on page 5-21.
COOLANT
Press the information button until COOLANT displays.
This mode shows the temperature of the engine coolant
in either degrees Fahrenheit (°F) or degrees Celsius (°C).
Tire Pressure
If your vehicle has a Tire Pressure Monitor System
(TPMS), the pressure for each tire can be viewed in the
DIC. The tire pressure is shown in either pounds per
square inch (psi) or kilopascals (kPa). Press the
information button until LF ## PSI (kPa) ## RF displays
for the front tires. Press the information button again until
LR ## PSI (kPa) ## RR displays for the rear tires.If a low tire pressure condition is detected by the system
while driving, a message advising you to check the tire
pressure appears in the display. SeeInflation - Tire
Pressure on page 5-61andDIC Warnings and Messages
on page 3-50for more information.
DIC Warnings and Messages
These messages appear if there is a problem detected
in one of your vehicle’s systems.
A message clears when the vehicle’s condition is no
longer present. To acknowledge a message and clear it
from the display, press and hold any of the DIC buttons.
If the condition is still present, the warning message
comes back on the next time the vehicle is turned off and
back on. With most messages, a warning chime sounds
when the message displays. Your vehicle may have other
warning messages.
AUTO (Automatic) LIGHTS OFF
This message displays if the automatic headlamp
system is disabled with the headlamp switch.
SeeAutomatic Headlamp System on page 3-16
for more information.
3-50
Page 192 of 450
COOLING MODE ON
This message may display on some vehicles. Under
severe conditions, hot ambient temperatures, steep
grades, and towing, your vehicle may experience more
transmission shifting. This is temporary and normal
under these conditions. This does not require engine or
transmission service.
CRUISE ENGAGED
This message displays when the cruise control system
is active. SeeCruise Control on page 3-10for more
information.
DOOR AJAR
This message displays if one or more of the vehicle’s
doors are open. Make sure that the door(s) are
closed completely.
ENGINE DISABLED
This message displays if the starting of the engine is
disabled. Have your vehicle serviced by your dealer/
retailer immediately.
ENG (Engine) PWR (Power) REDUCED
This message displays to inform you that the vehicle
has reduced engine power to avoid damaging the engine.
Reduced engine power can affect the vehicle’s ability
to accelerate. If this message is on, but there is no
reduction in performance, proceed to your destination.
The performance may be reduced the next time the
vehicle is driven. The vehicle may be driven at a reduced
speed while this message is on, but acceleration and
speed may be reduced. Anytime this message stays on,
the vehicle should be taken to your dealer/retailer for
service as soon as possible.
ESC (Electronic Stability Control) ACTIVE
If your vehicle has Electronic Stability Control (ESC),
this message displays and the ESC/TCS light on the
instrument panel cluster �ashes when ESC is assisting
you with directional control of the vehicle. You may feel or
hear the system working and see this message displayed
in the DIC. Slippery road conditions may exist when this
message is displayed, so adjust your driving accordingly.
This message may stay on for a few seconds after ESC
stops assisting you with directional control of the
vehicle. This is normal when the system is operating.
SeeElectronic Stability Control (ESC) on page 4-7and
Electronic Stability Control (ESC)/Traction Control
System (TCS) Indicator/Warning Light on page 3-35
for more information.
3-52
Page 196 of 450
DIC Vehicle Personalization
Your vehicle has personalization capabilities that allow
you to program certain features to a preferred setting.
All of the features listed may not be available on your
vehicle. Only the features available will be displayed on
the DIC.
The default settings for the features were set when your
vehicle left the factory, but may have been changed
from their default state since that time.
To change feature settings, use the following procedure:
Entering Personalization Menu
1. Turn the ignition on while the vehicle is stopped.
To avoid excessive drain on the battery, it is
recommended that the headlamps are turned off.
2. Press and hold the information and reset buttons at
the same time for one second, then release to enter
the personalization menu.
If the vehicle speed is greater than 2 mph (3 km/h),
only the UNITS menu will be accessible.3. Press the information button to scroll through the
available personalization menu modes.
Press the reset button to scroll through the available
settings for each mode.
If you do not make a selection within ten seconds,
the display will go back to the previous information
displayed.
Personalization Menu Modes
OIL LIFE RESET
When this feature is displayed, you can reset the engine
oil life system. To reset the system, seeEngine Oil Life
System on page 5-21. See “OIL LIFE” underDIC
Operation and Displays on page 3-48for more
information.
3-56
Page 200 of 450
EXT (Exterior) LIGHTS
This feature, which allows the vehicle’s exterior perimeter
lighting to turn on each time the unlock button on the
Remote Keyless Entry (RKE) transmitter is pressed, can
be enabled or disabled. When EXT LIGHTS appears on
the display, press and hold the reset button for at least
one second to scroll through the available settings:
OFF:The exterior perimeter lighting will not turn on
when the unlock button on the RKE transmitter is
pressed.
ON (default):The exterior perimeter lighting will turn
on when the unlock button on the RKE transmitter
is pressed.
SeeRemote Keyless Entry (RKE) System Operation on
page 2-4for more information.
To select a setting and move on to the next feature,
press the information button while the desired setting is
displayed on the DIC.
LANGUAGE
This feature allows you to select the language in which
the DIC will display. When LANGUAGE appears on
the display, press and hold the reset button for at least
one second to scroll through the available settings:
ENGLISH (default):All messages will appear in
English.
FRENCH:All messages will appear in French.
SPANISH:All messages will appear in Spanish.
GERMAN:All messages will appear in German.
To select a setting and exit out of the personalization
menu mode, press the information button while the
desired setting is displayed on the DIC.
Exiting Personalization Menu
The personalization menu will be exited when any of the
following conditions occur:
A ten second time period has elapsed.
The ignition is turned off.
The end of the personalization menu list is reached.
3-60
Page 209 of 450
EQ (Equalization):Press this button to select preset
equalization settings.
To return to the manual mode, press EQ until Manual
displays or start to manually adjust the bass, midrange,
or treble by pressing
f.
Adjusting the Speakers (Balance/Fade)
Depending on which radio the vehicle has, the
Balance/Fade can be adjusted using
for`.
To adjust balance or fade using
f:
1. Press
funtil the speaker control tabs display.
2. Press the softkey under the desired tab, or continue
pressing
fto highlight the desired tab.
3. Turn
fto adjust the highlighted setting.
The highlighted setting can also be adjusted
by pressing either SEEK arrow.
On some radios,
\FWD andsREV can also
be used to adjust the highlighted level.To adjust balance or fade using
`:
1. Press
`until the speaker control labels display.
2. Continue pressing
`until the desired speaker
control label displays.
3. Turn
fto adjust the setting. The setting can also be
adjusted by pressing either SEEK arrow,
\FWD,
or
sREV.
The radio may be capable of adjusting balance or fade to
the middle position by pressing the softkey below the BAL
or FADE tab for more than two seconds. The radio beeps
once and the level adjusts to the middle position.
The radio may also be capable of adjusting all tone and
speaker controls to the middle position by pressing
ffor
more than two seconds until the radio beeps once.
3-69
Page 217 of 450
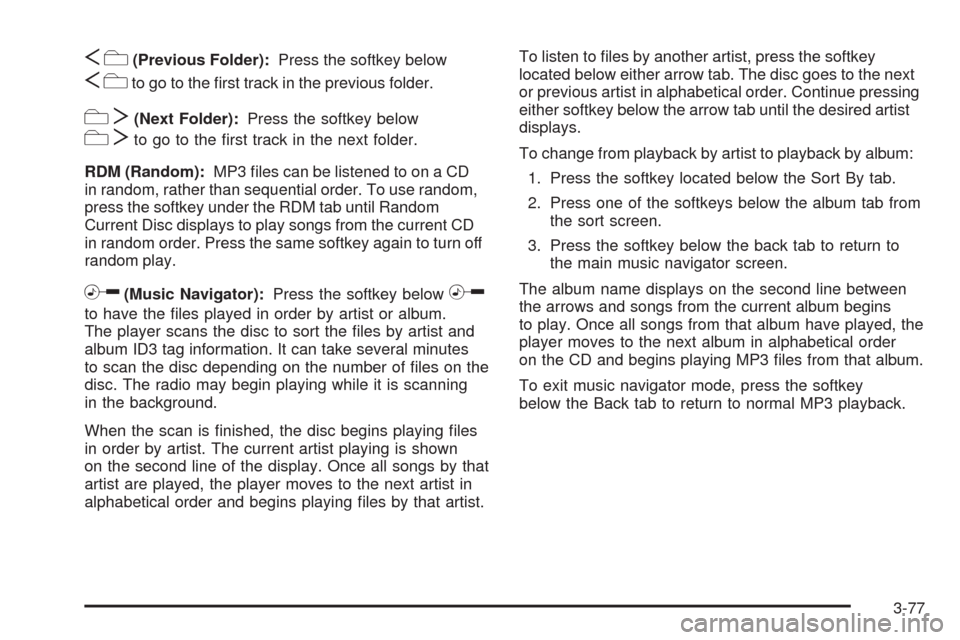
Sc(Previous Folder):Press the softkey below
Scto go to the �rst track in the previous folder.
cT(Next Folder):Press the softkey below
cTto go to the �rst track in the next folder.
RDM (Random):MP3 �les can be listened to on a CD
in random, rather than sequential order. To use random,
press the softkey under the RDM tab until Random
Current Disc displays to play songs from the current CD
in random order. Press the same softkey again to turn off
random play.
h(Music Navigator):Press the softkey belowh
to have the �les played in order by artist or album.
The player scans the disc to sort the �les by artist and
album ID3 tag information. It can take several minutes
to scan the disc depending on the number of �les on the
disc. The radio may begin playing while it is scanning
in the background.
When the scan is �nished, the disc begins playing �les
in order by artist. The current artist playing is shown
on the second line of the display. Once all songs by that
artist are played, the player moves to the next artist in
alphabetical order and begins playing �les by that artist.To listen to �les by another artist, press the softkey
located below either arrow tab. The disc goes to the next
or previous artist in alphabetical order. Continue pressing
either softkey below the arrow tab until the desired artist
displays.
To change from playback by artist to playback by album:
1. Press the softkey located below the Sort By tab.
2. Press one of the softkeys below the album tab from
the sort screen.
3. Press the softkey below the back tab to return to
the main music navigator screen.
The album name displays on the second line between
the arrows and songs from the current album begins
to play. Once all songs from that album have played, the
player moves to the next album in alphabetical order
on the CD and begins playing MP3 �les from that album.
To exit music navigator mode, press the softkey
below the Back tab to return to normal MP3 playback.
3-77
Page 218 of 450
Connecting a USB Storage Device
or iPod®
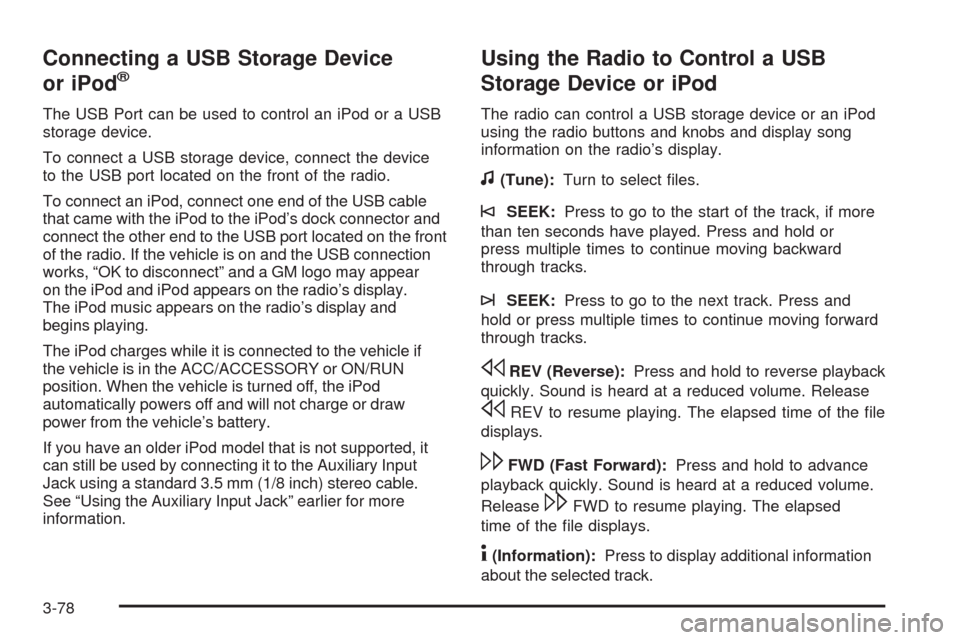
The USB Port can be used to control an iPod or a USB
storage device.
To connect a USB storage device, connect the device
to the USB port located on the front of the radio.
To connect an iPod, connect one end of the USB cable
that came with the iPod to the iPod’s dock connector and
connect the other end to the USB port located on the front
of the radio. If the vehicle is on and the USB connection
works, “OK to disconnect” and a GM logo may appear
on the iPod and iPod appears on the radio’s display.
The iPod music appears on the radio’s display and
begins playing.
The iPod charges while it is connected to the vehicle if
the vehicle is in the ACC/ACCESSORY or ON/RUN
position. When the vehicle is turned off, the iPod
automatically powers off and will not charge or draw
power from the vehicle’s battery.
If you have an older iPod model that is not supported, it
can still be used by connecting it to the Auxiliary Input
Jack using a standard 3.5 mm (1/8 inch) stereo cable.
See “Using the Auxiliary Input Jack” earlier for more
information.
Using the Radio to Control a USB
Storage Device or iPod
The radio can control a USB storage device or an iPod
using the radio buttons and knobs and display song
information on the radio’s display.
f(Tune):Turn to select �les.
©SEEK:Press to go to the start of the track, if more
than ten seconds have played. Press and hold or
press multiple times to continue moving backward
through tracks.
¨SEEK:Press to go to the next track. Press and
hold or press multiple times to continue moving forward
through tracks.
sREV (Reverse):Press and hold to reverse playback
quickly. Sound is heard at a reduced volume. Release
sREV to resume playing. The elapsed time of the �le
displays.
\FWD (Fast Forward):Press and hold to advance
playback quickly. Sound is heard at a reduced volume.
Release
\FWD to resume playing. The elapsed
time of the �le displays.
4(Information):Press to display additional information
about the selected track.
3-78
Page 220 of 450
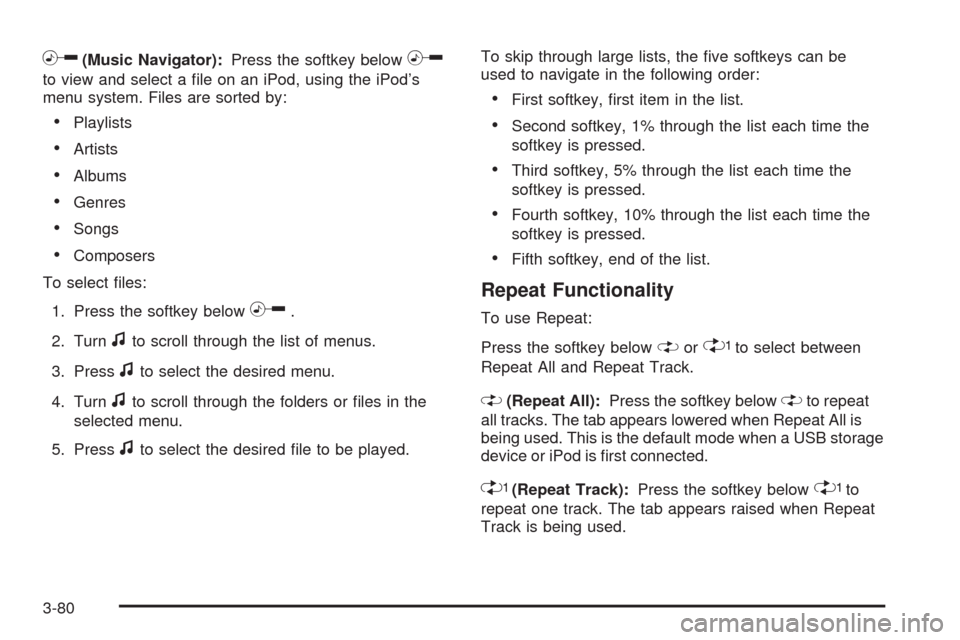
h(Music Navigator):Press the softkey belowh
to view and select a �le on an iPod, using the iPod’s
menu system. Files are sorted by:
Playlists
Artists
Albums
Genres
Songs
Composers
To select �les:
1. Press the softkey below
h.
2. Turn
fto scroll through the list of menus.
3. Press
fto select the desired menu.
4. Turn
fto scroll through the folders or �les in the
selected menu.
5. Press
fto select the desired �le to be played.To skip through large lists, the �ve softkeys can be
used to navigate in the following order:
First softkey, �rst item in the list.
Second softkey, 1% through the list each time the
softkey is pressed.
Third softkey, 5% through the list each time the
softkey is pressed.
Fourth softkey, 10% through the list each time the
softkey is pressed.
Fifth softkey, end of the list.
Repeat Functionality
To use Repeat:
Press the softkey below
"or'to select between
Repeat All and Repeat Track.
"(Repeat All):Press the softkey below"to repeat
all tracks. The tab appears lowered when Repeat All is
being used. This is the default mode when a USB storage
device or iPod is �rst connected.
'(Repeat Track):Press the softkey below'to
repeat one track. The tab appears raised when Repeat
Track is being used.
3-80