2009 BMW Z4 SDRIVE35I check engine light
[x] Cancel search: check engine lightPage 15 of 248

At a glance
13Reference
Controls
Driving tips
Communications
Navigation
Entertainment
Mobility
Indicator and warning lamps
The concept
Indicator and warning lamps can light up in a
variety of combinations and colors.
Some lamps are checked for proper functioning
and thus come on briefly when the engine is
started or the ignition is switched on.
Explanatory text messages
Text messages at the upper edge of the Control
Display explain the meaning of the displayed
indicator and warning lamps.
You can call up more information, e.g. on the
cause of a malfunction and on how to respond,
via Check Control, refer to page 73.
In urgent cases, this information will be shown
as soon as the corresponding lamp comes on.
Indicator lamps without text messages
The following indicator lamps notify you that
certain functions are active:
High beams/headlamp flasher 90
Lamp flashes:
DSC or DTC is regulating the propul-
sive forces in order to maintain driving
stability 78
Parking brake set 52
Canada: Parking brake set 52
Engine malfunction with adverse
effect on exhaust emissions 203
Canada: Engine malfunction with
adverse effect on exhaust
emissions 203
Page 38 of 248
Opening and closing
36
Starting the engine
You can start the engine or switch on the igni-
tion when a remote control is inside the vehicle.
It is not necessary to insert a remote control into
the ignition swit ch, refer to page 50.
Switching off the engine in cars with
automatic transmission
The engine can only be switched off when the
selector lever is in position P, refer to page 52.
To switch the engine off when the selector lever
is in position N, the re mote control must be in
the ignition switch.
Before driving a vehicle with automatic
transmission in to a car wash
1.Insert the remote control into the ignition
switch.
2. Depress the brake.
3. Move the selector lever to position N.
4. Switch off the engine.
The vehicle can roll.
Malfunction
Convenient access may malfunction due to
local radio waves. If this happens, open or close
the vehicle via the buttons on the remote con-
trol or using the integr ated key. To start the
engine afterward, insert the remote control into
the ignition switch.
Warning lamps
The warning lamp in the instrument
cluster lights up when you attempt to
start the engine: the engine cannot
be started. The remote co ntrol is not inside the
vehicle or is malfunctioning. Take the remote
control with you inside the vehicle or have it
checked. If necessary, insert another remote
control into the ignition switch.
The warning lamp in the instrument
cluster lights up while the engine is
running: the remote control is no
longer inside the vehicle. After the engine is
switched off, the engine can only be restarted
within approx. 10 seconds. The indicator lamp in the instrument
cluster comes on and a message
appears on the Control Display:
replace the battery in the remote control.
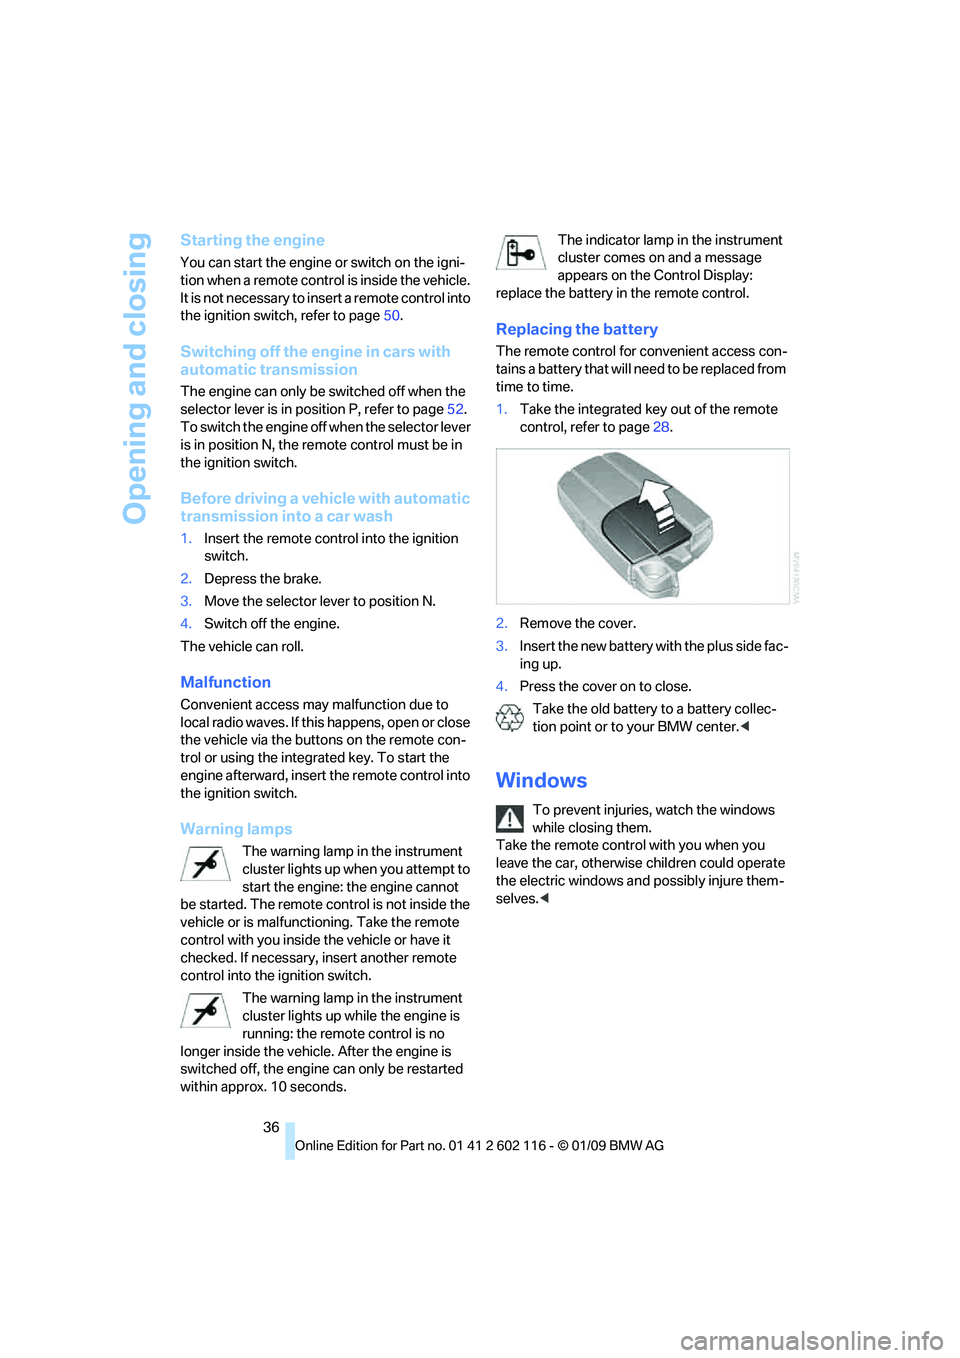
Replacing the battery
The remote control for convenient access con-
tains a battery that will ne ed to be replaced from
time to time.
1. Take the integrated ke y out of the remote
control, refer to page 28.
2. Remove the cover.
3. Insert the new battery wi th the plus side fac-
ing up.
4. Press the cover on to close.
Take the old battery to a battery collec-
tion point or to your BMW center.<
Windows
To prevent injuries, watch the windows
while closing them.
Take the remote contro l with you when you
leave the car, otherwise children could operate
the electric windows and possibly injure them-
selves. <
Page 67 of 248
Controls
65Reference
At a glance
Driving tips
Communications
Navigation
Entertainment
Mobility
Coolant temperature
A warning lamp will come on if the coolant, and
therefore the engine, becomes too hot. In addi-
tion, a message will appear on the Control
Display.
Check coolant level, refer to page201.
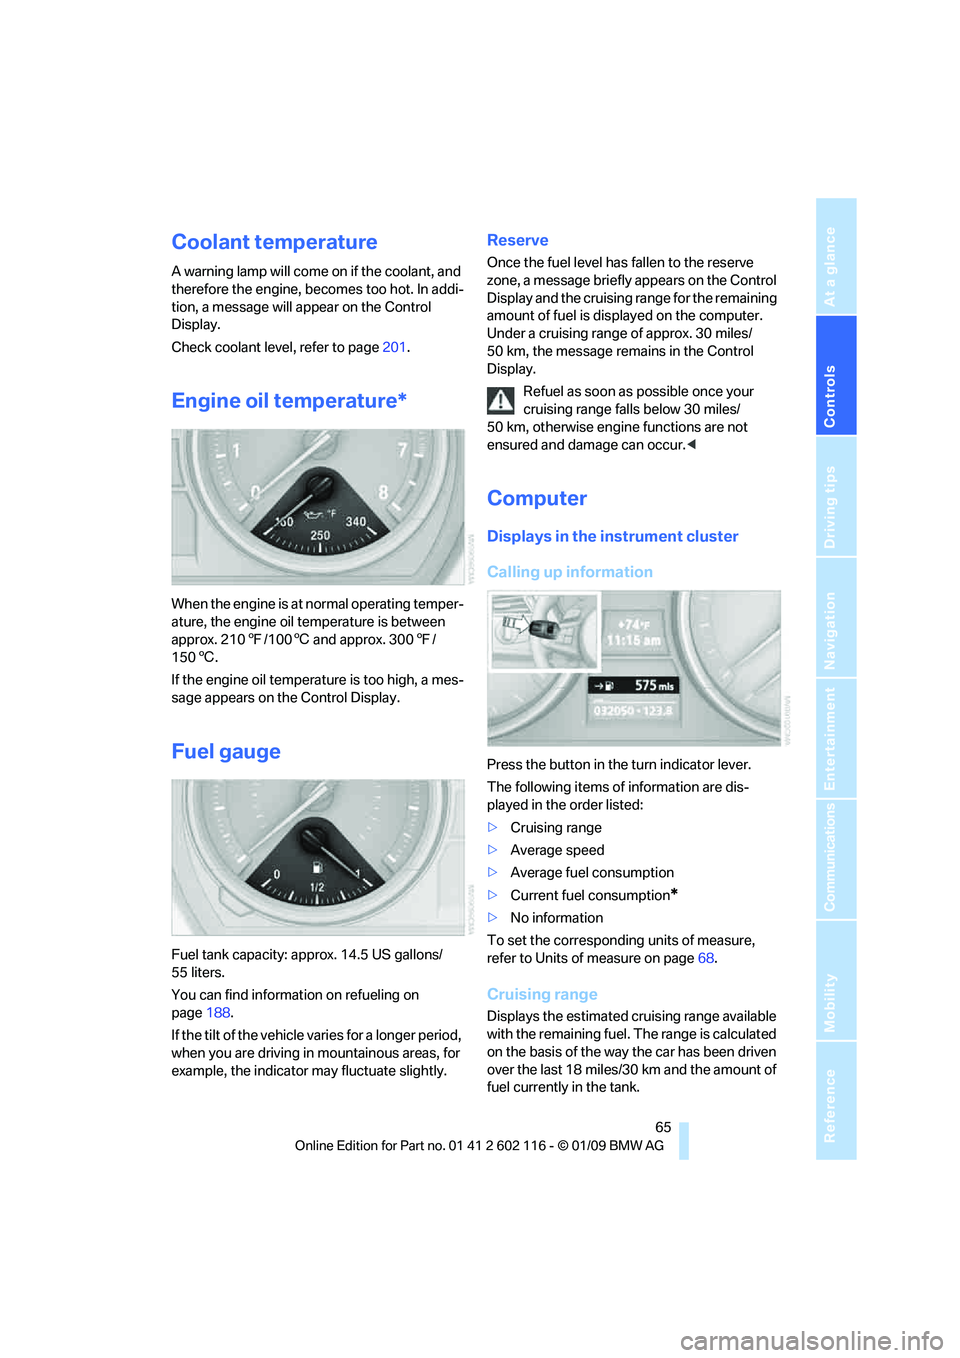
Engine oil temperature*
When the engine is at normal operating temper-
ature, the engine oil temperature is between
approx. 210 7/100 6 and approx. 300 7/
150 6.
If the engine oil temperature is too high, a mes-
sage appears on the Control Display.
Fuel gauge
Fuel tank capacity: approx. 14.5 US gallons/
55 liters.
You can find information on refueling on
page 188.
If the tilt of the vehicle varies for a longer period,
when you are driving in mountainous areas, for
example, the indicator may fluctuate slightly.
Reserve
Once the fuel level has fallen to the reserve
zone, a message briefly appears on the Control
Display and the cruising range for the remaining
amount of fuel is displayed on the computer.
Under a cruising range of approx. 30 miles/
50 km, the message remains in the Control
Display.
Refuel as soon as possible once your
cruising range falls below 30 miles/
50 km, otherwise engine functions are not
ensured and damage can occur. <
Computer
Displays in the instrument cluster
Calling up information
Press the button in the turn indicator lever.
The following items of information are dis-
played in the order listed:
>Cruising range
> Average speed
> Average fuel consumption
> Current fuel consumption
*
>No information
To set the corresponding units of measure,
refer to Units of measure on page 68.
Cruising range
Displays the estimated cr uising range available
with the remaining fuel. The range is calculated
on the basis of the way the car has been driven
over the last 18 miles/30 km and the amount of
fuel currently in the tank.
Page 70 of 248
Everything under control
68
Settings and information
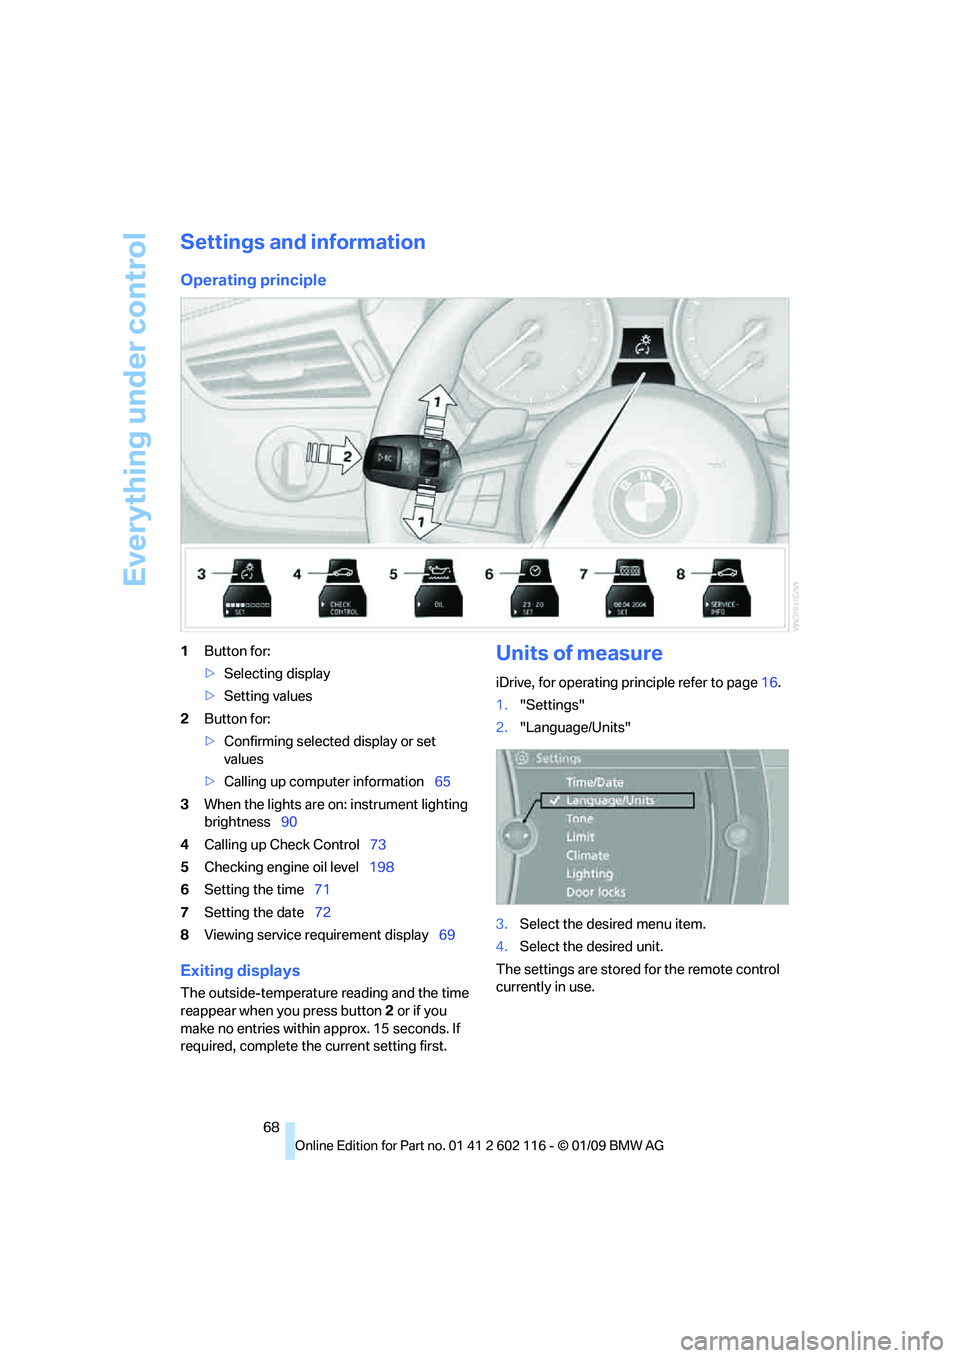
Operating principle
1Button for:
>Selecting display
> Setting values
2 Button for:
>Confirming selected display or set
values
> Calling up computer information 65
3 When the lights are on: instrument lighting
brightness 90
4 Calling up Check Control 73
5 Checking engine oil level 198
6 Setting the time 71
7 Setting the date 72
8 Viewing service re quirement display 69
Exiting displays
The outside-temperature reading and the time
reappear when you press button 2 or if you
make no entries within approx. 15 seconds. If
required, complete the current setting first.
Units of measure
iDrive, for operating principle refer to page16.
1. "Settings"
2. "Language/Units"
3. Select the desired menu item.
4. Select the desired unit.
The settings are stored for the remote control
currently in use.
Page 203 of 248
Mobility
201Reference
At a glance
Controls
Driving tips
Communications
Navigation
Entertainment
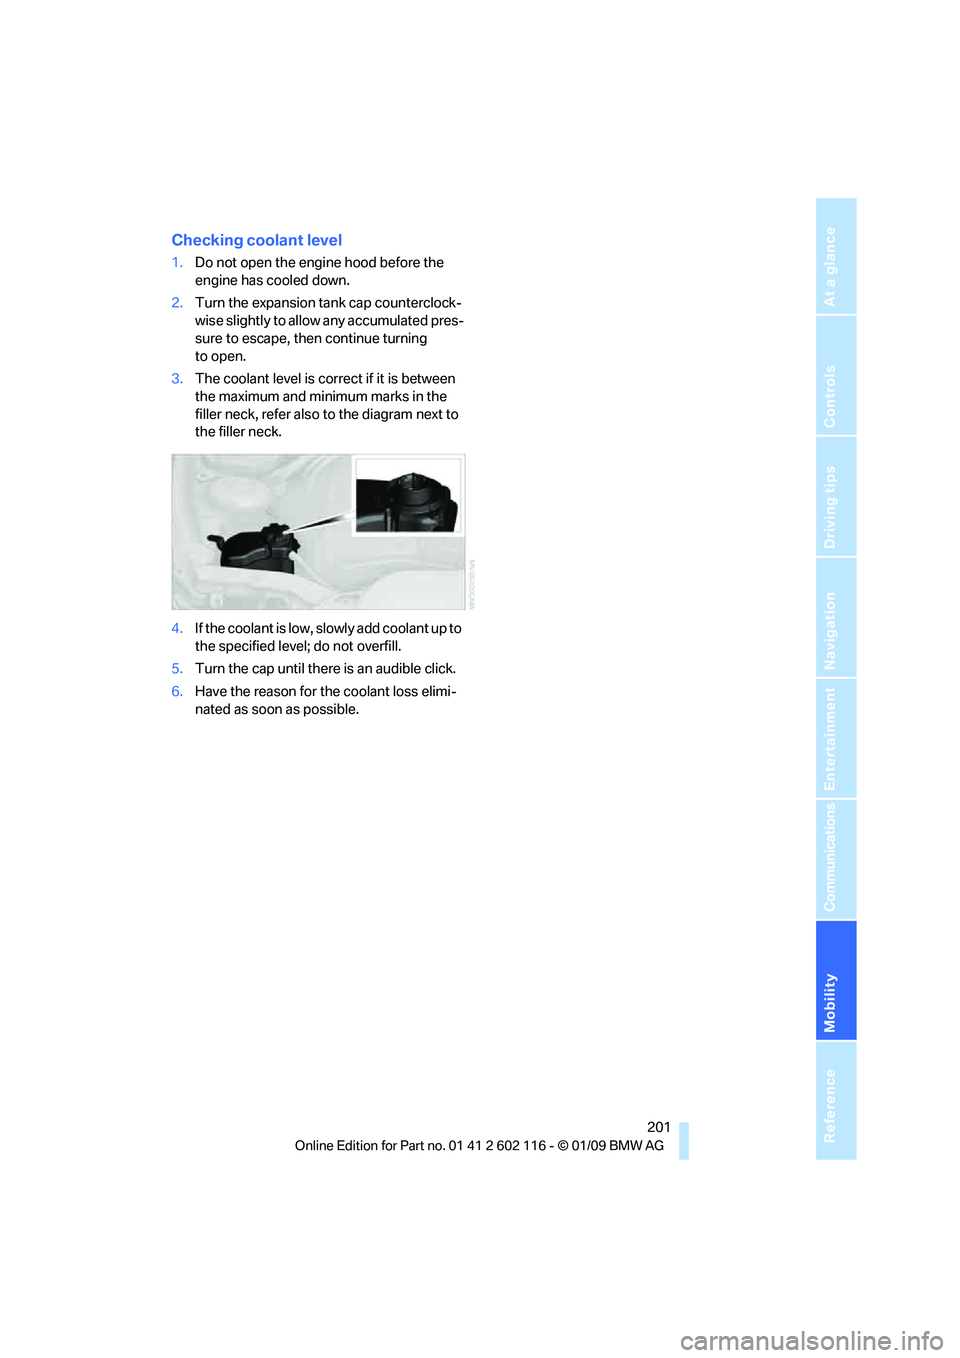
Checking coolant level
1.Do not open the engine hood before the
engine has cooled down.
2. Turn the expansion tank cap counterclock-
wise slightly to allo w any accumulated pres-
sure to escape, then continue turning
to open.
3. The coolant level is correct if it is between
the maximum and minimum marks in the
filler neck, refer also to the diagram next to
the filler neck.
4. If the coolant is low, slowly add coolant up to
the specified level; do not overfill.
5. Turn the cap until there is an audible click.
6. Have the reason for the coolant loss elimi-
nated as soon as possible.
Page 205 of 248
Mobility
203Reference
At a glance
Controls
Driving tips
Communications
Navigation
Entertainment
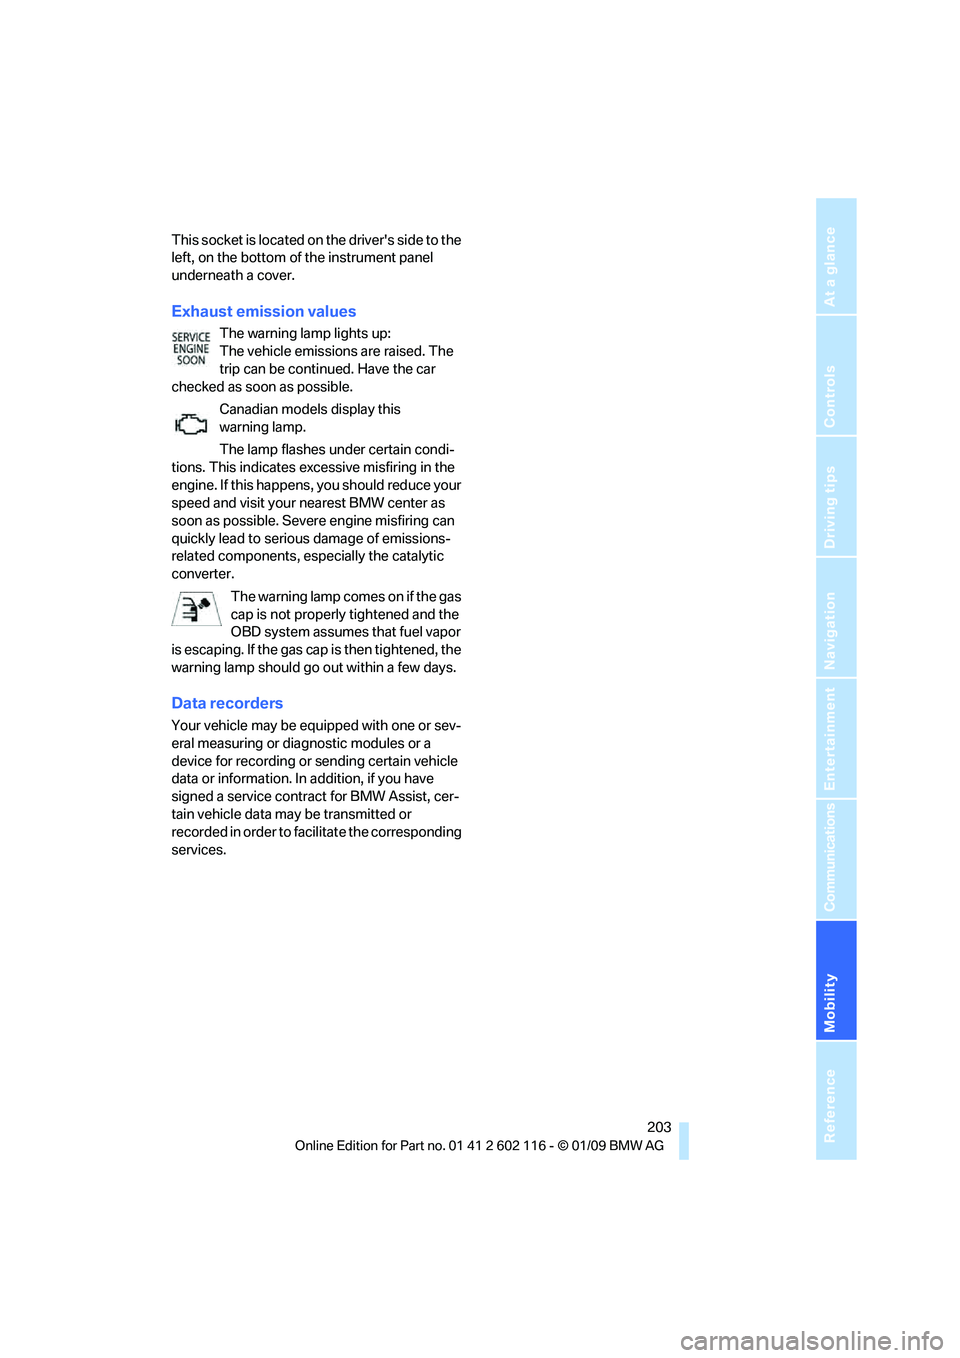
This socket is located on the driver's side to the
left, on the bottom of the instrument panel
underneath a cover.
Exhaust emission values
The warning lamp lights up:
The vehicle emissions are raised. The
trip can be continued. Have the car
checked as soon as possible.
Canadian models display this
warning lamp.
The lamp flashes under certain condi-
tions. This indicates excessive misfiring in the
engine. If this happens, you should reduce your
speed and visit your nearest BMW center as
soon as possible. Severe engine misfiring can
quickly lead to serious damage of emissions-
related components, espe cially the catalytic
converter.
The warning lamp comes on if the gas
cap is not properly tightened and the
OBD system assumes that fuel vapor
is escaping. If the gas ca p is then tightened, the
warning lamp should go out within a few days.
Data recorders
Your vehicle may be equipped with one or sev-
eral measuring or diagnostic modules or a
device for recording or sending certain vehicle
data or information. In addition, if you have
signed a service contract for BMW Assist, cer-
tain vehicle data may be transmitted or
recorded in order to fa cilitate the corresponding
services.
Page 217 of 248
Mobility
215Reference
At a glance
Controls
Driving tips
Communications
Navigation
Entertainment
4.Attach one terminal clamp of the minus/–
jumper cable to the nega tive terminal of the
battery or to an engine or body ground of
the assisting vehicle.
Your BMW has a special nut as body ground
or negative pole.
5. Attach the second te rminal clamp of the
minus/– jumper cable to the negative termi-
nal of the battery or to the engine or body
ground of the vehicle to be started.
Starting the engine
1. Start the engine of the donor vehicle and
allow it to run for a few minutes at slightly
increased idle speed.
2. Start the engine on the other vehicle in the
usual way.
If the first start attempt is not successful,
wait a few minutes be fore another attempt
in order to allow the discharged battery to
recharge.
3. Let the engines run for a few minutes.
4. Disconnect the jumper cables by reversing
the above connecting sequence.
If necessary, have the battery checked and
recharged.
Never use spray fluids to start the
engine. <
Tow-starting, towing away
Observe the applicable laws and regula-
tions for tow-starting and towing
vehicles. <
Do not transport any passengers other
than the driver in a vehicle that is being
towed. <
Using a tow fitting
The screw-in tow fitting must always be carried
in the car. It can be sc rewed in at the front or
rear of the BMW.
It is stored in the onboard tool kit underneath
the floor panel in the cargo bay, refer to
page 208.
Use only the towing eyelet supplied with
the vehicle and screw it in firmly until it
stops. Use the tow fitting for towing on paved
roads only. Avoid lateral loading of the tow fit-
ting, e.g. do not lift the vehicle by the tow fitting.
Otherwise the tow fitting and the vehicle could
be damaged. <
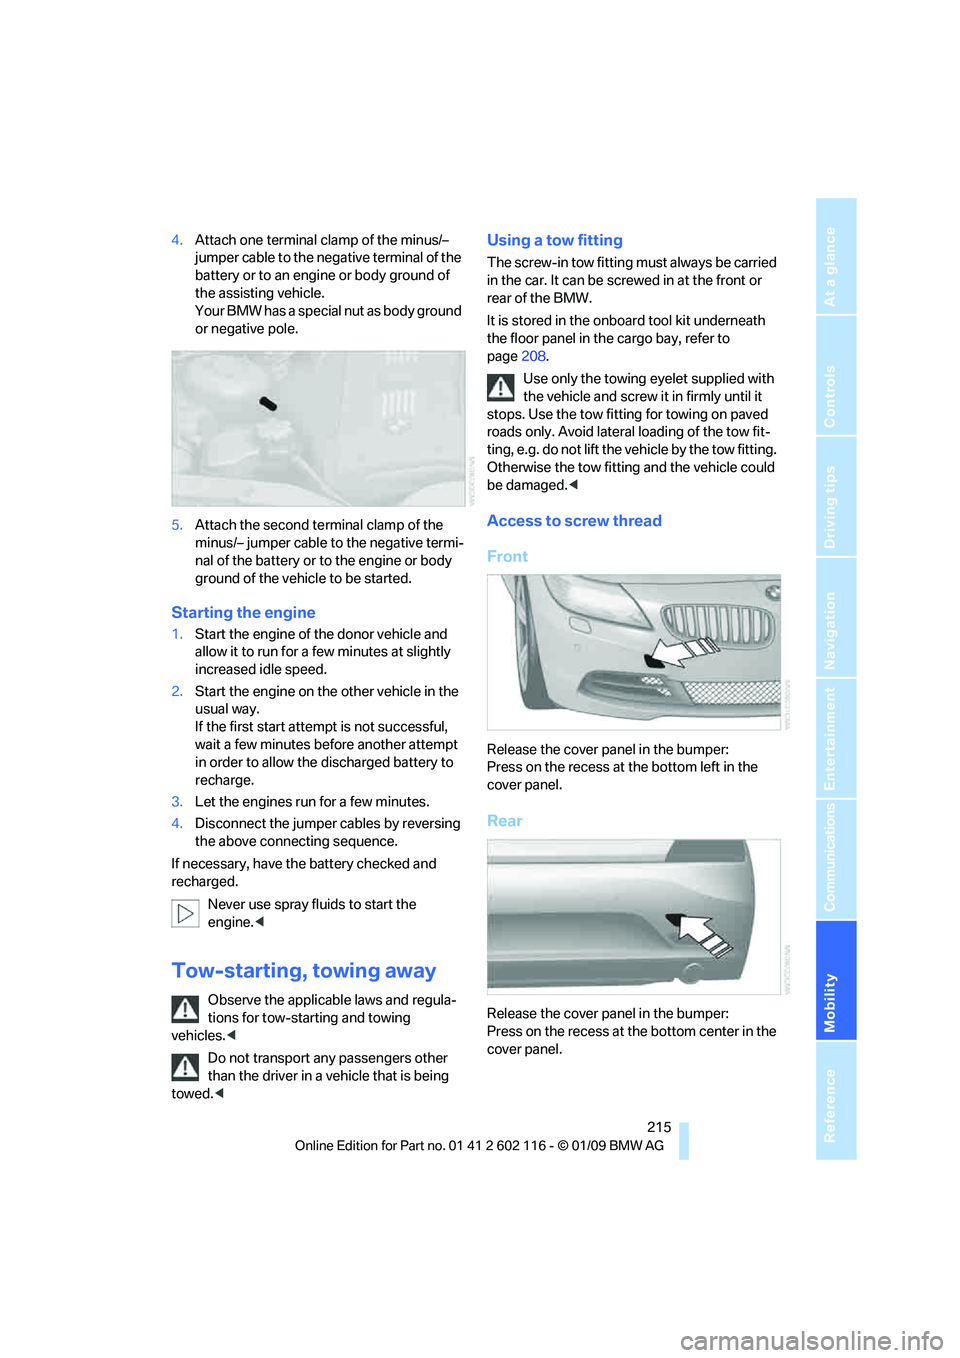
Access to screw thread
Front
Release the cover panel in the bumper:
Press on the recess at the bottom left in the
cover panel.
Rear
Release the cover panel in the bumper:
Press on the recess at the bottom center in the
cover panel.
Page 234 of 248

Everything from A to Z
232
Care
204
– automatic car washes 204
– care products 204
– carpets 206
– CD/DVD drives 207
– chrome parts 206
– displays 207
– exterior 204
– fine wood parts 207
– headlamps 205
– high-pressure washer 205
– interior 206
– leather 206
– light-alloy wheels 206
– paintwork 205
– plastic parts 207
– retractable hardtop 205
– rubber seals 206
– safety belts 207
– sensors and cameras 207
– upholstery and cloth trim 206
– washing the car manually 205
– windows 205
Cargo, securing 114
Cargo bay
– capacity 222
– convenient access 35
– lamp, refer to Interior lamps 90
– opening from inside 33
– opening from outside 33
Cargo loading
– securing cargo 114
– stowing cargo 114
– vehicle 113
Car jack
– jacking points 211
Car key, refer to Integrated
key/remote control 28
Car phone
– installation location, refer to
Center armrest 102
– refer to separate Owner's Manual
Car phone, refer to Telephone 164
Car radio, refer to Radio 141Car shampoo
207
Car wash 113
– with convenient access 36
Car wash, refer to the Caring for your vehicle brochure
Catalytic converter, refer to Hot exhaust system 111
CBS Condition Based
Service 202
CD, audio playback 146
CD/DVD changer 14
6
– controls 138
– fast forward/reverse 148
– random sequence 147
– switching on/off 138
– tone control 138
– volume 138
CD/DVD player 146
– controls 138
– fast forward/reverse 148
– random sequence 147
– switching on/off 138
– tone control 138
– volume 138
CD changer
– selecting a track 146
CD player
– selecting a track 146
Center armrest 102
Center brake lamp
– replacing bulb 211
Center console, refer to Around the center
console 14
Central locking
– from inside 32
– from outside 29
Central locking system 29
– convenient access 35
– setting unlocking
characteristics 29
Changes, technical, refer to For your own safety 5
Changing bulbs, refer to Lamps and bulbs 208
Changing the measurement
units on the Control
Display 68
Changing wheels 211Chassis number, refer to
Engine compartment 198
Check Control 73
Child-restraint systems 48
Child seats, refer to
Transporting children
safely 48
Chrome parts 207
Chrome polish 207
Cigarette lighter, refer to Lighter 104
Cleaning headlamps 60
– washer fluid 61
Cleaning your BMW, refer to Care 204
Clock 64
– 12h/24h mode 72
– setting the time and date 72
– setting time 71
Closing
– from inside 32
– from outside 29
Cockpit 10
Cold start, refer to Starting
the
engine 51
Combined instrument, refer to Instrument cluster 12
Comfort access, refer to
Convenient access 35
Comfort area, refer to Around the center console 14
Compartment for remote control, refer to
Ignition lock 50
Compass 100
Computer 65
– displays on Control
Display 66
Computer, refer to iDrive 16
Concierge service 179
Condensation, refer to When the vehicle is parked 112
Condition Based Service
CBS 202
Configuring settings, refer to Personal Profile 28
Confirmation signals for locking/unlocking the
vehicle 31