Page 214 of 248

Replacing components
212
Vehicle battery
Battery care
The battery is 100 % maintenance-free, the
electrolyte will last for the life of the battery
when the vehicle is operated in a temperate cli-
mate. Your BMW center will be glad to advise in
all matters concerning the battery.
Charging the battery
Only charge the battery in the vehicle via the
terminals in the engine compartment with the
engine off. Connections, refer to Jump starting
on page 214.
Disposal
Have old batteries disposed of by your
BMW center or hand them in to a recy-
cling center. Maintain th e battery in an upright
position for transport and storage. Always
secure the battery agains t tipping over during
transport. <
Power failure
After a temporary power lo ss, the functioning of
some equipment may be limited and require
reinitialization. Individual settings may likewise
have been lost and will have to be programmed:
> Time and date
These values must be updated, refer to
page 71.
> Radio
In some cases, statio ns may have to be
stored again, refer to page 142.
> Navigation system
Operability must be waited for, refer to
page 118.
> Seat and mirror memory
The positions must be stored again, refer to
page 43.
> Inside rearview mirror with digital compass
The system must be calibrated, refer to
page 101.
Fuses
Never attempt to repa ir a blown fuse and
do not replace a defective fuse with a sub-
stitute of another color or amperage rating, oth-
erwise this could lead to a circuit overload, ulti-
mately resulting in a fire in the vehicle. <
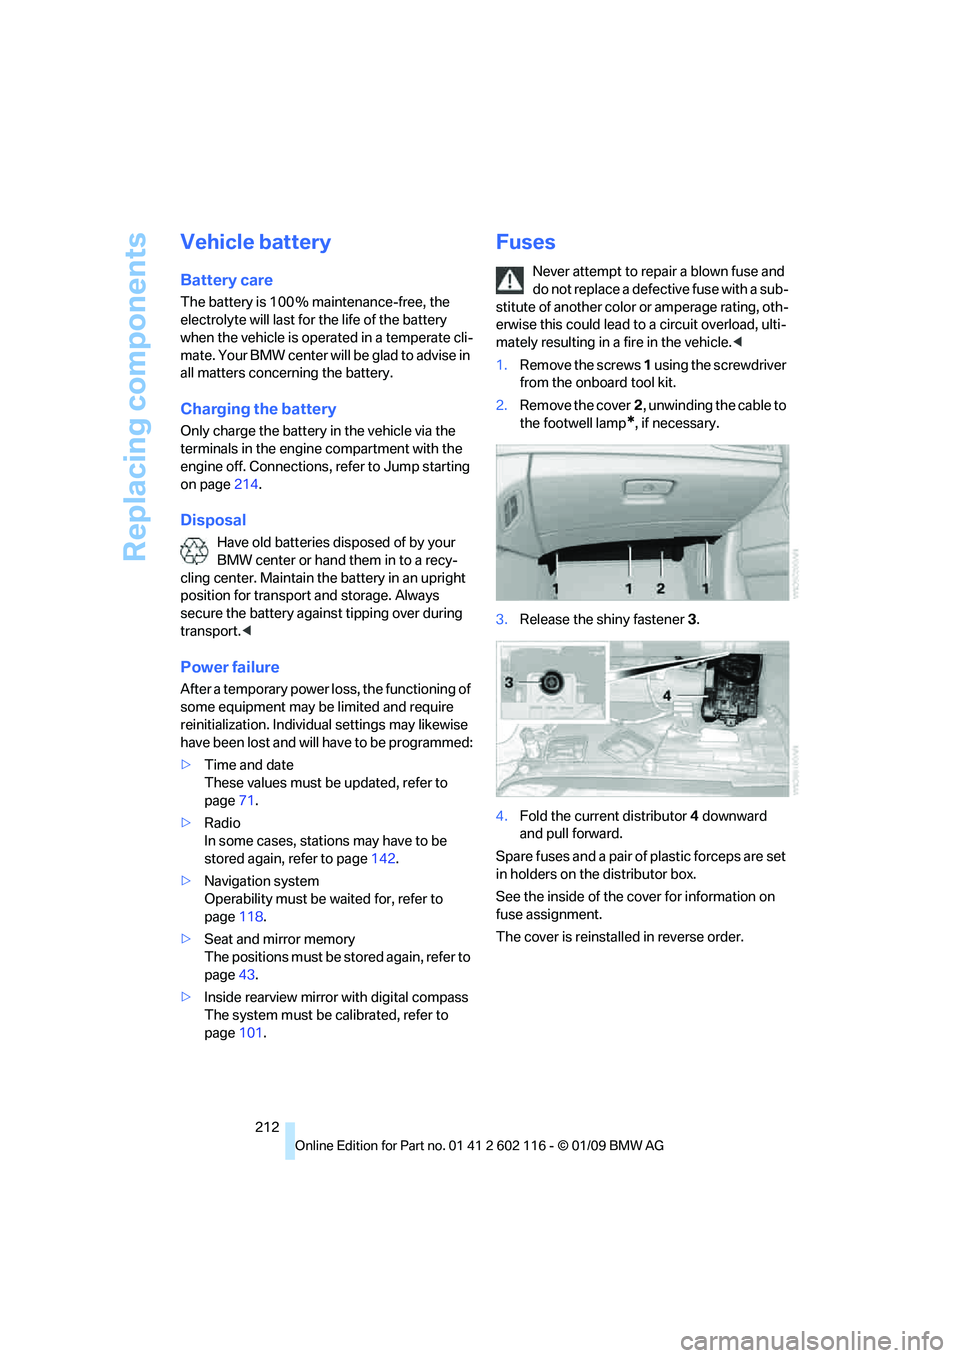
1. Remove the screws 1 using the screwdriver
from the onboard tool kit.
2. Remove the cover 2, unwinding the cable to
the footwell lamp
*, if necessary.
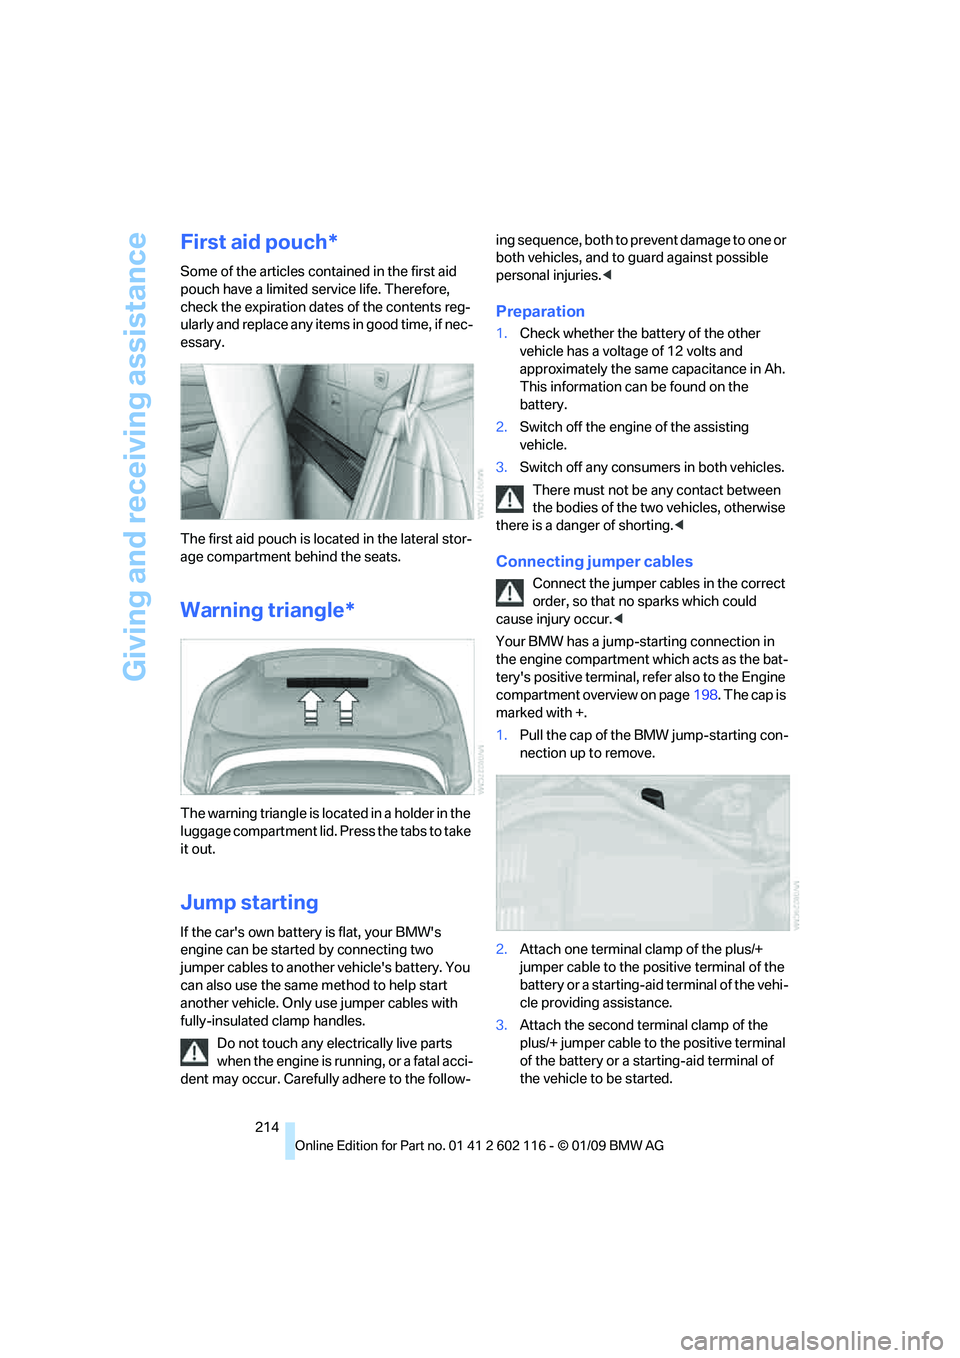
3. Release the shiny fastener 3.
4. Fold the current distributor 4 downward
and pull forward.
Spare fuses and a pair of plastic forceps are set
in holders on the distributor box.
See the inside of the cover for information on
fuse assignment.
The cover is reinsta lled in reverse order.
Page 216 of 248

Giving and receiving assistance
214
First aid pouch*
Some of the articles contained in the first aid
pouch have a limited service life. Therefore,
check the expiration dates of the contents reg-
ularly and replace any items in good time, if nec-
essary.
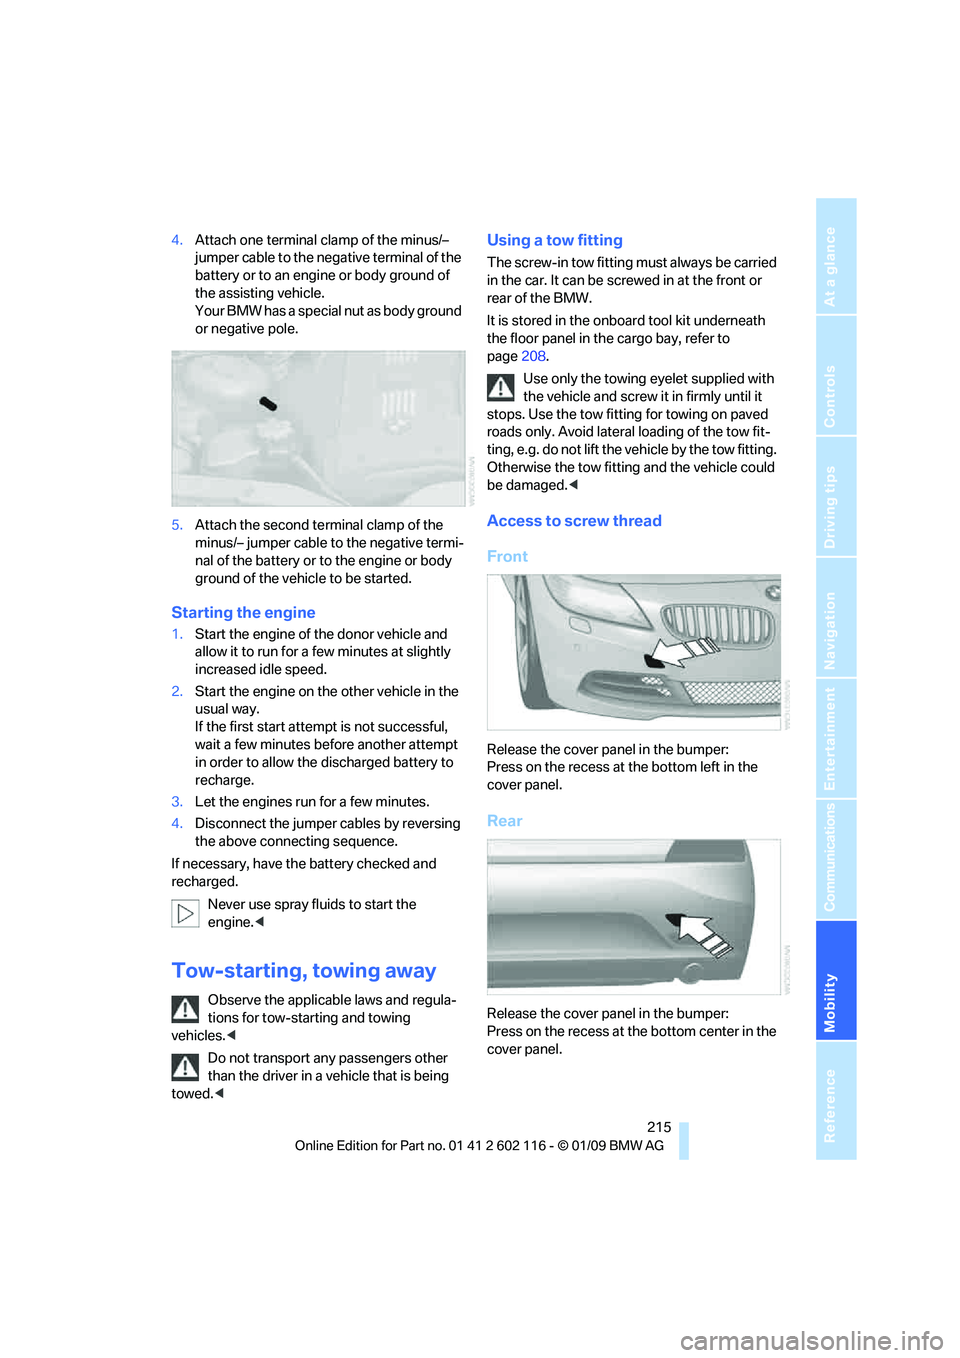
The first aid pouch is loca ted in the lateral stor-
age compartment behind the seats.
Warning triangle*
The warning triangle is lo cated in a holder in the
luggage compartment lid. Press the tabs to take
it out.
Jump starting
If the car's own battery is flat, your BMW's
engine can be starte d by connecting two
jumper cables to another vehicle's battery. You
can also use the same method to help start
another vehicle. Only use jumper cables with
fully-insulated clamp handles.
Do not touch any elec trically live parts
when the engine is runn ing, or a fatal acci-
dent may occur. Carefully adhere to the follow-ing sequence, both to pr
event damage to one or
both vehicles, and to guard against possible
personal injuries.<
Preparation
1. Check whether the battery of the other
vehicle has a voltage of 12 volts and
approximately the same capacitance in Ah.
This information can be found on the
battery.
2. Switch off the engine of the assisting
vehicle.
3. Switch off any consumers in both vehicles.
There must not be any contact between
the bodies of the tw o vehicles, otherwise
there is a danger of shorting. <
Connecting jumper cables
Connect the jumper cables in the correct
order, so that no sparks which could
cause injury occur. <
Your BMW has a jump-starting connection in
the engine compartment which acts as the bat-
tery's positive terminal, refer also to the Engine
compartment overview on page 198. The cap is
marked with +.
1. Pull the cap of the BMW jump-starting con-
nection up to remove.
2. Attach one terminal clamp of the plus/+
jumper cable to the positive terminal of the
battery or a starting-aid terminal of the vehi-
cle providing assistance.
3. Attach the second te rminal clamp of the
plus/+ jumper cable to the positive terminal
of the battery or a star ting-aid terminal of
the vehicle to be started.
Page 217 of 248

Mobility
215Reference
At a glance
Controls
Driving tips
Communications
Navigation
Entertainment
4.Attach one terminal clamp of the minus/–
jumper cable to the nega tive terminal of the
battery or to an engine or body ground of
the assisting vehicle.
Your BMW has a special nut as body ground
or negative pole.
5. Attach the second te rminal clamp of the
minus/– jumper cable to the negative termi-
nal of the battery or to the engine or body
ground of the vehicle to be started.
Starting the engine
1. Start the engine of the donor vehicle and
allow it to run for a few minutes at slightly
increased idle speed.
2. Start the engine on the other vehicle in the
usual way.
If the first start attempt is not successful,
wait a few minutes be fore another attempt
in order to allow the discharged battery to
recharge.
3. Let the engines run for a few minutes.
4. Disconnect the jumper cables by reversing
the above connecting sequence.
If necessary, have the battery checked and
recharged.
Never use spray fluids to start the
engine. <
Tow-starting, towing away
Observe the applicable laws and regula-
tions for tow-starting and towing
vehicles. <
Do not transport any passengers other
than the driver in a vehicle that is being
towed. <
Using a tow fitting
The screw-in tow fitting must always be carried
in the car. It can be sc rewed in at the front or
rear of the BMW.
It is stored in the onboard tool kit underneath
the floor panel in the cargo bay, refer to
page 208.
Use only the towing eyelet supplied with
the vehicle and screw it in firmly until it
stops. Use the tow fitting for towing on paved
roads only. Avoid lateral loading of the tow fit-
ting, e.g. do not lift the vehicle by the tow fitting.
Otherwise the tow fitting and the vehicle could
be damaged. <
Access to screw thread
Front
Release the cover panel in the bumper:
Press on the recess at the bottom left in the
cover panel.
Rear
Release the cover panel in the bumper:
Press on the recess at the bottom center in the
cover panel.