2009 BMW Z4 SDRIVE30I ROADSTER ignition
[x] Cancel search: ignitionPage 91 of 248
Controls
89Reference
At a glance
Driving tips
Communications
Navigation
Entertainment
Mobility
Welcome lamps are activated and are
stored for the remote control currently in use.
Pathway lighting
If you activate the head lamp flasher after park-
ing the car, with the lig hts switched off, the
low beams come on and remain on for a
certain time.
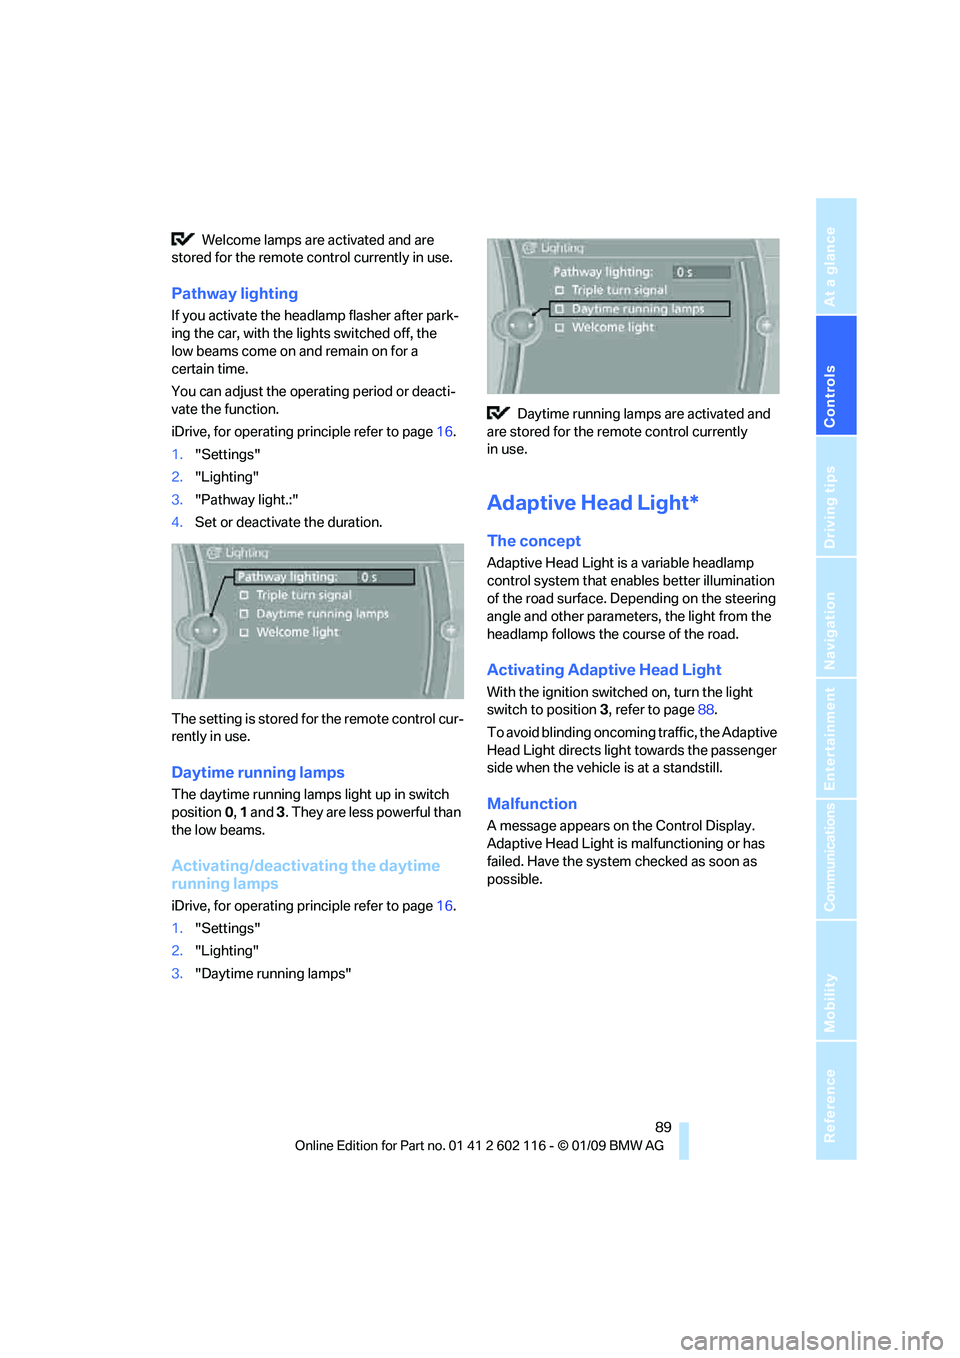
You can adjust the operating period or deacti-
vate the function.
iDrive, for operating principle refer to page 16.
1. "Settings"
2. "Lighting"
3. "Pathway light.:"
4. Set or deactivate the duration.
The setting is stored for the remote control cur-
rently in use.
Daytime running lamps
The daytime running lamps light up in switch
position 0, 1 and 3. They are less powerful than
the low beams.
Activating/deactivating the daytime
running lamps
iDrive, for operating principle refer to page 16.
1. "Settings"
2. "Lighting"
3. "Daytime running lamps" Daytime running lamps are activated and
are stored for the remote control currently
in use.
Adaptive Head Light*
The concept
Adaptive Head Light is a variable headlamp
control system that en ables better illumination
of the road surface. Depending on the steering
angle and other parameters, the light from the
headlamp follows the course of the road.
Activating Adapti ve Head Light
With the ignition switched on, turn the light
switch to position 3, refer to page 88.
To avoid blinding oncoming traffic, the Adaptive
Head Light directs light towards the passenger
side when the vehicle is at a standstill.
Malfunction
A message appears on the Control Display.
Adaptive Head Light is malfunctioning or has
failed. Have the system checked as soon as
possible.
Page 92 of 248
Lamps
90
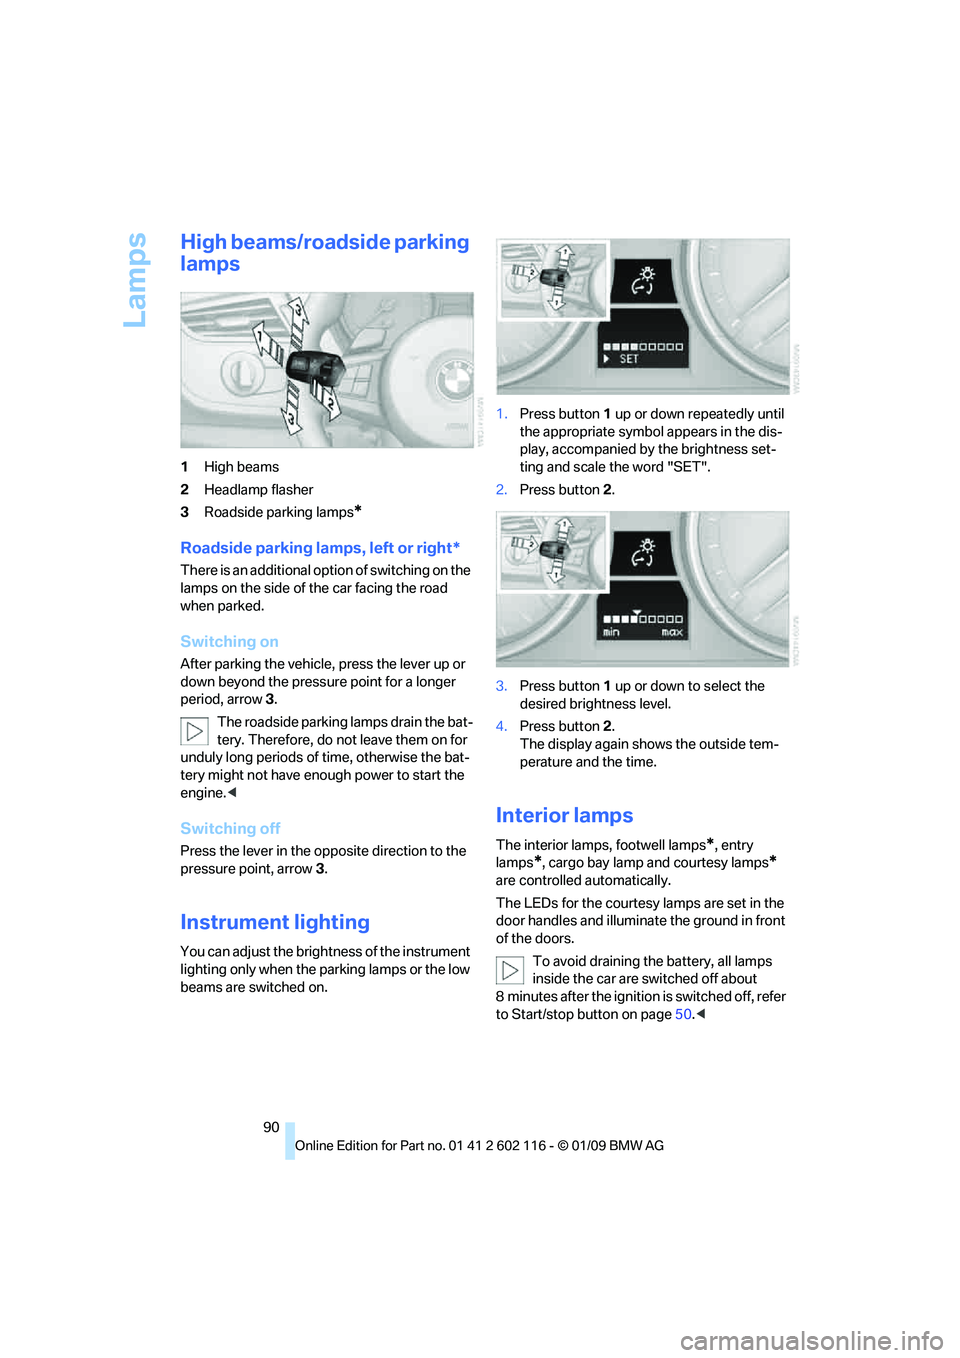
High beams/roadside parking
lamps
1High beams
2 Headlamp flasher
3 Roadside parking lamps
*
Roadside parking lamps, left or right*
There is an additional option of switching on the
lamps on the side of the car facing the road
when parked.
Switching on
After parking the vehicle, press the lever up or
down beyond the pressu re point for a longer
period, arrow 3.
The roadside parking lamps drain the bat-
tery. Therefore, do not leave them on for
unduly long periods of time, otherwise the bat-
tery might not have enou gh power to start the
engine. <
Switching off
Press the lever in the opposite direction to the
pressure point, arrow 3.
Instrument lighting
You can adjust the brightness of the instrument
lighting only when the parking lamps or the low
beams are switched on. 1.
Press button 1 up or down repeatedly until
the appropriate symbol appears in the dis-
play, accompanied by the brightness set-
ting and scale the word "SET".
2. Press button 2.
3. Press button 1 up or down to select the
desired brightness level.
4. Press button 2.
The display again shows the outside tem-
perature and the time.
Interior lamps
The interior lamps, footwell lamps*, entry
lamps
*, cargo bay lamp and courtesy lamps*
are controlled automatically.
The LEDs for the courtesy lamps
are set in the
door handles and illuminate the ground in front
of the doors.
To avoid draining the battery, all lamps
inside the car are switched off about
8 minutes after the ignition is switched off, refer
to Start/stop button on page 50.<
Page 101 of 248
Controls
99Reference
At a glance
Driving tips
Communications
Navigation
Entertainment
Mobility
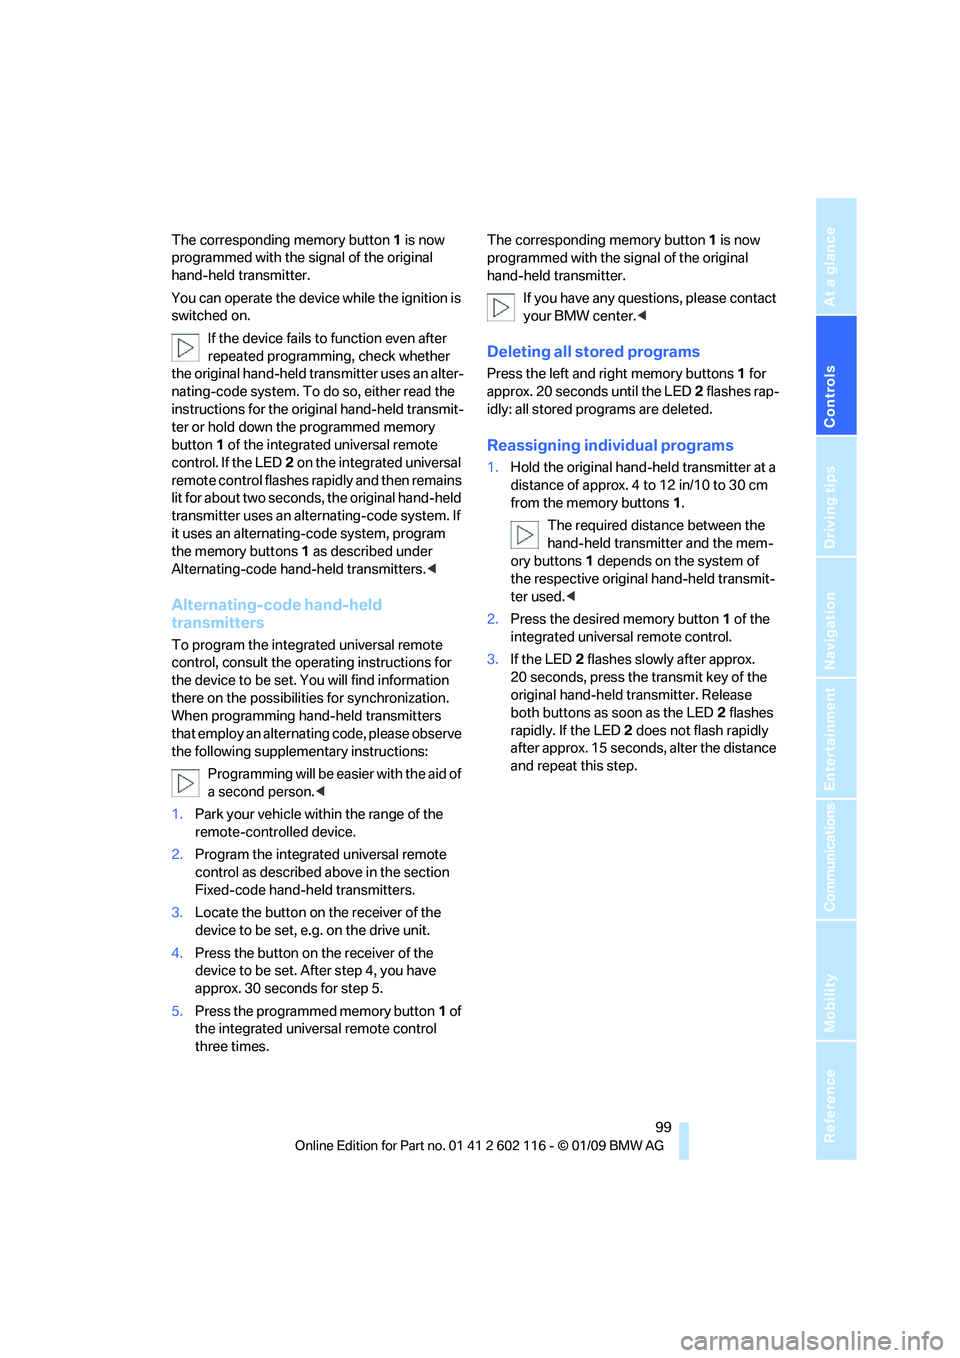
The corresponding memory button 1 is now
programmed with the signal of the original
hand-held transmitter.
You can operate the device while the ignition is
switched on.
If the device fails to function even after
repeated programming, check whether
the original hand-held transmitter uses an alter-
nating-code system. To do so, either read the
instructions for the original hand-held transmit-
ter or hold down the programmed memory
button 1 of the integrated universal remote
control. If the LED 2 on the integrated universal
remote control flashes rapidly and then remains
lit for about two seconds, the original hand-held
transmitter uses an alte rnating-code system. If
it uses an alternating-code system, program
the memory buttons 1 as described under
Alternating-code hand-held transmitters. <
Alternating-code hand-held
transmitters
To program the integrated universal remote
control, consult the operating instructions for
the device to be set. You will find information
there on the possibilities for synchronization.
When programming hand-held transmitters
that employ an alternating code, please observe
the following supplementary instructions:
Programming will be easier with the aid of
a second person. <
1. Park your vehicle within the range of the
remote-controlled device.
2. Program the integrated universal remote
control as described above in the section
Fixed-code hand-held transmitters.
3. Locate the button on the receiver of the
device to be set, e.g. on the drive unit.
4. Press the button on the receiver of the
device to be set. Af ter step 4, you have
approx. 30 seconds for step 5.
5. Press the programmed memory button 1 of
the integrated universal remote control
three times. The corresponding memory button
1 is now
programmed with the signal of the original
hand-held transmitter.
If you have any questions, please contact
your BMW center. <
Deleting all stored programs
Press the left and right memory buttons 1 for
approx. 20 seconds until the LED 2 flashes rap-
idly: all stored pr ograms are deleted.
Reassigning individual programs
1.Hold the original hand-held transmitter at a
distance of approx. 4 to 12 in/10 to 30 cm
from the memory buttons 1.
The required distance between the
hand-held transmitter and the mem-
ory buttons 1 depends on the system of
the respective original hand-held transmit-
ter used.<
2. Press the desired memory button 1 of the
integrated universal remote control.
3. If the LED 2 flashes slowly after approx.
20 seconds, press the transmit key of the
original hand-held transmitter. Release
both buttons as soon as the LED 2 flashes
rapidly. If the LED 2 does not flash rapidly
after approx. 15 seconds, alter the distance
and repeat this step.
Page 106 of 248
Practical interior accessories
104
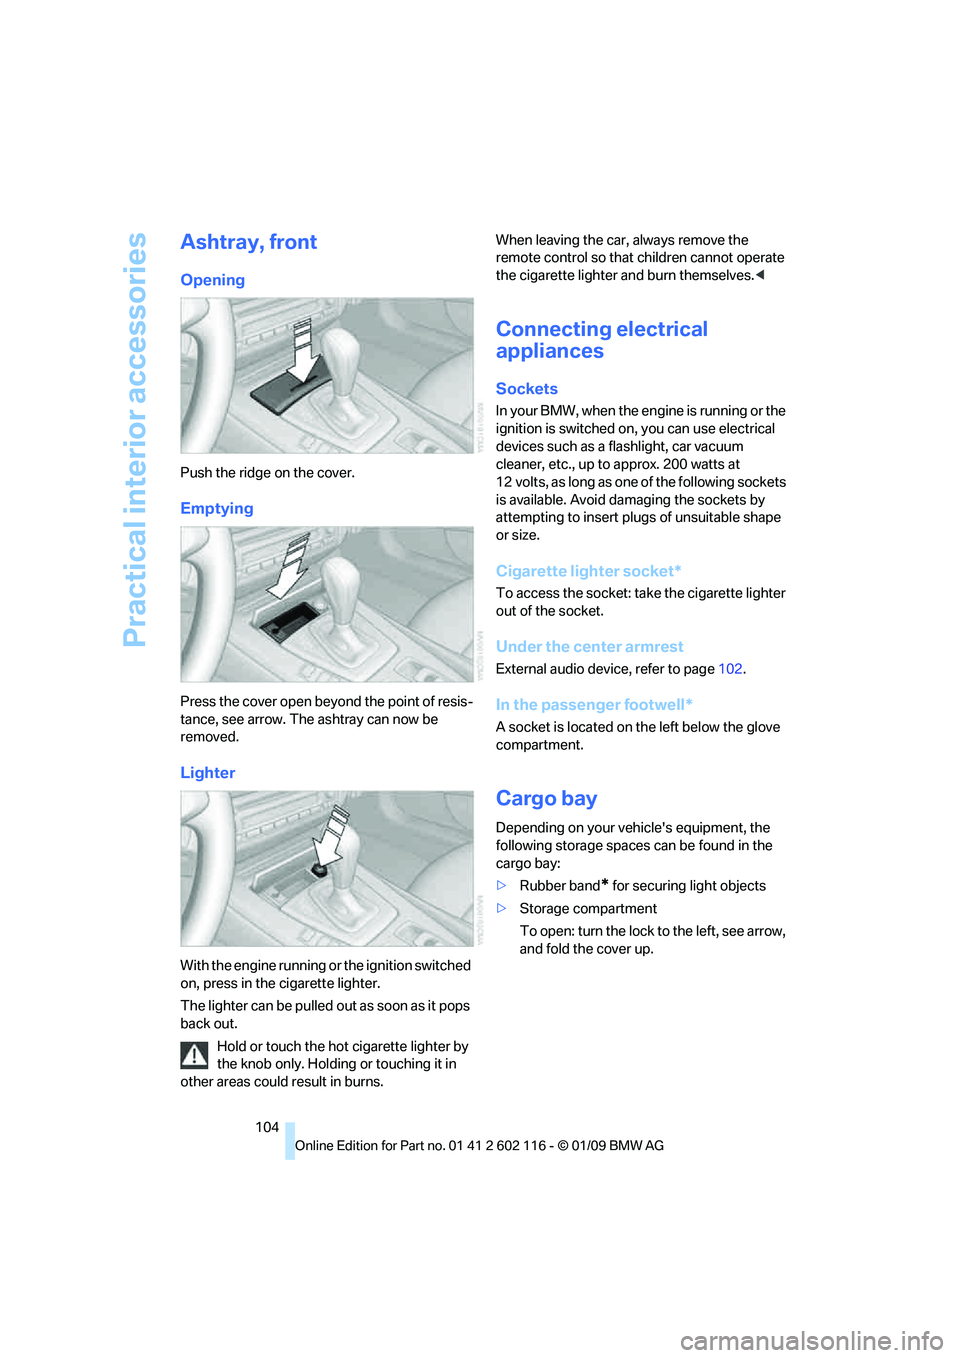
Ashtray, front
Opening
Push the ridge on the cover.
Emptying
Press the cover open beyond the point of resis-
tance, see arrow. The ashtray can now be
removed.
Lighter
With the engine running or the ignition switched
on, press in the cigarette lighter.
The lighter can be pulled out as soon as it pops
back out.
Hold or touch the hot cigarette lighter by
the knob only. Holding or touching it in
other areas could result in burns. When leaving the car,
always remove the
remote control so that children cannot operate
the cigarette lighter and burn themselves. <
Connecting electrical
appliances
Sockets
In your BMW, when the engine is running or the
ignition is switched on , you can use electrical
devices such as a flashlight, car vacuum
cleaner, etc., up to approx. 200 watts at
12 volts, as long as one of the following sockets
is available. Avoid damaging the sockets by
attempting to insert pl ugs of unsuitable shape
or size.
Cigarette lighter socket*
To access the socket: take the cigarette lighter
out of the socket.
Under the center armrest
External audio device, refer to page 102.
In the passenger footwell*
A socket is located on the left below the glove
compartment.
Cargo bay
Depending on your vehicle's equipment, the
following storage spaces can be found in the
cargo bay:
>Rubber band
* for securing light objects
> Storage compartment
To open: turn the lock to the left, see arrow,
and fold the cover up.
Page 115 of 248
Driving tips
113Reference
At a glance
Controls
Communications
Navigation
Entertainment
Mobility
Before driving into a car wash
General information on caring for your BMW
can be found on page204.
With convenient access and automatic
transmission
Insert the remote control into the ignition
switch.
The engine can be switched off when the selec-
tor lever is in position N. Refer also to page 204.
With convenient access and 7-gear
sport automatic transm ission with dual
clutch
Insert the remote control into the ignition
switch.
The engine can be switched off when the trans-
mission is in position N. Refer also to page 205.
Cargo loading
To avoid loading the tires beyond their
approved carrying capacity, never over-
load the vehicle. Overlo ading can lead to over-
heating and increases the rate at which damage
develops inside the tires. This can ultimately
result in a sudden blow-out. <
Make sure that no liquids are spilled or
leak from their containers in the cargo
bay, as this could result in damage to the
vehicle. <
When storing objects in the rear storage
shelf, do not move both seats all the way
forward while moving th em to their uppermost
position and leaning the backrests forward.
Otherwise, the seats could hit and damage the
seal on the windshield, the sun visor and the
headliner. <
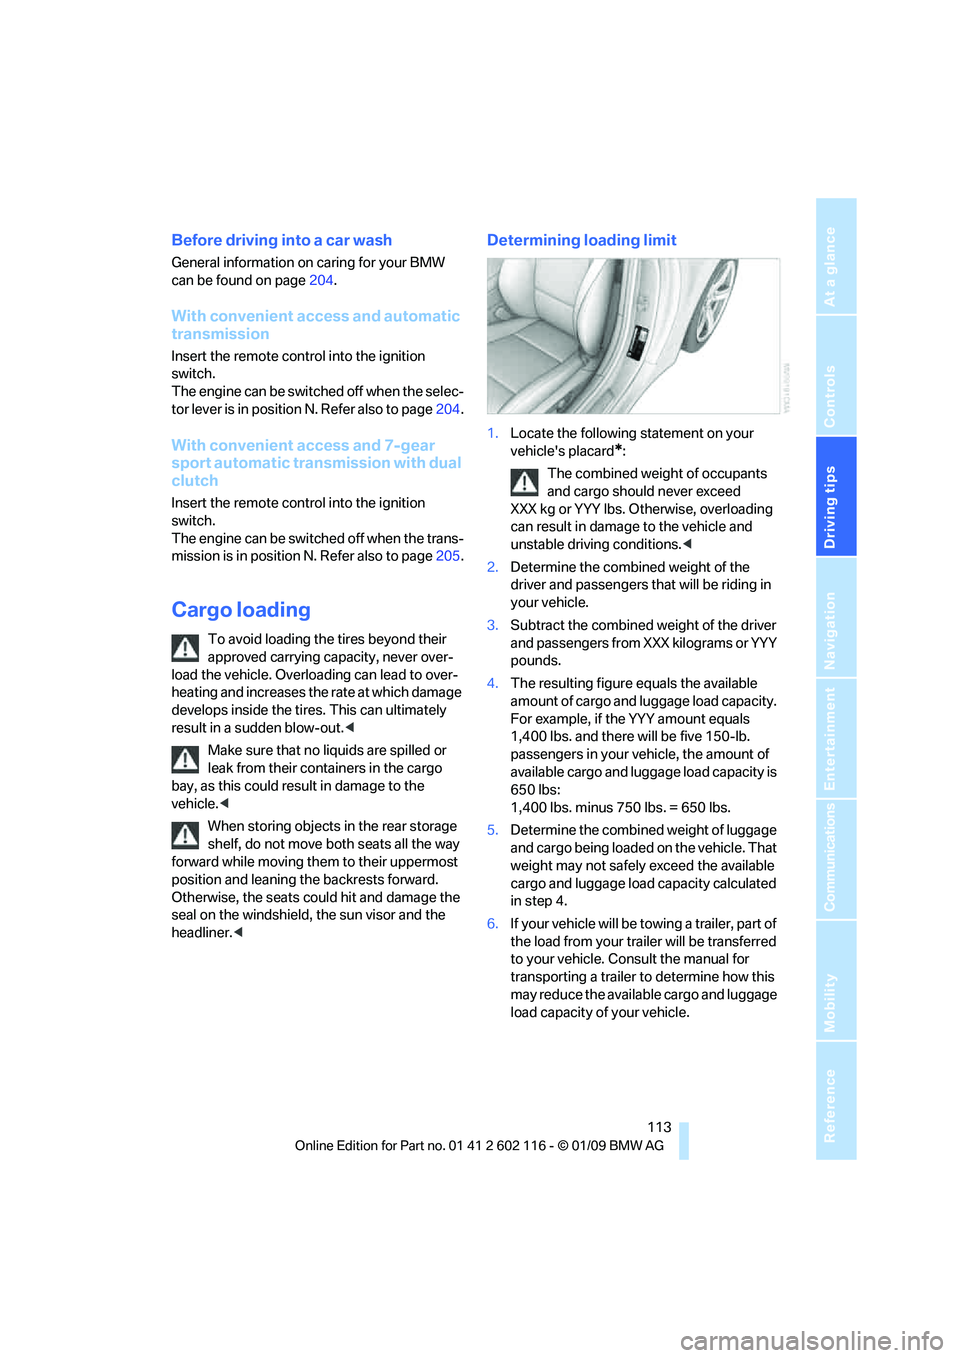
Determining loading limit
1.Locate the following statement on your
vehicle's placard
*:
The combined weight of occupants
and cargo should never exceed
XXX kg or YYY lbs. Otherwise, overloading
can result in damage to the vehicle and
unstable driving conditions.<
2. Determine the combined weight of the
driver and passengers that will be riding in
your vehicle.
3. Subtract the combined weight of the driver
and passengers from XXX kilograms or YYY
pounds.
4. The resulting figure equals the available
amount of cargo and luggage load capacity.
For example, if the YYY amount equals
1,400 lbs. and there will be five 150-lb.
passengers in your ve hicle, the amount of
available cargo and lugga ge load capacity is
650 lbs:
1,400 lbs. minus 750 lbs. = 650 lbs.
5. Determine the combined weight of luggage
and cargo being loaded on the vehicle. That
weight may not safely exceed the available
cargo and luggage load capacity calculated
in step 4.
6. If your vehicle will be towing a trailer, part of
the load from your tra iler will be transferred
to your vehicle. Consult the manual for
transporting a trailer to determine how this
may reduce the availa ble cargo and luggage
load capacity of your vehicle.
Page 150 of 248
CD/DVD player and CD/DVD changer
148
5.
"Random"
CDs/DVDs with compressed audio files: the
directories and the tracks contained therein are
played back in random sequence.
Random mode is switched off if the audio
source is changed or the ignition is switched off.
Fast forward/reverse
Press and hold the button for the corre-
sponding direction.
Video playback*
Country codes
Only DVDs with the code of the home region
can be played back; also refer to the information
on your DVD.
Start playback
For your own safety, the video image is only dis-
played up to a vehicle speed of approx. 2 mph/
3 km/h and in some countries only with the parking brake set or the automatic transmission
in position P.
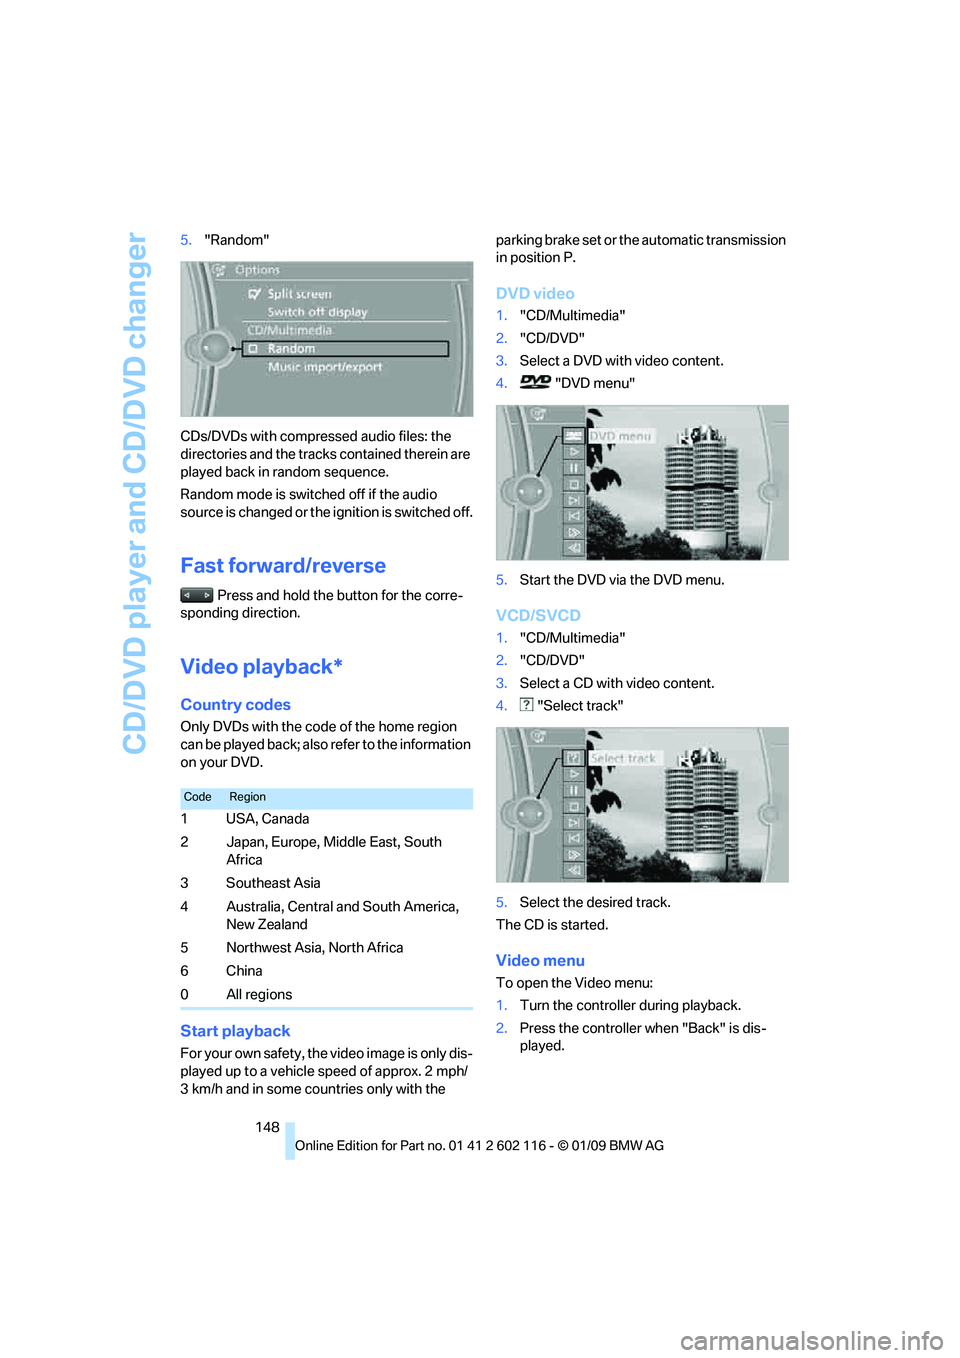
DVD video
1.
"CD/Multimedia"
2. "CD/DVD"
3. Select a DVD with video content.
4. "DVD menu"
5. Start the DVD via the DVD menu.
VCD/SVCD
1."CD/Multimedia"
2. "CD/DVD"
3. Select a CD with video content.
4. "Select track"
5. Select the desired track.
The CD is started.
Video menu
To open the Video menu:
1. Turn the controller during playback.
2. Press the controller when "Back" is dis-
played.
CodeRegion
1USA, Canada
2 Japan, Europe, Middle East, South
Africa
3Southeast Asia
4 Australia, Central and South America, New Zealand
5 Northwest Asia, North Africa
6China
0 All regions
Page 166 of 248
Telephone
164
Telephone
The concept
Your BMW is equipped with a full preparation
package mobile phone.After pairing a suitable
mobile phone with the vehicle once, you can
operate the mobile phone via the iDrive, the
buttons on the steering wheel or using voice
commands
*.
Once a mobile phone has been paired with your
vehicle, it is automatically recognized as soon
as it is inside the vehicl e while the engine is run-
ning or the ignition is switched on. You can
store the pairing data for up to four mobile
phones simultaneously . If several mobile
phones are detected at the same time, the
mobile phone last paired can be operated via
the vehicle.
Using the telephone inside
the vehicle
Using the snap-in adapter*
The so-called snap-in adapter, a holder for
mobile phones, allows you to charge the mobile
phone's battery and connect the mobile phone
to your vehicle's outside antenna. This ensures
better network reception and consistent repro-
duction quality. Please contact your
BMW center to find ou t for which mobile
phones there are snap-in adapters available.
For your safety
A car phone makes life more convenient in
many ways, and can even save lives in an emer-
gency. While you should consult your mobile
phone's separate operating instructions for a
detailed description of safety precautions and
information, we request that you direct your
particular attention to the following:
Only make entries when the traffic situa-
tion allows you to do so. Do not hold the
mobile phone in your hand while you are driving;
use the hands-free system instead. If you do not observe this precau
tion, your being dis-
tracted can endanger vehicle occupants and
other road users. <
Suitable mobile phones
Please ask your BMW center which mobile
phones with Bluetooth interface are supported
by the mobile phone pr eparation package and
which mobile phones are compatible with the
snap-in adapter. By virtue of their particular
software versions, thes e mobile phones sup-
port the functions described in this Owner's
Manual. Malfunctions may occur with other
mobile phones.
Operating options
You can operate the mobile phone* using:
> Buttons on the steering wheel, refer to
page 10
> iDrive, refer to page 16
> Voice commands
*, refer to page 172
> Programmable memory keys, refer to
page 21
Avoid operating a mobile phone recognized by
the vehicle via the mobile phone's keypad, oth-
erwise malfunctions may result.
Start-up
Pairing the mobile phone with the
vehicle
The following prerequisites must be met:
> Compatible mobile phone: The mobile
phone is supported by the full preparation
package mobile phone. You can obtain
information on the Internet at:
www.bmw.com/bluetooth
> The mobile phone is ready to operate.
*
Page 167 of 248
165
Entertainment
Reference
At a glance
Controls
Driving tips
Communications
Navigation
Mobility
> Bluetooth is activated in the vehicle, refer to
page 166, and on the mobile phone.
> Certain presettings ma y be necessary on
some mobile phones: e.g. using the follow-
ing menu items:
> Bluetooth switched on
> Connection must be allowed without
requiring further confirmation
> Reconnection
> Depending on the mobile phone type, the
power-saving mode setting, for example,
may result in a paired mobile phone not
being detected by the vehicle.
> For pairing purposes, define any 4 to 16-
digit number as a Bluetooth passkey,
e.g. 123. A long and complex number offers
the best protection against unauthorized
access. This Bluetooth passkey is no longer
required after pairing has been successful.
> The ignition is switched on.
Pair the mobile phone with the vehicle
only when the car is stationary, to avoid
endangering the car's occupants and other
road users by be ing distracted.<
Switching on the ignition
1.Insert the remote contro l all the way into the
ignition lock.
2. Switch on the ignition without operating the
brake or clutch or pressing the start/stop
button.
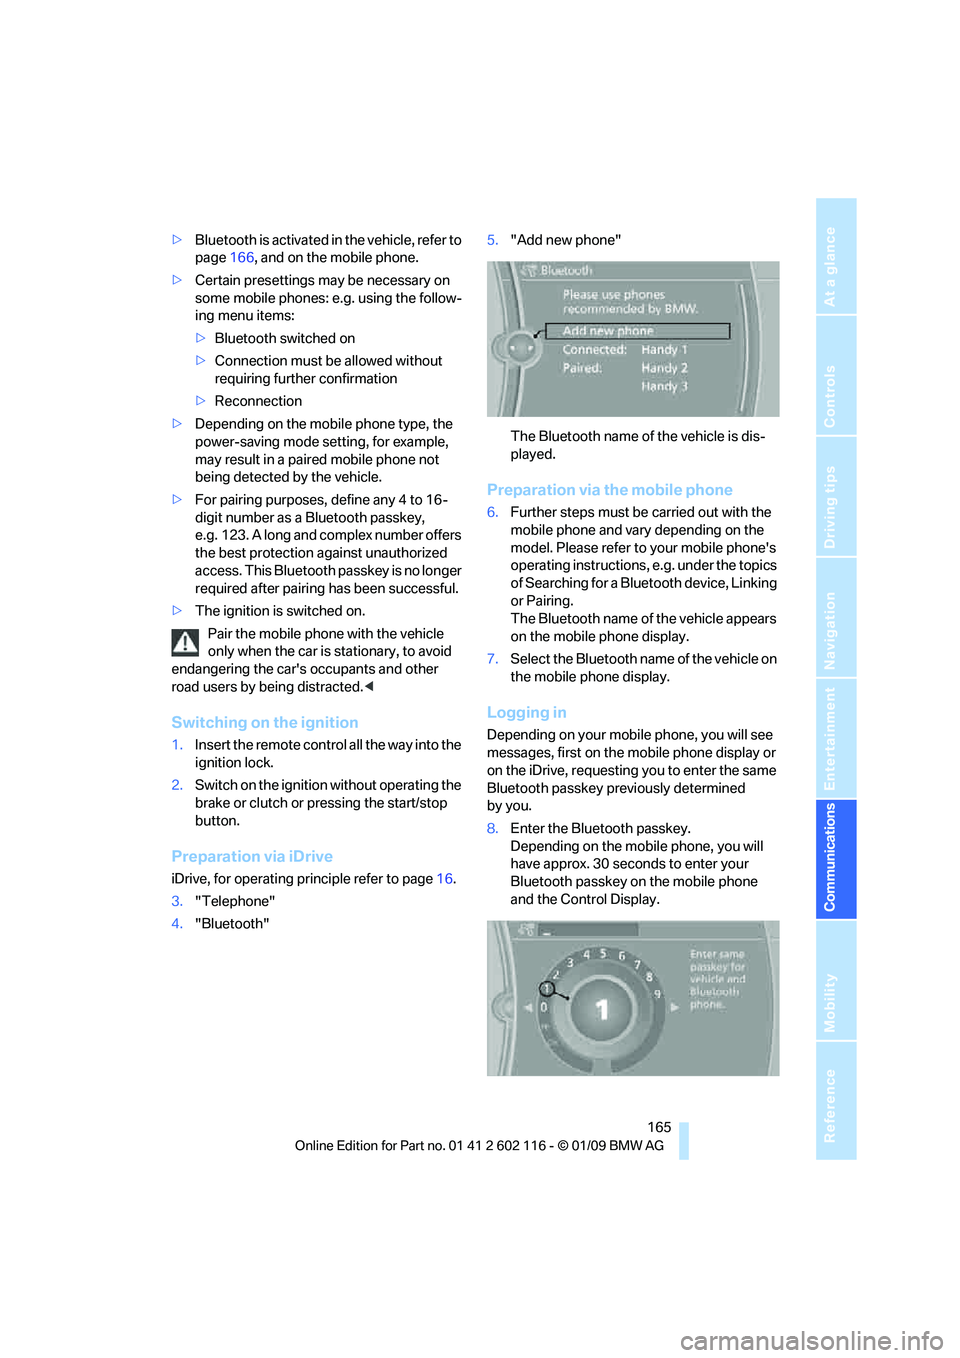
Preparation via iDrive
iDrive, for operating principle refer to page 16.
3. "Telephone"
4. "Bluetooth" 5.
"Add new phone"
The Bluetooth name of the vehicle is dis-
played.
Preparation via the mobile phone
6.Further steps must be carried out with the
mobile phone and vary depending on the
model. Please refer to your mobile phone's
operating instructions, e.g. under the topics
of Searching for a Bluetooth device, Linking
or Pairing.
The Bluetooth name of the vehicle appears
on the mobile phone display.
7. Select the Bluetooth na me of the vehicle on
the mobile phone display.
Logging in
Depending on your mob ile phone, you will see
messages, first on the mobile phone display or
on the iDrive, requesting you to enter the same
Bluetooth passkey previously determined
by you.
8. Enter the Bluetooth passkey.
Depending on the mobile phone, you will
have approx. 30 seco nds to enter your
Bluetooth passkey on the mobile phone
and the Control Display.