2009 BMW X6 XDRIVE Warnings
[x] Cancel search: WarningsPage 89 of 317
Controls
87Reference
At a glance
Driving tips
Communications
Navigation
Entertainment
Mobility
Speed limit
You can enter a speed and a Check Control
message indicates when you have reached this
speed. This enables you, for example, to
receive warnings if you exceed a speed limit in
an urban area.
You are only warned of reaching this speed a
second time if your vehi cle speed falls below it
again by at least 3 mph/5 km/h.
Displaying, setting or changing limit
iDrive, for operating principle refer to page 16.
1. Open the start menu.
2. Open "Navigation".
Without navigation system
*:
Open "Car Data".
3. Select "Car Data" and press the controller.
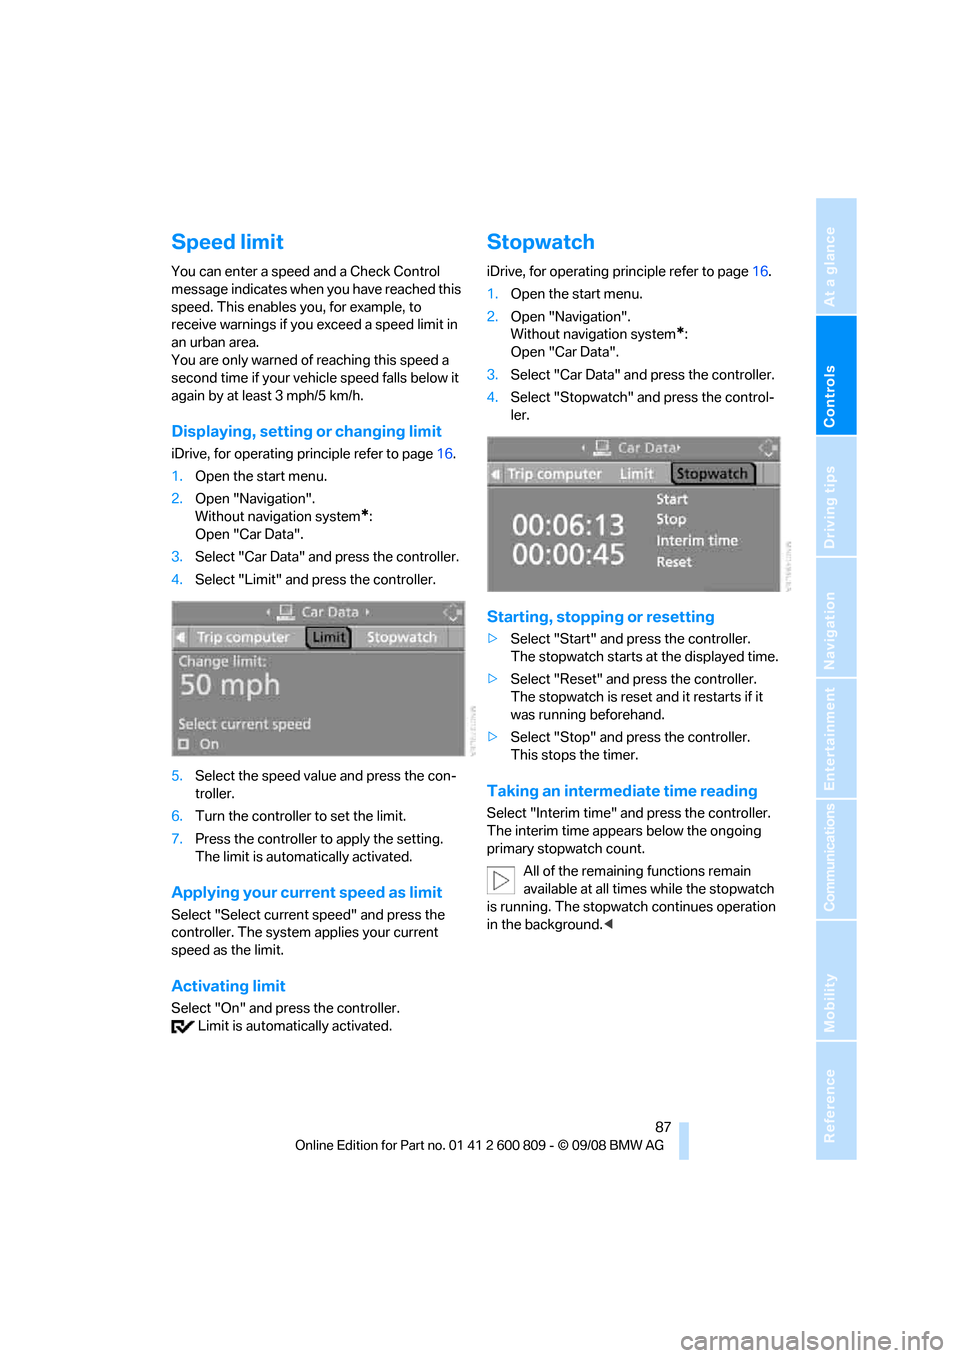
4. Select "Limit" and press the controller.
5. Select the speed value and press the con-
troller.
6. Turn the controller to set the limit.
7. Press the controller to apply the setting.
The limit is automatically activated.
Applying your current speed as limit
Select "Select current speed" and press the
controller. The system applies your current
speed as the limit.
Activating limit
Select "On" and press the controller. Limit is automatically activated.
Stopwatch
iDrive, for operating pr inciple refer to page16.
1. Open the start menu.
2. Open "Navigation".
Without navigation system
*:
Open "Car Data".
3. Select "Car Data" and press the controller.
4. Select "Stopwatch" and press the control-
ler.
Starting, stopping or resetting
>Select "Start" and press the controller.
The stopwatch starts at the displayed time.
> Select "Reset" and press the controller.
The stopwatch is reset and it restarts if it
was running beforehand.
> Select "Stop" and press the controller.
This stops the timer.
Taking an intermediate time reading
Select "Interim time" an d press the controller.
The interim time appe ars below the ongoing
primary stopwatch count.
All of the remaining functions remain
available at all times while the stopwatch
is running. The stopwa tch continues operation
in the background. <
Page 108 of 317
Technology for comfort, convenience and safety
106
the upholstery in the center of the steering
wheel, on the instrument cluster, the doors, and
the roof pillars as well as
the sides of the head-
liner. Do not attempt to remove or dismantle the
steering wheel. Do not touch the individual
components immediately after the system has
been triggered, because there is a danger of
burns.
In the event of malfunctions, deactivation, or
triggering of the airbag restraint system, have
the testing, repair, remova l, and disposal of air-
bag generators executed only by a BMW Sports
Activity Vehicle Center or a workshop that
works according to BMW repair procedures
with correspondingly trained personnel and has
the required explosives licenses. Otherwise
unprofessional attempts to service the system
could lead to failure in an emergency or undes-
ired airbag triggering, either of which could
result in personal injury. <
Warnings and information on the airbags is also
provided on the sun visors.
Automatic deactivation of front
passenger airbags
The occupation of the seat is detected by eval-
uating the impression on the occupied seat sur-
face of the front passeng er seat. The front and
side airbags on the front passenger side are
activated or deactivated accordingly by the sys-
tem.
The current status of the front passenger
airbag, i.e. deactivated or activated, is
indicated by the indicator lamp over the interior
rearview mirror, refer to Operating state of front
passenger airbags in the following. <
Before transporting a child on the front
passenger seat, read the safety informa-
tion and follow the inst ructions under Trans-
porting children safely, refer to page 61.
When teenagers and adults assume certain sit-
ting positions, this can cause the front and side
airbags to deactivate. The indicator lamp for the
front passenger airbags lights up when this
occurs. In these cases, change the sitting posi-
tion so that the front passenger airbags are acti-
vated and the indicator la mp goes out. If the
desired status cannot be produced by changing the sitting position, transport the correspond-
ing person on the rear se
at. Do not fit seat cov-
ers, seat cushion padding, ball mats or other
items onto the front passenger seat unless they
are specifically recomme nded by BMW. Do not
lay objects under the seat which could press
against the seat from below. Otherwise a cor-
rect evaluation of the occupied seat surface
cannot be ensured. <
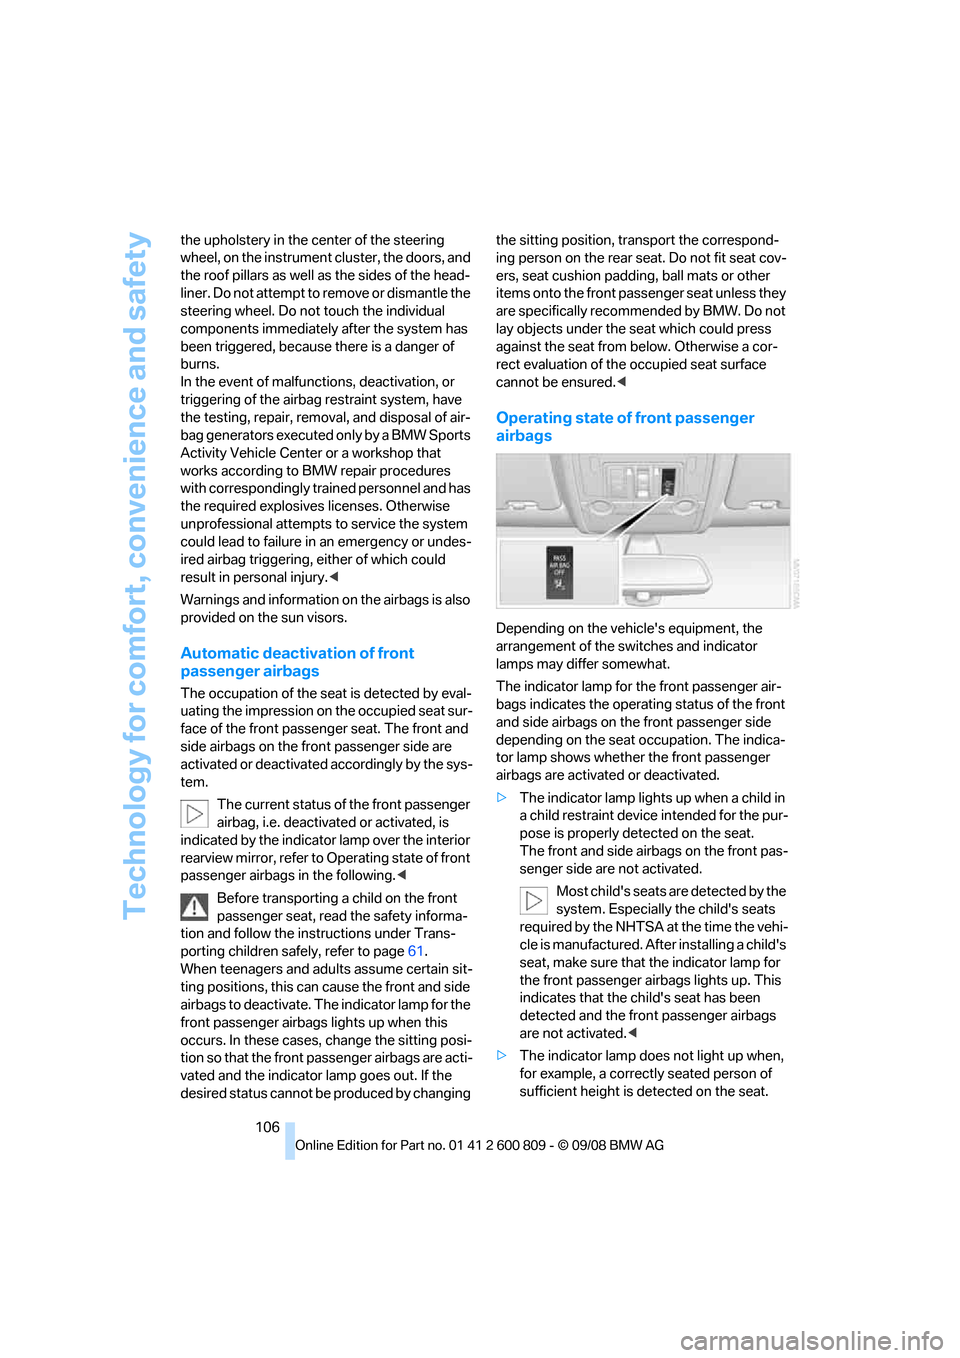
Operating state of front passenger
airbags
Depending on the vehicle's equipment, the
arrangement of the switches and indicator
lamps may differ somewhat.
The indicator lamp for the front passenger air-
bags indicates the operating status of the front
and side airbags on the front passenger side
depending on the seat occupation. The indica-
tor lamp shows whether the front passenger
airbags are activated or deactivated.
> The indicator lamp light s up when a child in
a child restraint device intended for the pur-
pose is properly detected on the seat.
The front and side airbags on the front pas-
senger side are not activated.
Most child's seats are detected by the
system. Especially the child's seats
required by the NHTSA at the time the vehi-
cle is manufactured. Af ter installing a child's
seat, make sure that the indicator lamp for
the front passenger airbags lights up. This
indicates that the child's seat has been
detected and the front passenger airbags
are not activated. <
> The indicator lamp does not light up when,
for example, a correctly seated person of
sufficient height is detected on the seat.
Page 263 of 317
Mobility
261Reference
At a glance
Controls
Driving tips
Communications
Navigation
Entertainment
5.Change to upper field if necessary. Turn the
controller until "Service requirements" is
selected and press the controller.
6. Change to the second field from the top if
necessary. Turn the controller until "Engine
oil level" is selected and press the control-
ler. The oil level is displayed.
Possible messages
>"Engine oil level O.K."
> "No measurement available: Updating
engine oil level measurement...":
Engine oil level is being measured. This
process can take approx. 3 minutes when
stopped on a level surface and approx.
5 minutes while driving.
> "Oil level at the minimum! Refill with 1 quart
of engine oil.":
Add 1 US quart/liter of engine oil at the next
opportunity.
If the oil level displayed is below mini-
mum, add engine oil immediately.
Failure to do so may lead to engine dam-
age. <
> "Engine oil level too high":
Have the vehicle checked immedi-
ately, otherwise engine damage may
result if too much oil has been added. <
> "Please observe recalc ulated service inter-
val for engine oil":
Do not add engine oil. Before continuing to
drive, note the recalculated remaining mile-
age until the next oil ch ange service, refer to
Service requirements on page 82. Have the
system checked as soon as possible.
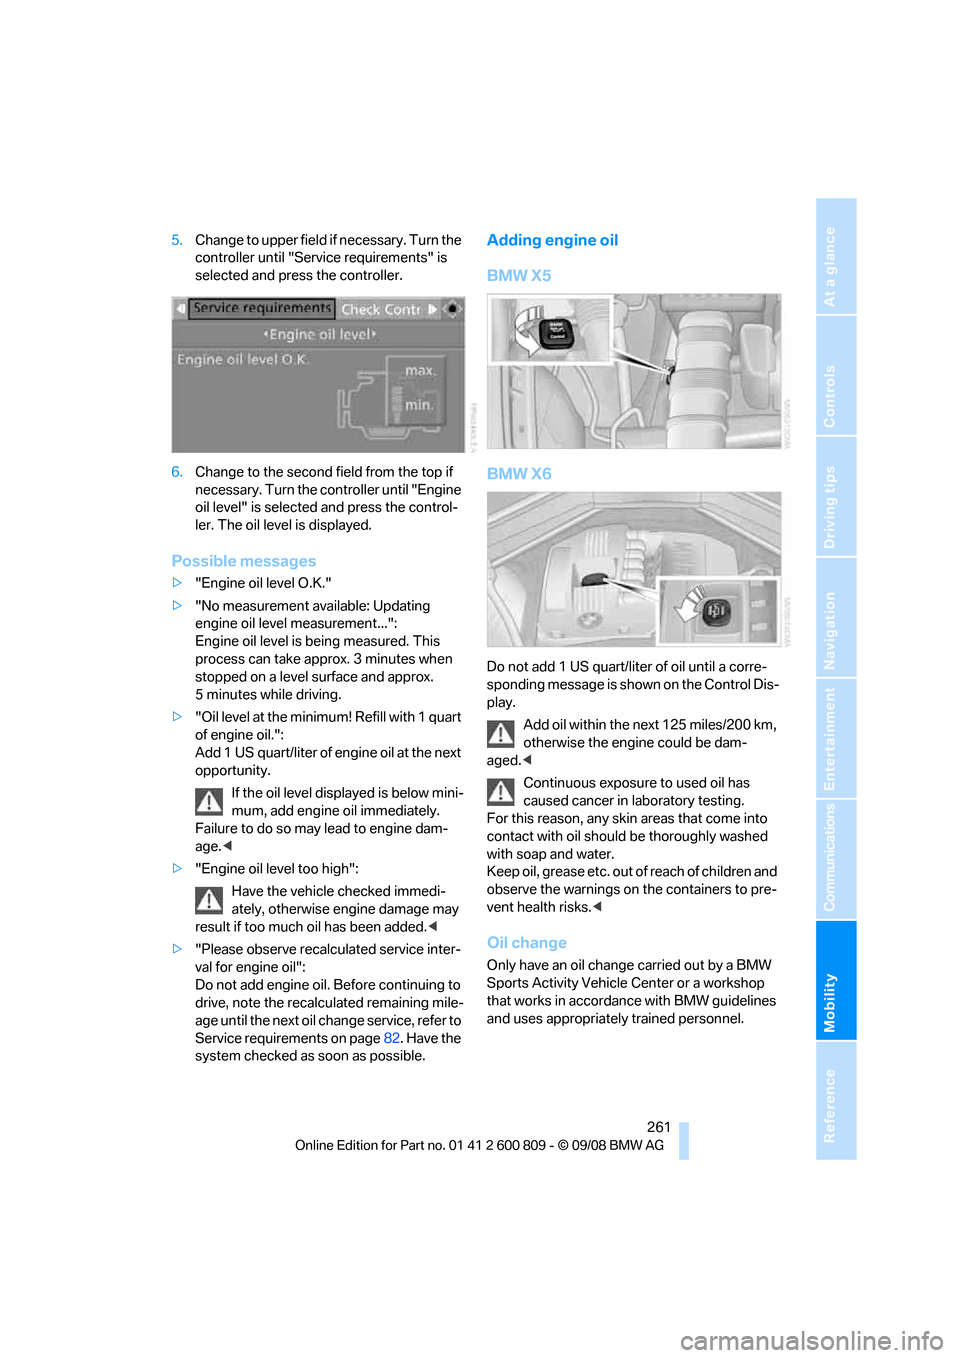
Adding engine oil
BMW X5
BMW X6
Do not add 1 US quart/liter of oil until a corre-
sponding message is shown on the Control Dis-
play.
Add oil within the next 125 miles/200 km,
otherwise the engine could be dam-
aged. <
Continuous exposure to used oil has
caused cancer in laboratory testing.
For this reason, any skin areas that come into
contact with oil should be thoroughly washed
with soap and water.
K e e p o i l , g r e a s e e t c . o u t o f r e a c h o f c h i l d r e n a n d
observe the warnings on the containers to pre-
vent health risks. <
Oil change
Only have an oil change carried out by a BMW
Sports Activity Vehicle Center or a workshop
that works in accordance with BMW guidelines
and uses appropriately trained personnel.
Page 267 of 317
Mobility
265Reference
At a glance
Controls
Driving tips
Communications
Navigation
Entertainment
Care
Car-care products
For the cleaning and care of your vehicle, BMW
recommends using only products that BMW
has approved for this purpose.
Regular cleaning and care make a significant
contribution to retain ing your BMW's value.
The BMW Sports Activity Vehicle Center will be
happy to consult you on products and services
for the cleaning and care of your BMW.
Genuine BMW Care Products are materi-
als tested, laboratory tested, and tested in
actual use. They offer optimum care and pro-
tection for your vehicle. <
Do not use cleaners that contain alcohol
or solvents; they can damage your vehi-
cle. <
Cleaning agents can contain substances
that are dangerous or pose health risks.
You should therefore heed the warnings and
hazard indications on the packaging. Open the
doors or windows on your vehicle whenever
cleaning the interior. Make sure there is suffi-
cient ventilation in enclosed spaces. Use only
products that are formul ated for vehicle clean-
ing. <
Exterior care
Washing your vehicle
In the winter months, it is especially
important to ensure that the vehicle is
washed on a regular basis. Otherwise, signifi-
cant soiling and road salt can cause damage to
the vehicle.<
After washing the vehicle, apply the
brakes briefly to dry th em. Failure to do so
may lead to a reduction in braking efficiency and
also to corrosion of the brake rotors. <
Car washes
Give preference to cloth car washes.
Before driving into the car wash, make sure that
it is suitable for your BMW. Pay attention to the
following points:
> Dimensions of your vehicle, refer to
page 287.
> If necessary: fold in door mirror, refer to
page 57.
> Maximum permissible tire width.
Preparations for driving into the car wash:
> Deactivate rain sensor
* to prevent
unwanted wiper activation.
> BMW X5: deactivate rear window wiper and
protect it from damage. Take appropriate
protective measures; inquiring with the car
wash operator as needed.
> Remove additional add- on parts, e.g. spoil-
ers or phone antennas, if they could be
damaged.
Automatic transmission with
Steptronic
Before driving into the car wash, observe the
following so that the vehicle is able to roll:
1. Insert the remote cont rol into the ignition
lock, even with comfort access.
2. Shift into transmission position N.
3. Release the parking brake.
4. Deactivate Automatic Hold, refer to
page 68.
5. Switch off the engine.
6. Leave the remote control in the ignition lock
so that the vehicle can roll.
Page 308 of 317
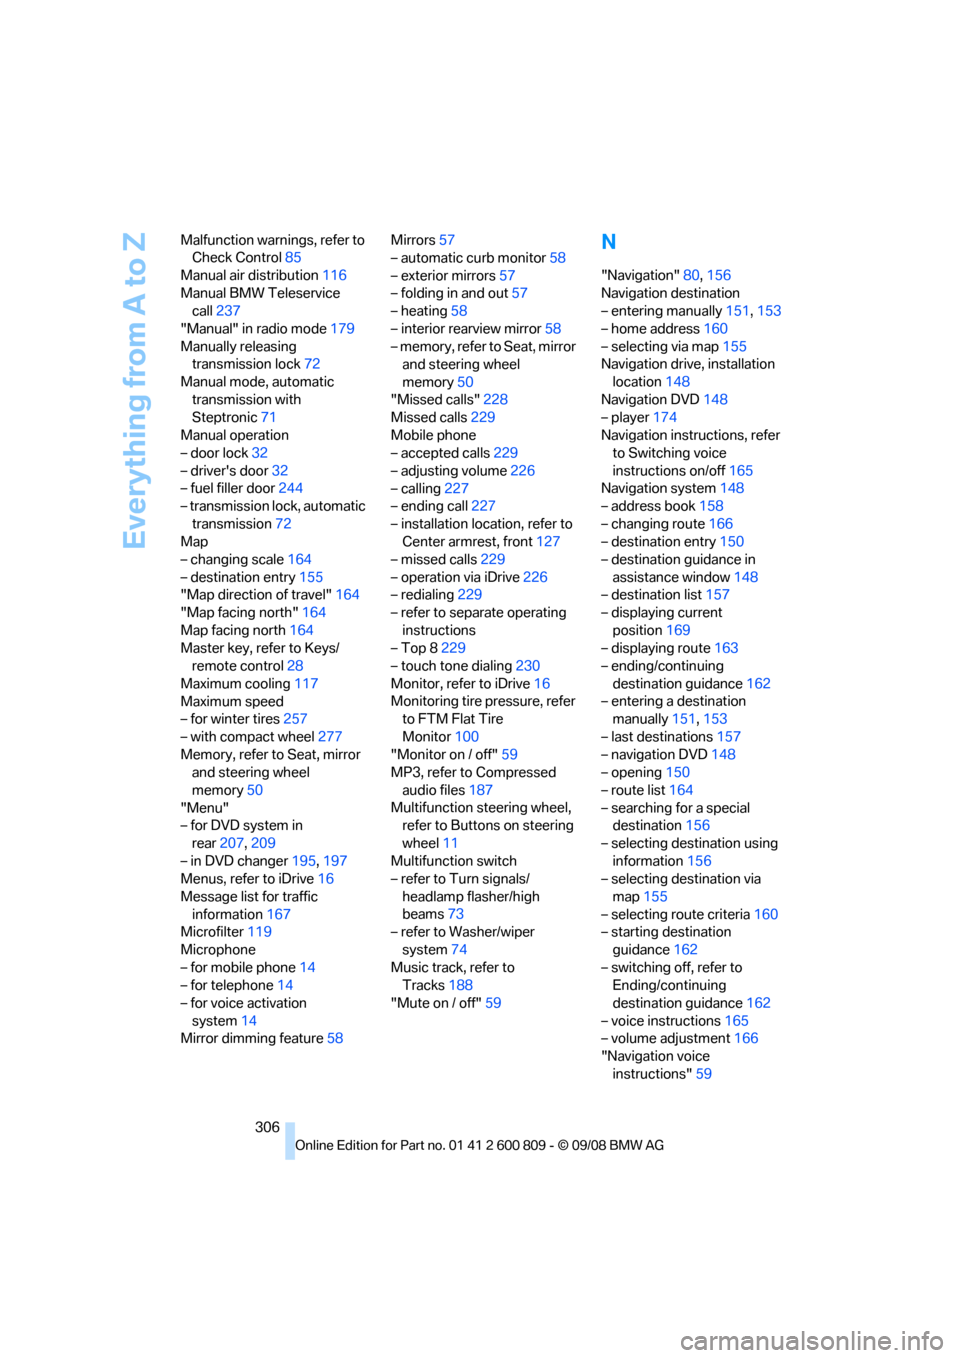
Everything from A to Z
306
Malfunction warnings, refer to
Check Control 85
Manual air distribution 116
Manual BMW Teleservice call 237
"Manual" in radio mode 179
Manually releasing transmission lock 72
Manual mode, automatic transmission with
Steptronic 71
Manual operation
– door lock 32
– driver's door 32
– fuel filler door 244
– transmission lock, automatic
transmission 72
Map
– changing scale 164
– destination entry 155
"Map direction of travel" 164
"Map facing north" 164
Map facing north 164
Master key, refer to Keys/ remote control 28
Maximum cooling 117
Maximum speed
– for winter tires 257
– with compact wheel 277
Memory, refer to Seat, mirror and steering wheel
memory 50
"Menu"
– for DVD system in
rear 207,209
– in DVD changer 195,197
Menus, refer to iDrive 16
Message list for traffic information 167
Microfilter 119
Microphone
– for mobile phone 14
– for telephone 14
– for voice activation system 14
Mirror dimming feature 58Mirrors
57
– automatic curb monitor 58
– exterior mirrors 57
– folding in and out 57
– heating 58
– interior rearview mirror 58
– memory, refer to Seat, mirror and steering wheel
memory 50
"Missed calls" 228
Missed calls 229
Mobile phone
– accepted calls 229
– adjusting volume 226
– calling 227
– e
nding call 227
– installation location, refer to Center armrest, front 127
– missed calls 229
– operation via iDrive 226
– redialing 229
– refer to separate operating
instructions
– Top 8 229
– touch tone dialing 230
Monitor, refer to iDrive 16
Monitoring tire pressure, refer to FTM Flat Tire
Monitor 100
"Monitor on / off" 59
MP3, refer to Compressed
audio files 187
Multifunction steering wheel, refer to Buttons on steering
wheel 11
Multifunction switch
– refer to Turn signals/
headlamp flasher/high
beams 73
– refer to Washer/wiper
system 74
Music track, refer to Tracks 188
"Mute on / off" 59
N
"Navigation"80,156
Navigation destination
– entering manually 151,153
– home address 160
– selecting via map 155
Navigation drive, installation
location 148
Navigation DVD 148
– player 174
Navigation instructions, refer to Switching voice
instructions on/off 165
Navigation system 148
– address book 158
– changing route 166
– destination entry 150
– destination guidance in
assistance window 148
– destination list 157
– displaying current
position 169
– displaying route 163
– ending/continuing
destination guidance 162
– entering a destination manually 151,153
– last destinations 157
– navigation DVD 148
– opening 150
– route list 164
– searching for a special destination 156
– selecting destination using information 156
– selecting destination via
map 155
– selecting route criteria 160
– starting destination
guidance 162
– switching off, refer to Ending/continuing
destination guidance 162
– voice instructions 165
– volume adjustment 166
"Navigation voice instructions" 59