2009 BMW X5 XDRIVE 48I change time
[x] Cancel search: change timePage 164 of 317

Destination guidance
162
Destination guidance
Starting destination
guidance
Via iDrive
iDrive, for operating principle refer to page16.
1. Change to upper field if necessary. Turn the
controller until "Navigation" is selected and
press the controller.
2. Select a destination from the destination list
and press the controller or enter a new des-
tination, refer to page 150.
3. Select "Start guidance" and press the con-
troller.
After the route has been calculated, destination
guidance is indicated by arrows or a map dis-
play on the Control Display.
The destination guidance can also be started in
the arrow or map view:
Select the symbol and press the controller.
During destination guid ance, you can operate
other equipment via iDrive at any time. You will
be punctually notified of a change of direction by spoken instructions
and the display of the
direction arrow.
Via programmable memory buttons
Press the ... button on which the
desired destination is stored, also refer to
page 22.
Ending/continuing
destination guidance
In arrow or map display
Select the symbol and press the controller.
In destination list
This symbol indicates the current destina-
tion.
1. Select the current destination and press the
controller.
2. Select "Stop guidance" and press the con-
troller.
Page 165 of 317

Navigation
Driving tips
163Reference
At a glance
Controls
Communications
Entertainment
Mobility
When you park the vehicle before reaching the
entered destination, the following question is
displayed before beginning the next trip:
"Continue guidance to destination?".
The destination guidance starts automatically
after a short time.
To start the destination guidance:
Select "Yes" and press the controller.
Displaying route
You have the option of displaying various views
of the route during destination guidance.
From another menu, you can change
directly to the scr een last displayed,
refer to Comfort opening of menu items,
page 18.<
Displaying ar row display
1.Select "Navigation" and press the control-
ler.
2. Change into the fourth field from the top.
Turn the controller unt il "Arrow display" is
selected and press the controller.
The arrow display is shown. 1
Switching voice instructions on/off
2 Selecting route criteria
3 Starting/ending destination guidance
4 Arrow to destination from a bird's eye view
5 Distance to the next change of direction
6 Current position
7 Direction of travel
>Outline arrow:
Destination guidance on the calculated
route
> Solid arrow:
Arrow shows the route to be calculated
from a bird's eye view when the vehicle
is not located in an area contained on the
navigation DVD, e.g. in a multilevel park-
ing lot.
Depending on the equipment, the estimated
time of arrival and the distance to the destina-
tion are displayed in the top or bottom line of the
Control Display.
Before a change in direct ion, the representation
of the arrow changes.
1 Street name for change of direction
2 Distance up to change of direction
3 Change of direction
Page 166 of 317

Destination guidance
164
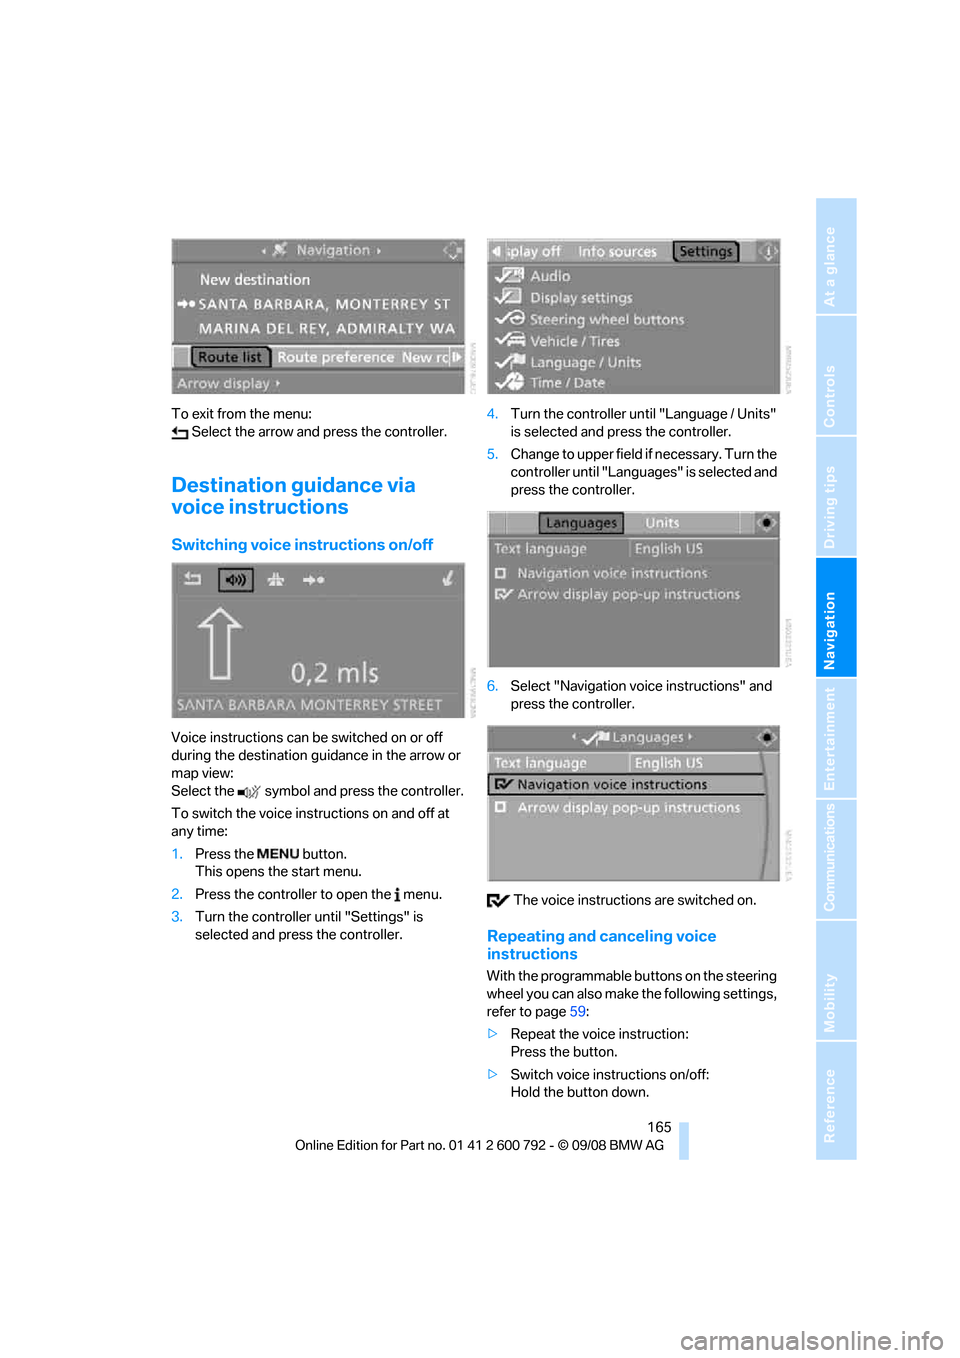
To exit from the menu:
Select the arrow and press the controller.
Displaying map view
You can have your current position displayed on
a map. After starting th e destination guidance,
the planned route is shown on the map.
1. Select "Navigation" and press the control-
ler.
2. Change into the fourth field from the top.
Turn the controller until the desired map
view is selected:
>"Map facing north"
> "Map direction of travel"
> "Perspective"
3. Press the controller.
1 Switching voice instructions on/off
2 Starting/ending destination guidance
3 Selecting destination via map
4 Displaying the menu in which the informa-
tion last selected can be displayed/hidden,
refer to Selecting destination using infor-
mation, page 156 5
Changing map display
> "Map facing north"
> "Map direction of travel"
> "Perspective"
6 Changing route criteria
7 Manually displaying traffic information
*
8Arrow to destination from a bird's eye view
The estimated time of arrival and the distance
to the destination are shown in the bottom line
of the Control Display.
To exit from the menu: Select the arrow and press the controller.
At scales of less than 250 miles/500 km, you
have the option of deciding whether to orient
the map to north, toward your current direction
of travel, or show the map in perspective. At
scales of 250 miles/500 km or greater, the map
always points toward north.
Changing map display
Select the corresponding symbol and press the
controller.
The next map display is displayed.
Changing scale
Turn the controller to change the scale.
Displaying roads an d towns/cities of
route
You can have the roads and towns/cities along
the route displayed during destination guid-
ance.
The distances remaining to be traveled on each
individual route are also displayed.
1. Select "Navigation" and press the control-
ler.
2. Change into the third field from the top.
Turn the controller until "Route list" is
selected and press the controller.
Page 167 of 317

Navigation
Driving tips
165Reference
At a glance
Controls
Communications
Entertainment
Mobility
To exit from the menu: Select the arrow and press the controller.
Destination guidance via
voice instructions
Switching voice in structions on/off
Voice instructions can be switched on or off
during the destination guidance in the arrow or
map view:
Select the symbol and press the controller.
To switch the voice instructions on and off at
any time:
1.Press the button.
This opens the start menu.
2. Press the controller to open the menu.
3. Turn the controller until "Settings" is
selected and press the controller. 4.
Turn the controller until "Language / Units"
is selected and pr ess the controller.
5. Change to upper field if necessary. Turn the
controller until "Languages" is selected and
press the controller.
6. Select "Navigation voice instructions" and
press the controller.
The voice instructio ns are switched on.
Repeating and canceling voice
instructions
With the programmable buttons on the steering
wheel you can also make the following settings,
refer to page59:
> Repeat the voice instruction:
Press the button.
> Switch voice instructions on/off:
Hold the button down.
Page 182 of 317

Radio
180
5.
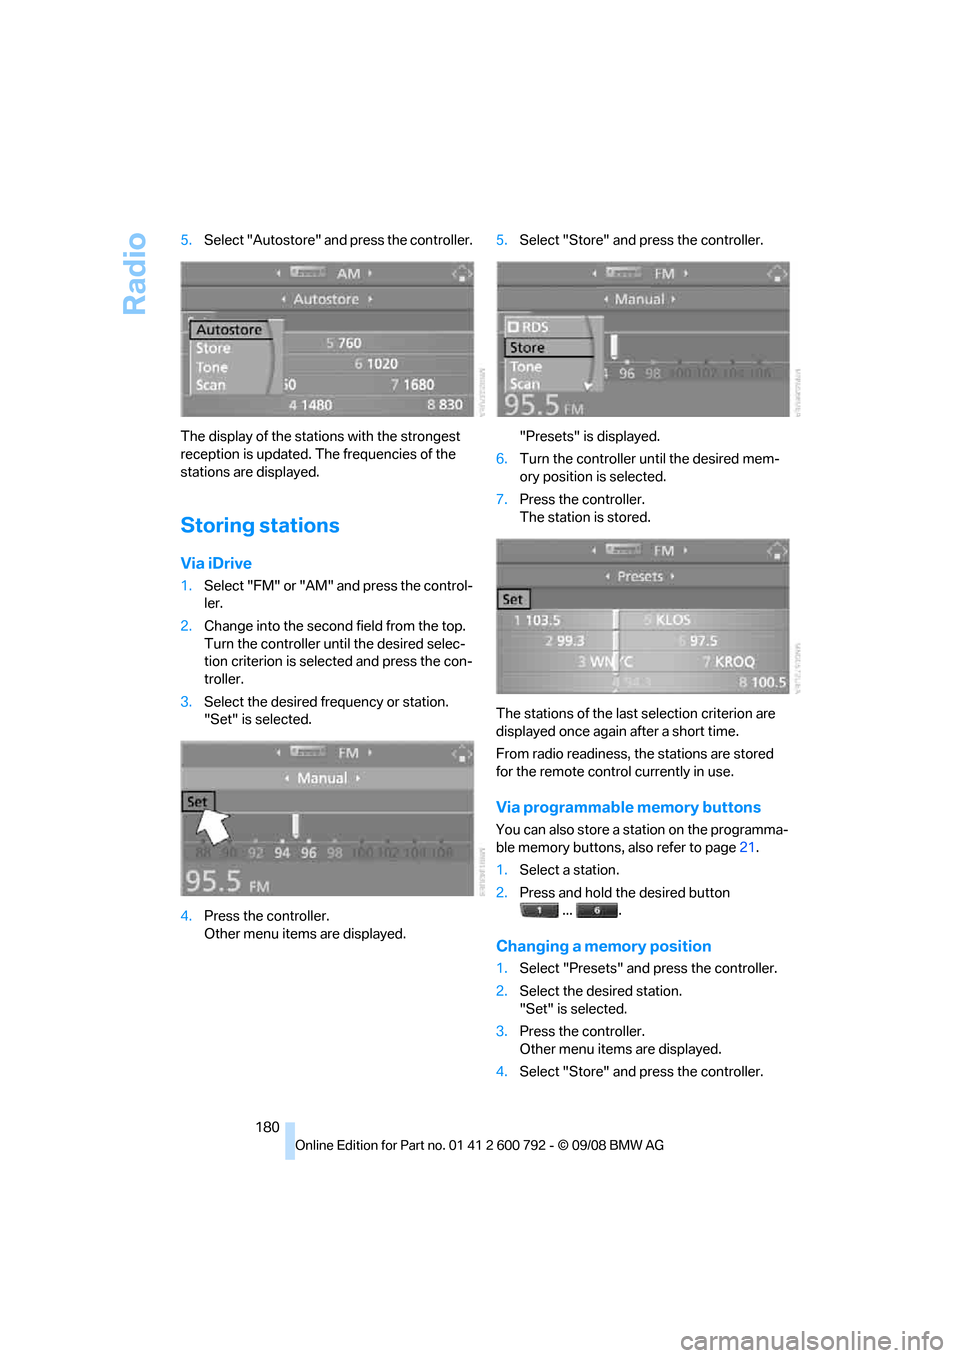
Select "Autostore" and press the controller.
The display of the stations with the strongest
reception is updated. The frequencies of the
stations are displayed.
Storing stations
Via iDrive
1. Select "FM" or "AM" and press the control-
ler.
2. Change into the second field from the top.
Turn the controller until the desired selec-
tion criterion is selected and press the con-
troller.
3. Select the desired frequency or station.
"Set" is selected.
4. Press the controller.
Other menu items are displayed. 5.
Select "Store" and press the controller.
"Presets" is displayed.
6. Turn the controller until the desired mem-
ory position is selected.
7. Press the controller.
The station is stored.
The stations of the last selection criterion are
displayed once again after a short time.
From radio readiness, the stations are stored
for the remote control currently in use.
Via programmable memory buttons
You can also store a station on the programma-
ble memory buttons, also refer to page21.
1. Select a station.
2. Press and hold the desired button
... .
Changing a memory position
1.Select "Presets" and press the controller.
2. Select the desired station.
"Set" is selected.
3. Press the controller.
Other menu items are displayed.
4. Select "Store" and press the controller.
Page 183 of 317

Navigation
Entertainment
Driving tips
181Reference
At a glance
Controls
Communications
Mobility
5.Turn the controller until the desired mem-
ory position is selected.
The number of the memory position
appears beside the na me or frequency of
the station.
6. Press the controller.
The station is stored.
RDS Radio Data System
In the FM frequency range, additional informa-
tion is transmitted via RDS. If the reception con-
ditions are good, the station names are shown
on the Control Display. If the reception is weak
or disrupted, it can take some time before the
station names are displayed.
Switching RDS on/off
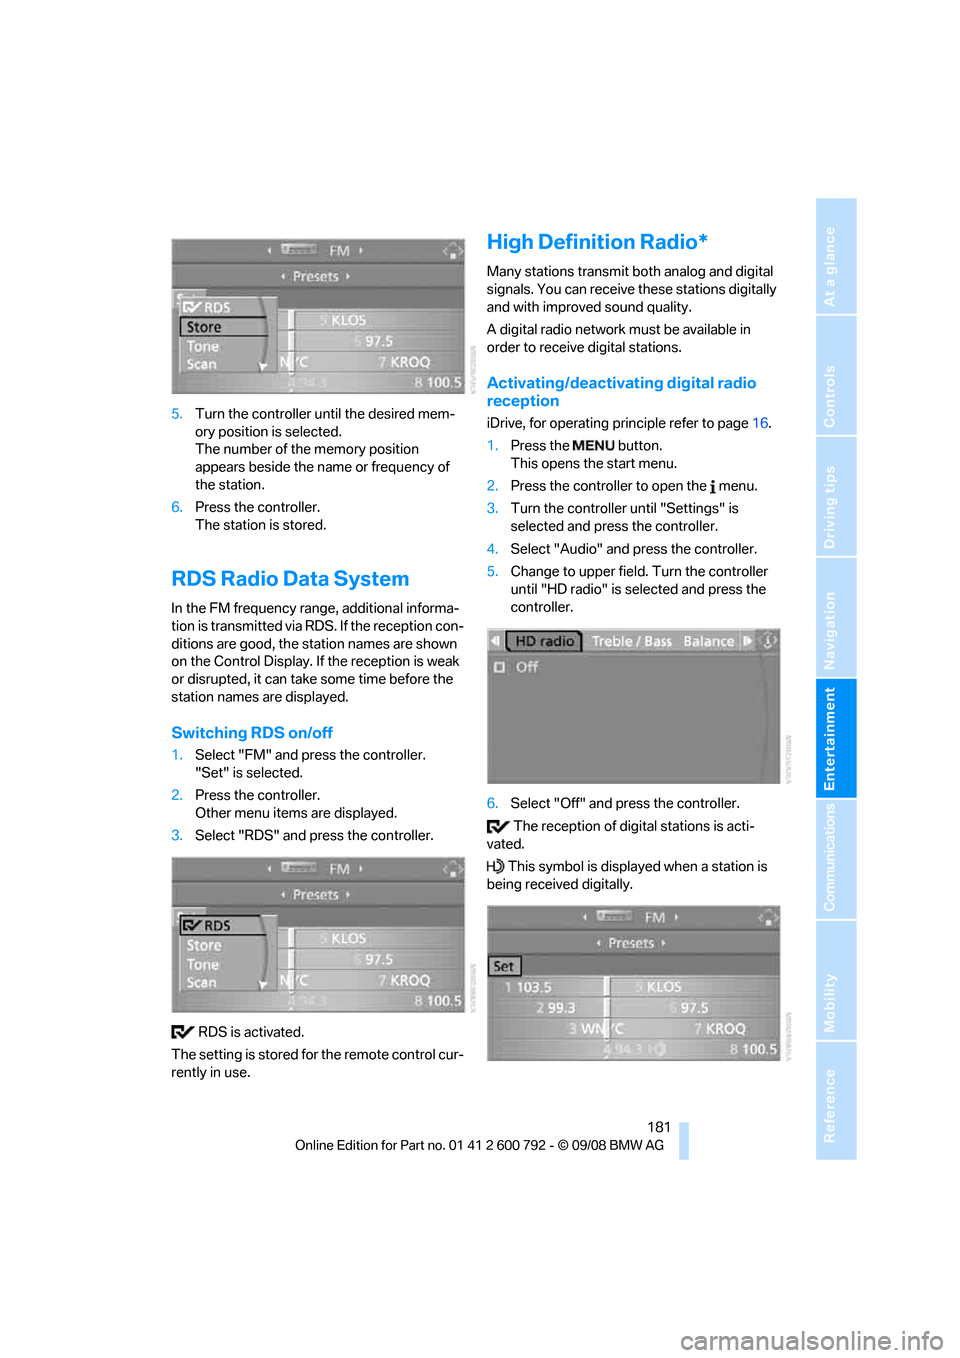
1. Select "FM" and press the controller.
"Set" is selected.
2. Press the controller.
Other menu items are displayed.
3. Select "RDS" and press the controller.
RDS is activated.
The setting is stored for the remote control cur-
rently in use.
High Definition Radio*
Many stations transmit both analog and digital
signals. You can receive these stations digitally
and with improved sound quality.
A digital radio network must be available in
order to receive digital stations.
Activating/deactivating digital radio
reception
iDrive, for operating pr inciple refer to page16.
1. Press the button.
This opens the start menu.
2. Press the controller to open the menu.
3. Turn the controller until "Settings" is
selected and press the controller.
4. Select "Audio" and press the controller.
5. Change to upper field. Turn the controller
until "HD radio" is se lected and press the
controller.
6. Select "Off" and press the controller.
The reception of digital stations is acti-
vated.
This symbol is displa yed when a station is
being received digitally.
Page 196 of 317

DVD changer
194
Removing all DVDs from DVD changer
1.Hold down the button.
The DVDs are pushed partially out of the
DVD changer in sequence.
2. Remove the DVDs individually.
Malfunctions
If all of the LEDs on the DVD changer flash rap-
idly, then a malfunction is occurring. In this
case, proceed as follows.
1. Press the button or button.
The DVD last inserted is ejected.
2. Remove the DVD.
The DVD changer tests the DVD compartments
and the rapid flashing of the LEDs stops. The
DVD changer is once more operational.
DVD country codes
Your DVD player only plays DVDs with the cod-
ing of your home regi on, e.g. Europe = 2. The
country codes supported by your DVD are con-
tained in the information on your DVD. It is not
possible to change this coding. An overview of
the six coding zones:
DVDs with the code 0 can be played back
on all units. <
Playing DVDs
Depending on the equipment in your vehicle,
you have the option of playing back both the
audio track and video track of DVDs or only their
audio track.
>Vehicles with two drives: audio and video
playback
> Vehicles with a single drive: audio playback,
refer to page 197
Audio and video playback
For your own safety, the picture only appears on
the Control Display at sp eeds of up to about
2 mph/3 km/h. For certain national-market ver-
sions, the picture does not appear on the Con-
trol Display unless the ve hicle is stationary and
the transmission is in Park.
1. Press the button.
This opens the start menu.
2. Move the controller backwards to open
"Entertainment".
3. Change to upper field if necessary. Select
"DVD" and press the controller.
4. Change into the second field if necessary,
select the desired DVD and press the con-
troller.
It can take a little time for the DVD contents to
be scanned in. Then the DVD is played and the
DVD-specific menu is displayed.
DVD control
Using the DVD control, yo u can select the title
and chapter, open the DVD-specific menu and
operate functions such as language, fast for-
CodeRegion
1USA, Canada
2Japan, Europe, Middle East,
South Africa
3Southeast Asia
4 Australia, Central and South America,
New Zealand
5 Northwest Asia, North Africa
6China
Page 197 of 317

Navigation
Entertainment
Driving tips
195Reference
At a glance
Controls
Communications
Mobility
ward and reverse, or freeze frame.
A DVD can briefly deactivate functions of the
DVD control, under certain circumstances even
while the entire DVD is being played. It is not
possible to operate the DVD control under
these circumstances. In this case, try to make
the selection using the DVD-specific menu.
During playback:
1. Press the controller.
2. Select "DVD control bar" if needed and
press the controller.
The DVD control is displayed.
The DVD control disappears again after a short
time if you have not selected a function.
Fast forward/reverse
Forward/reverse with DVD control
1.Press the controller during playback to hide
the DVD control.
2. Select the symbol and press the
controller. 3.
Press the controller repe atedly to increase
the speed of the fast forward/reverse.
The DVD playback will be distorted.
To cancel fast forward/reverse:
Select the symbol and press the controller.
The DVD will start play at the point selected.
Forward/reverse using controller
1. Turn the controller during playback.
Fast forward/reverse is interrupted.
2. Turn the controller further.
The speed is increased.
3. Release the controller.
Fast forward/reverse is interrupted. The
current DVD will start play at the point
selected.
Skipping chapter
You can change to the ne xt or previous chapter
during playback.
1. Press the controller during playback to hide
the DVD control.
2. Select the symbol and press
repeatedly until you reach the desired chap-
ter.
Or:
Press the button on the left or right
repeatedly until you reach the desired chapter.
Making settings for DVD
With some DVDs, it is only possible to
select language, subtit les, camera angle,
or title by using the DVD-specific menu.
Refer to the information on your DVD for possi-
ble selections. <
Tone control
In DVDs with multichanne l or surround sound,
for optimum playback, select an audio track
with multichannel sound and set the tone set-
tings to Surround, refer to Selecting language
on page 196 and Professional HiFi System* on
page 177.
Function
Exit DVD control
"SET" Settings for playing DVD
Starting playback
Stop playback
Activating freeze frame
Skipping chapter
Fast forward/reverse
"Menu" Open DVD-specific menu