2009 BMW M3 SEDAN change wheel
[x] Cancel search: change wheelPage 5 of 246

Reference
At a glance
Controls
Driving tips
Communications
Navigation
Entertainment
Mobility
Contents
The fastest way to find information on a partic-
ular topic or item is by using the index, refer to
page228.
Using this Owner's Manual
4Notes
6Reporting safety defects
At a glance
10Cockpit
16iDrive
21Letters and numbers
22Voice activation system
Controls
26Opening and closing
37Adjustments
46Transporting children safely
49Driving
62Everything under control
75Technology for driving comfort and
safety
85Lamps
89Climate
94Practical interior accessories
Driving tips
106Things to remember when driving
111BMW M3 engineering
Navigation
116Navigation system
117Destination entry
127Destination guidance
133What to do if …
Entertainment
136On/off and tone
139Radio
142Satellite radio
144CD player and CD changer
151Music collection
155AUX-IN port
156USB-audio interface/mobile phone audio
interface
Communications
162Telephone
173Contacts
175BMW Assist
Mobility
184Refueling
186Wheels and tires
192Under the hood
197Maintenance
199Care
203Replacing components
210Giving and receiving assistance
Reference
218Technical data
221Short commands for the voice activation
system
228Everything from A - Z
ba8_E90M3_cic.book Seite 3 Dienstag, 19. August 2008 11:51 11
Page 25 of 246

At a glance
23Reference
Controls
Driving tips
Communications
Navigation
Entertainment
Mobility
Using alternative commands
There are often a number of commands to run a
function, e.g.:
Calling up functions immediately via
short commands
Short commands enable you to perform certain
functions immediately, irrespective of which
menu item is selected, refer to page221.
Example: selecting the track of a CD
1.If necessary, switch on entertainment audio
output.
2.Press the button on the steering wheel.
Setting the voice dialog
You can set whether the system should use the
standard dialog or a shorter variant. In the
shorter variant of the voice dialog, the prompts
and responses from the system are abbrevi-
ated.
1."Settings"
2."Language/Units"
3."Speech mode:"
4.To select the setting:
>"Default"
>"Short"
Notes
For information on voice control of the
telephone, refer also to the separate
Owner's Manual.<
For voice commands, bear in mind the follow-
ing:
>Do not use the voice activation system to
initiate an Emergency Request. In stressful
situations, the voice and vocal pitch can
change. This can unnecessarily delay the
establishment of a telephone connection.
>Pronounce the commands and digits
smoothly and at normal volume, avoiding
excessive emphases and pauses. This also
applies when spelling out and saying a full
word during destination entry.
>When selecting a radio station, use the
standard pronunciation of the station name.
>For entries in the voice-activated phone
book, only use names in the language of the
voice activation system and no abbrevia-
tions.
>Keep the doors, windows and glass roof
closed to prevent interference from outside
noise.
>Avoid ambient noise in the vehicle while
speaking. {Radio on} or {Radio}
3.Select the music track, e.g.:
{CD track 4}
System says:
{{Track 4}}
ba8_E90M3_cic.book Seite 23 Dienstag, 19. August 2008 11:51 11
Page 33 of 246

Controls
31Reference
At a glance
Driving tips
Communications
Navigation
Entertainment
Mobility
Locking or unlocking separately
The switch is located in the glove compartment.
1Locking the luggage compartment lid
2Unlocking the luggage compartment lid
Locking separately
Push the switch in the direction of arrow 1.
The luggage compartment lid is locked and
cannot be unlocked using the central locking
system.
If you give the remote control without the inte-
grated key to someone else while the glove
compartment is locked, the luggage compart-
ment lid cannot be opened. This is an advan-
tage when valet parking, for example. Locking
the glove compartment, refer to page98.
Unlocking separately
Push the switch in the direction of arrow 2.
Emergency release
Pull the lever in the cargo bay. The luggage
compartment lid is unlocked.
Closing
The handle recesses on the interior trim of the
luggage compartment lid make it easier to pull
down.Make sure that the closing path of the
luggage compartment lid is clear, other-
wise injuries may result.<
Alarm system*
The concept
The vehicle alarm system responds:
>When a door, the hood or the luggage com-
partment lid is opened
>To movements inside the vehicle: Interior
motion sensor, refer to page32
>When the car's inclination changes, for
instance if an attempt is made to jack it up
and steal the wheels or to raise it prior to
towing away
>When there is an interruption in the power
supply from the battery
The alarm system signals unauthorized entry
attempts for a short time by means of:
>An acoustic alarm
>Switching on the hazard warning flashers
>Flashing the high beams
Arming and disarming
When you lock or unlock the vehicle, either with
the remote control or at the door lock, the alarm
system is armed or disarmed at the same time.
You can open the luggage compartment lid
using the button of the remote control even
if the alarm system is armed, refer to page28.
The lid is locked and monitored again as soon
as it is closed.
ba8_E90M3_cic.book Seite 31 Dienstag, 19. August 2008 11:51 11
Page 46 of 246

Adjustments
44 Do not use force to swing the lever
back up, otherwise the mechanism
will be damaged.<
MDrive*
With MDrive you can configure several individ-
ual settings for your vehicle on the Control Dis-
play and activate them using the button on
the steering wheel.
Configuring settings
You can set MDrive on the Control Display
when the ignition is switched on.
iDrive, for operating principle refer to page16.
1."Settings"
2."MDrive"
The functions contained in MDrive are dis-
played:
>"Drivelogic:"
M dual clutch transmission with Drivel-ogic: shift modes and Drivelogic drive
programs, refer to page55
>"EDC:"
Electronic Damper Control EDC
* pro-
grams, refer to page77
>"DSC:"
Dynamic Stability Control and
M Dynamic Mode, refer to page76
>"POWER:"
M Engine Dynamics Control programs,
refer to page58
>"Servotronic:"
Servotronic programs, refer to page81
>"Shift lights:"
Shift Lights, refer to page56
3.Select the desired function.
4.Select the desired setting.
"Unchanged" retains the current setting
made outside of MDrive.
The setting is stored for the remote control cur-
rently in use.
Activating the settings
Press the button on the steering wheel.
ba8_E90M3_cic.book Seite 44 Dienstag, 19. August 2008 11:51 11
Page 54 of 246

Driving
52
Reverse gear
Select this only when the vehicle is stationary.
When the gearshift lever is pressed to the left, a
slight resistance has to be overcome.
M dual clutch transmission
with Drivelogic*
The concept
The M dual clutch transmission with Drivelogic
is an automated manual transmission with two
clutches and a partial transmission in which an
electro-hydraulic system takes over clutch
action and shifting.
With the M dual clutch transmission, gears are
changed without interruption of the traction
force.
The M dual clutch transmission is operated
using the selector lever and two shift paddles
on the steering wheel.
The transmission offers you the following func-
tions:
>Selection between manual or automatic
operation, sequential mode or drive mode
>Selection between different drive pro-
grams, Drivelogic, refer to page55
>Shift Lights, refer to page56
>Automatic downshifting and protection
against selecting the wrong gear even in
sequential mode
>Launch Control, refer to page57
>Automatic throttle blip
>Low Speed Assistant
System limitations
The M dual clutch transmission is equipped
with an overheating protection system that pro-
tects the clutch against extreme loads.
The indicator lamp lights up yellow
when the transmission becomes too
warm. Avoid high engine loads and
driving off frequently. When the transmission is
overheated, the indicator lamp lights up red and
the fuel supply to the engine is cut off. You can-not continue driving until the transmission has
cooled down.
Avoid driving off frequently with high accelera-
tion and do not hold the vehicle on inclines by
pressing lightly on the accelerator while letting
the clutch slip, as this may cause the transmis-
sion to overheat.
In traffic congestion or at very low speeds, use
the Low Speed Assistant, refer to the informa-
tion below.
Low Speed Assistant
The Low Speed Assistant supports you when
driving at very low speeds: the vehicle moves at
walking speed and automatically controls the
engine speed. You can also use the Low Speed
Assistant when rocking the vehicle out of deep
snow. To do so, shift between reverse gear and
the forward position without pressing the brake.
Activating
1.Engage a drive position.
2.Briefly tap the accelerator.
The vehicle rolls at the minimum speed.
Do not press the brake continuously as
this may cause the transmission to over-
heat.<
Deactivating
Brake the vehicle to a stop to deactivate the
Low Speed Assistant.
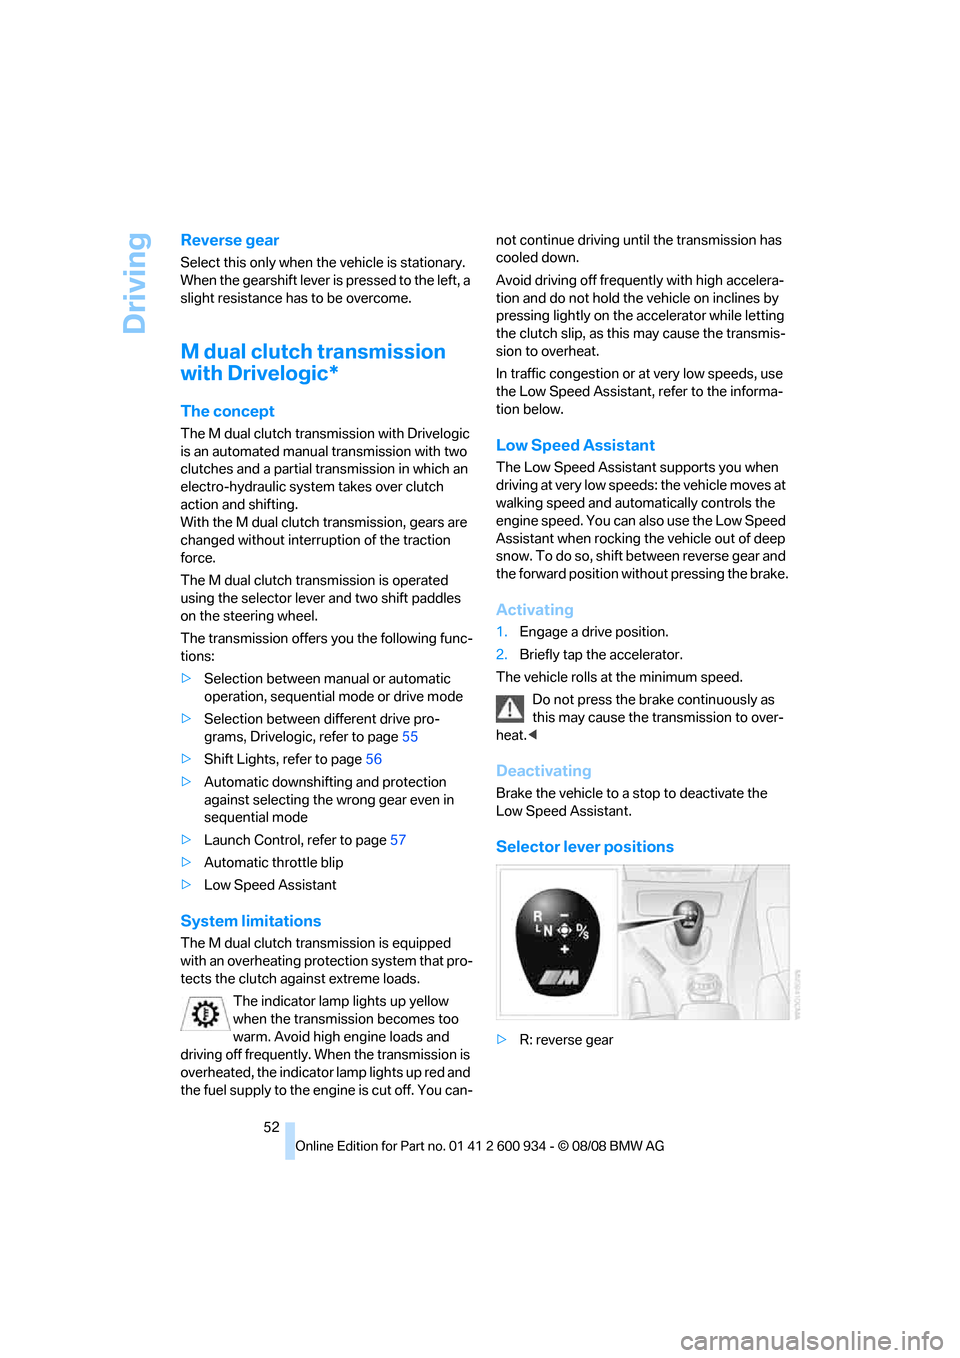
Selector lever positions
>R: reverse gear
ba8_E90M3_cic.book Seite 52 Dienstag, 19. August 2008 11:51 11
Page 57 of 246

Controls
55Reference
At a glance
Driving tips
Communications
Navigation
Entertainment
Mobility
4.Insert the screwdriver into the opening of
the white lever, arrow 1.
5.Pull the screwdriver back all the way, arrow
2. The transmission lock is released.
6.Carefully remove the screwdriver, for exam-
ple to avoid accidentally engaging the
transmission lock during towing.
After parking the vehicle, lock the trans-
mission lock again. Otherwise there is a
danger of the vehicle rolling.<
Locking
1.Insert the screwdriver into the opening of
the white lever and press forward.
The transmission lock is locked again.
2.Fold back the black cover until it engages
audibly.
3.Clip the sleeve of the selector lever back
into place.
Jump-starting and towing, refer to page212.
Drivelogic
Various drive programs are available to you via
Drivelogic.
After every change between sequential and
drive mode, the program selected last in each
case is active. Exception: after the first change from sequential to drive mode, drive program 3
is active.
In drive mode
Five drive programs are available for selection,
from winter program/balanced 1 to sporting and
highly dynamic 5.
In sequential mode
You can choose between six drive programs,
from winter program/balanced 1 to sporty
puristic 6.
Program 6 is available when Dynamic Stability
Control is deactivated, refer to page76. If DSC
is activated, the program changes from 6 to 5.
To maintain driving stability, activate DSC
whenever possible.<
Selecting the drive program via the
button in the center console
Press the button repeatedly until the desired
drive program is displayed in the instrument
cluster, refer to page54.
Selecting the drive program via the
button on the steering wheel
You can also activate your preferred drive pro-
gram via the button on the steering wheel,
refer to MDrive on page44.
You can set MDrive on the Control Display
when the ignition is switched on.
iDrive, for operating principle refer to page16.
1."Settings"
2."MDrive"
ba8_E90M3_cic.book Seite 55 Dienstag, 19. August 2008 11:51 11
Page 79 of 246

Controls
77Reference
At a glance
Driving tips
Communications
Navigation
Entertainment
Mobility
Deactivating MDM
Press the button on the steering wheel
again; the MDM indicator lamp in the instru-
ment cluster goes out.
For better control
The indicator lamp goes out briefly after
the engine is started.
If the indicator lamp lights up:
M Dynamic Mode is activated.
The indicator lamp lights up perma-
nently and the DSC indicator lamp
flashes: M Dynamic Mode is control-
ling the drive and braking forces.
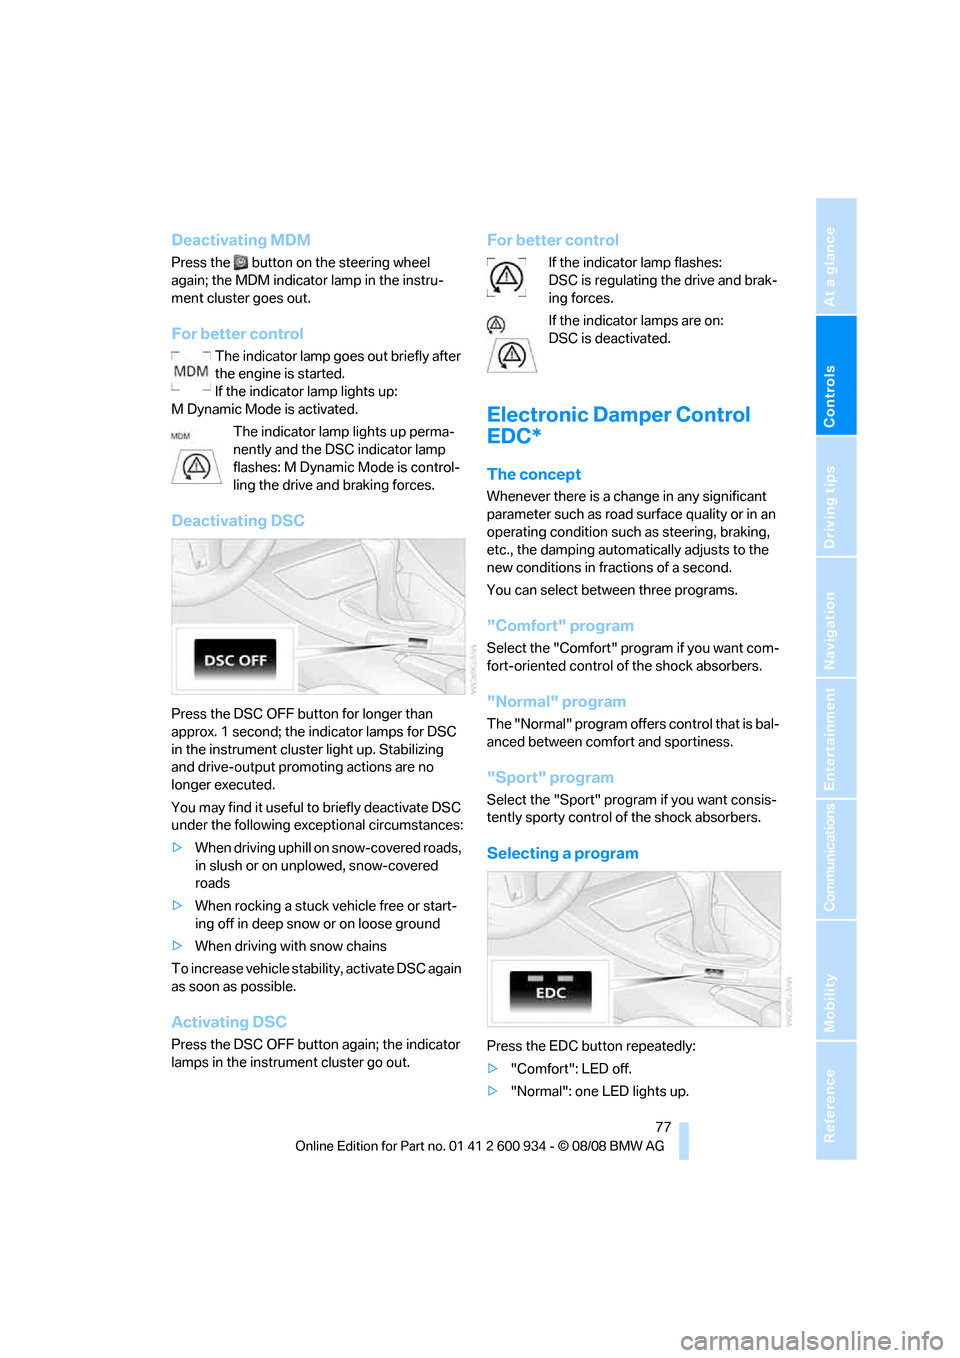
Deactivating DSC
Press the DSC OFF button for longer than
approx. 1 second; the indicator lamps for DSC
in the instrument cluster light up. Stabilizing
and drive-output promoting actions are no
longer executed.
You may find it useful to briefly deactivate DSC
under the following exceptional circumstances:
>When driving uphill on snow-covered roads,
in slush or on unplowed, snow-covered
roads
>When rocking a stuck vehicle free or start-
ing off in deep snow or on loose ground
>When driving with snow chains
To increase vehicle stability, activate DSC again
as soon as possible.
Activating DSC
Press the DSC OFF button again; the indicator
lamps in the instrument cluster go out.
For better control
If the indicator lamp flashes:
DSC is regulating the drive and brak-
ing forces.
If the indicator lamps are on:
DSC is deactivated.
Electronic Damper Control
EDC*
The concept
Whenever there is a change in any significant
parameter such as road surface quality or in an
operating condition such as steering, braking,
etc., the damping automatically adjusts to the
new conditions in fractions of a second.
You can select between three programs.
"Comfort" program
Select the "Comfort" program if you want com-
fort-oriented control of the shock absorbers.
"Normal" program
The "Normal" program offers control that is bal-
anced between comfort and sportiness.
"Sport" program
Select the "Sport" program if you want consis-
tently sporty control of the shock absorbers.
Selecting a program
Press the EDC button repeatedly:
>"Comfort": LED off.
>"Normal": one LED lights up.
ba8_E90M3_cic.book Seite 77 Dienstag, 19. August 2008 11:51 11
Page 80 of 246

Technology for driving comfort and safety
78 >"Sport": both LEDs light up.
Each time the engine is started, the program set
for the remote control in use is active, refer to M
Key settings on page45.
You can also set and call up your preferred
program via MDrive, refer to page44.
Drive-off assistant
The drive-off assistant enables you to drive off
smoothly on uphill gradients. It is not necessary
to use the parking brake for this.
1.Hold the car in place by depressing the
brake.
2.Release the brake and drive off without
delay.
The drive-off assistant holds the car in
place for approx. 2 seconds after the
brake is released. Drive off without delay after
releasing the brake. Otherwise, the drive-off
assistant will no longer hold the car in place
after approx. 2 seconds and the car will start to
roll backwards.<
Flat Tire Monitor FTM*
The concept
The Flat Tire Monitor detects pressure loss in a
tire by comparing the rotating speeds of the
individual tires while moving.
In the event of pressure loss, the rolling circum-
ference changes and, thus, the rotating speed
of the affected wheel. This change is detected
and is reported as a flat tire.
Functional requirement
In order to assure the reliable reporting of a flat
tire, the system must be initialized for the cor-
rect tire inflation pressure.
The system must be reinitialized each
time a tire inflation pressure has been cor-
rected or a wheel or tire has been changed.<
System limitations
The Flat Tire Monitor is unable to warn
the driver of sudden, severe tire damage
caused by external factors, nor can it identify
the gradual loss of pressure that will inevitably
occur in all four tires over a lengthy period of
time.<
In the following situations, the system could be
delayed or malfunction:
>System has not been initialized
>Driving on snowy or slippery road surface
>Performance-oriented style of driving: slip
in the drive wheels, high lateral acceleration
>Snow chains are attached
Initializing the system
The initialization is completed during driv-
ing, which can be interrupted at any time.
When driving resumes, the initialization is con-
tinued automatically.
Do not initialize the system while snow chains
are attached.<
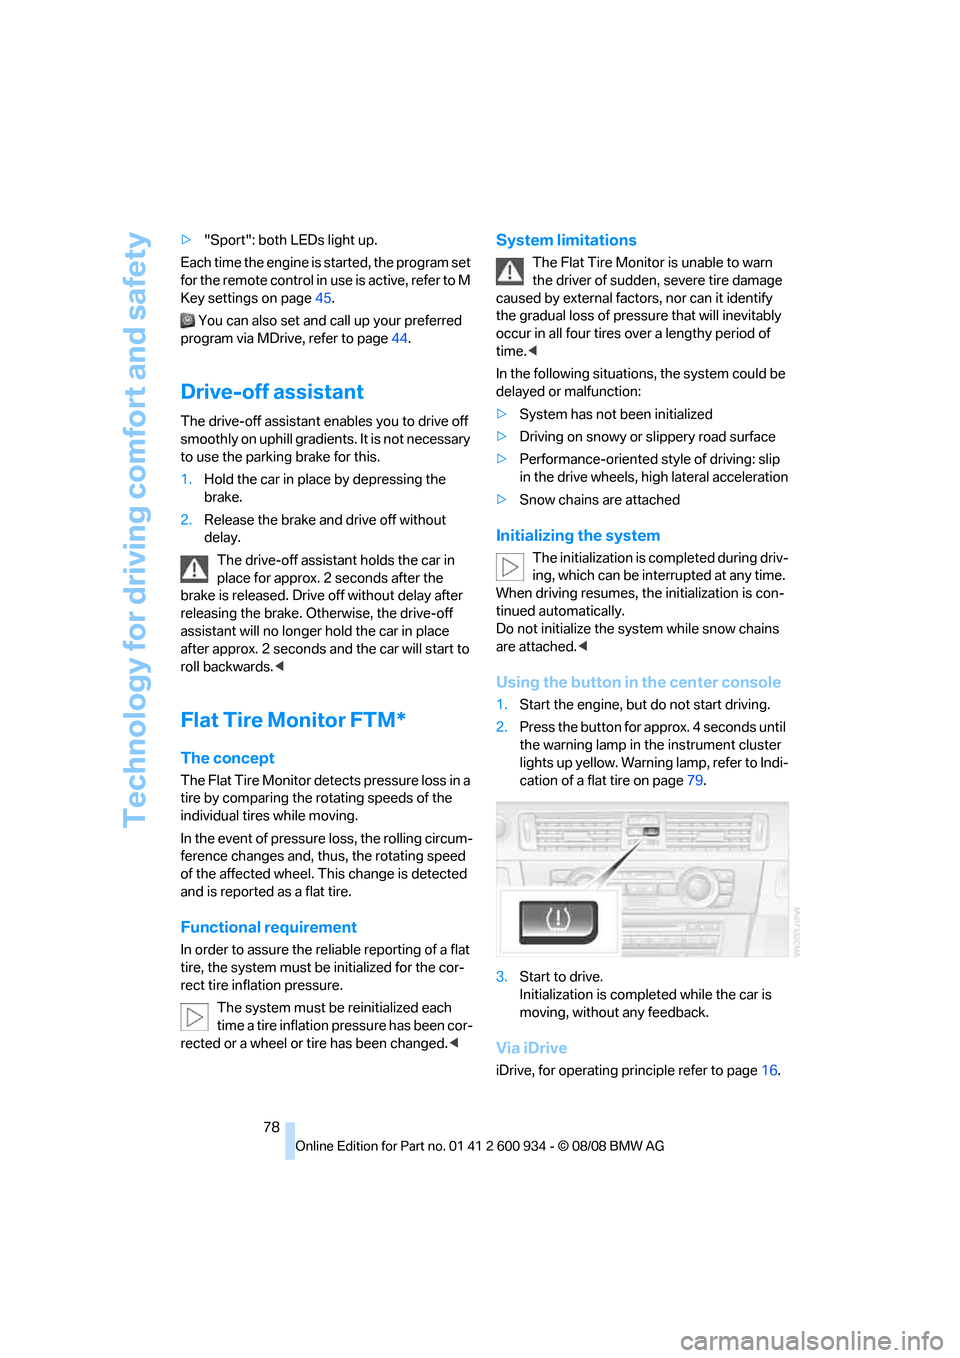
Using the button in the center console
1.Start the engine, but do not start driving.
2.Press the button for approx. 4 seconds until
the warning lamp in the instrument cluster
lights up yellow. Warning lamp, refer to Indi-
cation of a flat tire on page79.
3.Start to drive.
Initialization is completed while the car is
moving, without any feedback.
Via iDrive
iDrive, for operating principle refer to page16.
ba8_E90M3_cic.book Seite 78 Dienstag, 19. August 2008 11:51 11