2009 BMW 135I CONVERTIBLE driver
[x] Cancel search: driverPage 108 of 166
Wheels and tires
106
Wheels and tires
Tire inflation pressures
Information for your safety
It is not merely the tires' service life, but also
driving comfort and, to a great extent, driving
safety that depend on the condition of the tires
and the maintenance of the specified tire pres-
sure.
Check the tire inflation pressure regularly
and correct it, if necessary: at least twice a
month and before starting long trips. If you fail
to observe this precaution you may be driving
on tires with incorrect tire pressures, a condi-
tion that can not only compromise your vehi-
cle's driving stability, but also lead to tire dam-
age and the risk of an accident. Do not drive
with deflated, i.e. flat tires, except when using
Run-Flat Tires. A flat tire will seriously impair
your vehicle's handling and braking response.
Attempts to drive on a flat tire can lead to loss of
control over the vehicle.<
Checking pressure
Only check tire inflation pressure when the
tires are cold. This means after a maximum of
1.25 miles/2 km driving or when the vehicle has
been parked for at least 2 hours. When tires are
warm, the tire inflation pressure is higher.
After correcting the tire inflation pressure,
reinitialize the Tire Pressure Monitor,
refer to page68, or the Flat Tire Monitor, refer
to page66.<
Inflation pressure specifications
The tables below provide all the correct inflation
pressures for the specified tire sizes at ambient
temperature.
The inflation pressures apply to the tire
sizes approved and tire brands recom-
mended by BMW; a list of these is available
from your BMW center.<
For correct identification of the right tire infla-
tion pressures, observe the following:>Tire sizes for your vehicle
>Load conditions
>Maximum allowable driving speed
Tire inflation pressures for driving up to
100 mph or 160 km/h
For normal driving up to 100 mph or 160 km/h
and to achieve optimum driving comfort, adjust
pressures to the respective tire inflation pres-
sures listed on the following pages in the col-
umns for traveling speeds up to a maximum of
100 mph or 160 km/h.
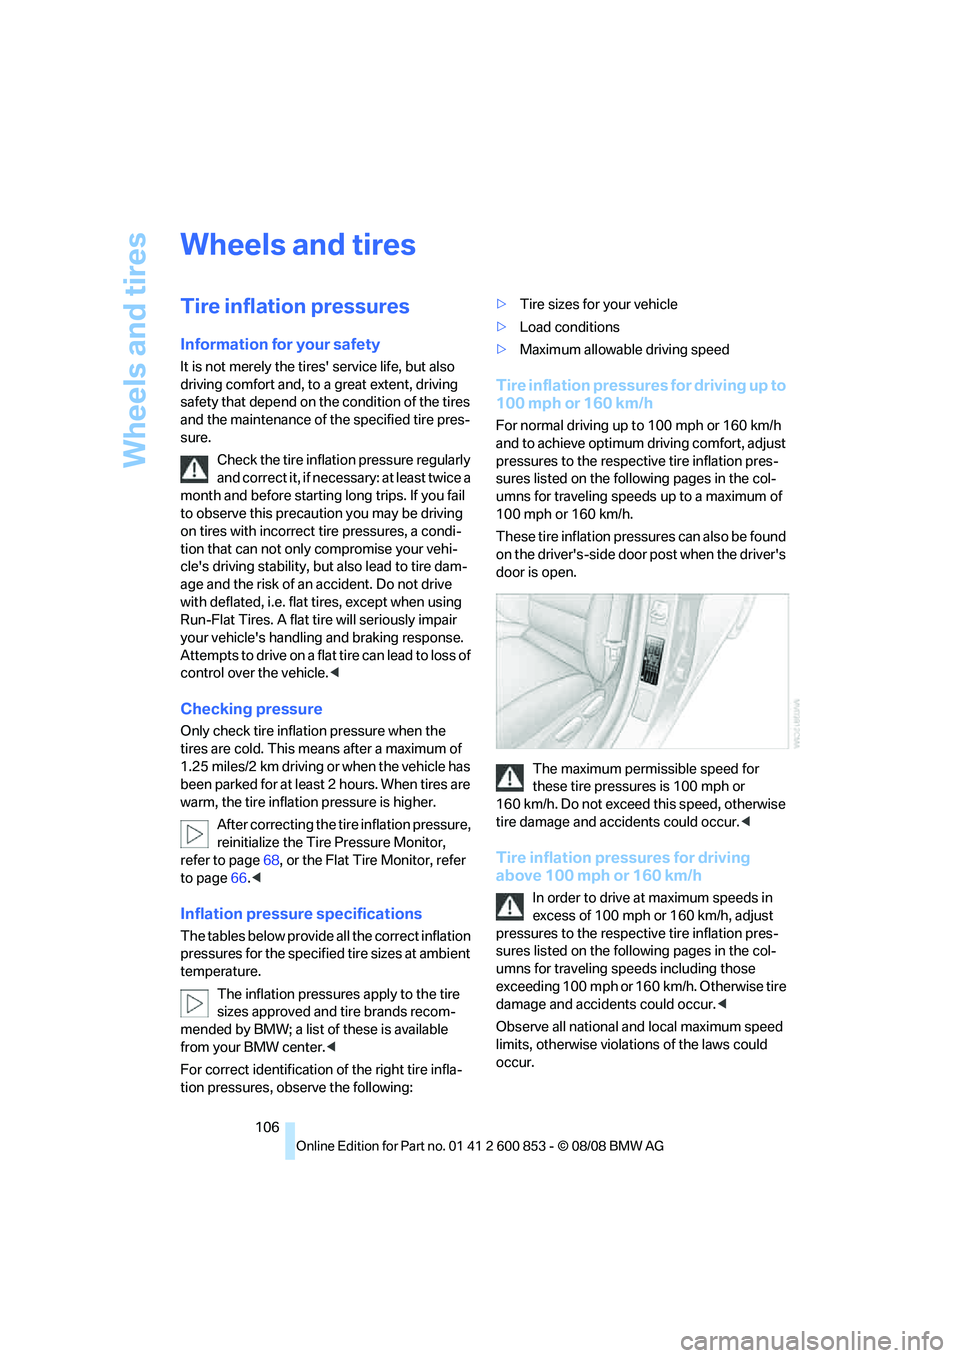
These tire inflation pressures can also be found
on the driver's-side door post when the driver's
door is open.
The maximum permissible speed for
these tire pressures is 100 mph or
160 km/h. Do not exceed this speed, otherwise
tire damage and accidents could occur.<
Tire inflation pressures for driving
above 100 mph or 160 km/h
In order to drive at maximum speeds in
excess of 100 mph or 160 km/h, adjust
pressures to the respective tire inflation pres-
sures listed on the following pages in the col-
umns for traveling speeds including those
exceeding 100 mph or 160 km/h. Otherwise tire
damage and accidents could occur.<
Observe all national and local maximum speed
limits, otherwise violations of the laws could
occur.
Page 121 of 166
Reference
At a glance
Controls
Driving tips
Mobility
119
Socket for On-Board
Diagnosis OBD
Primary components that make up exhaust
emissions can be checked by a device via the
OBD socket.
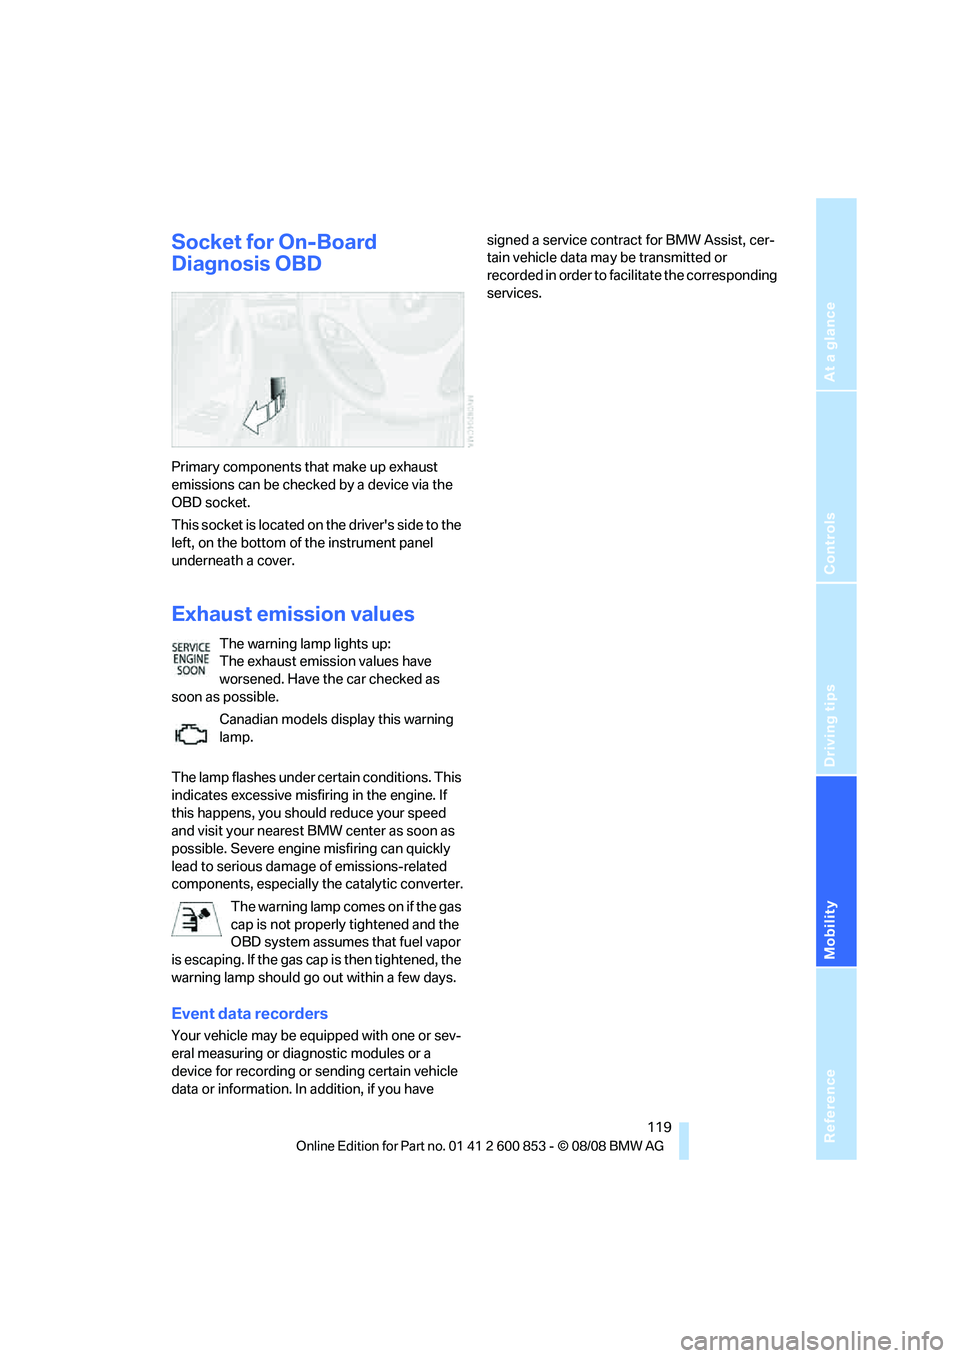
This socket is located on the driver's side to the
left, on the bottom of the instrument panel
underneath a cover.
Exhaust emission values
The warning lamp lights up:
The exhaust emission values have
worsened. Have the car checked as
soon as possible.
Canadian models display this warning
lamp.
The lamp flashes under certain conditions. This
indicates excessive misfiring in the engine. If
this happens, you should reduce your speed
and visit your nearest BMW center as soon as
possible. Severe engine misfiring can quickly
lead to serious damage of emissions-related
components, especially the catalytic converter.
The warning lamp comes on if the gas
cap is not properly tightened and the
OBD system assumes that fuel vapor
is escaping. If the gas cap is then tightened, the
warning lamp should go out within a few days.
Event data recorders
Your vehicle may be equipped with one or sev-
eral measuring or diagnostic modules or a
device for recording or sending certain vehicle
data or information. In addition, if you have signed a service contract for BMW Assist, cer-
tain vehicle data may be transmitted or
recorded in order to facilitate the corresponding
services.
Page 128 of 166
Replacing components
126 4.Attach the connector, insert the bulb and
turn it all the way in the opposite direction.
5.Attach the headlamp cover.
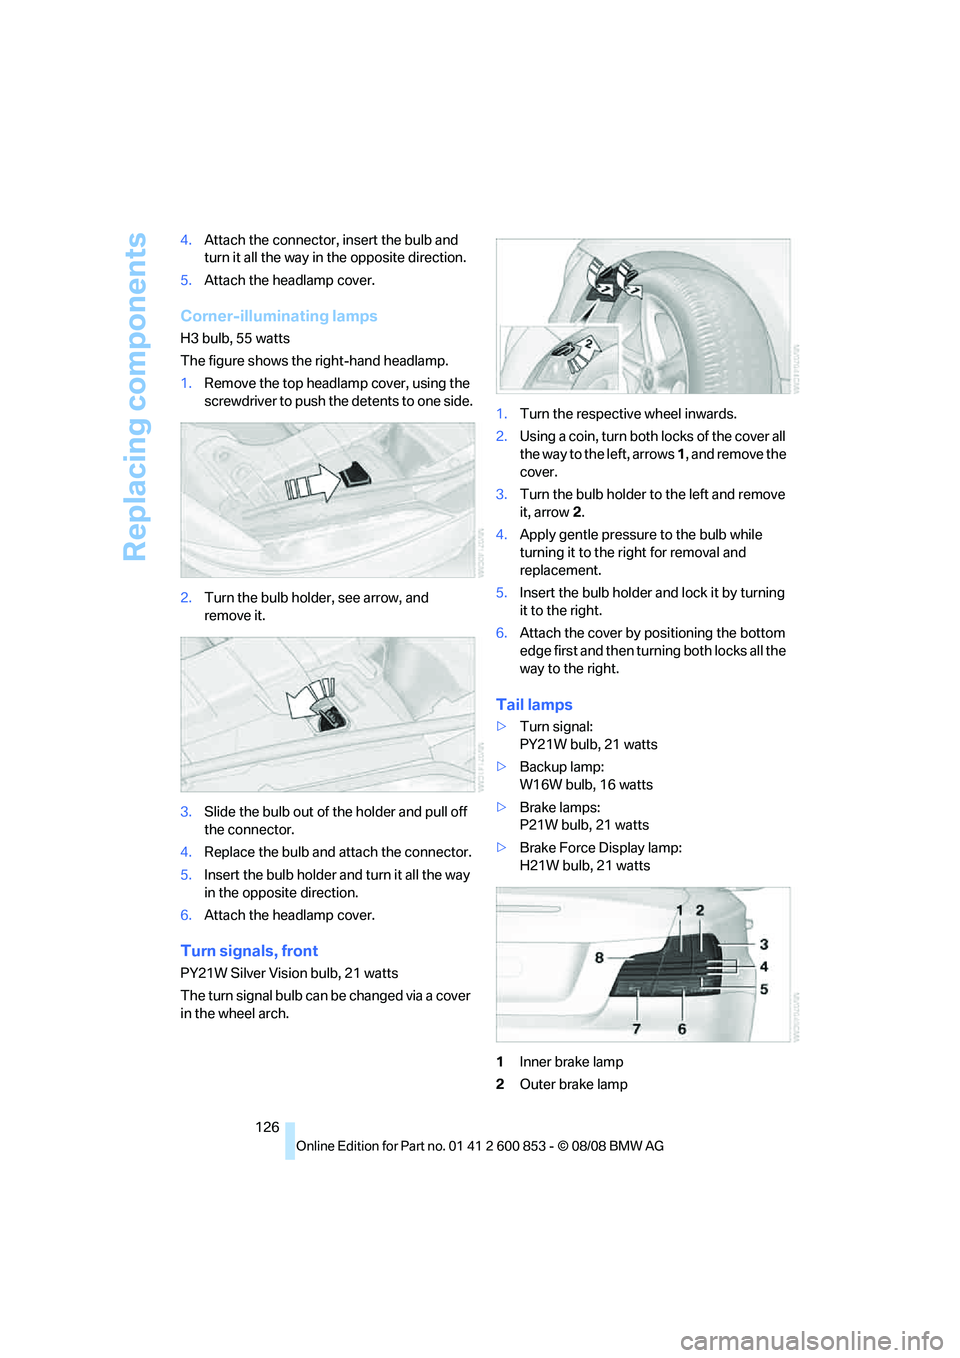
Corner-illuminating lamps
H3 bulb, 55 watts
The figure shows the right-hand headlamp.
1.Remove the top headlamp cover, using the
screwdriver to push the detents to one side.
2.Turn the bulb holder, see arrow, and
remove it.
3.Slide the bulb out of the holder and pull off
the connector.
4.Replace the bulb and attach the connector.
5.Insert the bulb holder and turn it all the way
in the opposite direction.
6.Attach the headlamp cover.
Turn signals, front
PY21W Silver Vision bulb, 21 watts
The turn signal bulb can be changed via a cover
in the wheel arch.1.Turn the respective wheel inwards.
2.Using a coin, turn both locks of the cover all
the way to the left, arrows 1, and remove the
cover.
3.Turn the bulb holder to the left and remove
it, arrow2.
4.Apply gentle pressure to the bulb while
turning it to the right for removal and
replacement.
5.Insert the bulb holder and lock it by turning
it to the right.
6.Attach the cover by positioning the bottom
edge first and then turning both locks all the
way to the right.
Tail lamps
>Turn signal:
PY21W bulb, 21 watts
>Backup lamp:
W16W bulb, 16 watts
>Brake lamps:
P21W bulb, 21 watts
>Brake Force Display lamp:
H21W bulb, 21 watts
1Inner brake lamp
2Outer brake lamp
Page 134 of 166
Giving and receiving assistance
132 Your BMW has a special nut as body ground or
negative pole.
5.Attach the second terminal clamp of the
minus/– jumper cable to the negative termi-
nal of the battery or to the engine or body
ground of the vehicle to be started.
Starting the engine
1.Start the engine of the donor vehicle and
allow it to run for a few minutes at slightly
increased idle speed.
2.Start the engine on the other vehicle in the
usual way.
If the first start attempt is not successful,
wait a few minutes before another attempt
in order to allow the discharged battery to
recharge.
3.Let the engines run for a few minutes.
4.Disconnect the jumper cables by reversing
the above connecting sequence.
If necessary, have the battery checked and
recharged.
Never use spray fluids to start the
engine.<
Tow-starting, towing away
Observe the applicable laws and regula-
tions for tow-starting and towing vehi-
cles.<
Do not transport any passengers other
than the driver in a vehicle that is being
towed.<
Using a tow fitting
The screw-in tow fitting must always be carried
in the car. It can be screwed in at the front or
rear of the BMW.
It is stored with the onboard tool kit underneath
the floor mat in the cargo bay, refer to page124.
Use only the tow fitting provided with the
vehicle and screw it all the way in. Use the
tow fitting for towing on paved roads only. Avoid
lateral loading of the tow fitting, e.g. do not lift
the vehicle by the tow fitting. Otherwise the tow
fitting and the vehicle could be damaged.<
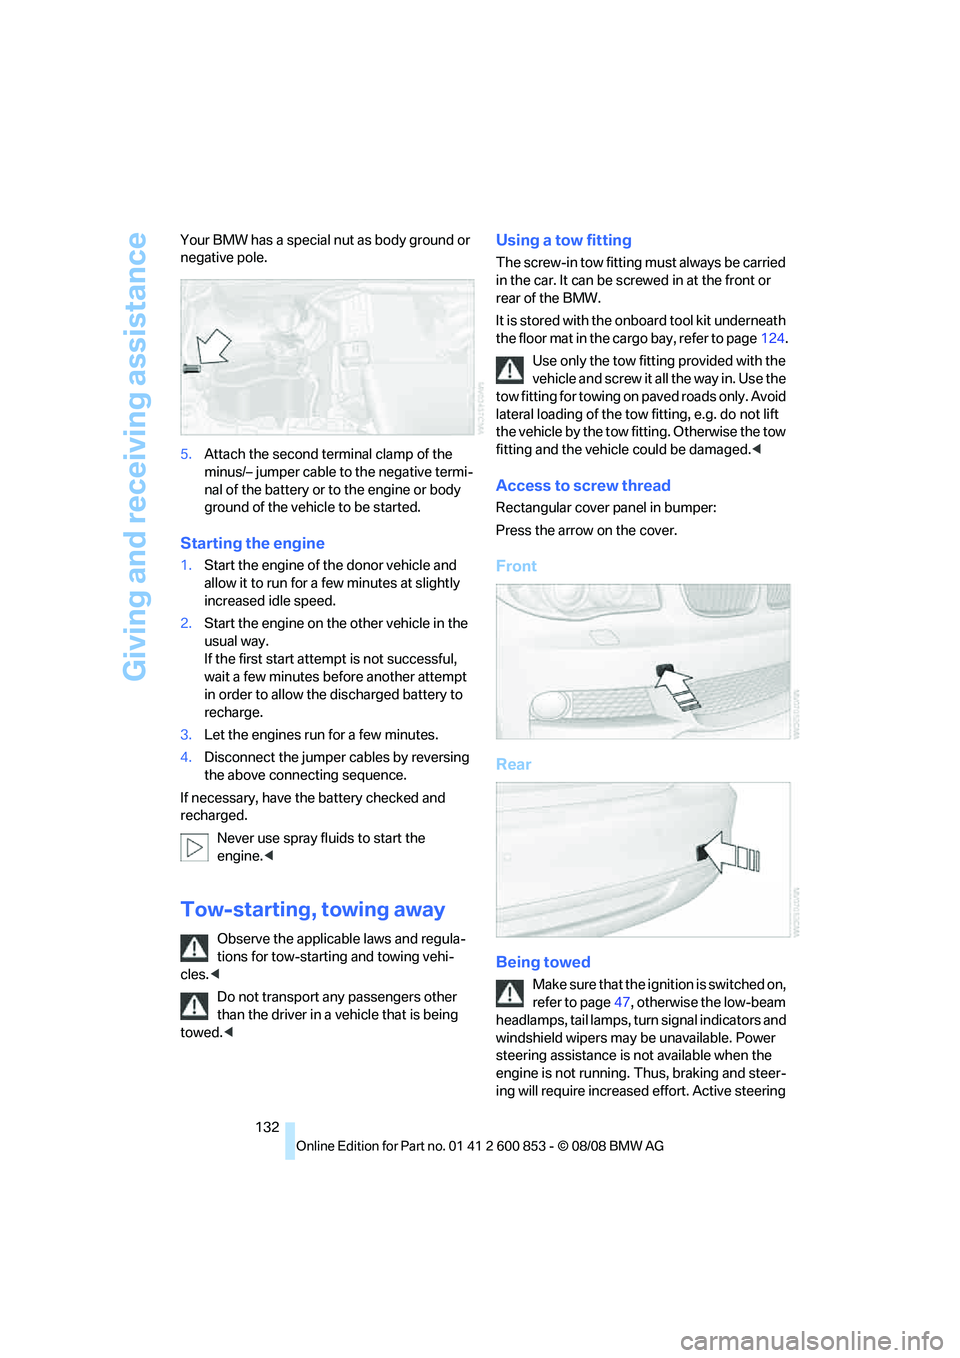
Access to screw thread
Rectangular cover panel in bumper:
Press the arrow on the cover.
Front
Rear
Being towed
Make sure that the ignition is switched on,
refer to page47, otherwise the low-beam
headlamps, tail lamps, turn s i g n a l i n d i c a t o r s a n d
windshield wipers may be unavailable. Power
steering assistance is not available when the
engine is not running. Thus, braking and steer-
ing will require increased effort. Active steering
Page 136 of 166
Indicator and warning lamps
134
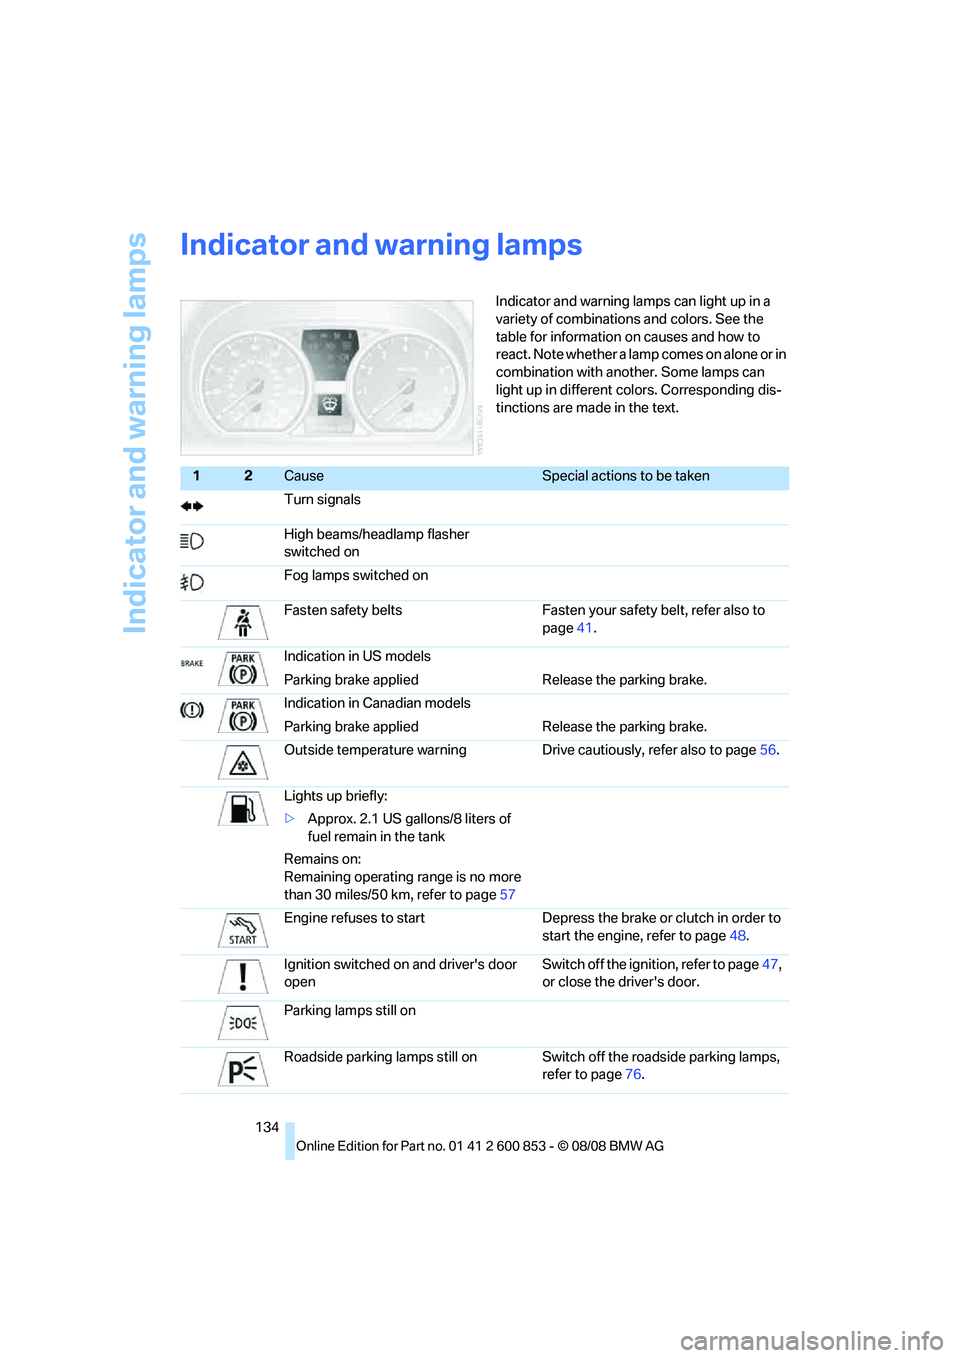
Indicator and warning lamps
Indicator and warning lamps can light up in a
variety of combinations and colors. See the
table for information on causes and how to
react. Note whether a lamp comes on alone or in
combination with another. Some lamps can
light up in different colors. Corresponding dis-
tinctions are made in the text.
12Cause Special actions to be taken
Turn signals
High beams/headlamp flasher
switched on
Fog lamps switched on
Fasten safety belts Fasten your safety belt, refer also to
page41.
Indication in US models
Parking brake applied Release the parking brake.
Indication in Canadian models
Parking brake applied Release the parking brake.
Outside temperature warning Drive cautiously, refer also to page56.
Lights up briefly:
>Approx. 2.1 US gallons/8 liters of
fuel remain in the tank
Remains on:
Remaining operating range is no more
than 30 miles/50 km, refer to page57
Engine refuses to start Depress the brake or clutch in order to
start the engine, refer to page48.
Ignition switched on and driver's door
openSwitch off the ignition, refer to page47,
or close the driver's door.
Parking lamps still on
Roadside parking lamps still on Switch off the roadside parking lamps,
refer to page76.
Page 163 of 166
Reference
At a glance
Controls
Driving tips
Mobility
161
TPM, refer to Tire Pressure
Monitor68
Traction control, refer to
Dynamic Stability Control
DSC65
Transmission
– automatic transmission with
Steptronic49
– manual transmission49
Transporting children
safely44
Transport securing devices,
refer to Securing cargo100
Tread depth, refer to Minimum
tire tread111
Trip-distance counter, refer to
Trip odometer56
Triple turn signal activation52
Trip odometer56
Trunk, refer to Cargo bay
Trunk lid, refer to Luggage
compartment lid23
Turn, indicating
– triple turn signal52
Turning circle, refer to
Dimensions147
Turn signals51
– indicator lamp12
– replacing bulbs126
Tying down loads, refer to
Cargo loading100
U
Underbody protection, refer to
Caring for your vehicle
Uniform Tire Quality Grading/
UTQR110
Units of measure
– average fuel
consumption60
– temperature60
Universal garage door opener,
refer to Integrated universal
remote control85
Universal remote control85
Unlatching, refer to
Unlocking19Unlocking
– from inside23
– from outside19
– luggage compartment lid27
– without remote control, refer
to Convenient access26
Unlocking without a key, refer
to Convenient access26
V
Vehicle
– battery128
– breaking in96
– cargo loading99
– decommissioning, refer to
Vehicle storage
– dimensions147
– Identification Number, refer
to Engine compartment115
– parking48
– weight149
Vehicle jack128
Vehicle storage123
Ventilation81,84
– draft-free81,84
Vents, refer to Air vents79
Vents, refer to
Ventilation81,84
Volume
– fuel tank, refer to
Capacities150
W
Warm
– steering wheel43
Warning and indicator
lamps13,134
Warning messages, refer to
Check Control62
Warning triangle131
Washer fluid53
– content of the reservoir53
Washer fluid filler neck53
Waste tray, refer to Ashtray90
Water on roads, refer to
Driving through water98
Water penetration120,121Wear indicators in tires, refer
to Minimum tread depth111
Weights149
Welcome lamps74
Wheelbase, refer to
Dimensions147
Wheels, new112
Wheels and tires106
Width, refer to
Dimensions147
Windows27
– convenient operation20
– convenient operation with
convenient access26
– opening, closing27
– pinch protection system28
Windows, defrosting and
removing
condensation81,84
Windshield
– cleaning53
– defrosting and removing
condensation81,84
Windshield wash
– filling capacity, reservoir150
Windshield washer reservoir,
refer to Washer fluid filler
neck53
Windshield washer system52
– washer fluid53
– washer nozzles53
Windshield wiper blades,
changing124
Windshield wipers, refer to
Wiper system52
Winter tires113
– storage113
Wiper blade replacement124
Wiper system52
Wrench/screwdriver, refer to
Onboard tool kit124
X
Xenon lamps
– replacing bulb124