Page 49 of 223
47
3
INSTRUMENTS AND CONTROLS
When the key is extracted (and at least one of
the front doors is opened) the display will light
up for a few seconds, showing the Alfa Romeo
logo, the time, the total odometer and the
outside temperature. Button pressed at length:
- saves the changes confi rmed and returns
to the standard page (or the page that
was active before the MENU button was
pressed).
TRIP
Button pressed brie� y:
- activates Trip A and B pages in succession
+/-
Button pressed briefly:
- selects the functions in the Setup menu
- sets/adjusts the functions in the Setup
menu. CONTROL BUTTONS
MENU
Button pressed briefly:
- when the vehicle is stationary, it activates
the “complete” Setup menu
- when the vehicle is moving, it activates the
“reduced” Setup menu
- confi rms the selected function
- confi rms the setting/change and returns
to the main menu page (to the same item
before the button was pressed)
- if the TRIP page is displayed, it returns to
the main page.
Page 51 of 223
49
3
INSTRUMENTS AND CONTROLS
+
+–
–
Illumination Int.Speed Limit Light Sens. Reset Trip B
Clock
Mode 12/24 Date Indep.Boot Unlock Fda Door Lock Units LanguageBeep Vol.Service Beep Seatb.Quit setup
Day lights
+–
+–+–
+
–
+
–
+
–
+
–
+
–
+
–
+
–
+
–
+
–
+
–
+
–
+
–
Page 52 of 223

50
3
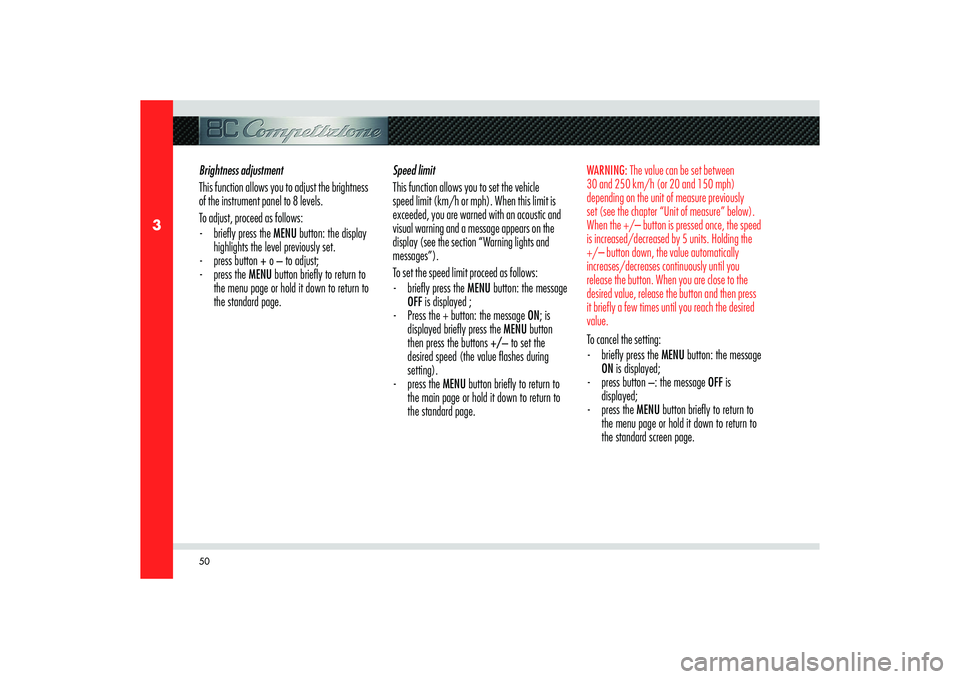
Brightness adjustment
This function allows you to adjust the brightness
of the instrument panel to 8 levels.
To adjust, proceed as follows:
- briefl y press the MENU button: the display
highlights the level previously set.
- press button + o – to adjust;
- press the MENU button briefl y to return to
the menu page or hold it down to return to
the standard page.Speed limit
This function allows you to set the vehicle
speed limit (km/h or mph). When this limit is
exceeded, you are warned with an acoustic and
visual warning and a message appears on the
display (see the section “Warning lights and
messages”).
To set the speed limit proceed as follows:
- briefl y press the MENU button: the message
OFF is displayed ;
- Press the + button: the message ON; is
displayed briefl y press the MENU button
then press the buttons +/– to set the
desired speed (the value fl ashes during
setting).
- press the MENU button briefl y to return to
the main page or hold it down to return to
the standard page.
WARNING: The value can be set between
30 and 250 km/h (or 20 and 150 mph)
depending on the unit of measure previously
set (see the chapter “Unit of measure” below).
When the +/– button is pressed once, the speed
is increased/decreased by 5 units. Holding the
+/– button down, the value automatically
increases/decreases continuously until you
release the button. When you are close to the
desired value, release the button and then press
it briefly a few times until you reach the desired
value.To cancel the setting:
- briefl y press the MENU button: the message
ON is displayed;
- press button –: the message OFF is
displayed;
- press the MENU button briefl y to return to
the menu page or hold it down to return to
the standard screen page.
Page 53 of 223

51
3
INSTRUMENTS AND CONTROLS
Adjusting the sensing range of the twilight
sensor (Automatic low-beam)
This function allows you to adjust the sensing
range of the twilight sensor to 3 levels.
To adjust, proceed as follows:
- briefl y press the MENU button: the display
highlights the sensing range level previously
set
- press button + o – to adjust;
- press the MENU button briefl y to return to
the menu page or hold it down to return to
the standard screen page.Trip B reset mode (Reset TRIP B)
This function allows you to select Trip B reset
mode (automatic or manual).
For further information see the chapter “TRIP
button”.Clock adjustment (Clock)
This function allows you to adjust the clock.
To adjust the time proceed as follows:
- briefl y press the MENU button: the display
highlights the “hours”
- press button + o – to adjust;
- briefl y press the MENU button: the display
highlights the “minutes”
- press button + o – to adjust;
WARNING: When the button is pressed once
+/– the value increases/decreases by 1
unit. Holding the +/– button down, the value
automatically increases/decreases continuously
until you release the button. When you are close
to the desired value, release the button and then
press it briefly a few times until you reach the
desired value.- press the MENU button briefl y to return to
the main page or hold it down to return to
the standard page.
Page 54 of 223

52
3
Clock mode (12/24 mode)
This function allows you to set the time display
mode in 12h or 24h format.
To set the clock proceed as follows:
- briefl y press the MENU button: the display
highlights 12h or 24h (depending on the
format previously set);
- press button + o – to select;
- press the MENU button briefl y to return to
the main page or hold it down to return to
the standard page.Date adjustment (Date)
This function allows you to adjust the date (year
- month - day).
To adjust the date proceed as follows:
- briefl y press the MENU button: the “year”
fl ashes on the display
- press button + o – to adjust;
- briefl y press the MENU button: the
“month” fl ashes on the display
- press button + o – to adjust;
- briefl y press the MENU button: the “day”
fl ashes on the display
- press button + o – to adjust;
WARNING: When the button is pressed once
+/– the value increases/decreases by 1 unit.
Holding the +/– button down +/–the value
automatically increases/decreases continuously
until you release the button. When you are close
to the desired value, release the button and then
press it briefly a few times until you reach the
desired value. - press the MENU button briefl y to return to
the main page or hold it down to return to
the standard page.
Page 56 of 223

54
3
WARNING:If the vehicle is tested on the roller
test bench without any operator on board, check
in the vehicle Setup menu that the automatic
door locking function is disabled or that a
window is open, or that there is a second key
available outside the vehicle.
Unit of Measure (Unit of Measure)
This function allows you to set the unit of
measure for the mileage (km or mi), fuel
consumption (l/100 km, km/l or mpg) and
temperature (°C or °F).
DistanceTo set the desired unit of measure, proceed as
follows:
- briefl y press the MENU button: the display
highlights “km” or “mi” (depending on
what was previously set);
- press button + or – to select;
- press the MENU button briefl y to return to
the menu page or hold it down to return to
the standard screen page.
Fuel consumption If the unit of measure for the mileage is set to
“km” (see previous chapter), you can set the
unit of measure for fuel consumption (l/100
km, km/l or mpg).
If the unit of measure for the mileage is set to
“mi” (see previous chapter), the display will
show the fuel consumption in “mpg”.
In this case, the “Fuel consumption Unit of
Measure” option in the Setup menu can be
selected but is fixed on the indication in “mpg”.
To set the desired unit of measure, proceed as
follows:
- briefl y press the MENU button: the
display highlights “km/l” or “l/100 km”
(depending on the unit was previously set);
- press button + o – to select;
- press the MENU button briefl y to return to
the menu page or hold it down to return to
the standard screen page.
Page 57 of 223

55
3
INSTRUMENTS AND CONTROLS
TemperatureThis function allows you to set the unit of
measure for the temperature (°C or °F).
To set the desired unit of measure, proceed as
follows:
- briefl y press the MENU button: the display
highlights °C or °F (depending on the unit
was previously set);
- press button + o – to select;
- press the MENU button briefl y to return to
the menu page or hold it down to return to
the standard screen page.Language selection (Language)
You can select one of the following languages
for the messages shown on the display: Italian,
English, German, Portuguese, Spanish, French,
Dutch and Brazilian.
To set the desired language, proceed as follows:
- press the MENU button briefl y, the display
highlights the “language” previously set;
- press button + o – to select;
- press the MENU button briefl y to return to
the main page or hold it down to return to
the standard page.Failure/warning buzzer volume (Beep Vol.)
This function allows adjusting (to 8 levels) the
volume of the buzzer that sounds together with
display of the failure/warning.
To set the desired volume, proceed as follows:
- press the MENU button briefl y, the display
highlights the volume “level” previously set;
- press button + o – to adjust;
- press the MENU button briefl y to return to
the main page or hold it down to return to
the standard page.
Page 58 of 223

56
3
Scheduled maintenance (Service)
This function allows you to view when service is
due according to the mileage done.
To view this information, proceed as follows:
- briefl y press the MENU button: the display
shows when service is due in kilometres
or miles depending on the unit that was
previously set (see the chapter “Unit of
measure”);
- press the MENU button briefl y to return to
the menu page or hold it down to return to
the standard screen page.
WARNING: According to the Scheduled
Maintenance Plan, the vehicle must be
serviced every 10,000 km (or 6,000 mi). This
information is automatically displayed when the
electronic key is inserted in the ignition block,
starting from 2,000 km (or 1,200 mi) following
the service due date. The information will be
displayed in kilometres or miles depending on
the unit of measure set. When approaching the
scheduled maintenance (“Service”) due date,
inserting the electronic key in the ignition block,
a message will appear on the display followed
by the kilometres/miles left until the service due
date. Contact an Authorised Service Centre of
the Manufacturer’s Network where the staff
will perform the service operations according to
the Scheduled Maintenance or Annual Inspection
Plan and reset the mileage counter (Reset).
Buzzer reactivation for SBR (Seat Belt
Reminder) signalling (Seat belt beep)(where
provided)
This function is displayed only after the system
has been deactivated by an Authorised Service
Centre of the Manufacturer’s Network.
Automatic activation of the Day Running
Lights (where provided)
If this function is active, when the low-beams go
off, the DRLs come on, and vice versa, when the
low-beams come on the DRLs go off.
Exit menu
Select this item to return to the standard screen
page.