Page 72 of 126

8-1
8
EBU28781
PERIODIC MAINTENANCE AND MINOR REPAIR
EBU21670Safety is an obligation of the owner. Periodic in-
spection, adjustment and lubrication will keep your
ATV in the safest and best operating condition
possible. The most important points of inspection,
adjustment, and lubrication are explained on the
following pages.
The intervals given in the periodic maintenance
and lubrication chart should be considered as a
general guide under normal riding conditions.
However, DEPENDING ON THE WEATHER,
TERRAIN, GEOGRAPHICAL LOCATION, AND
INDIVIDUAL USE, THE MAINTENANCE INTER-
VALS MAY NEED TO BE SHORTENED.
WARNING
EWB01840Never service an engine while it is running.
Moving parts can catch clothing or parts of the
body, causing injury. Electrical components
can cause shocks or start fires. Turn off the en-
gine when performing maintenance unlessotherwise specified. Have a Yamaha dealer
perform the service if you are not familiar with
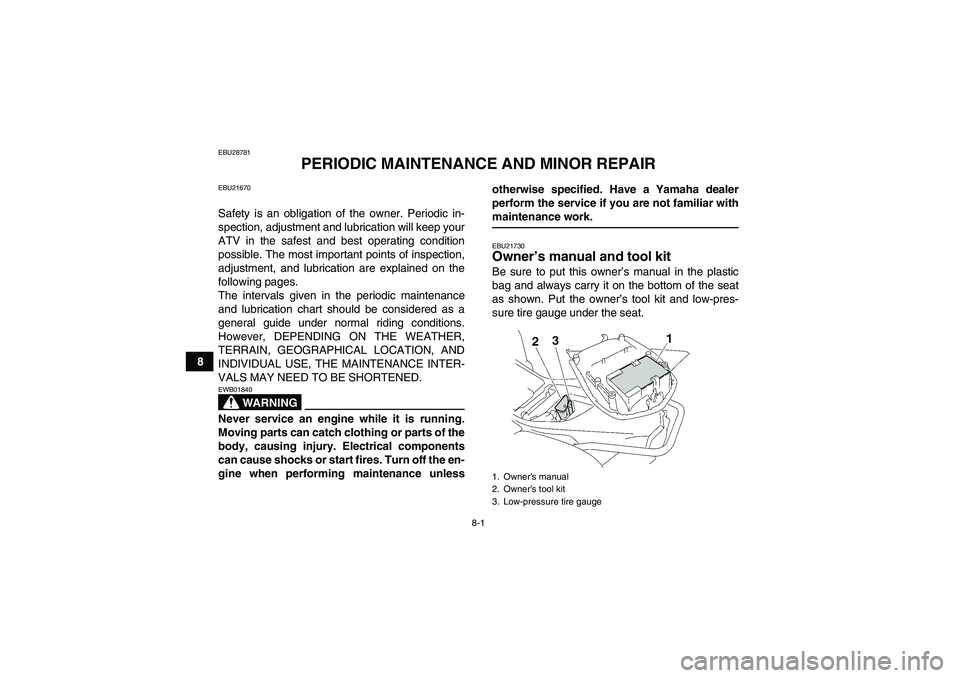
maintenance work.EBU21730Owner’s manual and tool kit Be sure to put this owner’s manual in the plastic
bag and always carry it on the bottom of the seat
as shown. Put the owner’s tool kit and low-pres-
sure tire gauge under the seat.1. Owner’s manual
2. Owner’s tool kit
3. Low-pressure tire gauge
U3D562E0.book Page 1 Wednesday, June 6, 2007 12:58 PM
Page 74 of 126

8-3
8
EBU21742Periodic maintenance chart for the emission control system NOTE:�For ATVs not equipped with an odometer or an hour meter, follow the month maintenance intervals.�For ATVs equipped with an odometer or an hour meter, follow the km (mi) or hours maintenance inter-
vals. However, keep in mind that if the ATV isn’t used for a long period of time, the month maintenance
intervals should be followed.�Items marked with an asterisk should be performed by a Yamaha dealer as they require special tools,data and technical skills.NO. ITEMCHECK OR MAINTENANCE
JOBINITIAL EVERY
Whichev-
er comes
firstmonth136612
km
(mi)320
(200)1300
(800)2500
(1600)2500
(1600)5000
(3200)
hours 20 80 160 160 320
1*Fuel lineCheck fuel hoses for cracks or other damage, and
replace if necessary.√√√
2 Spark plugCheck condition and clean, regap, or replace if
necessary.√√√√√
3*ValvesCheck valve clearance and adjust if necessary.√ √√√
4*CarburetorCheck starter (choke) operation and correct if nec-
essary.
Check engine idling speed and adjust if neces-
sary.√√√√
5*Crankcase breather
systemCheck breather hose for cracks or other damage,
and replace if necessary.√√√
U3D562E0.book Page 3 Wednesday, June 6, 2007 12:58 PM
Page 77 of 126

8-6
8
9*V- b e l tCheck for wear, cracks or other damage, and re-
place if necessary.√ √√√
10*Chassis fastenersMake sure that all nuts, bolts, and screws are
properly tightened.√√√√√
11*Shock absorber as-
sembliesCheck operation and correct if necessary.
Check for oil leakage and replace if necessary.√√√
12*Steering shaftLubricate with lithium-soap-based grease.√√√
13*Steering systemCheck operation and repair or replace if damaged.
Check toe-in and adjust if necessary.√√√√√
14*Engine mountCheck for cracks or other damage, and replace if
necessary.√√√
15*Axle bootsCheck for cracks or other damage, and replace if
necessary.√√√√√
16 Engine oilChange.
Check ATV for oil leakage, and correct if neces-
sary.√ √√√
17Engine oil filter car-
tridgeReplace.√√√
18*Engine oil strainerClean.√√√
19 Final gear oilChange.
Check ATV for oil leakage, and correct if neces-
sary.√√
20*Moving parts and
cablesLubricate.√√√√ NO. ITEMCHECK OR MAINTENANCE
JOBINITIAL EVERY
Whichev-
er comes
firstmonth136612
km
(mi)320
(200)1300
(800)2500
(1600)2500
(1600)5000
(3200)
hours 20 80 160 160 320
U3D562E0.book Page 6 Wednesday, June 6, 2007 12:58 PM
Page 79 of 126
8-8
8
EBU23080Removing and installing the panel The panel shown needs to be removed to perform
some of the maintenance jobs described in this
chapter. Refer to this section each time the panel
needs to be removed and installed.EBU23111Panel A
To remove the panelRemove the bolt, and then take the panel off.To install the panel
Place the panel in the original position and install
the bolt.CAUTION:ECB00380When installing the panel, be sure not to pinchthe cables or wires.EBU23211Checking the spark plug The spark plug is an important engine component,
which is easy to check. Since heat and deposits
will cause any spark plug to slowly erode, the spark
1. Panel A
1. Panel A
2. Bolt
U3D562E0.book Page 8 Wednesday, June 6, 2007 12:58 PM
Page 80 of 126
8-9
8plug should be removed and checked in accor-
dance with the periodic maintenance and lubrica-
tion chart. In addition, the condition of the spark
plug can reveal the condition of the engine.
To remove the spark plug
1. Remove the spark plug cap.
2. Remove the spark plug as shown, with the
spark plug wrench included in the owner’s tool
kit.To check the spark plug
1. Check that the porcelain insulator around the
center electrode of the spark plug is a medi-
um-to-light tan (the ideal color when the ATV
is ridden normally).
NOTE:If the spark plug shows a distinctly different color,
the engine could be operating improperly. Do not
attempt to diagnose such problems yourself. In-stead, have a Yamaha dealer check the ATV.
2. Check the spark plug for electrode erosion
and excessive carbon or other deposits, and
replace it if necessary.
1. Spark plug cap
1. Spark plug wrench
U3D562E0.book Page 9 Wednesday, June 6, 2007 12:58 PM
Page 81 of 126

8-10
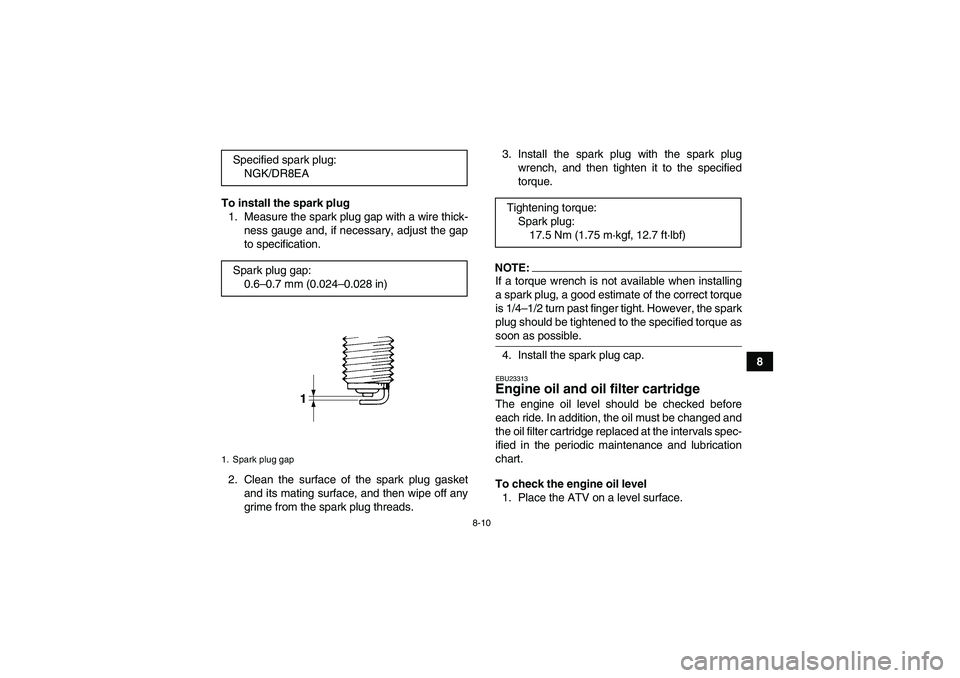
8 To install the spark plug
1. Measure the spark plug gap with a wire thick-
ness gauge and, if necessary, adjust the gap
to specification.
2. Clean the surface of the spark plug gasket
and its mating surface, and then wipe off any
grime from the spark plug threads.3. Install the spark plug with the spark plug
wrench, and then tighten it to the specified
torque.
NOTE:If a torque wrench is not available when installing
a spark plug, a good estimate of the correct torque
is 1/4–1/2 turn past finger tight. However, the spark
plug should be tightened to the specified torque assoon as possible.
4. Install the spark plug cap.EBU23313Engine oil and oil filter cartridge The engine oil level should be checked before
each ride. In addition, the oil must be changed and
the oil filter cartridge replaced at the intervals spec-
ified in the periodic maintenance and lubrication
chart.
To check the engine oil level
1. Place the ATV on a level surface. Specified spark plug:
NGK/DR8EA
Spark plug gap:
0.6–0.7 mm (0.024–0.028 in)
1. Spark plug gap
Tightening torque:
Spark plug:
17.5 Nm (1.75 m·kgf, 12.7 ft·lbf)
U3D562E0.book Page 10 Wednesday, June 6, 2007 12:58 PM
Page 82 of 126
8-11
82. Check the engine oil level on a cold engine.
NOTE:If the engine was started before checking the oil
level, be sure to warm up the engine sufficiently,
and then wait at least ten minutes until the oil set-tles for an accurate reading.
3. Remove the engine oil filler cap, and then
wipe the dipstick off with a clean rag.
4. Insert the dipstick into the filler hole (without
screwing it in), and then remove it again to
check the oil level.
NOTE:The engine oil should be between the minimumand maximum level marks.
5. If the engine oil is at or below the minimum
level mark, add sufficient oil of the recom-
mended type to raise it to the correct level.
6. Insert the dipstick into the oil filler hole, and
then tighten the engine oil filler cap.
1. Engine oil filler cap
1. Dipstick
2. Maximum level mark
3. Minimum level mark
U3D562E0.book Page 11 Wednesday, June 6, 2007 12:58 PM
Page 83 of 126
8-12
8 To change the engine oil (with or without oil fil-
ter cartridge replacement)
1. Place the ATV on a level surface.
2. Start the engine, warm it up for several min-
utes, and then turn it off.
3. Place an oil pan under the engine to collect
the used oil.
4. Remove the engine oil filler cap, and then re-
move the engine oil drain bolt to drain the oil
from the crankcase.
NOTE:Skip steps 5–7 if the oil filter cartridge is not beingreplaced.5. Remove the oil filter cartridge with an oil filter
wrench.1. Engine oil drain bolt
1. Oil filter cartridge
1. Oil filter wrench
U3D562E0.book Page 12 Wednesday, June 6, 2007 12:58 PM