2008 VOLVO S80 turn signal
[x] Cancel search: turn signalPage 75 of 275

This symbol also comes on when the mechanical parking brake is only slightly applied.
Airbags - SRS
If this light comes on while the vehicle is being driven, or remains on for longer than approximately 10 seconds after
the vehicle has been started, the SRS system's diagnostic functions have detected a fault in a seat belt lock or
pretensioner, a front airbag, side impact airbag, and/or an inflatable curtain. Have the system(s) inspected by a trained
and qualified Volvo service technician as soon as possible.
Seat belt reminder
This symbol comes on for approximately 6 seconds if the driver has not fastened his or her seat belt.
Generator not charging
This symbol comes on during driving if a fault has occurred in the electrical system. Contact an authorized Volvo
workshop.
Engine temperature
Engine overheating can result from low oil or coolant levels, towing or hard driving at high heat and altitude, or
mechanical malfunction. Engine overheating will be signaled with text and a red warning triangle in the middle of the
instrument display. The exact text will depend on the degree of overheating. It may range from " HIGH ENGINE
TEMP - SLOW DOWN " to "HIGH ENGINE TEMP - STOP ENGINE ." If appropriate, other messages, such as
" COOLANT LEVEL LOW " will also be displayed. If your engine does overheat so that you must stop the engine,
always allow the engine to cool before attempting to check oil and coolant levels.
Fault in brake system
If this symbol lights, the brake fluid level may be too low. Stop the vehicle in a safe place and check the level in the
brake fluid reservoir, see page 211
. If the level in the reservoir is below MIN , the vehicle should be transported to an
authorized Volvo workshop to have the brake system checked.
If the brake and ABS symbols come on at the same time, there may be a fault in the brake force distribution system.
1. Stop the vehicle in a safe place and turn off the engine.
2. Restart the engine.
If both symbols extinguish, continue driving.
If the symbols remain on, check the level in the brake fluid reservoir. See page 211. If the brake fluid level is
normal but the symbols are still lit, the vehicle can be driven, with great care, to an authorized Volvo workshop to
have the brake system checked.
If the level in the reservoir is below MIN , the vehicle should be transported to an authorized Volvo workshop to
have the brake system checked.
WARNING
If the fluid level is below the MIN mark in the reservoir or if a warning message is displayed in the text window:
DO NOT DRIVE. Have the vehicle towed to a trained and qualified Volvo service technician and have the brake
system inspected.
If the ABS and Brake system lights are on at the same time, there is a risk of reduced vehicle stability.
78 03 Your driving environment
Instruments and controls
Page 87 of 275
Daytime running lights can be deactivated by an authorized Volvo workshop.
NOTE
The use of daytime running lights is mandatory in Canada.
Continuous high beams cannot be activated when the headlight switch is in position or . High beam
flash will function in these positions.
High beam flash
Move the lever toward the steering wheel to position
. The high beams come on until the lever is released.
High/low beam headlights
Continuous high beams
Set the ignition to mode II.
With the light switch in position
, pull the turn signal lever toward the steering wheel to position to toggle
between high and low beams (this also applies on models equipped with the optional Active Bi -Xenon® headlights).
The
symbol illuminates in the instrument panel to indicate that the high beams are on.
90 03 Your driving environment
Lighting
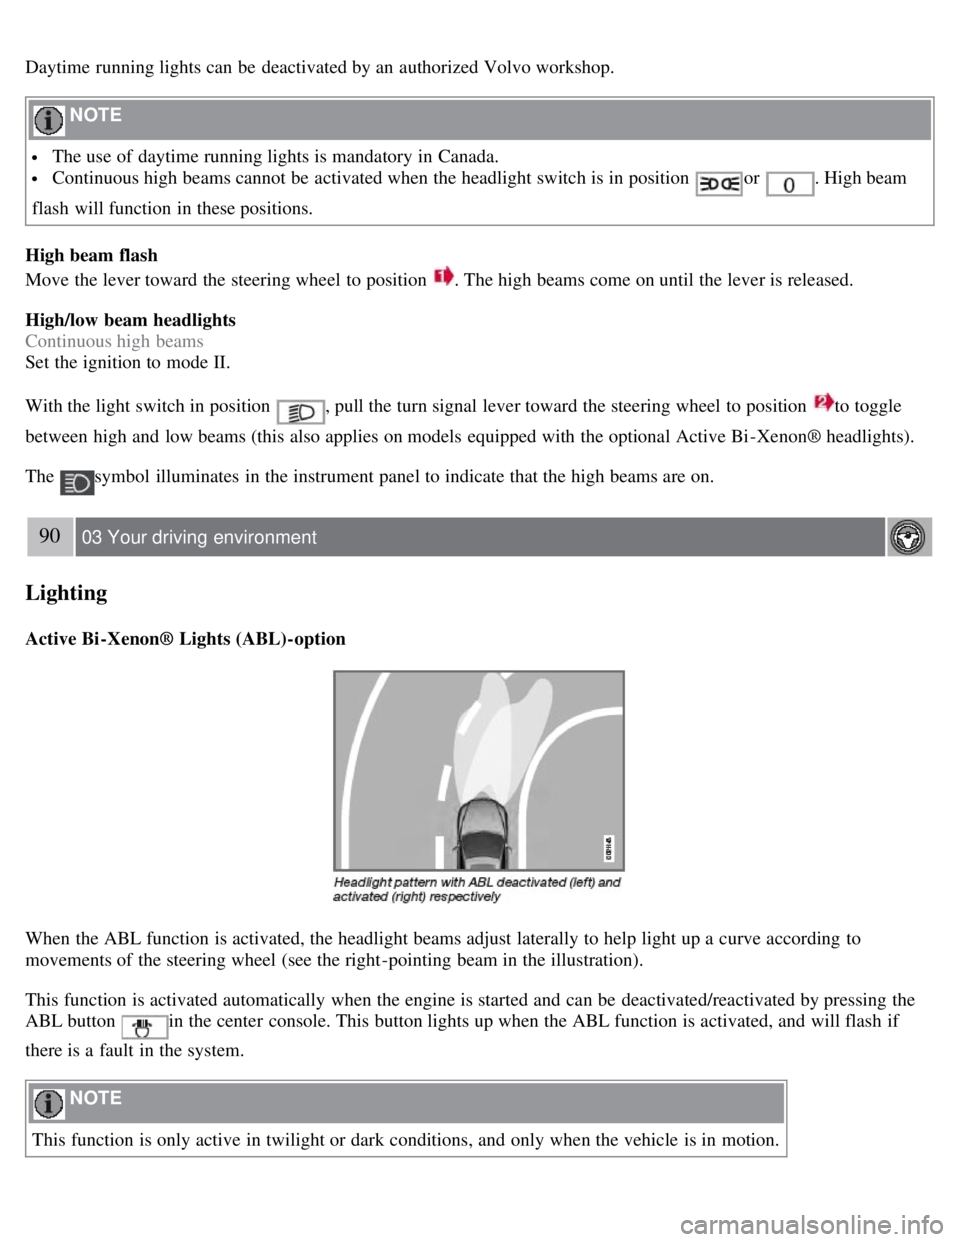
Active Bi -Xenon® Lights (ABL)-option
When the ABL function is activated, the headlight beams adjust laterally to help light up a curve according to
movements of the steering wheel (see the right-pointing beam in the illustration).
This function is activated automatically when the engine is started and can be deactivated/reactivated by pressing the
ABL button
in the center console. This button lights up when the ABL function is activated, and will flash if
there is a fault in the system.
NOTE
This function is only active in twilight or dark conditions, and only when the vehicle is in motion.
Page 90 of 275
flashers, press the button in the center dash. Press the button again to turn off the flashers.
NOTE
Regulations regarding the use of the hazard warning flasher may vary, depending on where you live.
The hazard warning flashers will be activated automatically if an airbag deploys.
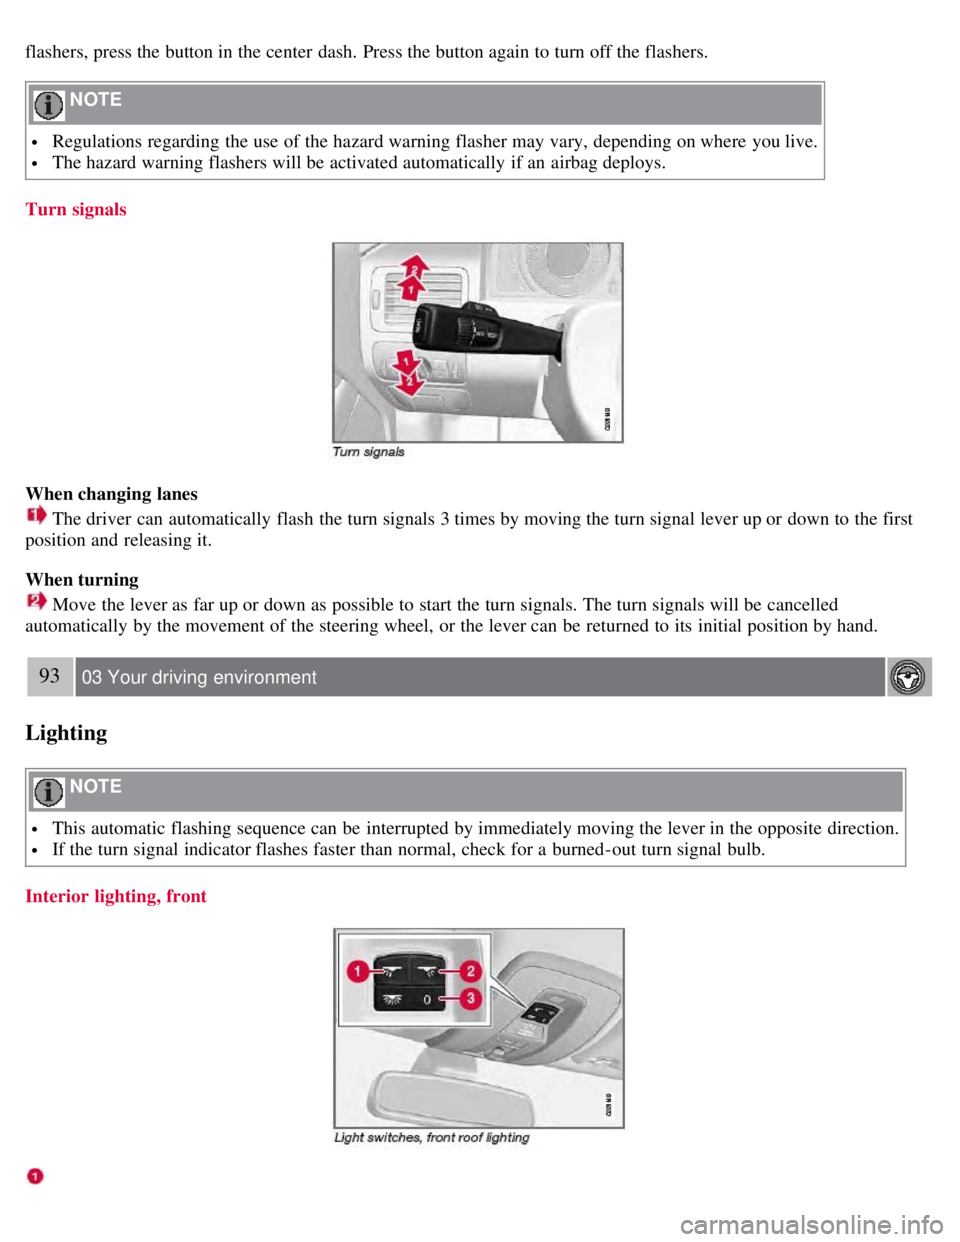
Turn signals
When changing lanes
The driver can automatically flash the turn signals 3 times by moving the turn signal lever up or down to the first
position and releasing it.
When turning
Move the lever as far up or down as possible to start the turn signals. The turn signals will be cancelled
automatically by the movement of the steering wheel, or the lever can be returned to its initial position by hand.
93 03 Your driving environment
Lighting
NOTE
This automatic flashing sequence can be interrupted by immediately moving the lever in the opposite direction.
If the turn signal indicator flashes faster than normal, check for a burned-out turn signal bulb.
Interior lighting, front
Page 92 of 275
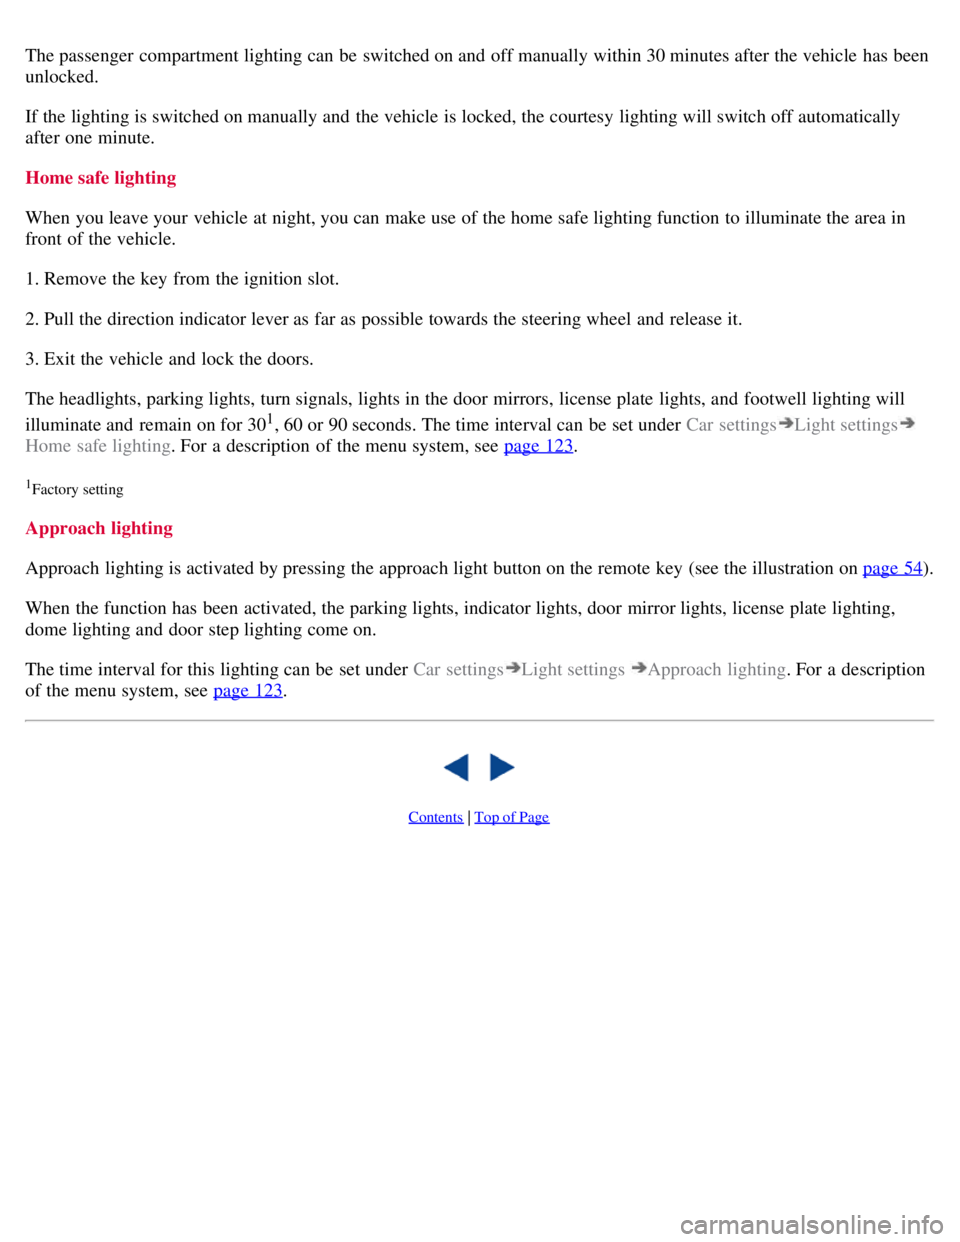
The passenger compartment lighting can be switched on and off manually within 30 minutes after the vehicle has been
unlocked.
If the lighting is switched on manually and the vehicle is locked, the courtesy lighting will switch off automatically
after one minute.
Home safe lighting
When you leave your vehicle at night, you can make use of the home safe lighting function to illuminate the area in
front of the vehicle.
1. Remove the key from the ignition slot.
2. Pull the direction indicator lever as far as possible towards the steering wheel and release it.
3. Exit the vehicle and lock the doors.
The headlights, parking lights, turn signals, lights in the door mirrors, license plate lights, and footwell lighting will
illuminate and remain on for 30
1, 60 or 90 seconds. The time interval can be set under Car settingsLight settings
Home safe lighting. For a description of the menu system, see page 123.
1Factory setting
Approach lighting
Approach lighting is activated by pressing the approach light button on the remote key (see the illustration on page 54
).
When the function has been activated, the parking lights, indicator lights, door mirror lights, license plate lighting,
dome lighting and door step lighting come on.
The time interval for this lighting can be set under Car settings
Light settings Approach lighting . For a description
of the menu system, see page 123
.
Contents | Top of Page
Page 103 of 275
button. During programming, your handheld transmitter may automatically stop transmitting. Continue to press and
hold the desired HomeLink button while you press and re-press ("cycle") your handheld transmitter every two seconds
until the frequency signal has been learned. The indicator light will flash slowly and then rapidly after several seconds
upon successful training. DO NOT release until the HomeLink indicator light flashes slowly and then rapidly. When
the indicator light flashes rapidly, both buttons may be released. (The rapid flashing indicates successful training.)
105 03 Your driving environment
HomeLink® Universal Transceiver
4. Press and hold the trained HomeLink button and observe the indicator light.
If the indicator light is solid/continuous, training is complete and your device should activate when the HomeLink
button is pressed and released.
If the indicator light blinks rapidly for 2 seconds and then turns a solid/continuous light, proceed with the following
training instructions for a rolling code device. A second person may make the following steps quicker and easier.
Please use a ladder or other device. Do not stand on your vehicle to perform the next steps.
5. At the garage door opener receiver (motorhead unit) in the garage, locate the "learn" or "smart" button (usually near
where the hanging antenna wire is attached to the unit). If there is difficulty locating the training button reference the
garage door opener's manual or contact us.
6. Press and release the "learn" or "smart" button (the name and color of the button may vary by manufacturer).
NOTE
Once the button is pressed, there are 30 seconds in which to initiate the next step.
7. Return to the vehicle and firmly press and hold the trained HomeLink button for two seconds and release. Repeat
the "press/hold/release" sequence up to 3 times to complete the training process.
NOTE
During programming, your hand -held transmitter may automatically stop transmitting. Continue to press and hold
the desired HomeLink button while you press and repress ("cycle") your hand -held transmitter every two seconds
until the frequency signal has been learned. The indicator light will flash slowly and then rapidly after several
seconds upon successful training. If necessary, follow steps 5-7 to complete the training for a rolling code device.
To train additional HomeLink buttons, begin with step two.
Rolling Code Programming
Rolling code garage door openers that are "code-protected" and manufactured after 1996 may be determined by the-
following:
Reference the garage door opener owner's manual for verification.
The handheld transmitter appears to program the HomeLink Universal Transceiver but does not activate the garage
door.
Press and hold the trained HomeLink button. The garage door opener has the rolling code feature if the indicator
light flashes rapidly and then turns solid after 2 seconds.
To train a garage door with the rolling code feature, follow these instructions (the aid of a second person may make the
Page 114 of 275
A faint sound from the parking brake's electric motor can be heard when the parking brake is being applied. This
sound can also be heard during the automatic function check of the parking brake.
The brake pedal will move slightly when the electric parking brake is applied or released.
Low battery voltage
If the battery voltage is too low, the parking brake cannot be applied or released. Connect an auxiliary battery if the
battery voltage is too low, see page 109
.
1The electric parking brake is available as an option on certain models.
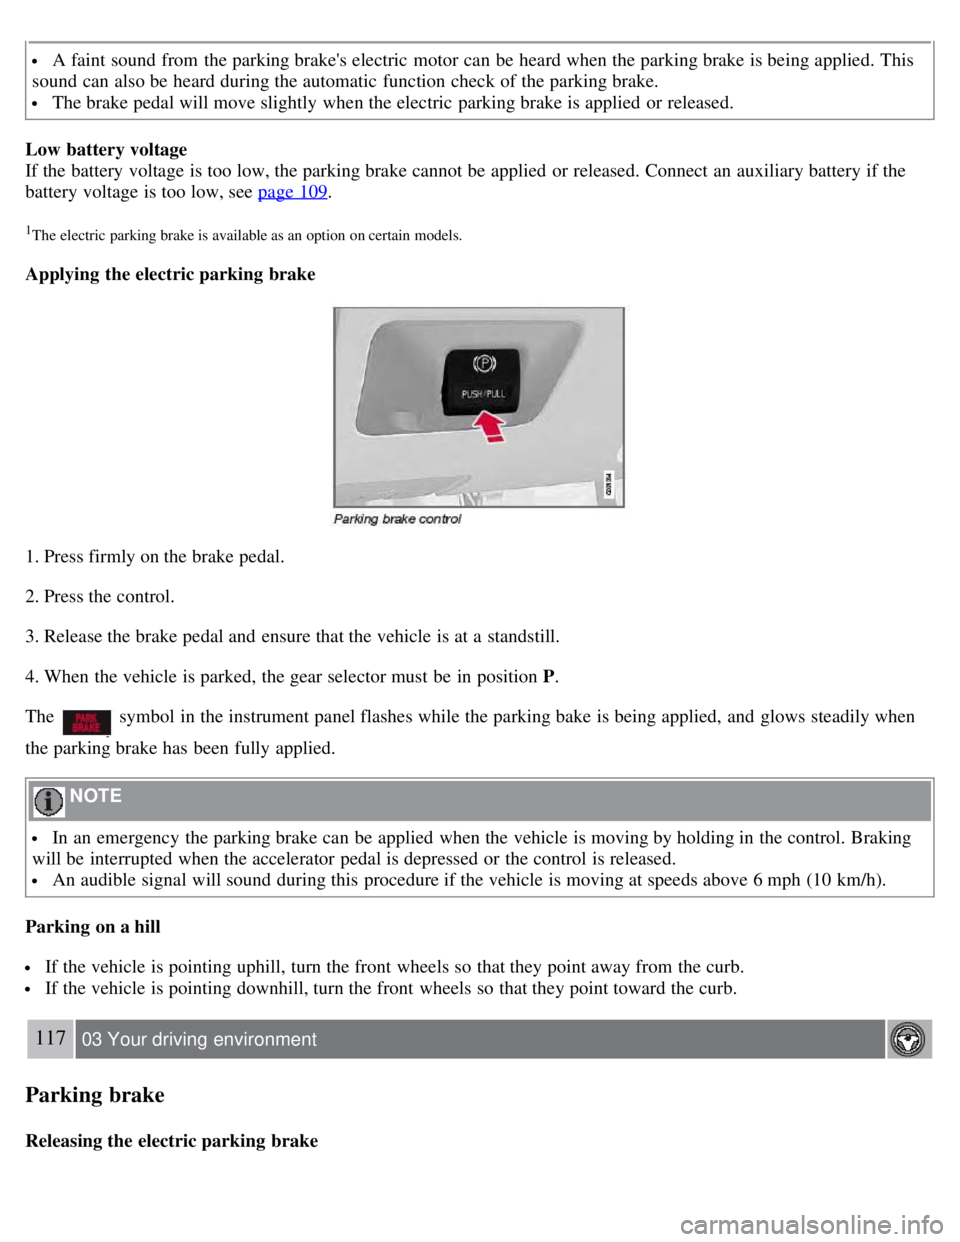
Applying the electric parking brake
1. Press firmly on the brake pedal.
2. Press the control.
3. Release the brake pedal and ensure that the vehicle is at a standstill.
4. When the vehicle is parked, the gear selector must be in position P .
The
symbol in the instrument panel flashes while the parking bake is being applied, and glows steadily when
the parking brake has been fully applied.
NOTE
In an emergency the parking brake can be applied when the vehicle is moving by holding in the control. Braking
will be interrupted when the accelerator pedal is depressed or the control is released.
An audible signal will sound during this procedure if the vehicle is moving at speeds above 6 mph (10 km/h).
Parking on a hill
If the vehicle is pointing uphill, turn the front wheels so that they point away from the curb.
If the vehicle is pointing downhill, turn the front wheels so that they point toward the curb.
117 03 Your driving environment
Parking brake
Releasing the electric parking brake
Page 116 of 275
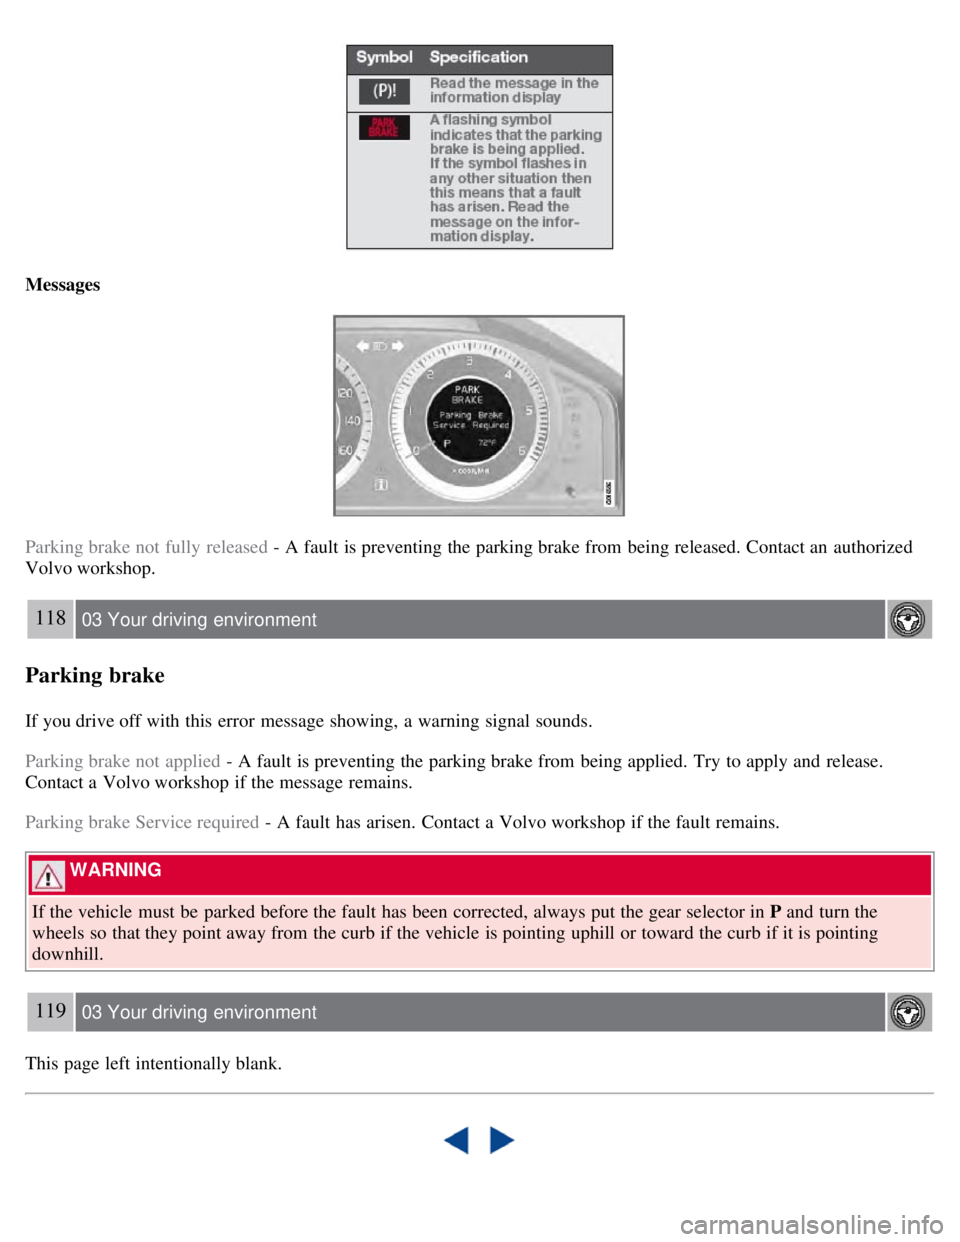
Messages
Parking brake not fully released - A fault is preventing the parking brake from being released. Contact an authorized
Volvo workshop.
118 03 Your driving environment
Parking brake
If you drive off with this error message showing, a warning signal sounds.
Parking brake not applied - A fault is preventing the parking brake from being applied. Try to apply and release.
Contact a Volvo workshop if the message remains.
Parking brake Service required - A fault has arisen. Contact a Volvo workshop if the fault remains.
WARNING
If the vehicle must be parked before the fault has been corrected, always put the gear selector in P and turn the
wheels so that they point away from the curb if the vehicle is pointing uphill or toward the curb if it is pointing
downhill.
119 03 Your driving environment
This page left intentionally blank.
Page 140 of 275
Once Autostoring... disappears from the display, the stations are stored. The radio continues in Auto mode and Auto
appears on the display. The automatically stored presets can now be selected using the preset buttons. Automatic
preset storage can be cancelled using EXIT .
Auto mode is cancelled by pressing for example AUTO or FM.
Returning to Auto mode provides access to the autostored presets:
1. Press AUTO .
Auto appears on the display.
2. Press a preset button.
Scan
The function automatically searches the current wave band for strong stations. When a station is found, it is played for
approx. eight seconds before scanning is resumed. While the station is playing it can be stored as a preset as usual.
1. Select a wave band using AM or FM.
2. Press SCAN .
SCAN appears on the display. Close using SCAN or EXIT.
142 04 Comfort and driving pleasure
Audio system
Radio text
Some stations transmit information on program content, artists, etc. This information can be shown on the display.
Activate/deactivate in FM mode under Radio text.
143 04 Comfort and driving pleasure
Audio system
Sirius satellite radio (option)
Listening to satellite radio
The Sirius satellite system consists of a number of high elevation satellites in geosynchronous orbit.
NOTE
The digital signals from the Sirius satellites are line-of-sight, which means that physical obstructions such as
bridges, tunnels, etc, may temporarily interfere with signal reception.
Avoid any obstructions, such as metallic objects transported on roof racks or in a ski box, or other antennas that
may impede signals from the SIRIUS satellites.
Selecting Sirius radio mode
1. Press Power to switch on the audio system (see pages 137
and 141 for information on the standard audio and radio
functions).