2008 VOLKSWAGEN GOLF trailer
[x] Cancel search: trailerPage 346 of 444
Tires and
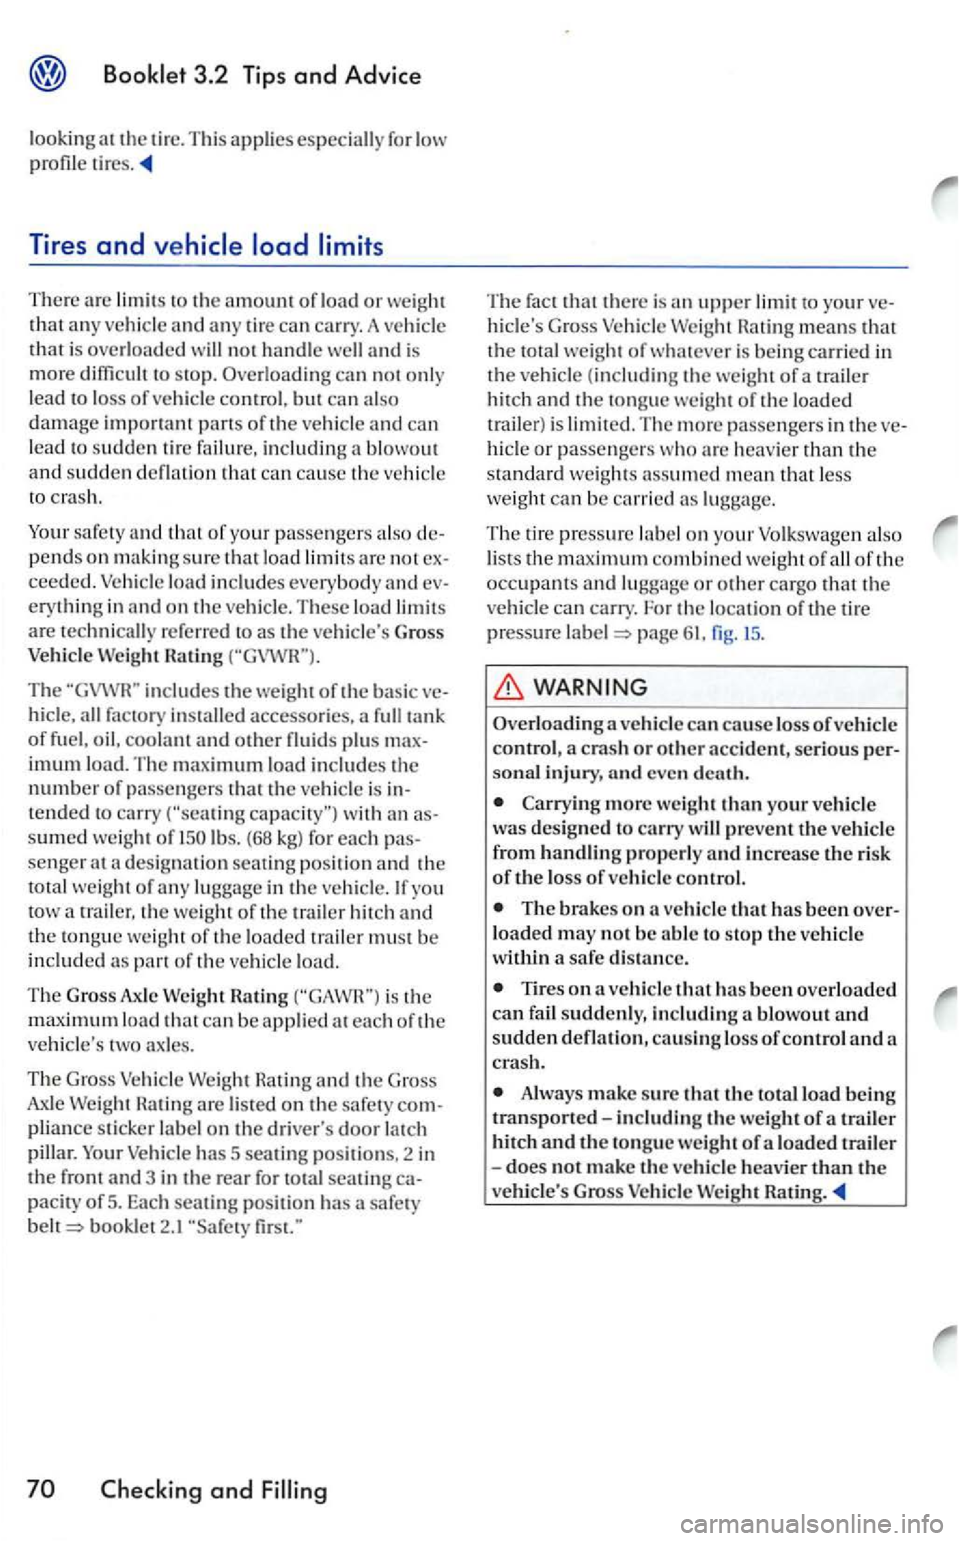
There arc limits to th e amount of load or weig ht that any vehicl e and any tire can carry. A ve hicle that is overloaded will not handle well and is mor e to stop. Overloading can not only
lead l oss of ve hicle control. but ca n al so damage including a blowout
and s udden d eflatio n th at can cause the vehicl e
to crash .
Your safet y
and that of your passengers also de
pends on making sure th a t l oad limit s arc not exceeded. load in cludes everybody and everyth in g in and on the vehicle. These load limit s are technically refe rred to as th e vehicle' s Gr oss Ratin g
includes the weight of the basic veall factory installed accessorie s. a full tank of coolant and other fluids plus maximum load. The m ax imum load incl udes the number of passengers that the ve hicle is in tended to carry lbs. (68 kg) for each passenger at designation seating position and the
total wei ght of a ny lu ggage in the ve hicle. yo u the weig ht of the trailer hit ch and the tongue weight of the loaded trailer mus t be included o f the ve hicle load.
T he Gross
Axle is the m aximum load th at can be ap plied at each of the
veh icle's two
has 5 seat ing pos ition s, 2 in the front and 3 in the rear for seating capaciry of 5. Eac h seatin g posit ion ha s a sa fe ty bookle t2.1
and
The fact that there is an upper li mit to your ve
hi cle's Gross Hating means that the total weight of whatever i s bein g carried in the vehicle (in cluding the weight of a trailer hit ch and the tongue weig ht o f the load ed
t railer) is limited. The more passengers in the ve
hicl e or passengers are heav ier than the standard weig hts assumed mean that less weig ht can be carried lu ggage.
The tire pressure on your Volkswage n also lists the maximum combined weight of all of the occupants and
page fig . 15 .
WARNING
Overloading a ve hicl e can cause loss of vehicle control, a crash or other accident, serious pe r
sonal injury, nnd even dent h.
more weight than your vehicle was d esig ne d to carry will prevent th e ve hicl e
fr om handling properl y and increase the ri sk of th e loss of ve hicl e control.
The brakes on a ve hicl e that has been overloaded may not be abl e to sto p the ve hicle
w ithi n a safe di stance.
o n a ve hicle that has been overloaded can
Alway s make sure that the to tal load bein g transported-including the weight of a trail er hitch and the tongu e weight of a loaded trail er -does no t m ake th e ve hicle heavier t11e
ve hicl e's Gross Vehicle Rating .
Page 358 of 444
3.2 Tips and Advice
WARNING
The spare whee l may be smaller than the origina l tir e. The s maller spare wheel is identified with a sticker and the words
The spare whee l m ust be returned to the
spare whee l well so on as the standard road
wheel can be re pla ced.
Getting started
The spare wheel must always be secured
with the w hee l bolts provided by the factory .
After
r
vehicle in a safe place before changing a wheel.
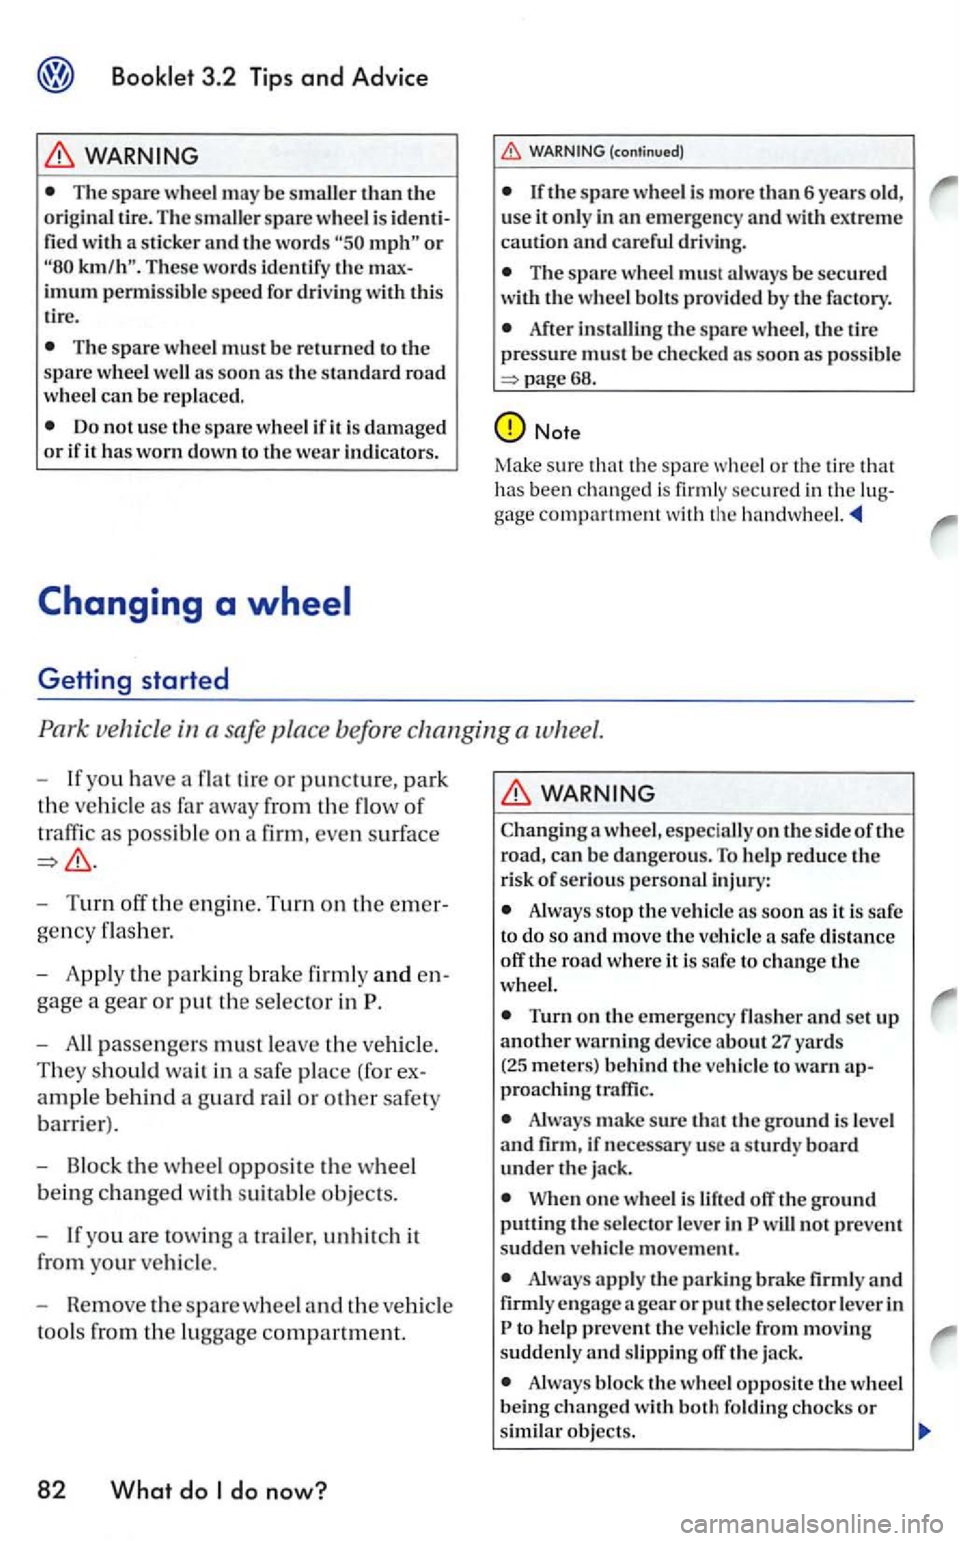
If yo u have a flat tire or puncture, park
the vehicle as far away fro m the of
traffic as possib le on a firm, even surface
Turn off the e ngin e. Turn on the emer
gency flasher.
App ly the parkin g brake firm ly and e n
gage a
gear or put the selector in
If yo u are towin g a trailer, unhitch it
from yo
ur vehicle.
WARNING
Changin g a wheel, especially on
Alw ays stop the ve hicl e
to change the
Turn on th e e merge ncy fla sh er and se t up an o th er warning device ab o ut 27 ya rds (25 meters) beh ind the vehicl e to warn ap
proa ching traffic.
Always sure th at th e ground is leve l and firm, if necessary usc sturdy under the ja ck .
When one wh eel is lift ed off the ground putting the se lec to r l ever in
Always apply tl1e par k in g brake firmly and firmly engage gea r or put th e selec tor lever in
Page 361 of 444
Ra ise th e ve hicle only o n th e app ropr iate jack points fo r vehic le jack.
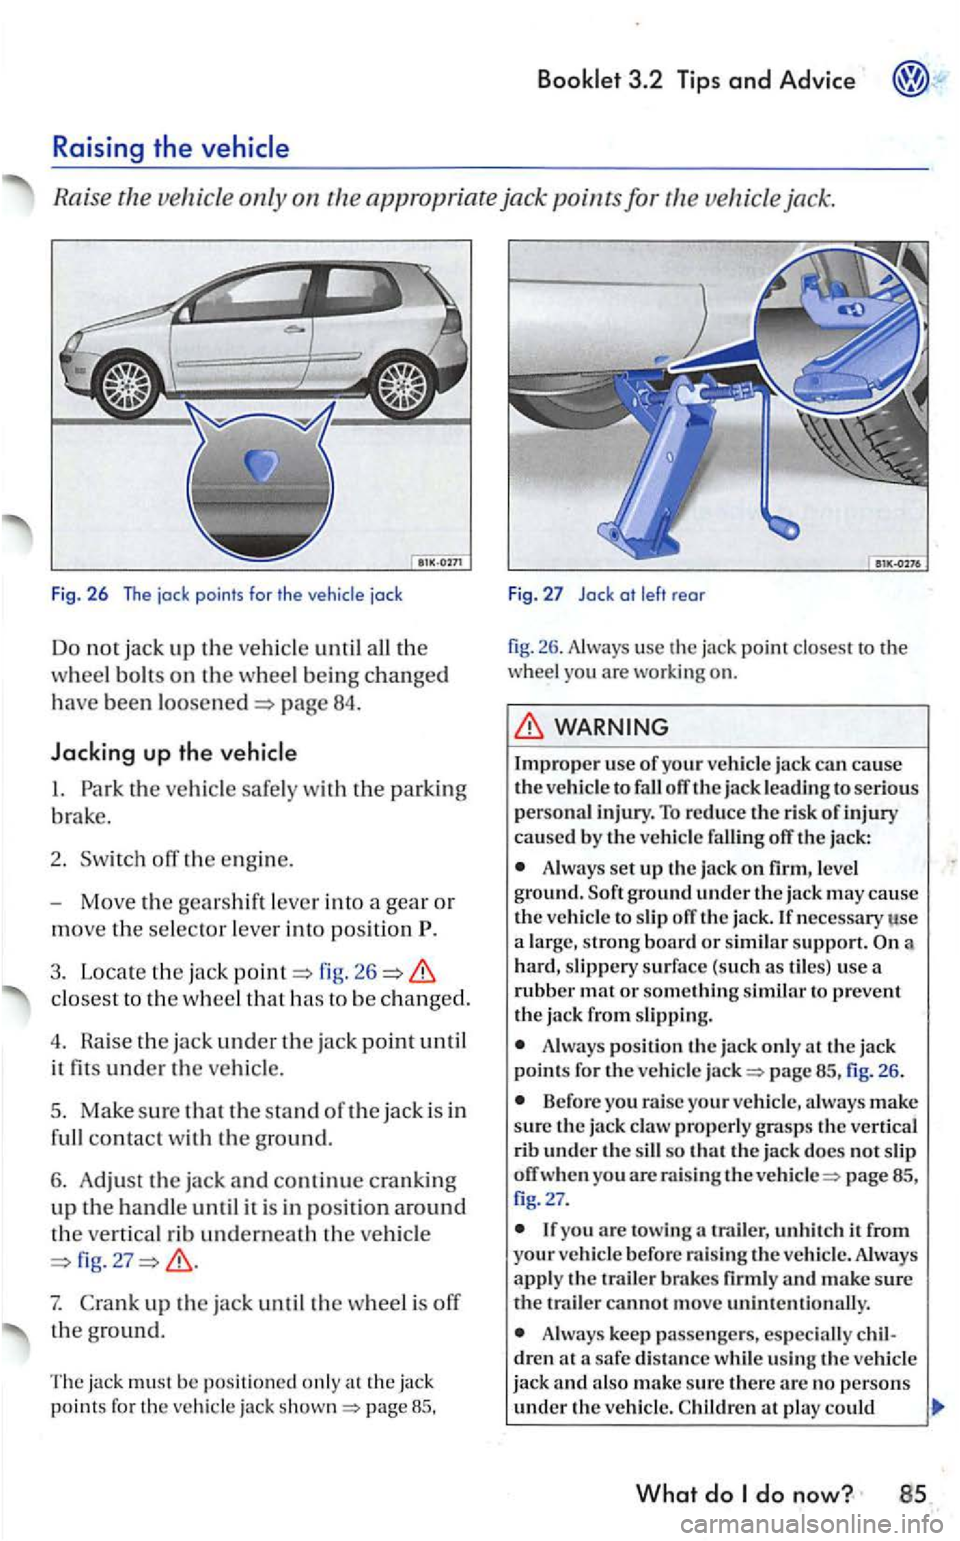
Fig. 26 The jock points for the
page 84.
Jacking up the
fig . 26
closest to the w heel th at h as to be c h anged.
4. Ra i
se the jack under th e jac k p oin t until
it
fit s under the ve hicl e.
5. Make s
ure th at the sta nd o f th e jack is in
full contact wi th th e ground.
6. Adj
ust th e jack and continue crankin g
up th e han d le until i t is in positio n around
t h e ve
rtical r ib unde rneath th e ve hicle
fig.
fo r t he jack p age 85.
Fig. 27 Jock of left rear
fig. 26. A lways use the jack closest to the whee l you are worki ng on.
WARNING
Impro pe r u se of your vehi cle jack can cause the ve hicl e to fa ll off th e jack leadi n g to serious personal in jury. To reduce th e risk o f injury cause d b y the ve hicle fa llin g ofT the ja ck :
A lways set up t he jack on firm , level
g round. Soft g round unde r the ja c k m ay cause the v ehi cle to slip jack. If n ecessary large , s tro ng b oard or similar s upport. a
hard , slip pe ry surface (such as tiles) use a
rubb er m at or so mething similar to p rev en t ja ck from slippi ng.
Alwa ys position the jac k only th e jack
points fo r t he veh icle page 85 , fig . 26 .
Befor e yo u r aise your ve hicle, a lways make
sure th e ja ck claw properl y grasp s th e vertica l
rib und er the sill so that th e jack do es no t sli p
off whe n yo u are ra isi ng th e page fig. 27.
trailer, unhit c h it from
your v ehicl e befo re ra is in g th e
Alwa ys keep passen ge rs, es peci ally dren at a safe dis ta nce w hile using th e veh icl e
j ack and als o make sure there arc no pers o ns under th e v ehicl e. C hild ren at play c ould
What do do now? 85
Page 369 of 444
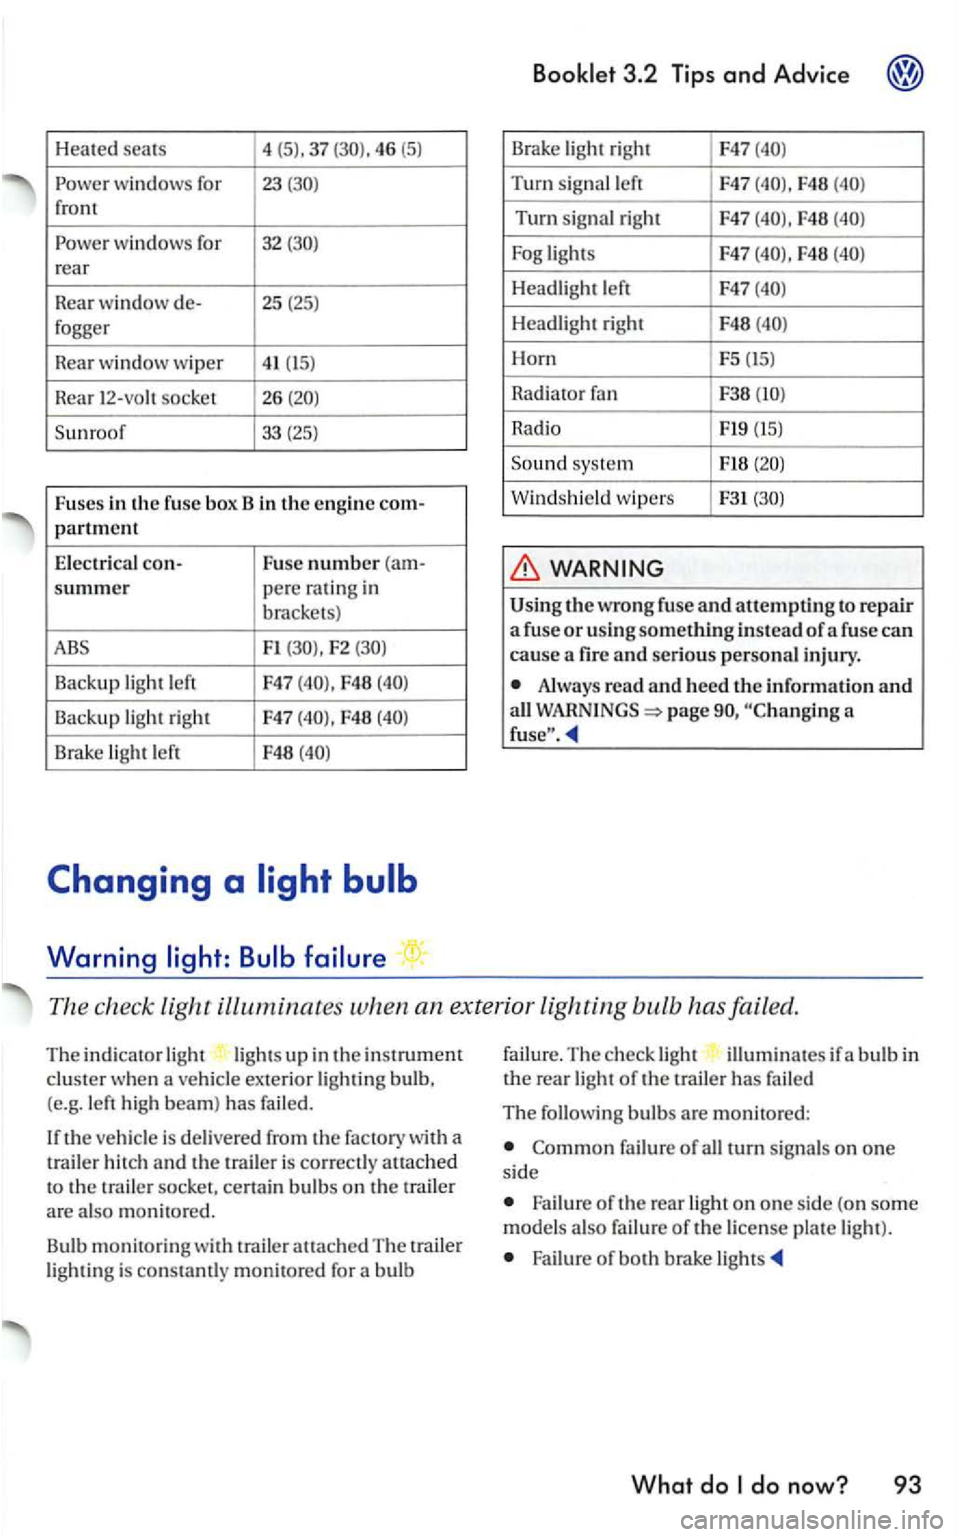
Heated seats 4
(5). 37 46 (5)
windows for 23 front
wind ows for 32 rear
Rea r
window de- 25 (25) fogger
R
ear w indow wiper 41 (15)
R ear 12-vo h socket 26
F1 F2
Backup light left F47 F48
Backup light right F47 F48
Brake light left F48
Warning
Brake light righ t F47
Turn sig na l left F47 F48
Turn signal right F47 F48
F48
Headlight left F47
Headli gh t right F48
Horn F5 (15)
Rad i
ator
Radio Fl9 (15)
Sound syste m
Windshield wipers F31
the wrong fuse and attempti ng to re pair a fuse or usi ng something instead of a fuse can
cause a fir e and serious personal injury.
Alway s read and heed the information and all page a
The check light ill uminates when an ex terior lighting bulb has failed.
The indicato r light lig ht s up in the instrument clus ter when a ve hicle exterior lightin g bulb,
(e.g. le ft high beam) has failed.
th e ve hicle is delivered from the factory with a
t railer h itch and the is correct ly atLached to the trai le r socket, cert ain bulb s on the trail er are also monit ore d .
Bu lb
monitorin g with trailer attach ed The traile r light ing is con stamly monitored for a bulb failu
re.
The ch eck ligh t illumin ates if a b ulb in the rea r light of the trailer has fai led
The following bulbs are mon itored:
failure of all turn signa ls on one si de
Failure o f the rear light on one si de (on som e
model s als o failu re of the license pla te light ).
Failure of both brake li gh ts
What do
Page 379 of 444
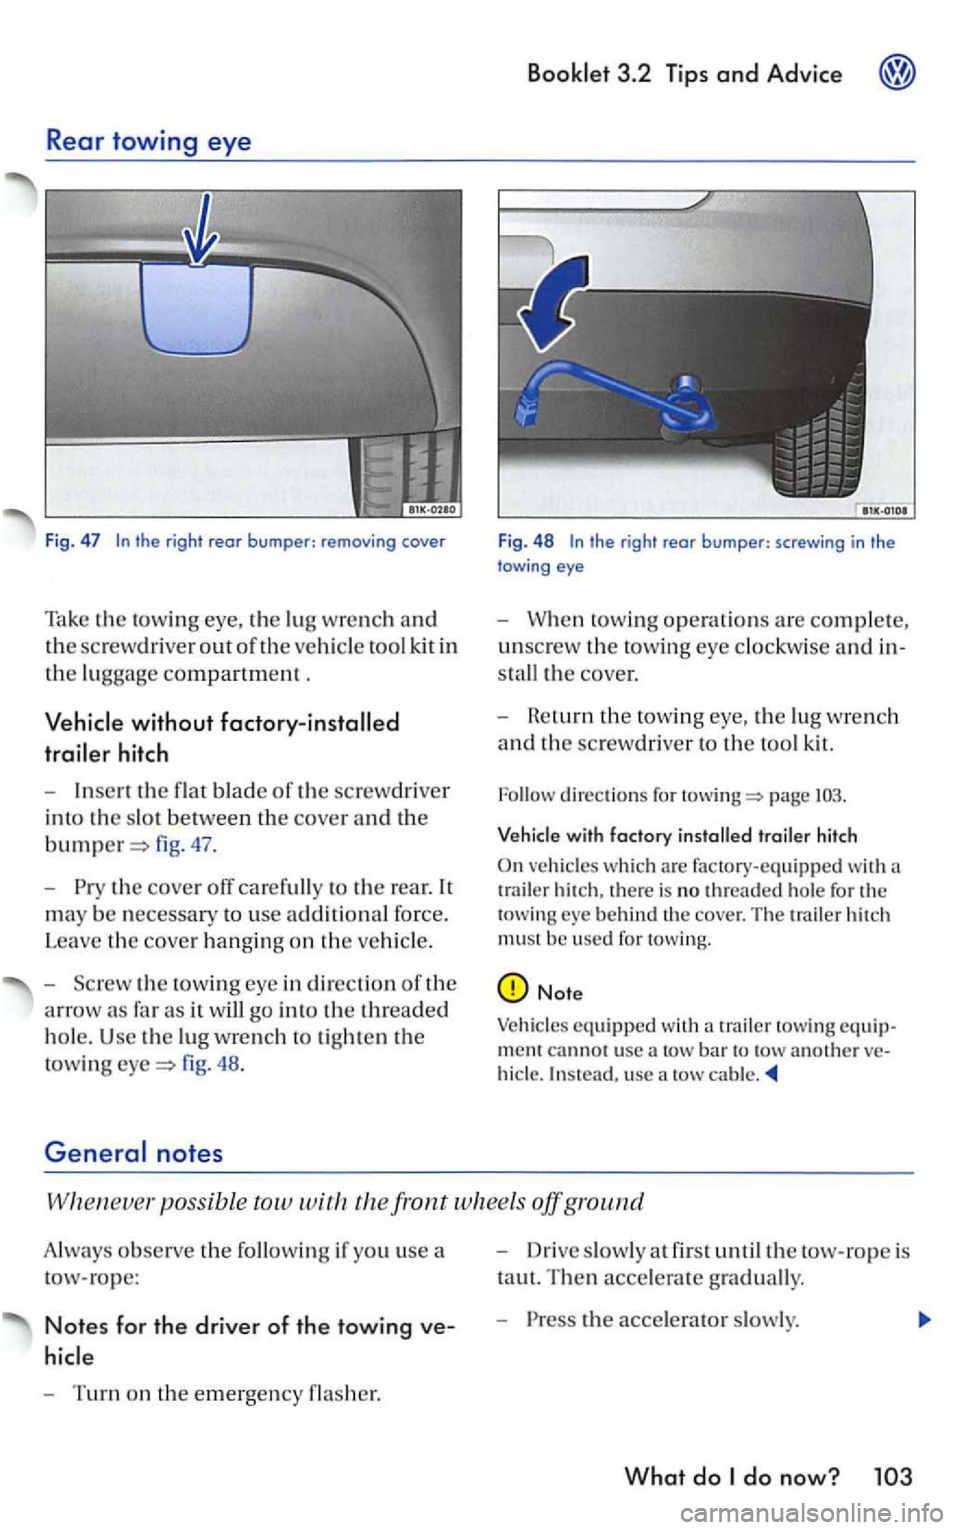
Rear towing eye
Fig. 47
without
hitch
-Inse rt the flat blade of the screw driver
i n to
the slo t between th e cover and the
fig . 47 .
-
th e cove r off carefully to the re ar. It
m
ay be necessar y to use addi t ional force.
Lea
ve the cove r hanging on the veh icle.
- Scr
ew the tow ing eye in di rectio n of th e
arrow as fa r as it will go into the threa ded
hole. Use the lu g wrench tigh te n the
to wing fig . 48 .
3.2 T ip s and Advice
Fig. 48 the right rear bumper: screwing in the eye
-towing operations are comple te,
unsc rew the towing eye clockwise and in
s ta
ll t h e cover.
-
He turn t h e tow ing eye , the lug wre nch
and th e screwdriver to the too l kit.
page
trailer hi tch
On veh icles whic h are fac tory-equipped wit h a
t rai ler hitch . there is no threaded hole for th e
to w in g behind th e cover. The trailer hitc h
must be use d for towing.
Note
Vehicle s equi pped with a trailer towing cannot use a tow bar to usc a
possib le tow the front w hee ls off g round
Always observe the followi ng if yo u use a
tow-rope :
Notes for the driver of the towing ve
-Turn on the emergency
- Drive slowly at fir s t until the tow-rope is
t a u
t. Th en accelerate gradually.
-the acce lerator s lowly.
What do
Page 384 of 444
light 5
See Anti-lock brake
should want to add an acces-sor y to my ve hicl e?
Add ress of
Add ress of Transport
Afte r c hanging a w heel 87
Alloy
wheels
fe el a slight v i
b ration on the brake pedal? 4
Ant i-t h
eft alarm system
Linking your trailer
Anti-theft wheel bolts 84
A uto Safety Hotline
Automatic car wash 22
B
3
Batt ery
56
low often should replace m y engin e
battery? 56
Important informatio n t o know befo re
d isconnect the battery 55
Hcplac ing
56 yo u must do after reconnect the battery 55
is the correct brake nuidleve l?. 53
Brake syste m 53
light 2
B rak
es low docs mois ture or road salt affect the brakes? 13
does it mean when feel a slight vibra tion o n the brake pedal? 4
Br
aking distance 13
Break-in period
Engin e 12
is the right way to break-in my vehicle? 12
Br e
aking in
B r
ake pads 12
Ti r
es 12
Break ing in
tires 12
Bulb ch
ange 93
Bulb fa
ilure 93
65 39 , 55
22
ra di o 33
phone 33
phone 33
a bulb 93
a w heel 86
brake pads
fuel cap 36
engine oil leve l 44
26