Page 122 of 400
124
2−2. Instrument cluster
Gauges and meters
The following gauges, meters and displays illuminate when the
engine switch is in the ON position.
Tachometer
Displays the engine speed in revolutions per minute.
Speedometer
Displays the vehicle speed.
Vo l t m e t e r
Displays the charge state.
Engine coolant temperature gauge
Displays the engine coolant temperature.
Fuel gauge
Displays the quantity of fuel remaining in the tank.
Odometer/trip meter switching and trip meter resetting button
Switches between odometer and trip meter displays. Pushing and hold−
ing the button will reset the trip meter when the trip meter is being dis−
played.
Page 123 of 400
125
2−2. Instrument cluster
2
When drivingOdometer and trip meter display button
Pressing this button switches between odometer and trip meter dis−
plays.
Odometer
Trip meter A
*
Trip meter B*
*:Pushing and holding the button
will reset the trip meter.
Instrument panel light control
The brightness of the instrument panel lights can be adjusted.
Brighter
Darker
With the dial turned fully up, the
intensity of the instrument panel
lights will not be reduced even
when the tail lights/headlights are
turned on.
Odometer/trip meter
Odometer:
Displays the total distance the vehicle has been driven.
Trip meter:
Displays the distance the vehicle has been driven since the meter was
last reset. Trip meters A and B can be used to record and display differ−
ent distances independently.
Page 135 of 400
137
2−4. Using other driving systems
2
When driving
� Cruise control can be set when
� The shift lever is in D or 4 (vehicles with an automatic transmission).
�Vehicle speed is between approximately 25 mph (40 km/h) and 125 mph
(200 km/h).
� Accelerating
The vehicle can be accelerated normally.
�Automatic cruise control cancelation
The set speed is automatically cancelled in any of the following situations.
�Actual vehicle speed falls more than 10 mph (16 km/h) below the preset
vehicle speed.
At this time, the memorized set speed is not retained.
� Actual vehicle speed is below 25 mph (40 km/h).
�
VSC is activated.
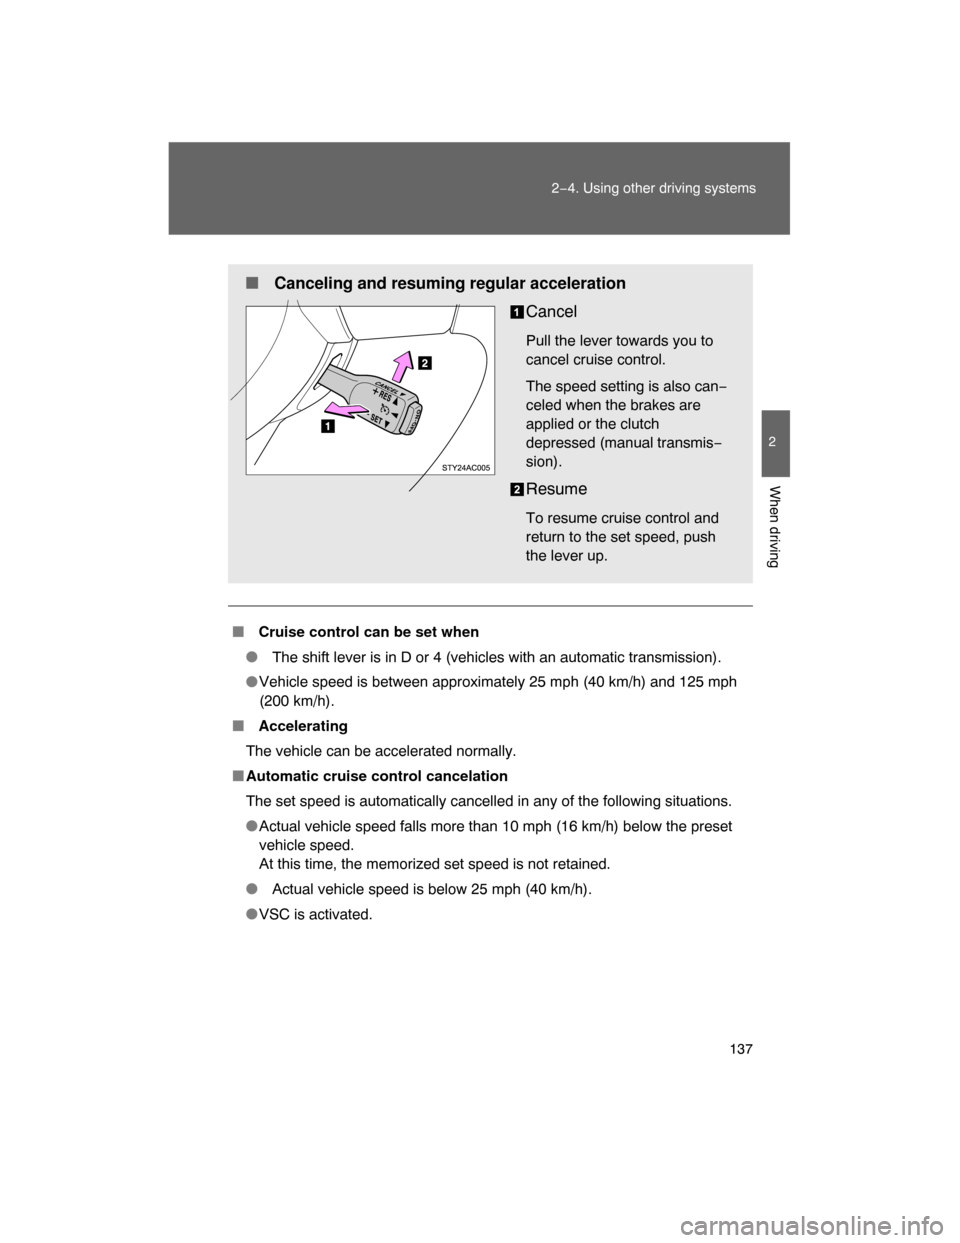
� Canceling and resuming regular acceleration
Cancel
Pull the lever towards you to
cancel cruise control.
The speed setting is also can−
celed when the brakes are
applied or the clutch
depressed (manual transmis−
sion).
Resume
To resume cruise control and
return to the set speed, push
the lever up.
Page 192 of 400
195
3−2. Using the audio system
3
Interior features
Setting station presets (excluding XM® Satellite Radio)
Search for desired stations by turning or or
pressing “
” or “
” on or .
Press and hold the button (from or
to or
) that the station is to be set to until you hear a beep.
Scanning radio stations (excluding XM® Satellite Radio)
� Scanning the preset radio stations
Press and hold or until you hear a beep.
Preset stations will be played for 5 seconds each.
When the desired station is reached, press the button once
again.
� Scanning all radio stations within range
Press or .
All stations with reception will be played for 5 seconds each.
When the desired station is reached, press the button once
again.
XM® Satellite Radio (type B)
� Receiving XM
® Satellite Radio
Press and select the XM
® band.
The display changes as follows each time is pressed.
AM
SAT1 SAT2
SAT3
Page 193 of 400
196 3−2. Using the audio system
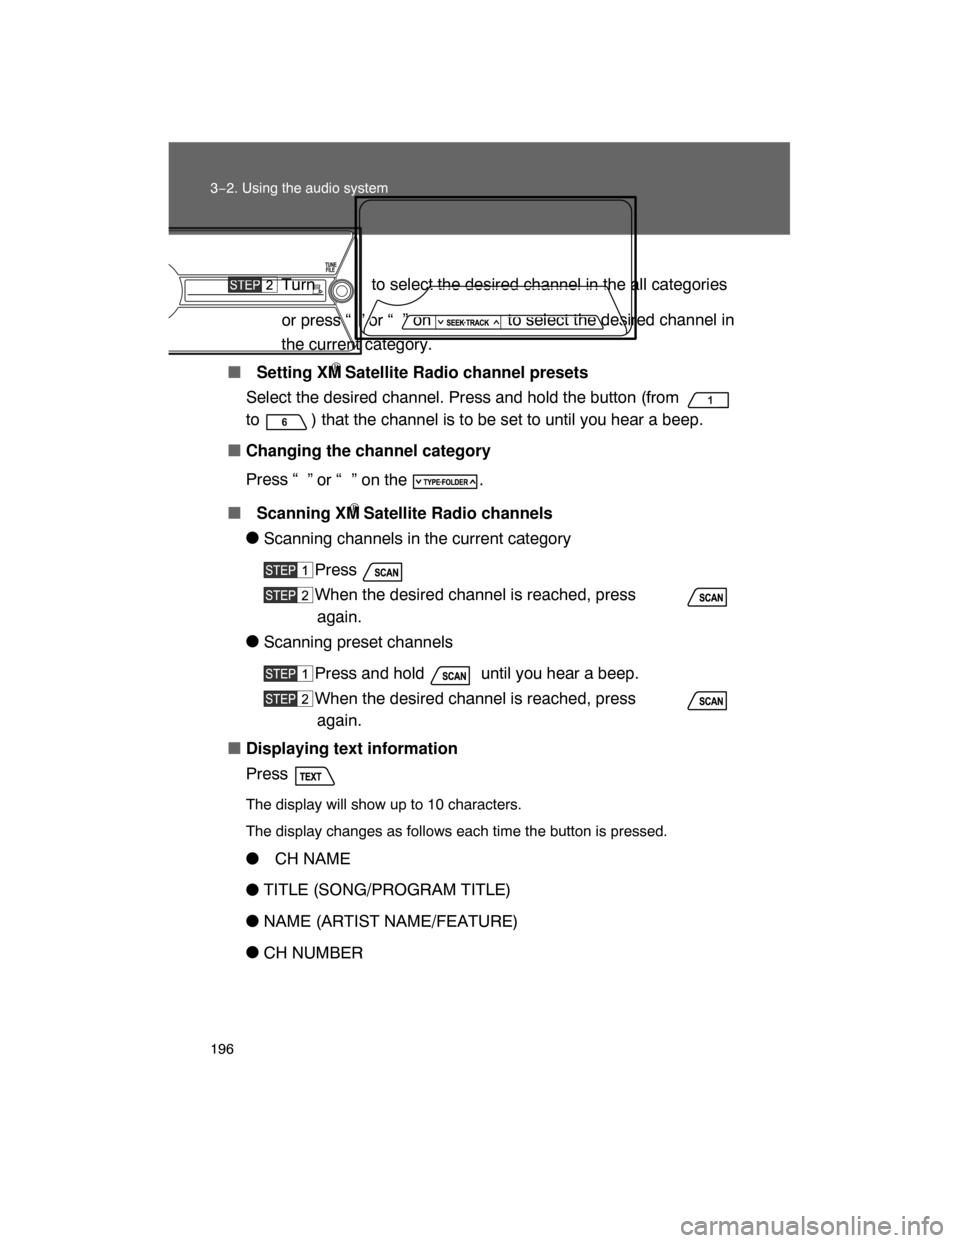
Turn to select the desired channel in the all categories
or press “ ” or “” on to select the desired channel in
the current category.
� Setting XM
® Satellite Radio channel presets
Select the desired channel. Press and hold the button (from
to ) that the channel is to be set to until you hear a beep.
�
Changing the channel category
Press “
” or “ ” on the .
� Scanning XM
® Satellite Radio channels
�
Scanning channels in the current category
Press .
When the desired channel is reached, press
again.
�
Scanning preset channels
Press and hold until you hear a beep.
When the desired channel is reached, press
again.
�
Displaying text information
Press .
The display will show up to 10 characters.
The display changes as follows each time the button is pressed.
� CH NAME
�TITLE (SONG/PROGRAM TITLE)
�
NAME (ARTIST NAME/FEATURE)
�
CH NUMBER
Page 194 of 400

197
3−2. Using the audio system
3
Interior features
� When the battery is disconnected
Stations presets are erased.
�Reception sensitivity
�Maintaining perfect radio reception at all times is difficult due to the con−
tinually changing position of the antenna, differences in signal strength
and surrounding objects, such as trains, transmitters, etc.
� The radio antenna is mounted on the right−side front fender. The antenna
can be removed from the base by turning it.
�
XM
® Satellite Radio
An XM
® Satellite Radio is a tuner designed exclusively to receive broadcasts
provided under a separate subscription. Availability is limited to the 48 con−
tiguous states and 10 Canadian provinces.
�
XM
® subscriptions
For detailed information about XM® Satellite Radio or to subscribe:
U.S.A.—
Visit on the web at www.xmradio.com
or call 1−800−967−2346.
Canada—
Visit on the web at www.xmradio.ca
or call 1−877−438−9677.
� Radio ID
You will need the radio ID when activating XM
® service or reporting a
problem. Select “CH000” using , and the receiver’s 8−character ID
number will appear.
� Satellite tuner
The tuner supports only Audio Services (Music and Talk) and the accom−
panying Text Information of XM
® Satellite Radio.
Page 222 of 400
225
3−2. Using the audio system
3
Interior features
Selecting a radio station
Press to select the radio mode.
Press “
” or “ ” on to select a preset station.
To scan for receivable stations, press and hold the switch until you
hear a beep.
Selecting a track/file
Press to select the CD mode.
Press “
” or “
” on to select the desired track/file.
Selecting a disc in the CD player (CD player with changer only)
Press to select the CD mode.
Press and hold “
” or “
” on until you want to listen to is
set.
CAUTION
� To reduce the risk of an accident
Exercise care when operating the audio switches on the steering wheel.
Page 274 of 400

The oil change system should be reset. Perform the following procedures:
Turn the engine switch off with the odo")
278 4−3. Do−it−yourself maintenance
� After changing the engine oil (U.S.A. only)
The oil change system should be reset. Perform the following procedures:
Turn the engine switch off with the odometer reading shown.( P.
124)
Turn the engine switch to the ON position while holding down the
trip meter reset button.
Continue to press and hold the button until the odometer displays
000000.
If the system fails to reset, the light will continue flashing.
CAUTION
� Used engine oil
� Used engine oil contains potentially harmful contaminants which may
cause skin disorders such as inflammation or skin cancer, so care should
be taken to avoid prolonged and repeated contact. To remove used engine
oil from your skin, wash thoroughly with soap and water.
� Dispose of used oil and filters only in a safe and acceptable manner. Do
not dispose of used oil and filters in household trash, in sewers or onto the
ground. Call your Toyota dealer, service station or auto parts store for
information concerning recycling or disposal.
� Do not leave used engine oil within the reach of children.
NOTICE
� To prevent serious engine damage
Check the oil level on regular basis.
�When replacing the engine oil
�Be careful not to spill engine oil on the vehicle components.
�Avoid overfilling, as the engine could be damaged.
�Check the oil level on the dipstick every time you refill the vehicle.
�
Be sure the engine oil filler cap is properly tightened.


Search for desired stations by turning or or
pressing “
” or “
” on or .")