Page 239 of 476

239
3-3. Using the hand
s-free phone system (for cellular phone)
3
Interior features
Using the hands-free phone system for the first time
Before using the hands-free phone system, it is necessary to register
a cellular phone in the system. Th e phone registration mode will be
entered automatically when starting the system with no cellular
phone registered. Follow the procedure below to register a cellular
phone:
Press the off-hook switch or the talk switch.
The introductory guidance and phone name registration instructions
are heard.
Register a phone name by either of the following methods.
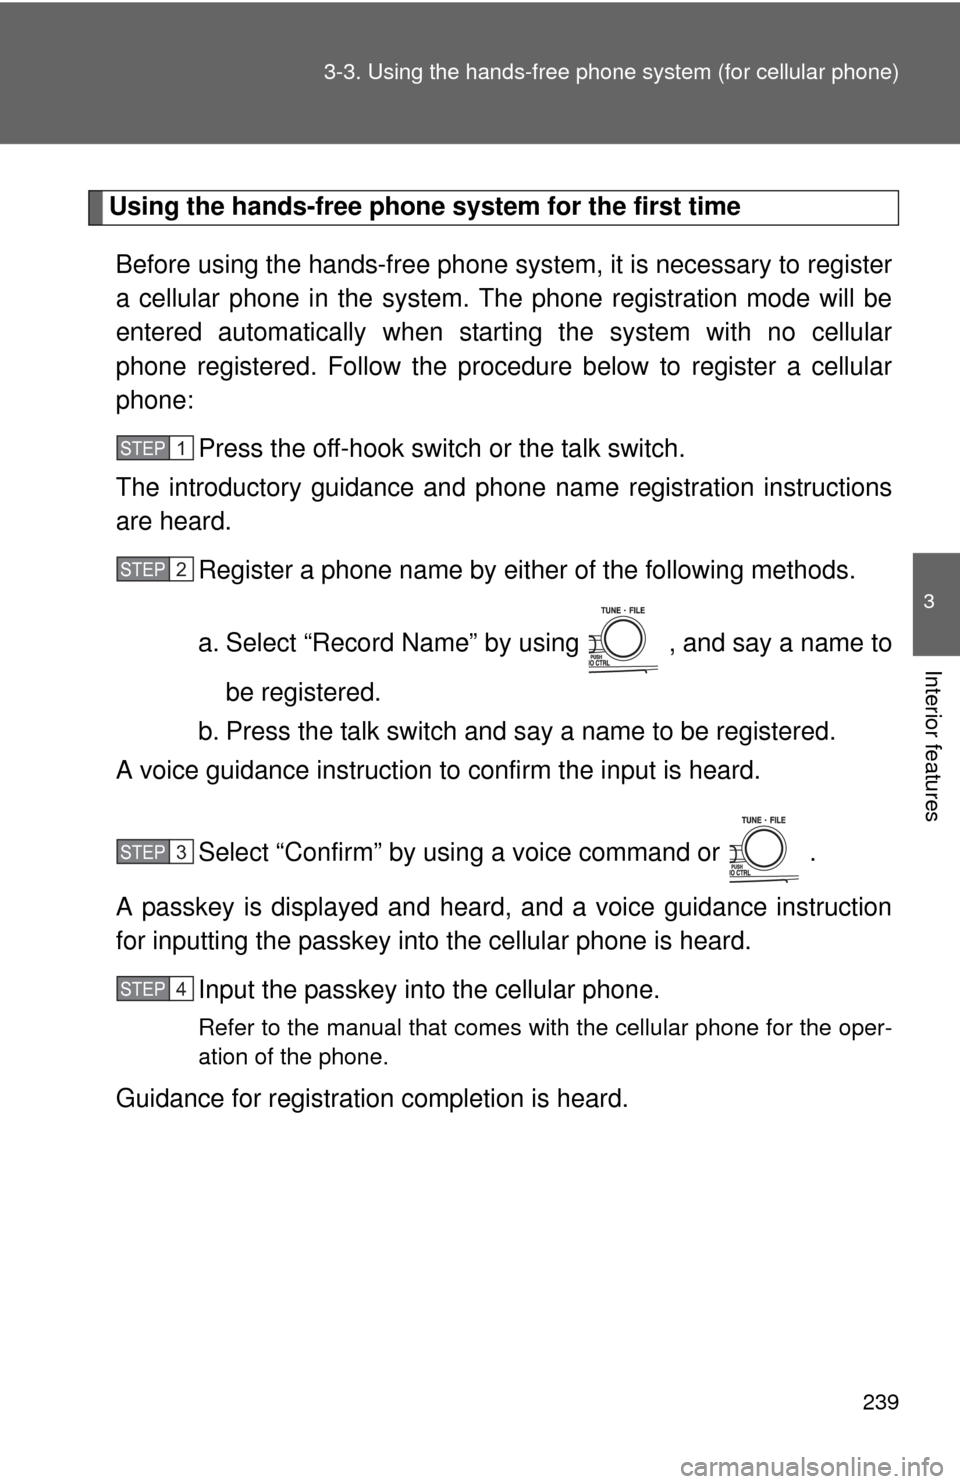
a. Select “Record Name” by using , and say a name to
be registered.
b. Press the talk switch and say a name to be registered.
A voice guidance instruction to confirm the input is heard.
Select “Confirm” by using a voice command or .
A passkey is displayed and heard, and a voice guidance instruction
for inputting the passkey into the cellular phone is heard. Input the passkey into the cellular phone.
Refer to the manual that comes with the cellular phone for the oper-
ation of the phone.
Guidance for registration completion is heard.
STEP1
STEP2
STEP3
STEP4
Page 258 of 476
258 3-3. Using the hands-free phone system (for cellular phone)
■Adding procedure
Select “Add Entry” by using a voice command or .
Use one of the following methods to input a telephone num-
ber:
Inputting a telephone number by using a voice command
STEP2-1 Select “By Voice” by using a voice command or
.
STEP2-2 Press the talk switch, say the desired number, and select “Confirm” by using a voice command.
Transferring data from the cellular phone
STEP2-1 Select “By Phone” and then “Confirm” by using a
voice command or .
STEP2-2 Transfer the data from the cellular phone.
Refer to the manual that comes with the cellular phone for
the details of transferring data.
STEP2-3 Select the data to be registered by either of the fol- lowing methods:
a. Say “Previous” or “Next” until the desired data isdisplayed, and select “Confirm” by using a voice
command.
b. Select the desired data by using .
STEP1
STEP2
Page 259 of 476
259
3-3. Using the hand
s-free phone system (for cellular phone)
3
Interior features
Inputting a phone number by using
STEP2-1 Select “Manual Input” by using .
STEP2-2 Input a phone number by using , and press once again.
Input the phone number 1 digit at a time.
Selecting a phone number from outgoing or incoming call history STEP2-1 Select “Call History” by using a voice command or
.
STEP2-2 Select “Outgoing” or “Incoming” by using a voice
command or .
STEP2-3 Select the data to be registered by either of the fol- lowing methods:
a. Say “Previous” or “Go back” until the desired datais displayed, and select “Confirm” by using a
voice command.
b. Select the desired data by using .
Page 277 of 476
277
3-6. Other interior features
3
Interior features
Clock
■The clock is displayed when
Vehicles with smart key system
The “ENGINE START STOP” switch is in ACCESSORY or IGNITION ON
mode. Vehicles without smart key system
The engine switch is in “ACC” or “ON” position.
Adjusts the hour.
Adjusts the minutes.
Page 293 of 476
293
3-6. Other interior features
3
Interior features
Compass (if equipped)
The compass on the inside rear view mirror indicates the direction in
which the vehicle is heading.
■ Operation
To turn the compass on or off,
press and hold “AUTO” for 3
seconds.
■ Displays and directions
DisplayDirection
NNorth
NE Northeast EEast
SE Southeast S South
SW Southwest
WWest
NW Northwest
Page 294 of 476
294 3-6. Other interior features
Calibrating the compassThe direction display deviates fr om the true direction determined by
the earth’s magnetic field. The amoun t of deviation varies according
to the geographic position of the vehicle.
If you cross over a map boundary shown in the illustration, the compass
will deviate.
To obtain higher precision or perfect calibration, refer to the following.
■Deviation calibration
Stop the vehicle in a place where it is safe to drive in a circle.
Press and hold “AUTO” for 6
seconds.
A number (1 to 15) appears on
the compass display.
Press “AUTO” and, referring to the map above, select the
number of the zone where you are.
If the direction is displayed several seconds after adjustment, the
calibration is complete.
STEP1
STEP2
STEP3
Page 295 of 476

295
3-6. Other interior features
3
Interior features
■
Circling calibration
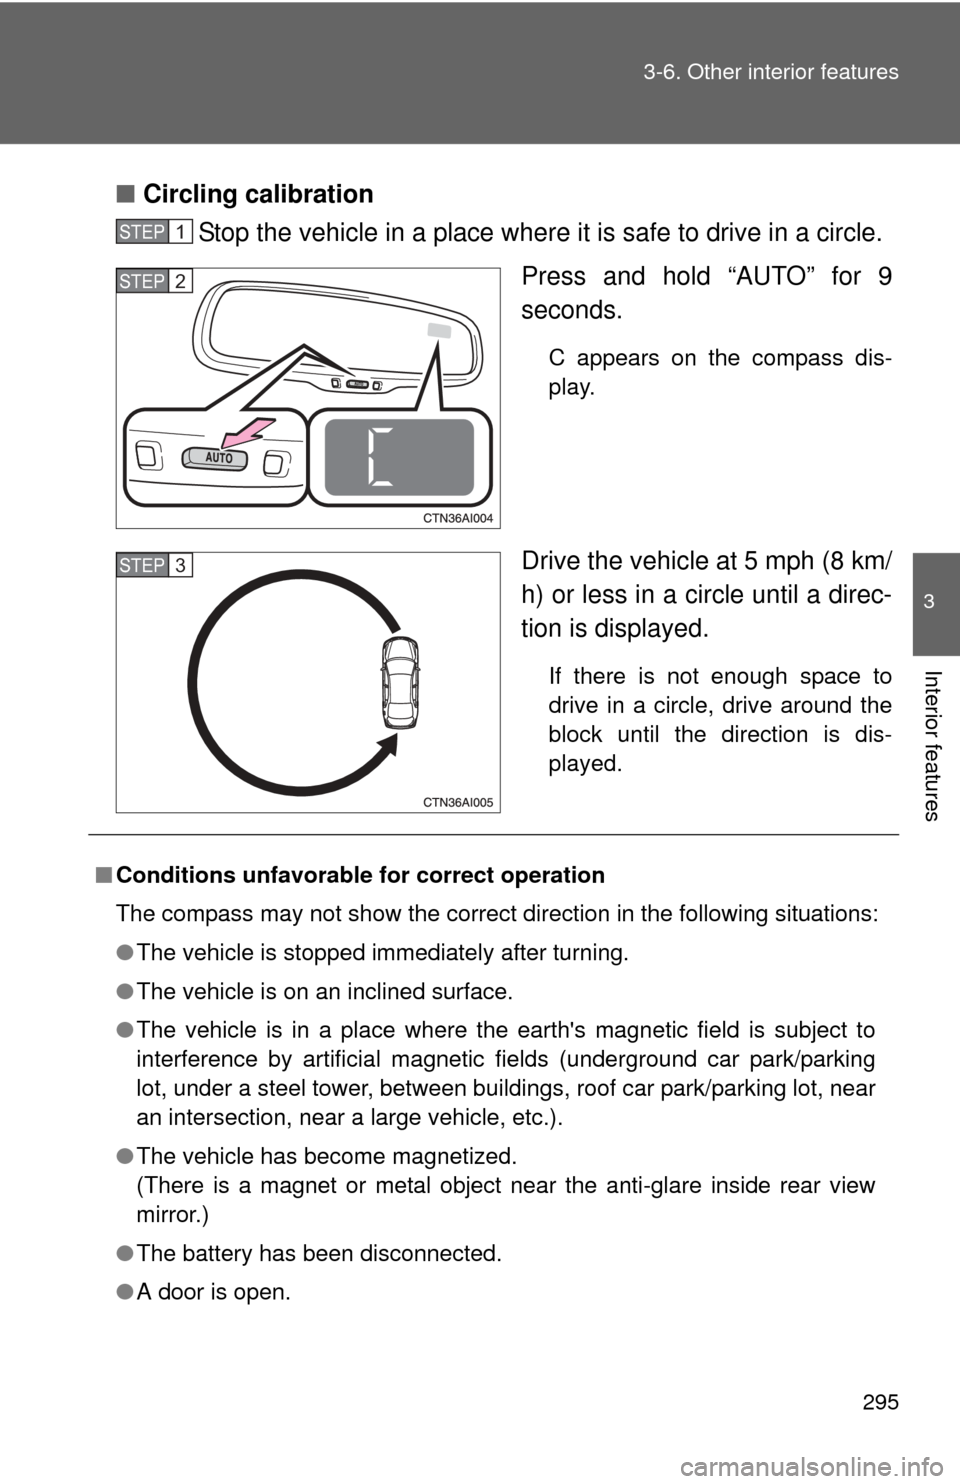
Stop the vehicle in a place where it is safe to drive in a circle.
Press and hold “AUTO” for 9
seconds.
C appears on the compass dis-
play.
Drive the vehicle at 5 mph (8 km/
h) or less in a circle until a direc-
tion is displayed.
If there is not enough space to
drive in a circle, drive around the
block until the direction is dis-
played.
STEP1
STEP2
STEP3
■Conditions unfavorable for correct operation
The compass may not show the correct direction in the following situations:
●The vehicle is stopped immediately after turning.
● The vehicle is on an inclined surface.
● The vehicle is in a place where the earth's magnetic field is subject to
interference by artificial magnetic fields (underground car park/parking
lot, under a steel tower, between buildings, roof car park/parking lot, near
an intersection, near a large vehicle, etc.).
● The vehicle has become magnetized.
(There is a magnet or metal object near the anti-glare inside rear view
mirror.)
● The battery has been disconnected.
● A door is open.
Page 296 of 476
296 3-6. Other interior features
CAUTION
■While driving the vehicle
Do not adjust the display. Be sure to adjust the display only when the vehicle
is stopped.
■ When doing the circling calibration
Be sure to secure a wide space, and watch out for people and vehicles in the
neighborhood. Do not violate any local traffic rules while performing circling
calibration.
NOTICE
■To avoid compass malfunctions
Do not place magnets or any metal objects near the anti-glare inside rear
view mirror.
Doing this may cause a malfunction of the compass sensor.
■ To ensure normal operation of the compass
●Do not perform circling calibration of the compass in a place where the
earth's magnetic field is subject to interference by artificial magnetic fields.
● During calibration, do not operate electric systems (moon roof, power win-
dows, etc.) as they may interfere with the calibration.