Page 233 of 440
233
3-3. Using the hands-free phone system (for cellular phone)
3
Interior features
Security and system setup
Setting or changing the PIN■ Setting a PIN
Select “Set PIN” by using a voice command or .
Enter a PIN by using a voice command or .
When using , input the code 1 digit at a time.
To enter the menu of each setting, follow the steps below:
■ Security setting items and operation procedure
● Setting or changing t he PIN (Personal Identification Number)
1. “Setup” 2. “Security” 3. “Set PIN”
● Locking the phone book
1. “Setup” 2. “Security” 3. “Phonebook Lock”
● Unlocking the phone book
1. “Setup” 2. “Security” 3. “Phonebook Unlock”
■ System setup items and operation procedure
●Setting voice guidance volume
1. “Setup” 2. “System Setup” 3. “Guidance Vol”
● Initialization
1. “Setup” 2. “System Setup” 3. “Initialize”
can only be used for system setup operation.
STEP1
STEP2
Page 237 of 440
237
3-3. Using the hands-free phone system (for cellular phone)
3
Interior features
Using the phone book
Adding a new phone numberThe following methods can be used to add a new phone number:
● Inputting a phone number by using a voice command
● Transferring data from the cellular phone
● Inputting a phone number by using
● Selecting a phone number from outgoing or incoming call history
To enter the menu of each setting, follow the steps below:
●Adding a new phone number
1. “Phonebook” 2. “Add Entry”
● Setting speed dial
1. “Phonebook” 2. “Set Speed Dial (Speed Dial)”
● Changing a registered name
1. “Phonebook” 2. “Change Name”
● Deleting registered data
1. “Phonebook” 2. “Delete Entry”
● Deleting speed dial
1. “Phonebook” 2. “Delete Speed Dial (Del Spd Dial)”
● Listing the registered data
1. “Phonebook” 2. “List Names”
Page 265 of 440
265
3-6. Other interior features
3
Interior features
Press and hold down one of the
buttons on HomeLink and the
button on the transmitter. When
the indicator light on HomeLink
changes from a slow to a rapid
flash after 20 seconds, you can
release both buttons.
Test the operation of HomeLink
by pressing the newly pro-
grammed button.
If programming a garage door
opener, check to see if the garage
door opens and closes. If the
garage door does not operate,
see if your garage transmitter is
of the Rolling Code type. Press
and hold the programmed
HomeLink
button. The garage
door has the rolling code feature
if the indicator light (on
HomeLink
) flashes rapidly for 2
seconds and then remains lit. If
your transmitter is of the Rolling
Code type, proceed to the head-
ing “Programming a rolling code
system”.
Repeat the steps above to program another device for each of
the remaining HomeLink buttons.
STEP2
STEP3
STEP4
Page 266 of 440

266 3-6. Other interior features
■Programming a Rolling Code system (for U.S. owners)
If your device is Rolling Code equipped, follow the steps under the
heading “Programming HomeLink
” before proceeding with the
steps listed below.
Locate the training button on the ceiling-mounted garage door
opener motor. The exact location and color of the button may
vary by brand of garage door opener.
Refer to the operation manual supplied with the garage door opener
for the location of the training button.
Press the training button.
Press and release the vehicle’s programmed HomeLink
but-
ton twice. The garage door may open.
If the garage door opens, the programming process is complete. If
the door does not open, press and release the button a third time.
This third press and release will complete the programming process
by opening the garage door.
The ceiling-mounted garage door opener motor should now recog-
nize the HomeLink
transceiver and operate the garage door.
Repeat the steps above to prog ram another rolling code sys-
tem for any of the remaining HomeLink buttons.
■ Programming an entry gate (fo r U.S. owners)/Programming all
devices in the Canadian market
Place your transmitter 1 to 3 in. (25 to 75 mm) away from the
surface of HomeLink
.
Keep the indicator light on HomeLink in view while programming.
Press and hold the selected HomeLink button.
Repeatedly press and release (cycle) the device’s remote
control button for two seconds each until step 4 is complete.
When the indicator light on the HomeLink
compatible trans-
ceiver starts to flash rapidly, release the buttons.
STEP1
STEP2
STEP3
STEP4
STEP1
STEP2
STEP3
STEP4
Page 267 of 440

267
3-6. Other interior features
3
Interior features
Test the operation of HomeLink by pressing the newly pro-
grammed button. Check to see if the gate/device operates
correctly.
Repeat the steps above to program another device for each of
the remaining HomeLink
buttons.
■ Programming other devices
To program other devices such as home security systems, home
door locks or lighting, contact your authorized Toyota dealer for
assistance.
■ Reprogramming a button
The individual HomeLink
buttons cannot be erased but can be
reprogrammed. To reprogram a bu tton, follow the “Programming”
instructions.
Operating HomeLink
Press the appropriate HomeLink button. The HomeLink indicator
light on the HomeLink transceiver should turn on.
HomeLink continues to send a signal for up to 20 seconds as long as the
button is pressed.
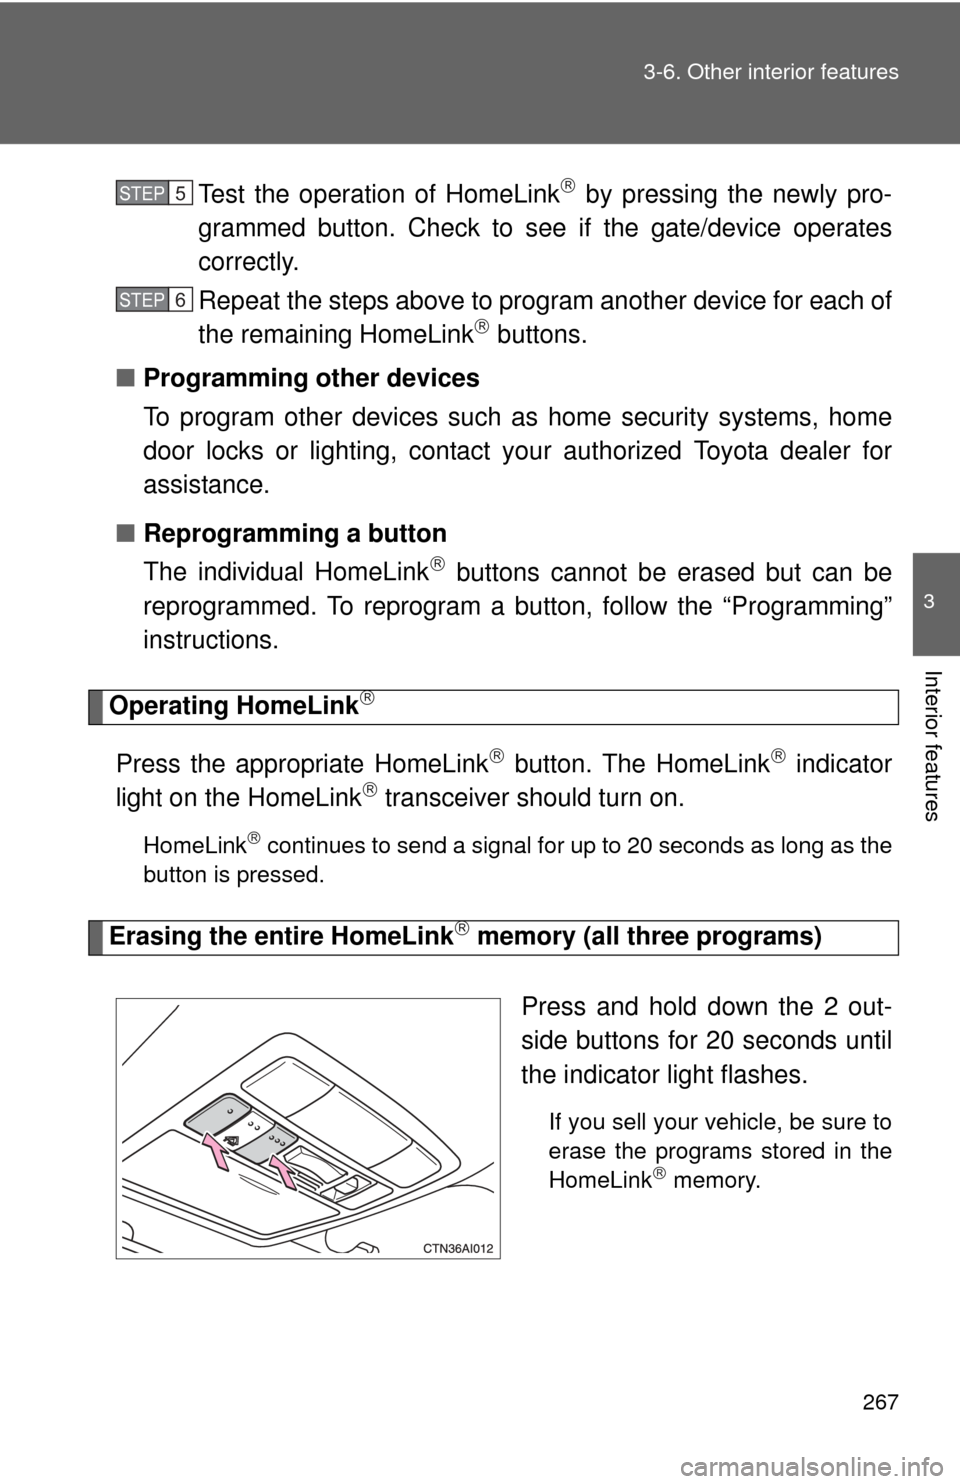
Erasing the entire HomeLink memory (all three programs)
Press and hold down the 2 out-
side buttons for 20 seconds until
the indicator light flashes.
If you sell your vehicle, be sure to
erase the programs stored in the
HomeLink
memory.
STEP5
STEP6
Page 331 of 440
331
4-3. Do-it-yourself maintenance
4
Maintenance and care
38 DC/DC
120 A“ABS MTR2”, “EPS”, “ABS MTR”,
“AM2”, “DOOR NO.1”, “ETCS”,
“IG2”, “HAZ”, “AMP”, “ABS MAIN1”,
“ABS MAIN2”, “STR LOCK”, “ABS
MAIN3”, “BTT FAN”, “EFI MAIN”,
“EFI NO.1” and “IGCT” fuses
39 EPS 80 A Electric power steering system
40 ABS MTR2 40 A Electronically controlled brake sys-
tem
41 ABS MTR1 50 A Electronically controlled brake sys-
tem
FuseAmpereCircuit
Page 341 of 440
When trouble arises5
341
5-1. Essential information .... 342If your vehicle needs to be towed ............................. 342
If you think something is wrong ............................. 345
Event data recorder ......... 346 5-2. Steps to take in an
emergency .................... 348
If a warning light turns on or a warning buzzer
sounds... ....................... 348
If a warning message is displayed........................ 357
If you have a flat tire......... 368
If the hybrid system will not start .......................... 377
If the shift lever cannot be shifted from P................. 379
If you lose your keys ........ 380
If the electronic key does not operate properly....... 381
If the vehicle’s 12-volt battery is discharged ...... 384
If your vehicle overheats .. 388
If the vehicle becomes stuck .............................. 392
Page 348 of 440

348
5-2. Steps to take in an emergency
If a war ning light tur ns on or a war ning buzzer sounds...
Stop the vehicle immediately. Continuing to drive the vehicle may be dangerous.
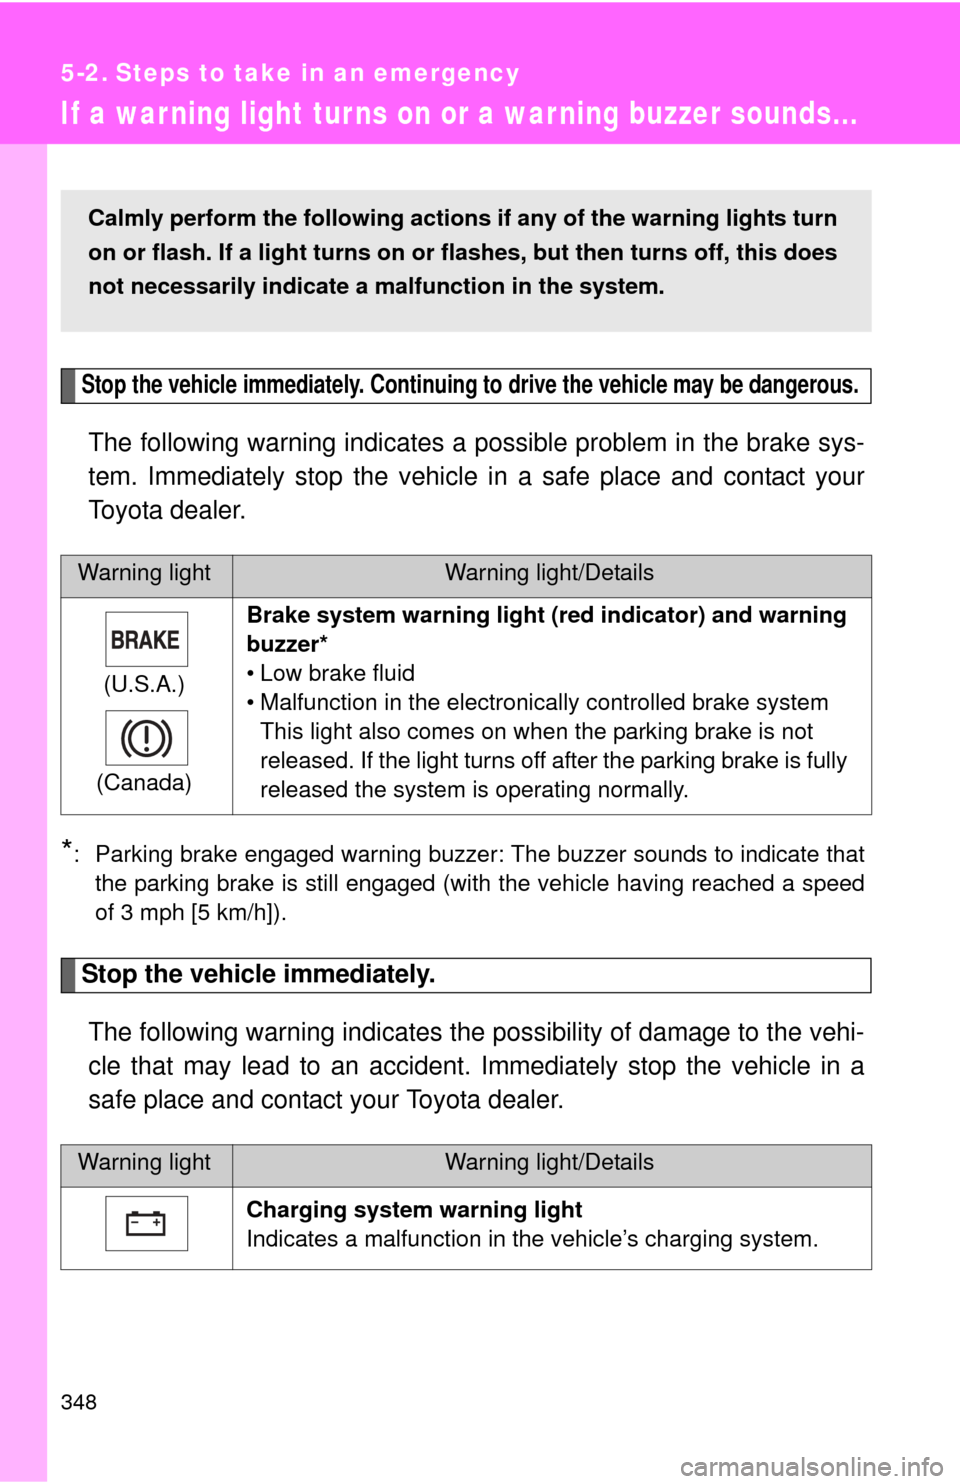
The following warning indicates a possible problem in the brake sys-
tem. Immediately stop the vehicle in a safe place and contact your
Toyota dealer.
*: Parking brake engaged warning buzzer: The buzzer sounds to indicate that the parking brake is still engaged (with the vehicle having reached a speed
of 3 mph [5 km/h]).
Stop the vehicle immediately.
The following warning indicates the possibility of damage to the vehi-
cle that may lead to an accident. Immediately stop the vehicle in a
safe place and contact your Toyota dealer.
Warning lightWarning light/Details
(U.S.A.)
(Canada) Brake system warning light (r
ed indicator) and warning
buzzer*
• Low brake fluid
• Malfunction in the electronically controlled brake system This light also comes on when the parking brake is not
released. If the light turns off after the parking brake is fully
released the system is operating normally.
Warning lightWarning light/Details
Charging system warning light
Indicates a malfunction in the vehicle’s charging system.
Calmly perform the following actions if any of the warning lights turn
on or flash. If a light turns on or flashes, but then turns off, this does
not necessarily indicate a malfunction in the system.