2008 SUZUKI SX4 AWD
[x] Cancel search: AWDPage 77 of 278
INSTRUMENT PANEL
4
80J21-03E
60G406
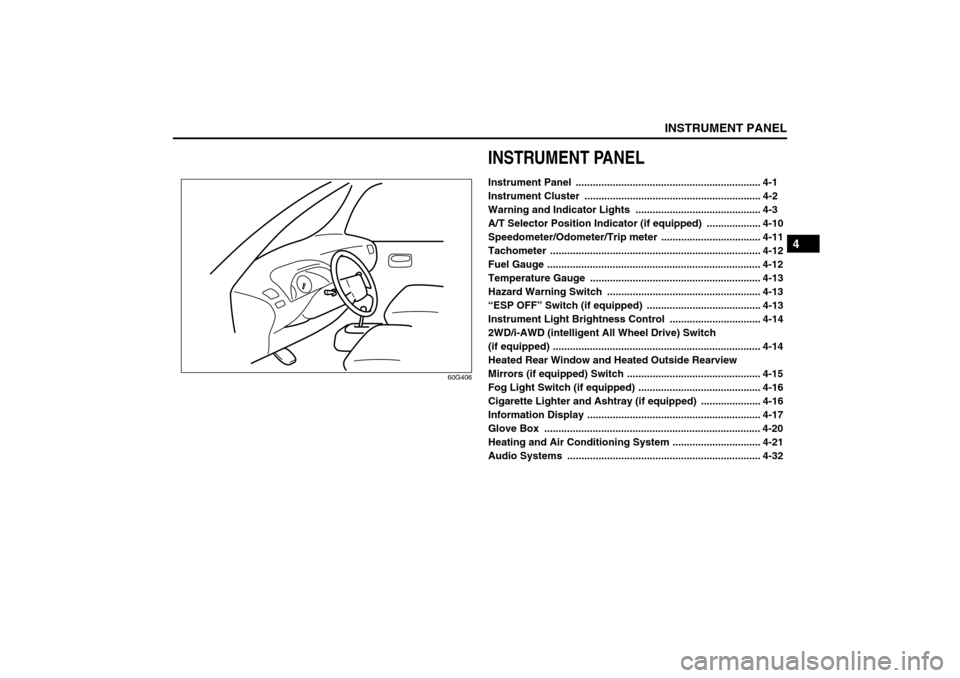
INSTRUMENT PANELInstrument Panel ................................................................. 4-1
Instrument Cluster .............................................................. 4-2
Warning and Indicator Lights ............................................ 4-3
A/T Selector Position Indicator (if equipped) ................... 4-10
Speedometer/Odometer/Trip meter ................................... 4-11
Tachometer .......................................................................... 4-12
Fuel Gauge ........................................................................... 4-12
Temperature Gauge ............................................................ 4-13
Hazard Warning Switch ...................................................... 4-13
“ESP OFF” Switch (if equipped) ........................................ 4-13
Instrument Light Brightness Control ................................ 4-14
2WD/i-AWD (intelligent All Wheel Drive) Switch
(if equipped) ......................................................................... 4-14
Heated Rear Window and Heated Outside Rearview
Mirrors (if equipped) Switch ............................................... 4-15
Fog Light Switch (if equipped) ........................................... 4-16
Cigarette Lighter and Ashtray (if equipped) ..................... 4-16
Information Display ............................................................. 4-17
Glove Box ............................................................................ 4-20
Heating and Air Conditioning System ............................... 4-21
Audio Systems .................................................................... 4-32
Page 86 of 278
4-9INSTRUMENT PANEL
80J21-03E
If this light blinks in red, it reminds you that
the remote controller is not in the vehicle.
For details, refer to “Keyless Start System
Remote Controller/Keyless Entry System
Transmitter” in the “BEFORE DRIVING”
section.Turn Signal Indicators
50G055
When you turn on the left or right turn sig-
nals, the corresponding green arrow on the
instrument panel will flash along with the
respective turn signal lights.
When you turn on the hazard warning
switch, both arrows will flash along with all
of the turn signal lights.High Beam Indicator Light
50G056
This indicator comes on when headlight
high beams are turned on.
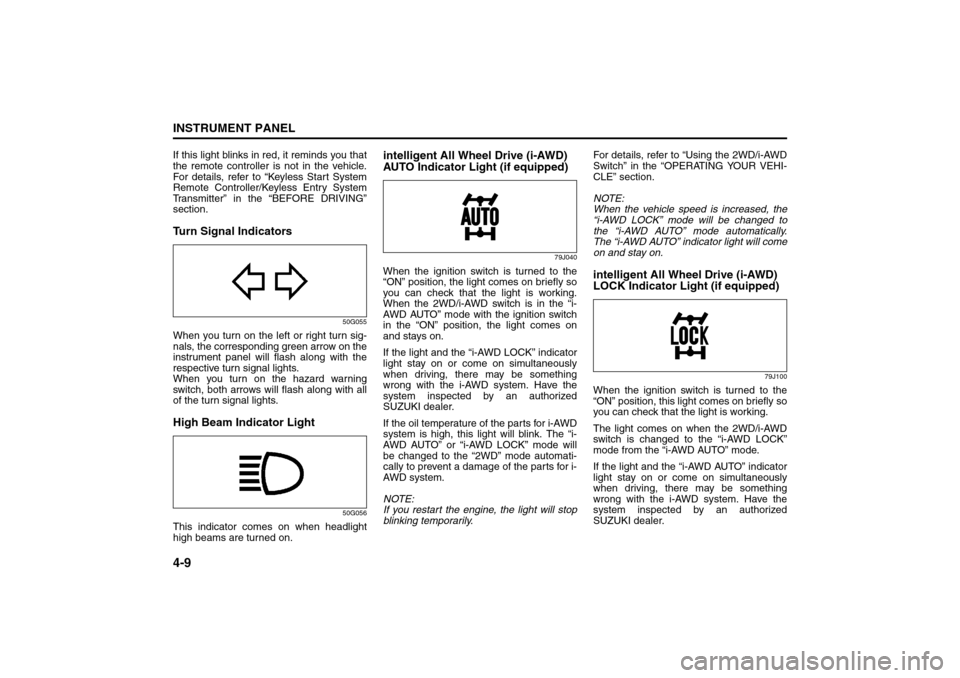
intelligent All Wheel Drive (i-AWD)
AUTO Indicator Light (if equipped)
79J040
When the ignition switch is turned to the
“ON” position, the light comes on briefly so
you can check that the light is working.
When the 2WD/i-AWD switch is in the “i-
AWD AUTO” mode with the ignition switch
in the “ON” position, the light comes on
and stays on.
If the light and the “i-AWD LOCK” indicator
light stay on or come on simultaneously
when driving, there may be something
wrong with the i-AWD system. Have the
system inspected by an authorized
SUZUKI dealer.
If the oil temperature of the parts for i-AWD
system is high, this light will blink. The “i-
AWD AUTO” or “i-AWD LOCK” mode will
be changed to the “2WD” mode automati-
cally to prevent a damage of the parts for i-
AWD system.
NOTE:
If you restart the engine, the light will stop
blinking temporarily.For details, refer to “Using the 2WD/i-AWD
Switch” in the “OPERATING YOUR VEHI-
CLE” section.
NOTE:
When the vehicle speed is increased, the
“i-AWD LOCK” mode will be changed to
the “i-AWD AUTO” mode automatically.
The “i-AWD AUTO” indicator light will come
on and stay on.
intelligent All Wheel Drive (i-AWD)
LOCK Indicator Light (if equipped)
79J100
When the ignition switch is turned to the
“ON” position, this light comes on briefly so
you can check that the light is working.
The light comes on when the 2WD/i-AWD
switch is changed to the “i-AWD LOCK”
mode from the “i-AWD AUTO” mode.
If the light and the “i-AWD AUTO” indicator
light stay on or come on simultaneously
when driving, there may be something
wrong with the i-AWD system. Have the
system inspected by an authorized
SUZUKI dealer.
Tachometer:
Fuel Gauge:
Page 87 of 278
4-10
INSTRUMENT PANEL
80J21-03E
NOTE:
When the vehicle speed is increased,
the “i-AWD LOCK” mode will be changed
to the “i-AWD AUTO” mode automati-
cally. The “i-AWD AUTO” indicator light
will come on and stay on.
When the ignition switch is turned to the
“OFF” position, the “i-AWD LOCK” mode
is canceled.
For details of the “i-AWD LOCK” mode,
refer to “Using the 2WD/i-AWD Switch” in
the “OPERATING YOUR VEHICLE” sec-
tion.
Daytime Running Light (D.R.L.) Indi-
cator Light (if equipped)
60B245
With the D.R.L. system, the headlights
light, but are dimmer than the low beam,
when the following three conditions are all
met. Whenever the D.R.L. system is oper-
ating, the D.R.L. indicator light remains on.
Conditions for D.R.L. system operation
1) The engine is running.
2) The parking brake is released.
3) The lighting switch is at either the “OFF”
or the “middle” position.
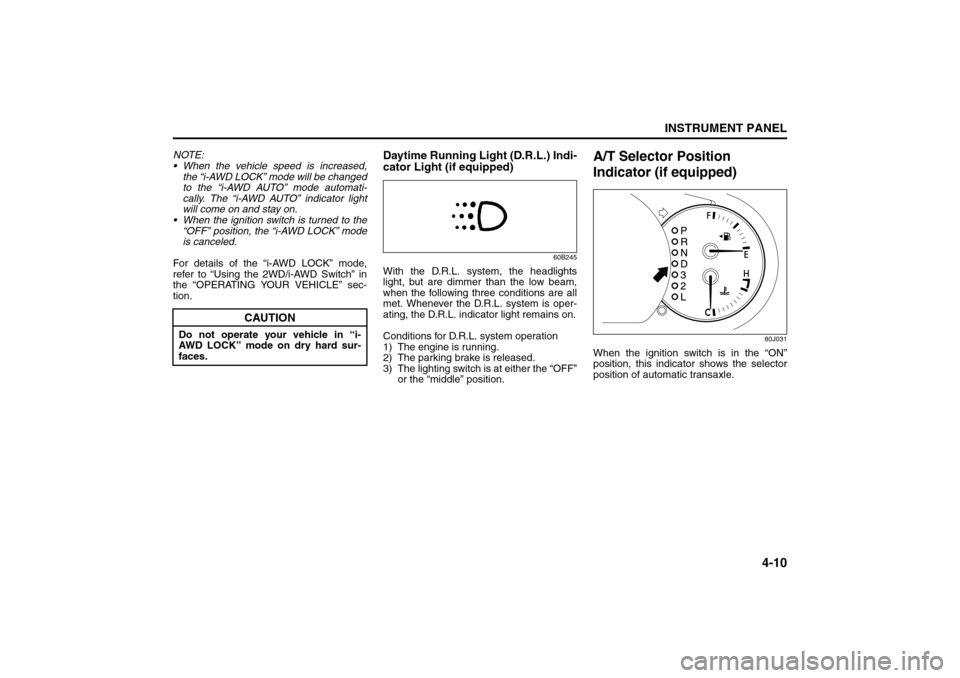
A/T Selector Position
Indicator (if equipped)
80J031
When the ignition switch is in the “ON”
position, this indicator shows the selector
position of automatic transaxle.
CAUTION
Do not operate your vehicle in “i-
AWD LOCK” mode on dry hard sur-
faces.
Temperature Gauge: 8
Hazard Warning Switch: 8
Rear Window Defroster Switch:
Page 91 of 278
4-14
INSTRUMENT PANEL
80J21-03E
For details of the ESP
® systems, refer to
“Electronic Stability Program (ESP
®)” in
the “OPERATING YOUR VEHICLE” sec-
tion.
Instrument Light Brightness
Control
66J038
Your vehicle has a system to automatically
dim the instrument panel lights when the
ignition switch is in the “ON” position and
the lighting switch is turned to either the
second or third position. The level of
brightness depends on the position of the
brightness control thumbwheel.
To cancel the automatic dimming feature
and maintain full brightness of lights other
than the audio display, turn the instrument
brightness control thumbwheel upward
until click is heard. To activate the auto-
matic dimming feature, turn the brightness
control thumbwheel downward. When the
thumbwheel is in the minimum brightness
position, the instrument panel lights,
except for the meter lights, are turned off.
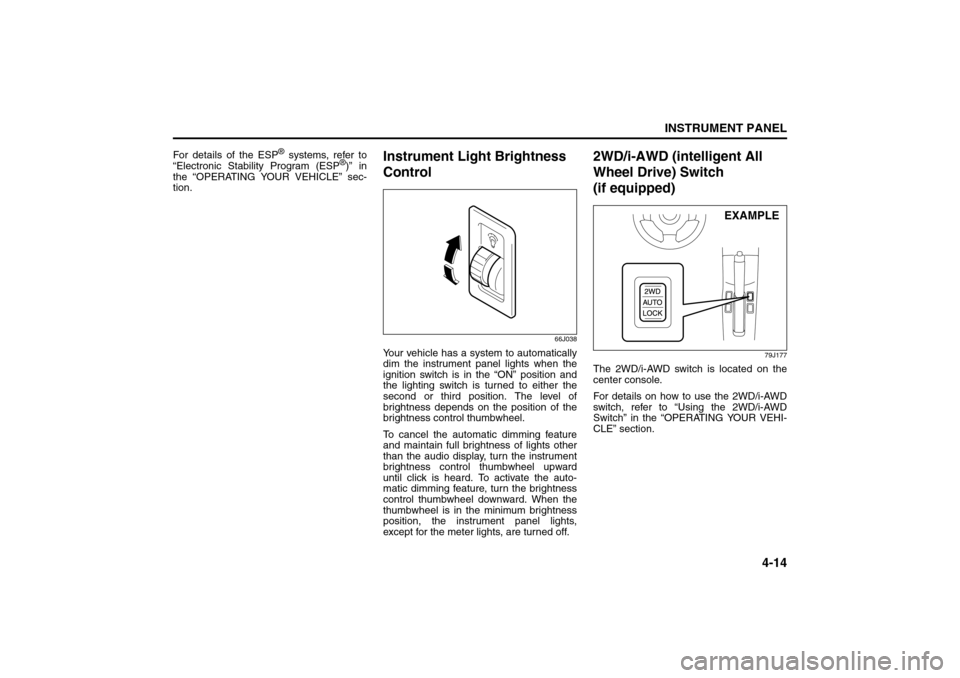
2WD/i-AWD (intelligent All
Wheel Drive) Switch
(if equipped)
79J177
The 2WD/i-AWD switch is located on the
center console.
For details on how to use the 2WD/i-AWD
switch, refer to “Using the 2WD/i-AWD
Switch” in the “OPERATING YOUR VEHI-
CLE” section.
EXAMPLE
Information Display:
Glove Box: 3
Page 155 of 278
OPERATING YOUR VEHICLE
6
80J21-03E
60G408
OPERATING YOUR VEHICLEExhaust Gas Warning ......................................................... 6-1
Daily Inspection Checklist .................................................. 6-1
Starting the Engine ............................................................. 6-2
Engine Block Heater (if equipped) ..................................... 6-4
Using the Transaxle ............................................................ 6-5
Using the 2WD/i-AWD (intelligent All Wheel Drive)
Switch (if equipped) ............................................................ 6-7
Braking ................................................................................. 6-9
Electronic Stability Program (ESP®) (if equipped) .......... 6-12
Tire Pressure Monitoring System (TPMS) ........................ 6-14
Break-In ................................................................................ 6-18
Catalytic Converter ............................................................. 6-19
Improving Fuel Economy ................................................... 6-20
Page 162 of 278
6-7OPERATING YOUR VEHICLE
80J21-03E
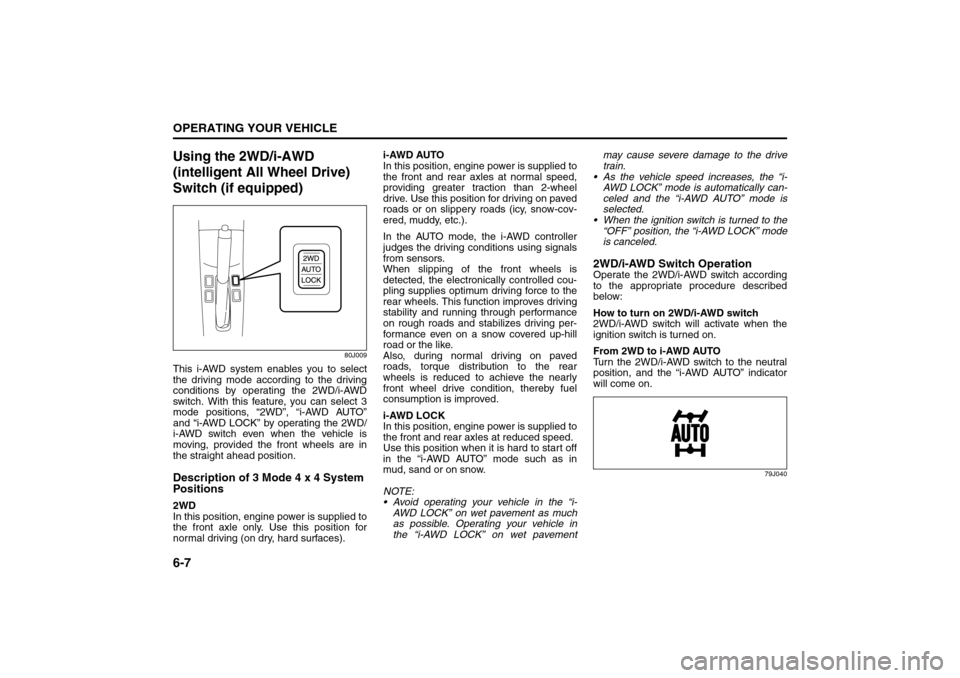
Using the 2WD/i-AWD
(intelligent All Wheel Drive)
Switch (if equipped)
80J009
This i-AWD system enables you to select
the driving mode according to the driving
conditions by operating the 2WD/i-AWD
switch. With this feature, you can select 3
mode positions, “2WD”, “i-AWD AUTO”
and “i-AWD LOCK” by operating the 2WD/
i-AWD switch even when the vehicle is
moving, provided the front wheels are in
the straight ahead position.Description of 3 Mode 4 x 4 System
Positions2WD
In this position, engine power is supplied to
the front axle only. Use this position for
normal driving (on dry, hard surfaces).i-AWD AUTO
In this position, engine power is supplied to
the front and rear axles at normal speed,
providing greater traction than 2-wheel
drive. Use this position for driving on paved
roads or on slippery roads (icy, snow-cov-
ered, muddy, etc.).
In the AUTO mode, the i-AWD controller
judges the driving conditions using signals
from sensors.
When slipping of the front wheels is
detected, the electronically controlled cou-
pling supplies optimum driving force to the
rear wheels. This function improves driving
stability and running through performance
on rough roads and stabilizes driving per-
formance even on a snow covered up-hill
road or the like.
Also, during normal driving on paved
roads, torque distribution to the rear
wheels is reduced to achieve the nearly
front wheel drive condition, thereby fuel
consumption is improved.
i-AWD LOCK
In this position, engine power is supplied to
the front and rear axles at reduced speed.
Use this position when it is hard to start off
in the “i-AWD AUTO” mode such as in
mud, sand or on snow.
NOTE:
Avoid operating your vehicle in the “i-
AWD LOCK” on wet pavement as much
as possible. Operating your vehicle in
the “i-AWD LOCK” on wet pavementmay cause severe damage to the drive
train.
As the vehicle speed increases, the “i-
AWD LOCK” mode is automatically can-
celed and the “i-AWD AUTO” mode is
selected.
When the ignition switch is turned to the
“OFF” position, the “i-AWD LOCK” mode
is canceled.
2WD/i-AWD Switch OperationOperate the 2WD/i-AWD switch according
to the appropriate procedure described
below:
How to turn on 2WD/i-AWD switch
2WD/i-AWD switch will activate when the
ignition switch is turned on.
From 2WD to i-AWD AUTO
Turn the 2WD/i-AWD switch to the neutral
position, and the “i-AWD AUTO” indicator
will come on.
79J040
Braking: 6
Page 163 of 278
6-8
OPERATING YOUR VEHICLE
80J21-03E
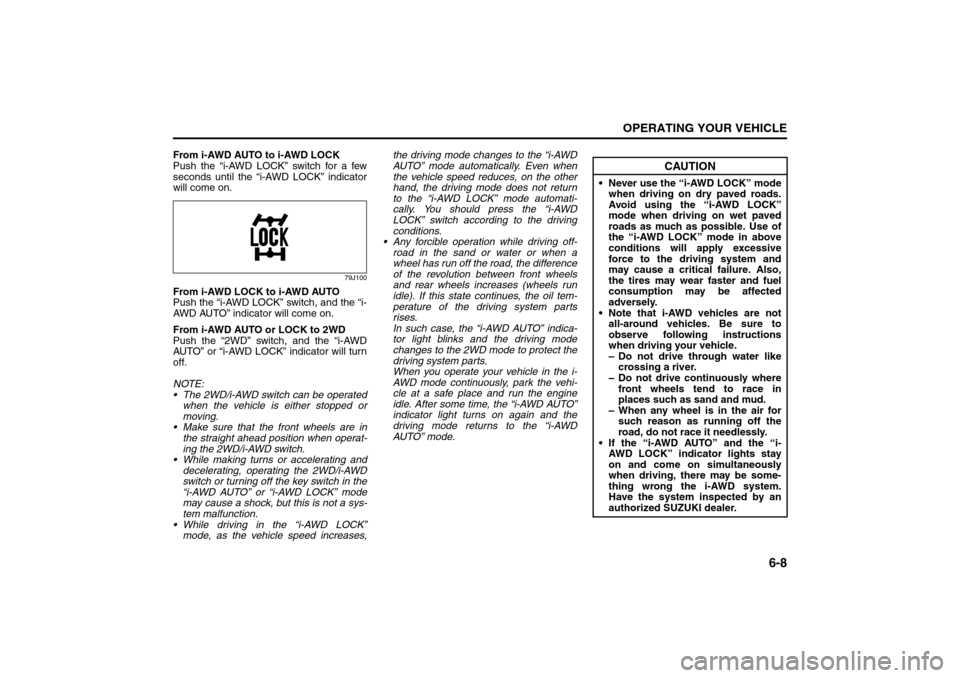
From i-AWD AUTO to i-AWD LOCK
Push the “i-AWD LOCK” switch for a few
seconds until the “i-AWD LOCK” indicator
will come on.
79J100
From i-AWD LOCK to i-AWD AUTO
Push the “i-AWD LOCK” switch, and the “i-
AWD AUTO” indicator will come on.
From i-AWD AUTO or LOCK to 2WD
Push the “2WD” switch, and the “i-AWD
AUTO” or “i-AWD LOCK” indicator will turn
off.
NOTE:
The 2WD/i-AWD switch can be operated
when the vehicle is either stopped or
moving.
Make sure that the front wheels are in
the straight ahead position when operat-
ing the 2WD/i-AWD switch.
While making turns or accelerating and
decelerating, operating the 2WD/i-AWD
switch or turning off the key switch in the
“i-AWD AUTO” or “i-AWD LOCK” mode
may cause a shock, but this is not a sys-
tem malfunction.
While driving in the “i-AWD LOCK”
mode, as the vehicle speed increases,the driving mode changes to the “i-AWD
AUTO” mode automatically. Even when
the vehicle speed reduces, on the other
hand, the driving mode does not return
to the “i-AWD LOCK” mode automati-
cally. You should press the “i-AWD
LOCK” switch according to the driving
conditions.
Any forcible operation while driving off-
road in the sand or water or when a
wheel has run off the road, the difference
of the revolution between front wheels
and rear wheels increases (wheels run
idle). If this state continues, the oil tem-
perature of the driving system parts
rises.
In such case, the “i-AWD AUTO” indica-
tor light blinks and the driving mode
changes to the 2WD mode to protect the
driving system parts.
When you operate your vehicle in the i-
AWD mode continuously, park the vehi-
cle at a safe place and run the engine
idle. After some time, the “i-AWD AUTO”
indicator light turns on again and the
driving mode returns to the “i-AWD
AUTO” mode.
CAUTION
Never use the “i-AWD LOCK” mode
when driving on dry paved roads.
Avoid using the “i-AWD LOCK”
mode when driving on wet paved
roads as much as possible. Use of
the “i-AWD LOCK” mode in above
conditions will apply excessive
force to the driving system and
may cause a critical failure. Also,
the tires may wear faster and fuel
consumption may be affected
adversely.
Note that i-AWD vehicles are not
all-around vehicles. Be sure to
observe following instructions
when driving your vehicle.
– Do not drive through water like
crossing a river.
– Do not drive continuously where
front wheels tend to race in
places such as sand and mud.
– When any wheel is in the air for
such reason as running off the
road, do not race it needlessly.
If the “i-AWD AUTO” and the “i-
AWD LOCK” indicator lights stay
on and come on simultaneously
when driving, there may be some-
thing wrong the i-AWD system.
Have the system inspected by an
authorized SUZUKI dealer.
Braking: 6
Page 164 of 278
6-9OPERATING YOUR VEHICLE
80J21-03E
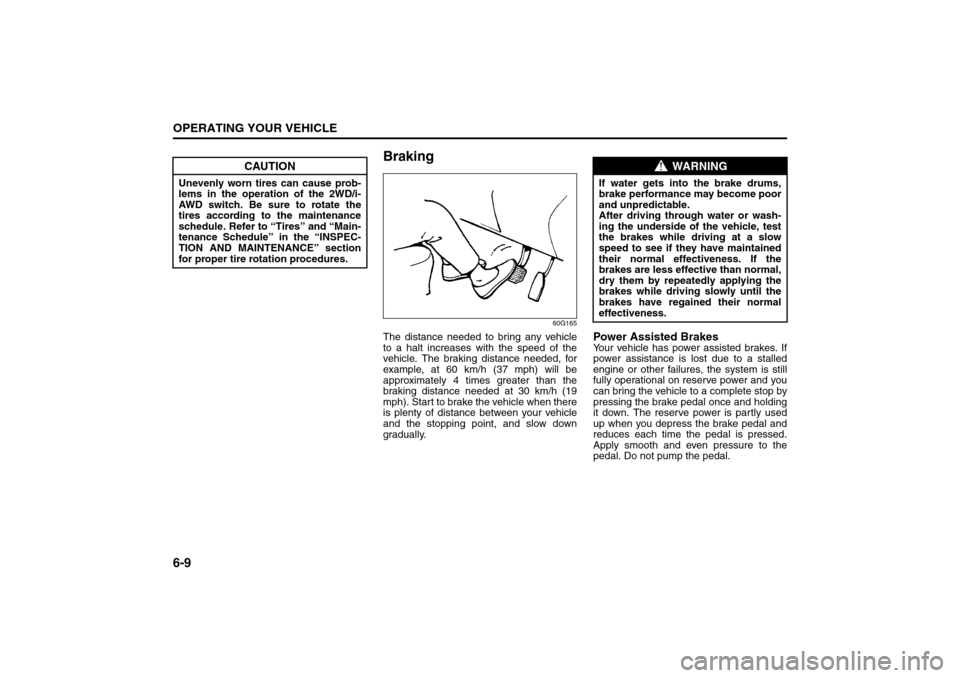
Braking
60G165
The distance needed to bring any vehicle
to a halt increases with the speed of the
vehicle. The braking distance needed, for
example, at 60 km/h (37 mph) will be
approximately 4 times greater than the
braking distance needed at 30 km/h (19
mph). Start to brake the vehicle when there
is plenty of distance between your vehicle
and the stopping point, and slow down
gradually.
Power Assisted BrakesYour vehicle has power assisted brakes. If
power assistance is lost due to a stalled
engine or other failures, the system is still
fully operational on reserve power and you
can bring the vehicle to a complete stop by
pressing the brake pedal once and holding
it down. The reserve power is partly used
up when you depress the brake pedal and
reduces each time the pedal is pressed.
Apply smooth and even pressure to the
pedal. Do not pump the pedal.
CAUTION
Unevenly worn tires can cause prob-
lems in the operation of the 2WD/i-
AWD switch. Be sure to rotate the
tires according to the maintenance
schedule. Refer to “Tires” and “Main-
tenance Schedule” in the “INSPEC-
TION AND MAINTENANCE” section
for proper tire rotation procedures.
WARNING
If water gets into the brake drums,
brake performance may become poor
and unpredictable.
After driving through water or wash-
ing the underside of the vehicle, test
the brakes while driving at a slow
speed to see if they have maintained
their normal effectiveness. If the
brakes are less effective than normal,
dry them by repeatedly applying the
brakes while driving slowly until the
brakes have regained their normal
effectiveness.
Braking: 6
Break-In: 6
Catalytic Converter: NO