2008 SUZUKI SX4 ESP
[x] Cancel search: ESPPage 83 of 278
4-6
INSTRUMENT PANEL
80J21-03E
For details of the ESP
® systems, refer to
“Electronic Stability Program (ESP
®)” in
the “OPERATING YOUR VEHICLE” sec-
tion.
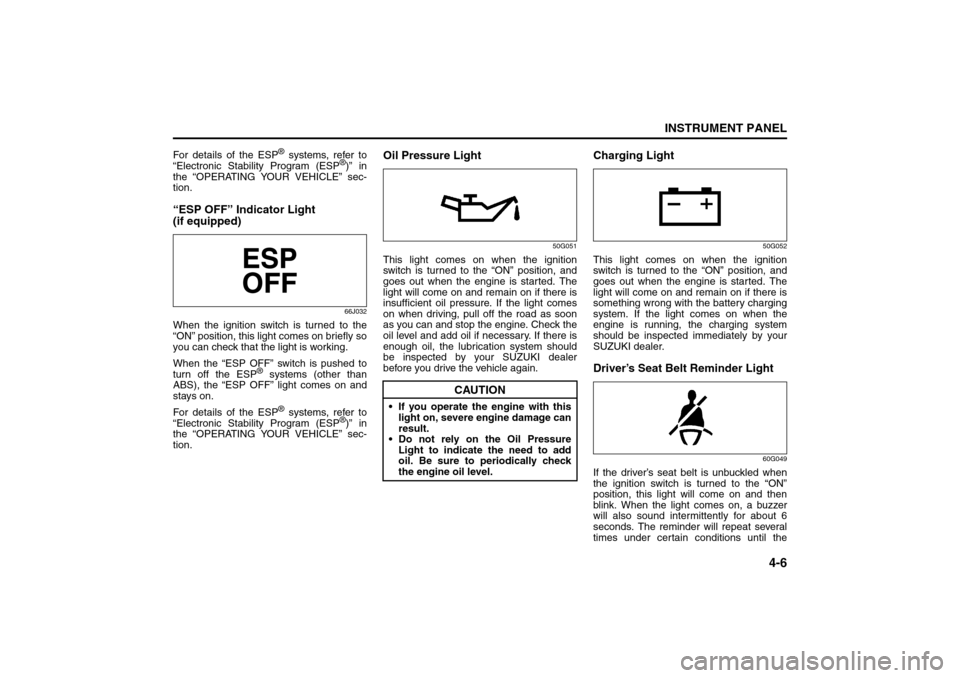
“ESP OFF” Indicator Light
(if equipped)
66J032
When the ignition switch is turned to the
“ON” position, this light comes on briefly so
you can check that the light is working.
When the “ESP OFF” switch is pushed to
turn off the ESP
® systems (other than
ABS), the “ESP OFF” light comes on and
stays on.
For details of the ESP
® systems, refer to
“Electronic Stability Program (ESP
®)” in
the “OPERATING YOUR VEHICLE” sec-
tion.
Oil Pressure Light
50G051
This light comes on when the ignition
switch is turned to the “ON” position, and
goes out when the engine is started. The
light will come on and remain on if there is
insufficient oil pressure. If the light comes
on when driving, pull off the road as soon
as you can and stop the engine. Check the
oil level and add oil if necessary. If there is
enough oil, the lubrication system should
be inspected by your SUZUKI dealer
before you drive the vehicle again.
Charging Light
50G052
This light comes on when the ignition
switch is turned to the “ON” position, and
goes out when the engine is started. The
light will come on and remain on if there is
something wrong with the battery charging
system. If the light comes on when the
engine is running, the charging system
should be inspected immediately by your
SUZUKI dealer.Driver’s Seat Belt Reminder Light
60G049
If the driver’s seat belt is unbuckled when
the ignition switch is turned to the “ON”
position, this light will come on and then
blink. When the light comes on, a buzzer
will also sound intermittently for about 6
seconds. The reminder will repeat several
times under certain conditions until the
CAUTION
If you operate the engine with this
light on, severe engine damage can
result.
Do not rely on the Oil Pressure
Light to indicate the need to add
oil. Be sure to periodically check
the engine oil level.
Warning and Indicator Lights: 8
Page 84 of 278
4-7INSTRUMENT PANEL
80J21-03E
driver’s seat belt is buckled. After repeating
several times, the reminder will be can-
celed even if the driver’s seat belt remains
unbuckled.
For details about the seat belt reminder,
refer to “Seat Belts and Child Restraint
Systems” in the “BEFORE DRIVING” sec-
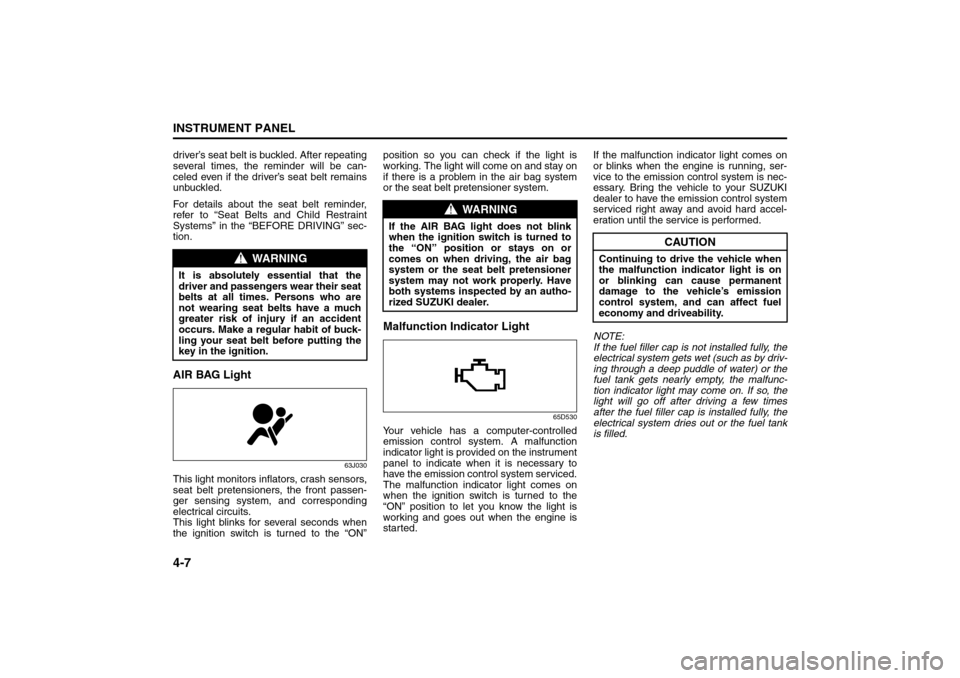
tion.AIR BAG Light
63J030
This light monitors inflators, crash sensors,
seat belt pretensioners, the front passen-
ger sensing system, and corresponding
electrical circuits.
This light blinks for several seconds when
the ignition switch is turned to the “ON”position so you can check if the light is
working. The light will come on and stay on
if there is a problem in the air bag system
or the seat belt pretensioner system.
Malfunction Indicator Light
65D530
Your vehicle has a computer-controlled
emission control system. A malfunction
indicator light is provided on the instrument
panel to indicate when it is necessary to
have the emission control system serviced.
The malfunction indicator light comes on
when the ignition switch is turned to the
“ON” position to let you know the light is
working and goes out when the engine is
started.If the malfunction indicator light comes on
or blinks when the engine is running, ser-
vice to the emission control system is nec-
essary. Bring the vehicle to your SUZUKI
dealer to have the emission control system
serviced right away and avoid hard accel-
eration until the service is performed.
NOTE:
If the fuel filler cap is not installed fully, the
electrical system gets wet (such as by driv-
ing through a deep puddle of water) or the
fuel tank gets nearly empty, the malfunc-
tion indicator light may come on. If so, the
light will go off after driving a few times
after the fuel filler cap is installed fully, the
electrical system dries out or the fuel tank
is filled.
WARNING
It is absolutely essential that the
driver and passengers wear their seat
belts at all times. Persons who are
not wearing seat belts have a much
greater risk of injury if an accident
occurs. Make a regular habit of buck-
ling your seat belt before putting the
key in the ignition.
WARNING
If the AIR BAG light does not blink
when the ignition switch is turned to
the “ON” position or stays on or
comes on when driving, the air bag
system or the seat belt pretensioner
system may not work properly. Have
both systems inspected by an autho-
rized SUZUKI dealer.
CAUTION
Continuing to drive the vehicle when
the malfunction indicator light is on
or blinking can cause permanent
damage to the vehicle’s emission
control system, and can affect fuel
economy and driveability.
Warning and Indicator Lights: 8
A/T Selector Position Indicator: 8
Speedometer/Odometer/Trip meter: 8
Page 86 of 278
4-9INSTRUMENT PANEL
80J21-03E
If this light blinks in red, it reminds you that
the remote controller is not in the vehicle.
For details, refer to “Keyless Start System
Remote Controller/Keyless Entry System
Transmitter” in the “BEFORE DRIVING”
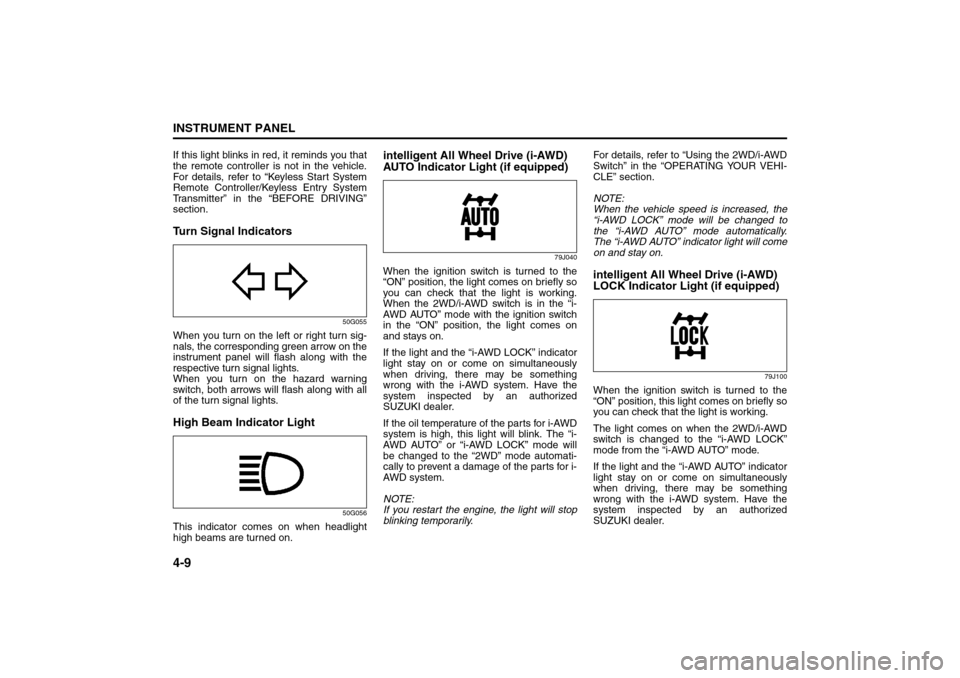
section.Turn Signal Indicators
50G055
When you turn on the left or right turn sig-
nals, the corresponding green arrow on the
instrument panel will flash along with the
respective turn signal lights.
When you turn on the hazard warning
switch, both arrows will flash along with all
of the turn signal lights.High Beam Indicator Light
50G056
This indicator comes on when headlight
high beams are turned on.
intelligent All Wheel Drive (i-AWD)
AUTO Indicator Light (if equipped)
79J040
When the ignition switch is turned to the
“ON” position, the light comes on briefly so
you can check that the light is working.
When the 2WD/i-AWD switch is in the “i-
AWD AUTO” mode with the ignition switch
in the “ON” position, the light comes on
and stays on.
If the light and the “i-AWD LOCK” indicator
light stay on or come on simultaneously
when driving, there may be something
wrong with the i-AWD system. Have the
system inspected by an authorized
SUZUKI dealer.
If the oil temperature of the parts for i-AWD
system is high, this light will blink. The “i-
AWD AUTO” or “i-AWD LOCK” mode will
be changed to the “2WD” mode automati-
cally to prevent a damage of the parts for i-
AWD system.
NOTE:
If you restart the engine, the light will stop
blinking temporarily.For details, refer to “Using the 2WD/i-AWD
Switch” in the “OPERATING YOUR VEHI-
CLE” section.
NOTE:
When the vehicle speed is increased, the
“i-AWD LOCK” mode will be changed to
the “i-AWD AUTO” mode automatically.
The “i-AWD AUTO” indicator light will come
on and stay on.
intelligent All Wheel Drive (i-AWD)
LOCK Indicator Light (if equipped)
79J100
When the ignition switch is turned to the
“ON” position, this light comes on briefly so
you can check that the light is working.
The light comes on when the 2WD/i-AWD
switch is changed to the “i-AWD LOCK”
mode from the “i-AWD AUTO” mode.
If the light and the “i-AWD AUTO” indicator
light stay on or come on simultaneously
when driving, there may be something
wrong with the i-AWD system. Have the
system inspected by an authorized
SUZUKI dealer.
Tachometer:
Fuel Gauge:
Page 90 of 278
4-13INSTRUMENT PANEL
80J21-03E
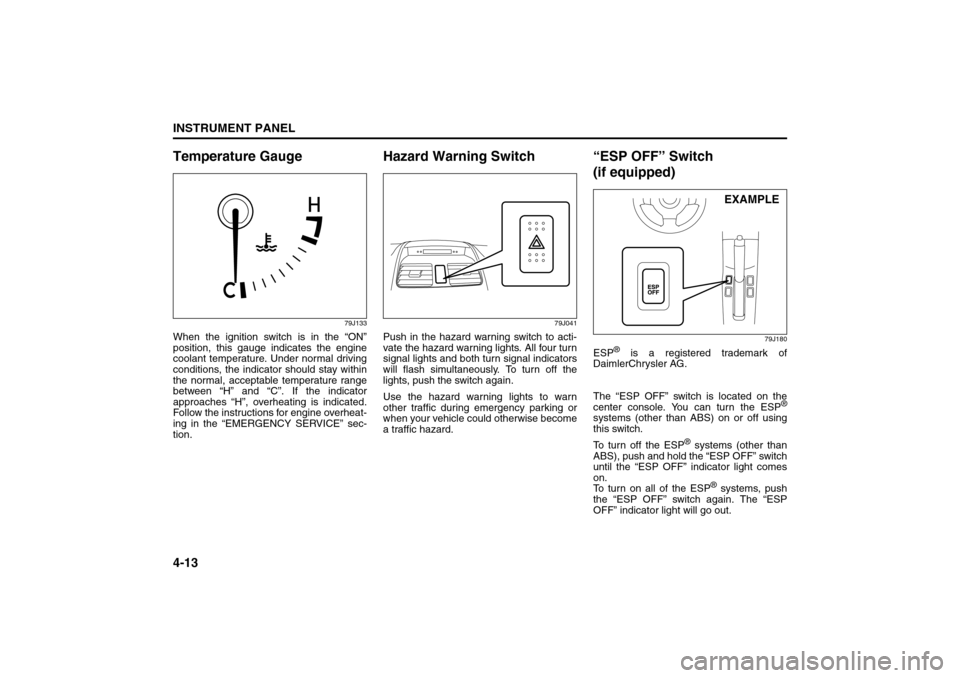
Temperature Gauge
79J133
When the ignition switch is in the “ON”
position, this gauge indicates the engine
coolant temperature. Under normal driving
conditions, the indicator should stay within
the normal, acceptable temperature range
between “H” and “C”. If the indicator
approaches “H”, overheating is indicated.
Follow the instructions for engine overheat-
ing in the “EMERGENCY SERVICE” sec-
tion.
Hazard Warning Switch
79J041
Push in the hazard warning switch to acti-
vate the hazard warning lights. All four turn
signal lights and both turn signal indicators
will flash simultaneously. To turn off the
lights, push the switch again.
Use the hazard warning lights to warn
other traffic during emergency parking or
when your vehicle could otherwise become
a traffic hazard.
“ESP OFF” Switch
(if equipped)
79J180
ESP
® is a registered trademark of
DaimlerChrysler AG.
The “ESP OFF” switch is located on the
center console. You can turn the ESP
®
systems (other than ABS) on or off using
this switch.
To turn off the ESP
® systems (other than
ABS), push and hold the “ESP OFF” switch
until the “ESP OFF” indicator light comes
on.
To turn on all of the ESP
® systems, push
the “ESP OFF” switch again. The “ESP
OFF” indicator light will go out.EXAMPLE
Information Display:
Page 91 of 278
4-14
INSTRUMENT PANEL
80J21-03E
For details of the ESP
® systems, refer to
“Electronic Stability Program (ESP
®)” in
the “OPERATING YOUR VEHICLE” sec-
tion.
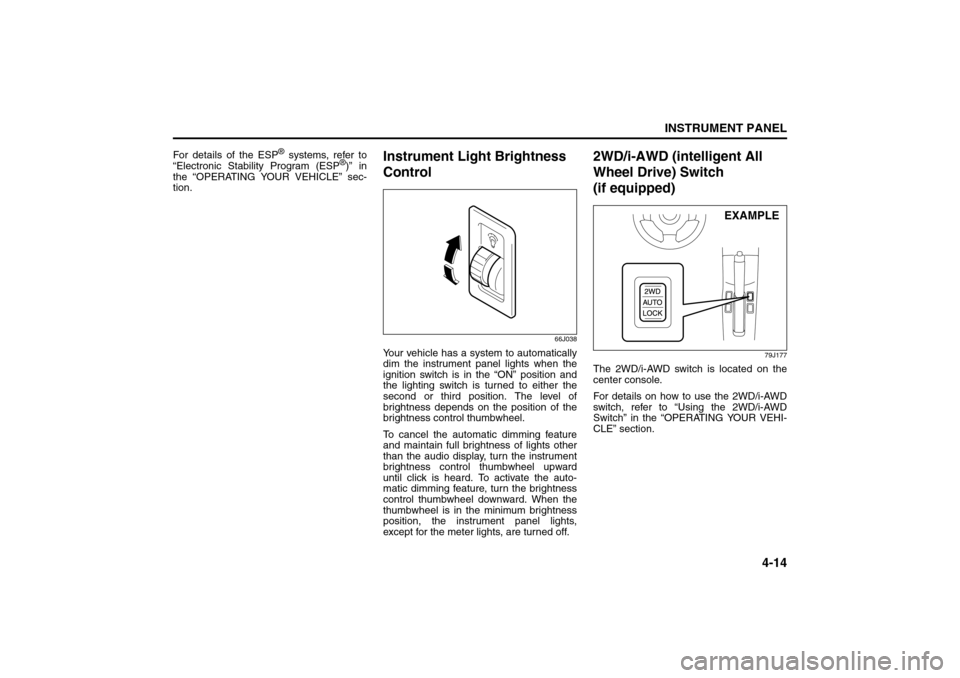
Instrument Light Brightness
Control
66J038
Your vehicle has a system to automatically
dim the instrument panel lights when the
ignition switch is in the “ON” position and
the lighting switch is turned to either the
second or third position. The level of
brightness depends on the position of the
brightness control thumbwheel.
To cancel the automatic dimming feature
and maintain full brightness of lights other
than the audio display, turn the instrument
brightness control thumbwheel upward
until click is heard. To activate the auto-
matic dimming feature, turn the brightness
control thumbwheel downward. When the
thumbwheel is in the minimum brightness
position, the instrument panel lights,
except for the meter lights, are turned off.
2WD/i-AWD (intelligent All
Wheel Drive) Switch
(if equipped)
79J177
The 2WD/i-AWD switch is located on the
center console.
For details on how to use the 2WD/i-AWD
switch, refer to “Using the 2WD/i-AWD
Switch” in the “OPERATING YOUR VEHI-
CLE” section.
EXAMPLE
Information Display:
Glove Box: 3
Page 120 of 278
4-43INSTRUMENT PANEL
80J21-03E
NOTE:
About Single CDs (8 cm CDs)
Since the unit is not compatible with a
single CD, do not load it into the unit.
Keep in mind the fact that a single CD
cannot be played even using a single CD
adaptor for the unit.
When a single CD is loaded into the unit
accidentally, it will be ejected immedi-
ately. Please be sure to remove it.
If you forcefully try to push it into the unit
without removing it, the CD cannot be
ejected. This will result in a damage to
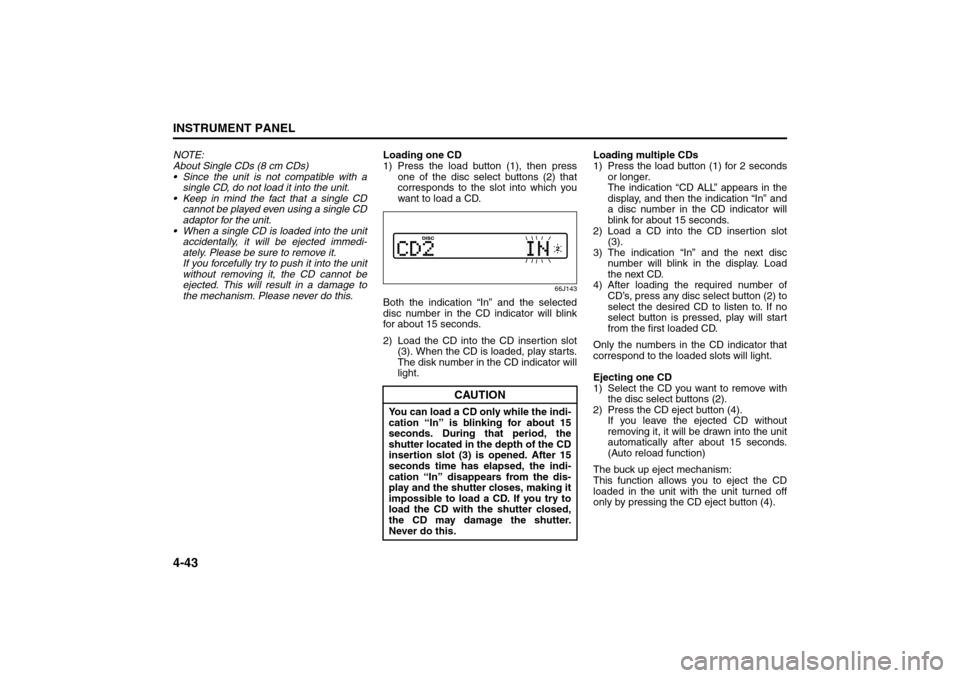
the mechanism. Please never do this.Loading one CD
1) Press the load button (1), then press
one of the disc select buttons (2) that
corresponds to the slot into which you
want to load a CD.
66J143
Both the indication “In” and the selected
disc number in the CD indicator will blink
for about 15 seconds.
2) Load the CD into the CD insertion slot
(3). When the CD is loaded, play starts.
The disk number in the CD indicator will
light.Loading multiple CDs
1) Press the load button (1) for 2 seconds
or longer.
The indication “CD ALL” appears in the
display, and then the indication “In” and
a disc number in the CD indicator will
blink for about 15 seconds.
2) Load a CD into the CD insertion slot
(3).
3) The indication “In” and the next disc
number will blink in the display. Load
the next CD.
4) After loading the required number of
CD’s, press any disc select button (2) to
select the desired CD to listen to. If no
select button is pressed, play will start
from the first loaded CD.
Only the numbers in the CD indicator that
correspond to the loaded slots will light.
Ejecting one CD
1) Select the CD you want to remove with
the disc select buttons (2).
2) Press the CD eject button (4).
If you leave the ejected CD without
removing it, it will be drawn into the unit
automatically after about 15 seconds.
(Auto reload function)
The buck up eject mechanism:
This function allows you to eject the CD
loaded in the unit with the unit turned off
only by pressing the CD eject button (4).
CAUTION
You can load a CD only while the indi-
cation “In” is blinking for about 15
seconds. During that period, the
shutter located in the depth of the CD
insertion slot (3) is opened. After 15
seconds time has elapsed, the indi-
cation “In” disappears from the dis-
play and the shutter closes, making it
impossible to load a CD. If you try to
load the CD with the shutter closed,
the CD may damage the shutter.
Never do this.
Audio Systems:
Page 155 of 278
OPERATING YOUR VEHICLE
6
80J21-03E
60G408
OPERATING YOUR VEHICLEExhaust Gas Warning ......................................................... 6-1
Daily Inspection Checklist .................................................. 6-1
Starting the Engine ............................................................. 6-2
Engine Block Heater (if equipped) ..................................... 6-4
Using the Transaxle ............................................................ 6-5
Using the 2WD/i-AWD (intelligent All Wheel Drive)
Switch (if equipped) ............................................................ 6-7
Braking ................................................................................. 6-9
Electronic Stability Program (ESP®) (if equipped) .......... 6-12
Tire Pressure Monitoring System (TPMS) ........................ 6-14
Break-In ................................................................................ 6-18
Catalytic Converter ............................................................. 6-19
Improving Fuel Economy ................................................... 6-20
Page 167 of 278
6-12
OPERATING YOUR VEHICLE
80J21-03E
Electronic Stability Program
(ESP
®) (if equipped)
ESP
® is a registered trademark of
DaimlerChrysler AG.
The Electronic Stability Program (ESP
®)
helps to control the vehicle during corner-
ing if the vehicle is understeering or over-
steering. It also assists you in maintaining
traction while accelerating on loose or slip-
pery road surfaces. It does this by regulat-
ing the engine’s output, and by selectively
applying the brakes. In addition, ESP®
helps to avoid skidding by controlling brak-
ing pressure.The ESP
® has the following three systems:
Stability Control SystemThe vehicle stability control system helps
provide integrated control of systems such
as anti-lock brakes, traction control, engine
control, etc. This system automatically
controls the brakes and engine to help pre-
vent the vehicle from skidding when cor-
nering on a slippery road surface or when
turning the steering wheel abruptly.Traction Control SystemThe traction control system automatically
helps prevent the spinning of wheels when
the vehicle is started or accelerated on
slippery road surfaces. The system oper-
ates only if it senses that some of the
wheels are spinning or beginning to lose
traction. When this happens, the system
operates the front or rear brakes and
reduces engine power to limit wheel spin.
NOTE:
You may hear a clicking sound in the
engine compartment for a few seconds
when you start the engine or just after the
vehicle begins to move. This means that
the above systems are in the self-check
mode. This sound does not indicate a mal-
function.
Anti-Lock Braking System (ABS)ABS will help you avoid skidding by elec-
tronically controlling braking pressure. It
will also help you maintain steering control
when braking on slippery surfaces or when
braking hard. The ABS works automati-
cally, so you do not have to use any special
braking technique. Just push the brake
pedal down without pumping. The ABS will
operate whenever it senses that wheels
are locking up. You may feel the brake
pedal pulsate while the ABS is operating.
(For more information on ABS, see “Brak-
ing” in the “OPERATING YOUR VEHICLE”
section.)
NOTE:
If the ABS system is activated, you may
hear a clunking noise and/or feel pulsating
in the brake pedal. This is normal and indi-
cates that the brake fluid pressure is being
controlled properly.
WARNING
The ESP
® cannot enhance the vehi-
cle’s driving stability in all situations
and does not control your vehicle’s
entire braking system. The ESP
® can-
not prevent accidents, including
those resulting from excessive speed
in turns, or hydroplaning. Only a safe
and attentive driver can prevent acci-
dents. The capabilities of an ESP
®-
equipped vehicle must never be used
as a substitute for careful driving.