2008 SUBARU TRIBECA ESP
[x] Cancel search: ESPPage 134 of 409
3-14
Instruments and controls
&
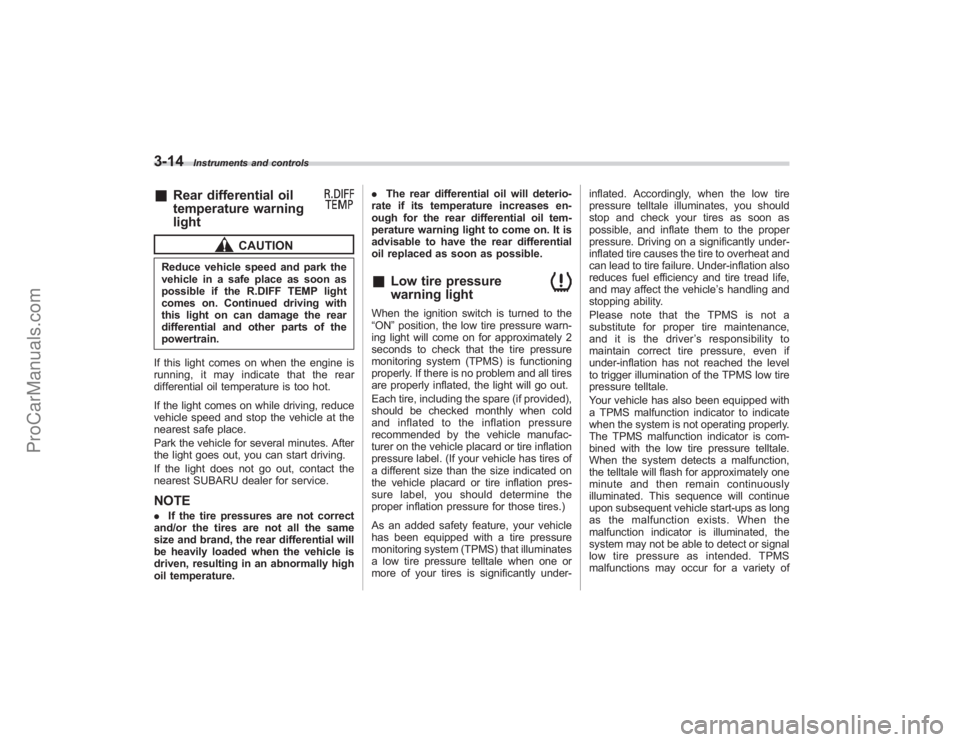
Rear differential oil
temperature warning
light
CAUTION
Reduce vehicle speed and park the
vehicle in a safe place as soon as
possible if the R.DIFF TEMP light
comes on. Continued driving with
this light on can damage the rear
differential and other parts of the
powertrain.
If this light comes on when the engine is
running, it may indicate that the rear
differential oil temperature is too hot.
If the light comes on while driving, reduce
vehicle speed and stop the vehicle at the
nearest safe place.
Park the vehicle for several minutes. After
the light goes out, you can start driving.
If the light does not go out, contact the
nearest SUBARU dealer for service.NOTE. If the tire pressures are not correct
and/or the tires are not all the same
size and brand, the rear differential will
be heavily loaded when the vehicle is
driven, resulting in an abnormally high
oil temperature. .
The rear differential oil will deterio-
rate if its temperature increases en-
ough for the rear differential oil tem-
perature warning light to come on. It is
advisable to have the rear differential
oil replaced as soon as possible.
&
Low tire pressure
warning light
When the ignition switch is turned to the
“ON ”position, the low tire pressure warn-
ing light will come on for approximately 2
seconds to check that the tire pressure
monitoring system (TPMS) is functioning
properly. If there is no problem and all tires
are properly inflated, the light will go out.
Each tire, including the spare (if provided),
should be checked monthly when cold
and inflated to the inflation pressure
recommended by the vehicle manufac-
turer on the vehicle placard or tire inflation
pressure label. (If your vehicle has tires of
a different size than the size indicated on
the vehicle placard or tire inflation pres-
sure label, you should determine the
proper inflation pressure for those tires.)
As an added safety feature, your vehicle
has been equipped with a tire pressure
monitoring system (TPMS) that illuminates
a low tire pressure telltale when one or
more of your tires is significantly under- inflated. Accordingly, when the low tire
pressure telltale illuminates, you should
stop and check your tires as soon as
possible, and inflate them to the proper
pressure. Driving on a significantly under-
inflated tire causes the tire to overheat and
can lead to tire failure. Under-inflation also
reduces fuel efficiency and tire tread life,
and may affect the vehicle
’s handling and
stopping ability.
Please note that the TPMS is not a
substitute for proper tire maintenance,
and it is the driver ’s responsibility to
maintain correct tire pressure, even if
under-inflation has not reached the level
to trigger illumination of the TPMS low tire
pressure telltale.
Your vehicle has also been equipped with
a TPMS malfunction indicator to indicate
when the system is not operating properly.
The TPMS malfunction indicator is com-
bined with the low tire pressure telltale.
When the system detects a malfunction,
the telltale will flash for approximately one
minute and then remain continuously
illuminated. This sequence will continue
upon subsequent vehicle start-ups as long
as the malfunction exists. When the
malfunction indicator is illuminated, the
system may not be able to detect or signal
low tire pressure as intended. TPMS
malfunctions may occur for a variety of
ProCarManuals.com
Page 137 of 409

!Electronic Brake Force Distribution
(EBD) system warning
The brake system warning light also
illuminates if a malfunction occurs in the
EBD system. In that event, it comes on
together with the ABS warning light.
The EBD system may be faulty if the
brake system warning light and ABS
warning light illuminate simultaneously
during driving.
Even if the EBD system fails, the conven-
tional braking system will still function.
However, the rear wheels will be more
prone to locking when the brakes are
applied harder than usual and the vehi-
cle ’s motion may therefore become some-
what harder to control.
If the brake system warning light and ABS
warning light illuminate simultaneously,
take the following steps:
1. Stop the vehicle in the nearest safe,
flat place.
2. Shut down the engine, apply the
parking brake, and then restart it.
3. Release the parking brake. If both
warning lights go out, the EBD system
may be faulty.
Drive carefully to the nearest SUBARU
dealer and have the system inspected.
4. If both warning lights come on again
and stay illuminated after the engine has been restarted, shut down the engine
again, apply the parking brake, and check
the brake fluid level.
5. If the brake fluid level is not below the
“MIN
”mark, the EBD system may be
faulty. Drive carefully to the nearest
SUBARU dealer and have the system
inspected.
6. If the brake fluid level is below the
“MIN ”mark, DO NOT drive the vehicle.
Instead, have the vehicle towed to the
nearest SUBARU dealer for repair.
&
Low fuel warning light
CAUTION
Immediately put fuel in the tank
whenever the low fuel warning light
illuminates. Engine misfires as a
result of an empty tank could cause
damage to the engine.
The low fuel warning light illuminates
when the tank is nearly empty approxi-
mately 2.6 US gal (10 liters, or 2.2 Imp
gal). It only operates when the ignition
switch is in the “ON”position. When this
light illuminates, fill the fuel tank immedi-
ately.
NOTEThis light does not go out unless the
tank is replenished up to an internal
fuel quantity of approximately 4.0 US
gal (15 liters, 3.3 Imp gal).& Door open warning lightThe indicators are located in the center
portion of the dashboard.
When any of the doors or the rear gate is
not fully closed, it is indicated by the
corresponding part of the door open
warning light.
Always make sure this light is out before
you start to drive.
Instruments and controls
3-17
–CONTINUED –
ProCarManuals.com
Page 139 of 409
The Vehicle Dynamics Control system
provides its ABS control through the
electrical circuit of the ABS system.
Accordingly, if the ABS is inoperative, the
Vehicle Dynamics Control system be-
comes unable to provide ABS control. As
a result, the Vehicle Dynamics Control
system also becomes inoperative, caus-
ing the warning light to come on. Though
both the Vehicle Dynamics Control and
ABS systems are inoperative in this case,
the ordinary functions of the brake system
are still available. You will be safe while
driving with this condition, but have your
vehicle checked at a SUBARU dealer as
soon as possible.NOTEIf the warning light behavior is as
shown in the following, the Vehicle
Dynamics Control system may be con-
sidered normal.
.The warning light comes on right
after the engine is started but goes out
immediately, remaining off.
. The warning light comes on after
engine startup and goes off while the
vehicle is subsequently being driven.
. The warning light comes on during
driving, but it goes out immediately and
remains off. !
Traction Control system OFF indi-
cator light
. It comes on when the Traction Control
system OFF switch is pressed.
. It also comes on when the Traction
Control system is deactivated.
NOTE. The light may stay on for a while
after the engine has been started,
especially in cold weather. This does
not indicate the existence of a problem.
The light should go out as soon as the
engine has warmed up.
. The indicator light comes on when
the engine has developed a problem
and the CHECK ENGINE warning light/
Malfunction indicator lamp is on.
The Vehicle Dynamics Control system is
probably faulty under the following condi-
tion. Have your vehicle checked at a
SUBARU dealer as soon as possible.
. The light does not go out even after the
lapse of several minutes (the engine has
warmed up) after the engine has started.
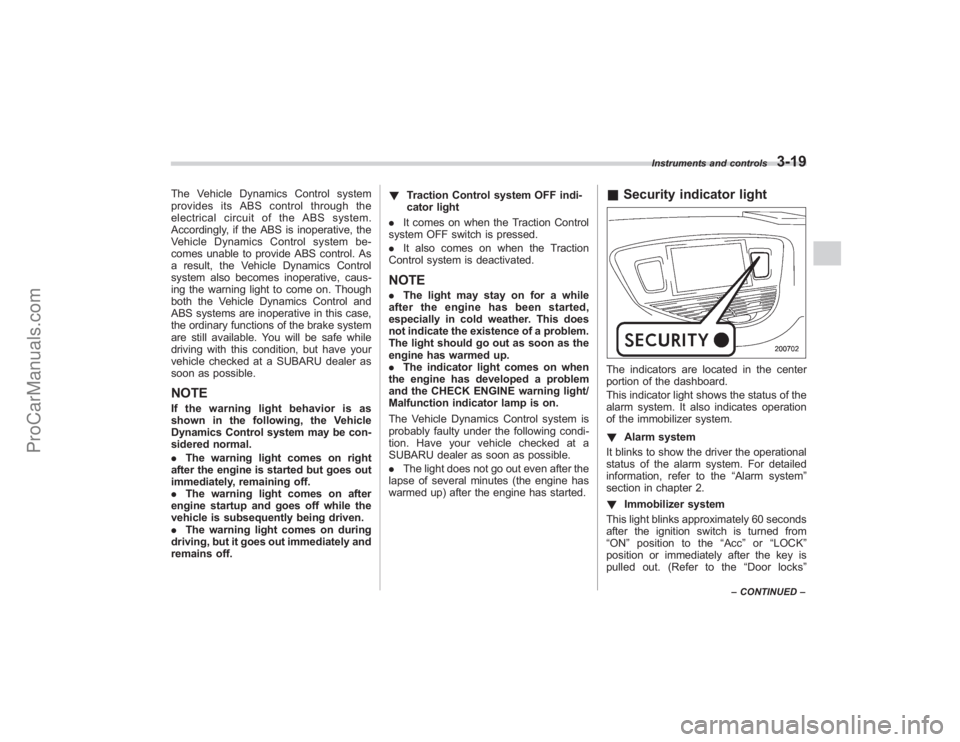
& Security indicator lightThe indicators are located in the center
portion of the dashboard.
This indicator light shows the status of the
alarm system. It also indicates operation
of the immobilizer system.
! Alarm system
It blinks to show the driver the operational
status of the alarm system. For detailed
information, refer to the “Alarm system”
section in chapter 2.
! Immobilizer system
This light blinks approximately 60 seconds
after the ignition switch is turned from
“ ON ”position to the “Acc ”or “LOCK ”
position or immediately after the key is
pulled out. (Refer to the “Door locks ”
Instruments and controls
3-19
–CONTINUED –
ProCarManuals.com
Page 144 of 409
3-24
Instruments and controls
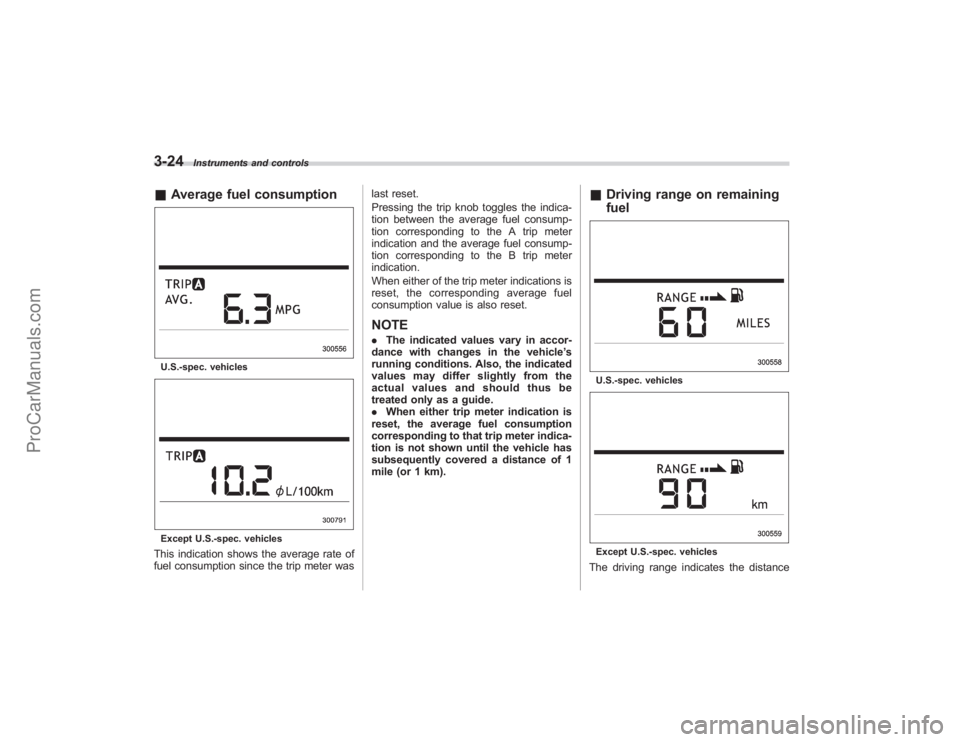
&Average fuel consumptionU.S.-spec. vehiclesExcept U.S.-spec. vehiclesThis indication shows the average rate of
fuel consumption since the trip meter was last reset.
Pressing the trip knob toggles the indica-
tion between the average fuel consump-
tion corresponding to the A trip meter
indication and the average fuel consump-
tion corresponding to the B trip meter
indication.
When either of the trip meter indications is
reset, the corresponding average fuel
consumption value is also reset.
NOTE.
The indicated values vary in accor-
dance with changes in the vehicle ’s
running conditions. Also, the indicated
values may differ slightly from the
actual values and should thus be
treated only as a guide.
. When either trip meter indication is
reset, the average fuel consumption
corresponding to that trip meter indica-
tion is not shown until the vehicle has
subsequently covered a distance of 1
mile (or 1 km).
& Driving range on remaining
fuelU.S.-spec. vehiclesExcept U.S.-spec. vehiclesThe driving range indicates the distance
ProCarManuals.com
Page 155 of 409
When the wiper switch is in the“
”
position, turn the dial to adjust the operat-
ing interval of the wiper.
The operating interval can be adjusted in
nine steps.
The intermittent operation interval varies
depending on the vehicle speed in any of
the adjustment steps (longer when the
vehicle speed is low; shorter when the
vehicle speed is high).
! Washer
To wash the windshield, push the washer
button at the end of the wiper control lever.
The washer fluid sprays until you release
the washer button. The wipers operate
while you push the button.
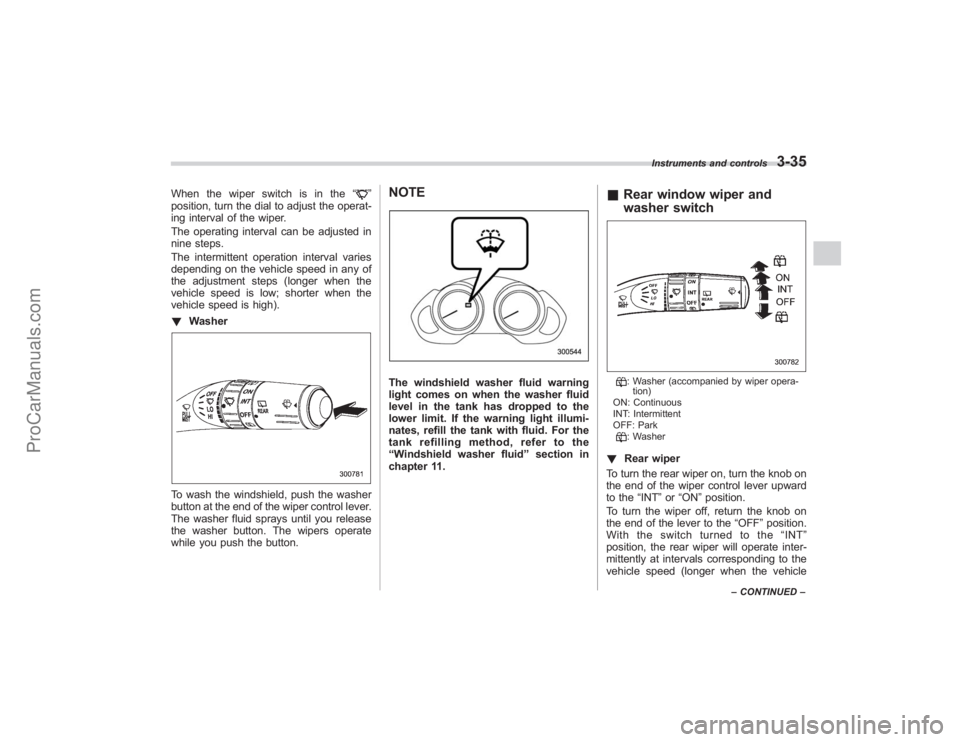
NOTEThe windshield washer fluid warning
light comes on when the washer fluid
level in the tank has dropped to the
lower limit. If the warning light illumi-
nates, refill the tank with fluid. For the
tank refilling method, refer to the
“Windshield washer fluid ”section in
chapter 11.
& Rear window wiper and
washer switch
: Washer (accompanied by wiper opera-
tion)
ON: Continuous
INT: Intermittent
OFF: Park: Washer
! Rear wiper
To turn the rear wiper on, turn the knob on
the end of the wiper control lever upward
to the “INT”or “ON ”position.
To turn the wiper off, return the knob on
the end of the lever to the “OFF”position.
With the switch turned to the “INT ”
position, the rear wiper will operate inter-
mittently at intervals corresponding to the
vehicle speed (longer when the vehicle
Instruments and controls
3-35
– CONTINUED –
ProCarManuals.com
Page 169 of 409
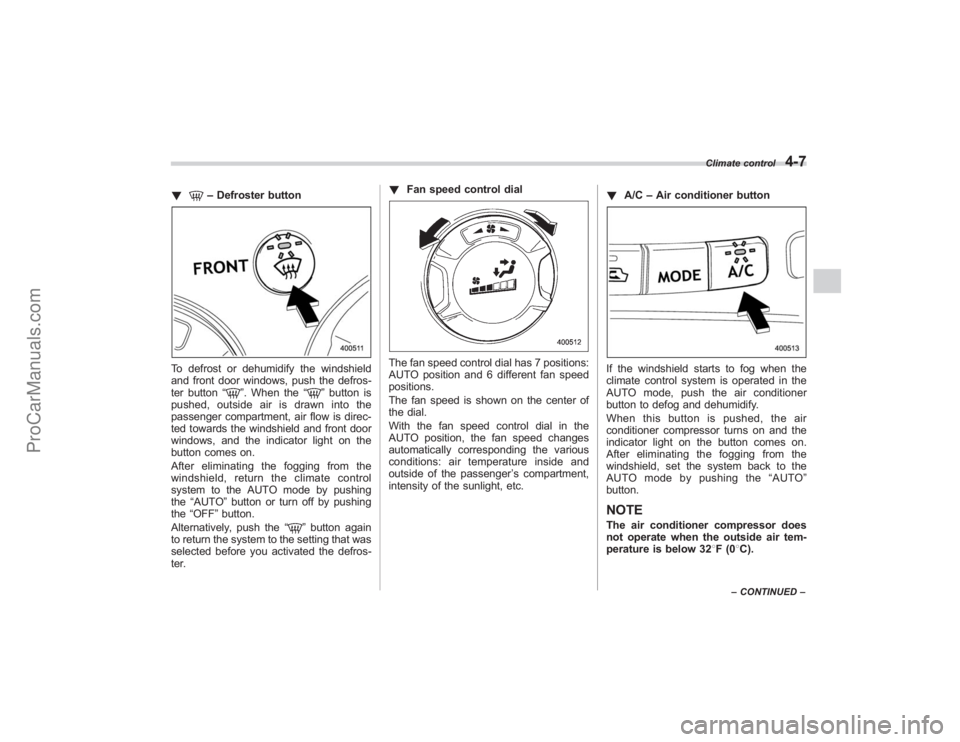
!
–Defroster button
To defrost or dehumidify the windshield
and front door windows, push the defros-
ter button “
”. When the “
”button is
pushed, outside air is drawn into the
passenger compartment, air flow is direc-
ted towards the windshield and front door
windows, and the indicator light on the
button comes on.
After eliminating the fogging from the
windshield, return the climate control
system to the AUTO mode by pushing
the “AUTO ”button or turn off by pushing
the “OFF ”button.
Alternatively, push the “
”button again
to return the system to the setting that was
selected before you activated the defros-
ter. !
Fan speed control dial
The fan speed control dial has 7 positions:
AUTO position and 6 different fan speed
positions.
The fan speed is shown on the center of
the dial.
With the fan speed control dial in the
AUTO position, the fan speed changes
automatically corresponding the various
conditions: air temperature inside and
outside of the passenger ’s compartment,
intensity of the sunlight, etc. !
A/C –Air conditioner button
If the windshield starts to fog when the
climate control system is operated in the
AUTO mode, push the air conditioner
button to defog and dehumidify.
When this button is pushed, the air
conditioner compressor turns on and the
indicator light on the button comes on.
After eliminating the fogging from the
windshield, set the system back to the
AUTO mode by pushing the “AUTO ”
button.NOTEThe air conditioner compressor does
not operate when the outside air tem-
perature is below 32 8F(0 8C).
Climate control
4-7
– CONTINUED –
ProCarManuals.com
Page 199 of 409
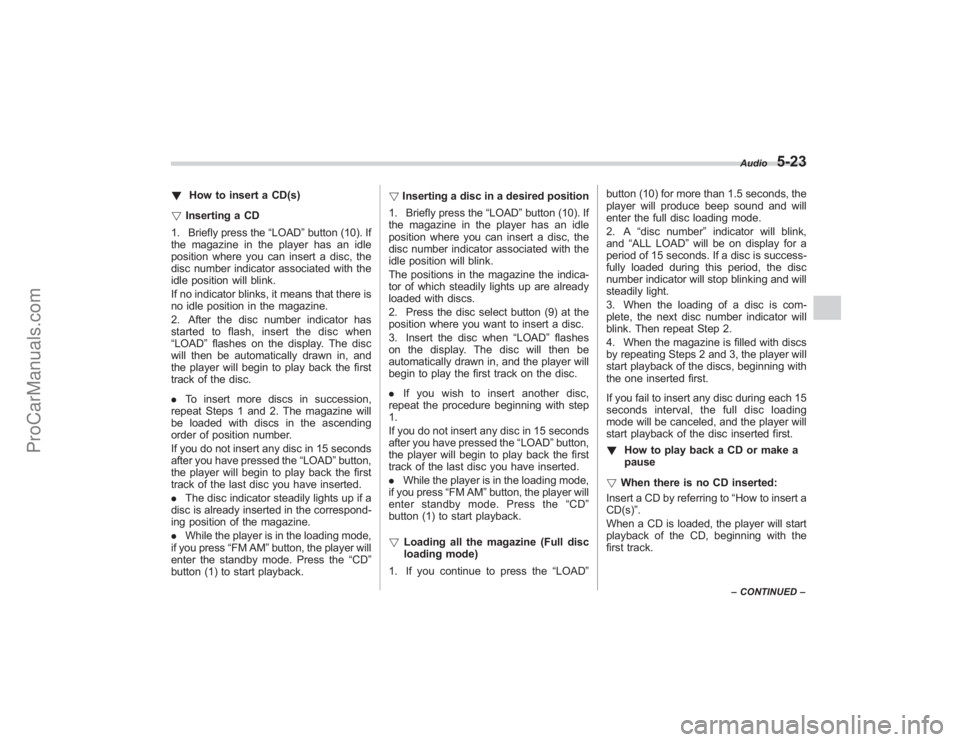
!How to insert a CD(s)
! Inserting a CD
1. Briefly press the “LOAD”button (10). If
the magazine in the player has an idle
position where you can insert a disc, the
disc number indicator associated with the
idle position will blink.
If no indicator blinks, it means that there is
no idle position in the magazine.
2. After the disc number indicator has
started to flash, insert the disc when
“LOAD” flashes on the display. The disc
will then be automatically drawn in, and
the player will begin to play back the first
track of the disc.
. To insert more discs in succession,
repeat Steps 1 and 2. The magazine will
be loaded with discs in the ascending
order of position number.
If you do not insert any disc in 15 seconds
after you have pressed the “LOAD”button,
the player will begin to play back the first
track of the last disc you have inserted.
. The disc indicator steadily lights up if a
disc is already inserted in the correspond-
ing position of the magazine.
. While the player is in the loading mode,
if you press “FM AM”button, the player will
enter the standby mode. Press the “CD”
button (1) to start playback. !
Inserting a disc in a desired position
1. Briefly press the “LOAD”button (10). If
the magazine in the player has an idle
position where you can insert a disc, the
disc number indicator associated with the
idle position will blink.
The positions in the magazine the indica-
tor of which steadily lights up are already
loaded with discs.
2. Press the disc select button (9) at the
position where you want to insert a disc.
3. Insert the disc when “LOAD”flashes
on the display. The disc will then be
automatically drawn in, and the player will
begin to play the first track on the disc.
. If you wish to insert another disc,
repeat the procedure beginning with step
1.
If you do not insert any disc in 15 seconds
after you have pressed the “LOAD” button,
the player will begin to play back the first
track of the last disc you have inserted.
. While the player is in the loading mode,
if you press “FM AM”button, the player will
enter standby mode. Press the “CD ”
button (1) to start playback.
! Loading all the magazine (Full disc
loading mode)
1. If you continue to press the “LOAD
”button
(10) for more than 1.5 seconds, the
player will produce beep sound and will
enter the full disc loading mode.
2. A “disc number ”indicator will blink,
and “ALL LOAD ”will be on display for a
period of 15 seconds. If a disc is success-
fully loaded during this period, the disc
number indicator will stop blinking and will
steadily light.
3. When the loading of a disc is com-
plete, the next disc number indicator will
blink. Then repeat Step 2.
4. When the magazine is filled with discs
by repeating Steps 2 and 3, the player will
start playback of the discs, beginning with
the one inserted first.
If you fail to insert any disc during each 15
seconds interval, the full disc loading
mode will be canceled, and the player will
start playback of the disc inserted first.
! How to play back a CD or make a
pause
! When there is no CD inserted:
Insert a CD by referring to “How to insert a
CD(s) ”.
When a CD is loaded, the player will start
playback of the CD, beginning with the
first track.
Audio
5-23
– CONTINUED –
ProCarManuals.com
Page 218 of 409
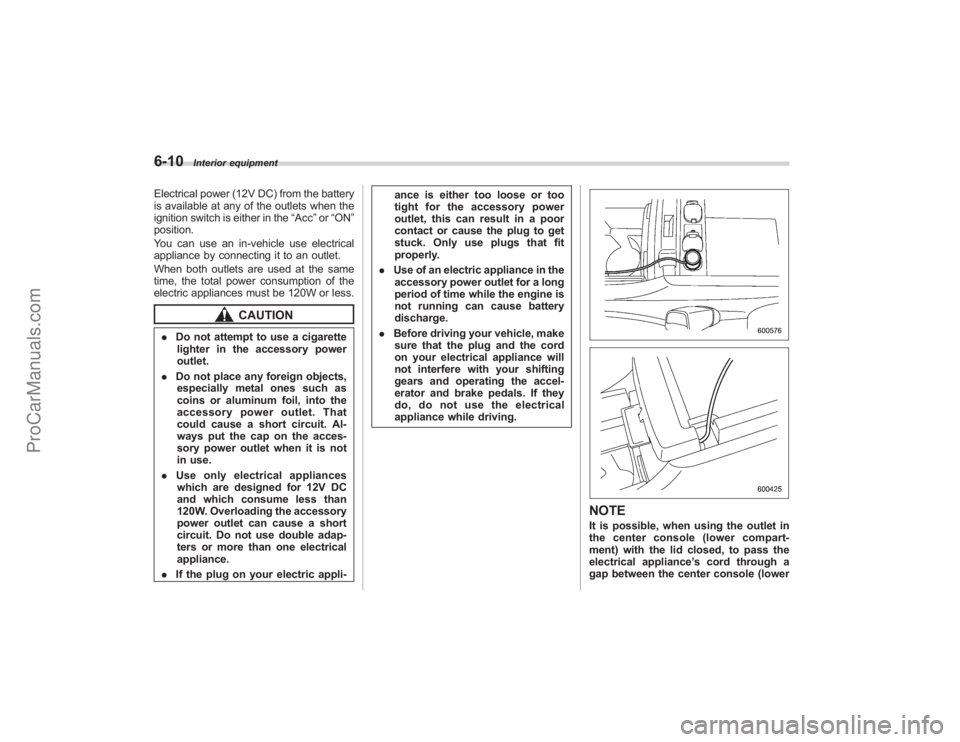
6-10
Interior equipment
Electrical power (12V DC) from the battery
is available at any of the outlets when the
ignition switch is either in the“Acc”or “ON ”
position.
You can use an in-vehicle use electrical
appliance by connecting it to an outlet.
When both outlets are used at the same
time, the total power consumption of the
electric appliances must be 120W or less.
CAUTION
. Do not attempt to use a cigarette
lighter in the accessory power
outlet.
. Do not place any foreign objects,
especially metal ones such as
coins or aluminum foil, into the
accessory power outlet. That
could cause a short circuit. Al-
ways put the cap on the acces-
sory power outlet when it is not
in use.
. Use only electrical appliances
which are designed for 12V DC
and which consume less than
120W. Overloading the accessory
power outlet can cause a short
circuit. Do not use double adap-
ters or more than one electrical
appliance.
. If the plug on your electric appli- ance is either too loose or too
tight for the accessory power
outlet, this can result in a poor
contact or cause the plug to get
stuck. Only use plugs that fit
properly.
. Use of an electric appliance in the
accessory power outlet for a long
period of time while the engine is
not running can cause battery
discharge.
. Before driving your vehicle, make
sure that the plug and the cord
on your electrical appliance will
not interfere with your shifting
gears and operating the accel-
erator and brake pedals. If they
do, do not use the electrical
appliance while driving.
NOTEIt is possible, when using the outlet in
the center console (lower compart-
ment) with the lid closed, to pass the
electrical appliance ’s cord through a
gap between the center console (lower
ProCarManuals.com