2008 SUBARU OUTBACK light
[x] Cancel search: lightPage 183 of 444
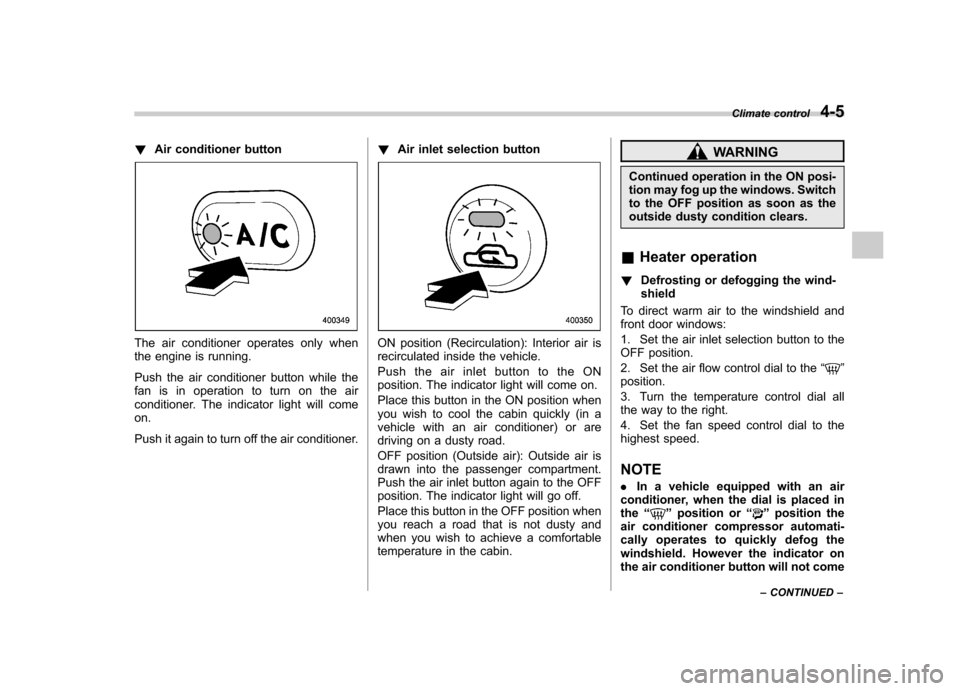
!Air conditioner button
The air conditioner operates only when
the engine is running.
Push the air conditioner button while the
fan is in operation to turn on the air
conditioner. The indicator light will comeon.
Push it again to turn off the air conditioner. !
Air inlet selection buttonON position (Recirculation): Interior air is
recirculated inside the vehicle.
Push the air inlet button to the ON
position. The indicator light will come on.
Place this button in the ON position when
you wish to cool the cabin quickly (in a
vehicle with an air conditioner) or are
driving on a dusty road.
OFF position (Outside air): Outside air is
drawn into the passenger compartment.
Push the air inlet button again to the OFF
position. The indicator light will go off.
Place this button in the OFF position when
you reach a road that is not dusty and
when you wish to achieve a comfortable
temperature in the cabin.
WARNING
Continued operation in the ON posi-
tion may fog up the windows. Switch
to the OFF position as soon as the
outside dusty condition clears.
& Heater operation
! Defrosting or defogging the wind-shield
To direct warm air to the windshield and
front door windows:
1. Set the air inlet selection button to the
OFF position.
2. Set the air flow control dial to the “
”
position.
3. Turn the temperature control dial all
the way to the right.
4. Set the fan speed control dial to the
highest speed.
NOTE . In a vehicle equipped with an air
conditioner, when the dial is placed in the “
”position or “”position the
air conditioner compressor automati-
cally operates to quickly defog the
windshield. However the indicator on
the air conditioner button will not come Climate control
4-5
– CONTINUED –
Page 184 of 444
4-6Climate control
on. At the same time, the air inlet
selection is automatically set to “out-
side air ”mode.
In this state, you cannot select “recir-
culation ”mode by manually pressing
the air inlet selection button.
Also, you cannot stop the air condi-
tioner compressor by pressing the air
conditioner button.. Warm air also comes out from the
right and left air outlets. To stop warm
air flow from these outlets, turn the
corresponding wheel to the “
”posi-
tion. ! Heating and defrosting
To direct warm air toward the floor and the windshield:
1. Set the air inlet selection lever to the “ OFF ”position.
2. Set the air flow control dial to the “
”
position.
3. Set the temperature control dial to the
most comfortable level.
4. Set the fan speed control dial to the
desired speed.
NOTE . In a vehicle equipped with an air
conditioner, when the dial is placed in the “
”position or “”position the air conditioner compressor automati-
cally operates to quickly defog the
windshield. However the indicator on
the air conditioner button will not come
on. At the same time, the air inlet
selection is automatically set to
“out-
side air ”mode.
In this state, you cannot select “recir-
culation ”mode by manually pressing
the air inlet selection button.
Also, you cannot stop the air condi-
tioner compressor by pressing the air
conditioner button.. Warm air also comes out from the
right and left air outlets. To stop warm
air flow from these outlets, turn the
corresponding wheel to the “
”posi-
tion. ! Heating
To direct warm air toward the floor:
1. Set the air inlet selection button to the
OFF position.
2. Set the air flow control dial to the “
”
position.
3. Set the temperature control dial to the
most comfortable level.
4. Set the fan speed control dial to the
desired speed. NOTE
Warm air also comes out from the right
and left air outlets. To stop warm air
flow from these outlets, turn the corre-
sponding wheel to the
“
”position.
! Bi-level heating
This setting allows you to direct air of
different temperatures from the instrument
panel and foot outlets. The air from the
foot outlets is slightly warmer than from
the instrument panel outlets.
1. Set the air inlet selection button to the
OFF position.
2. Set the air flow control dial to the “
”
position.
3. Set the temperature control dial to the
desired temperature level.
4. Set the fan speed control dial to the
desired speed.
Setting the temperature control dial fully
turned to the red area or blue area
decreases the temperature difference
between the air from the instrument panel
outlets and the air from the foot outlets. ! Ventilation
To force outside air through the instrument
panel outlets:
1. Set the air inlet selection button to the
OFF position.
Page 186 of 444
4-8Climate control
Automatic climate control
system (if equipped) NOTE .Operate the automatic climate con-
trol system when the engine is running. . The blower fan rotates at a low
speed when the engine coolant tem-
perature is low.
For efficient defogging or dehumidify-
ing in cold weather, press the “A/C ”
button.. Even when cooling is not necessary,
setting the temperature much lower
than the current outlet air temperature
turns on the air conditioner compres-
sor automatically and the “A/C ”indi-
cator light on the control panel comeson.
The automatic climate control system
automatically controls outlet air tempera-
ture, fan speed, air flow distribution air-
inlet control, and air conditioner compres-
sor operation. It activates when the“ AUTO ”button is pressed, and is used to
maintain a constant, comfortable climate
within the passenger compartment.
The temperature can be set within a range
of 65 to 85 8F (18 to 32 8C). &
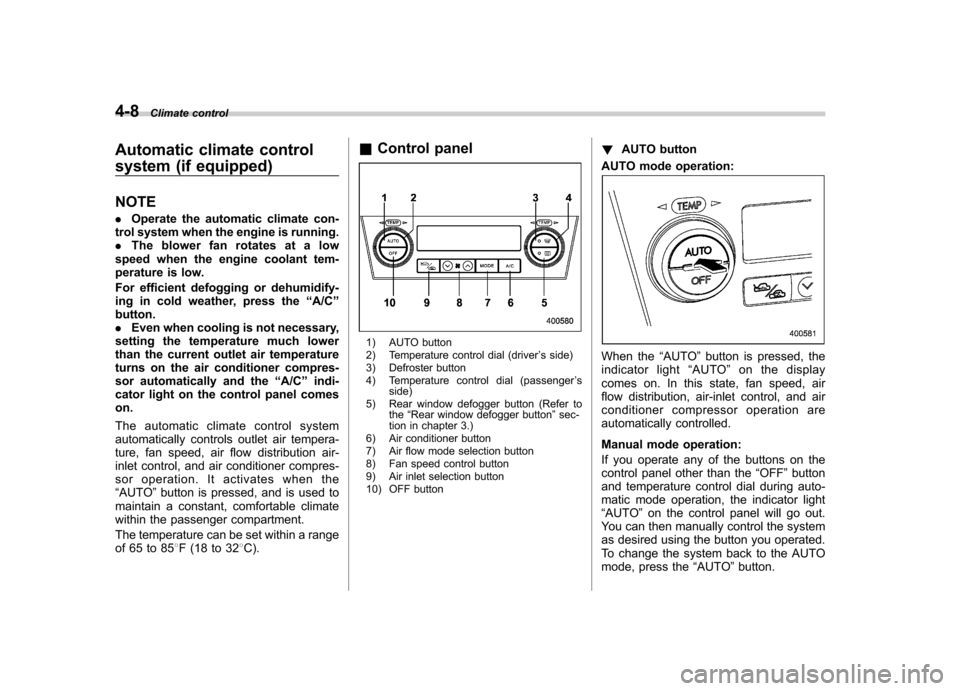
Control panel
1) AUTO button
2) Temperature control dial (driver ’s side)
3) Defroster button
4) Temperature control dial (passenger ’s
side)
5) Rear window defogger button (Refer to the“Rear window defogger button ”sec-
tion in chapter 3.)
6) Air conditioner button
7) Air flow mode selection button
8) Fan speed control button
9) Air inlet selection button
10) OFF button !
AUTO button
AUTO mode operation:
When the “AUTO ”button is pressed, the
indicator light “AUTO ”on the display
comes on. In this state, fan speed, air
flow distribution, air-inlet control, and air
conditioner compressor operation are
automatically controlled.
Manual mode operation:
If you operate any of the buttons on the
control panel other than the “OFF ”button
and temperature control dial during auto-
matic mode operation, the indicator light“ AUTO ”on the control panel will go out.
You can then manually control the system
as desired using the button you operated.
To change the system back to the AUTO
mode, press the “AUTO ”button.
Page 188 of 444
4-10Climate control
windows, and the indicator light on the
button comes on.
After eliminating the fogging from the
windshield, return the climate control
system to the AUTO mode by pushingthe “AUTO ”button or turn off by pushing
the “OFF ”button.
Alternatively, push the “
”button again
to return the system to the setting that was
selected before you activated the defros-
ter. ! Fan speed control button
The fan speed control button has 6
different fan speed positions.
The fan speed is shown by the display. !
A/C –Air conditioner button
If the windshield starts to fog when the
climate control system is operated in the
AUTO mode, push the air conditionerbutton “A/C ”to defog and dehumidify.
When this button is pushed, the air
conditioner compressor turns on and the
indicator light “A/C ”on the display comes
on. After eliminating the fogging from the
windshield, set the system back to the
AUTO mode by pushing the “AUTO ”
button.
NOTE
The air conditioner compressor does
not operate when the outside air tem-
perature is below 32 8F(0 8C). !
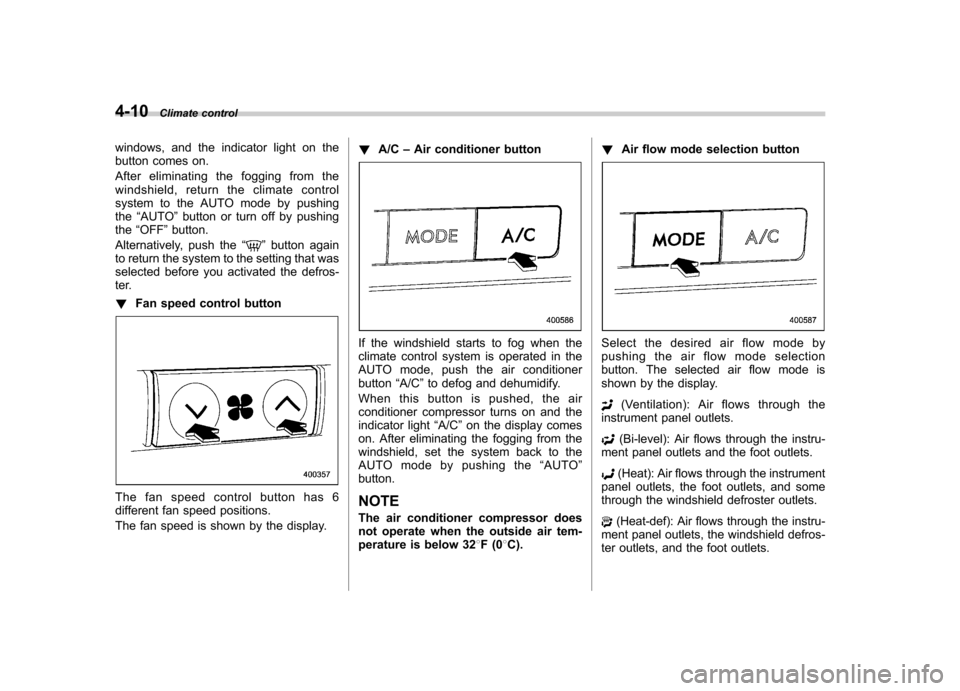
Air flow mode selection buttonSelect the desired air flow mode by
pushing the air flow mode selection
button. The selected air flow mode is
shown by the display.
(Ventilation): Ai r flows through the
instrument panel outlets.
(Bi-level): Air flows through the instru-
ment panel outlets and the foot outlets.
(Heat): Air flows through the instrument
panel outlets, the foot outlets, and some
through the windshield defroster outlets.
(Heat-def): Air flows through the instru-
ment panel outlets, the windshield defros-
ter outlets, and the foot outlets.
Page 189 of 444

!Air inlet selection button
Select air flow by pushing the air inlet
selection button “/”.
The selected air inlet setting is shown on
the control panel.
(Recirculation): Interior air recirculates
inside the passenger compartment. Use
this position when quickly cooling down
the passenger compartment or to prevent
outside air from entering the passenger
compartment. When the recirculation
mode is selected, a “
”indicator light
appears on the display.
(Outside air): Outside air is drawn into
the passenger compartment. When the
climate control system is operated in the“ AUTO ”mode, this position is selected
automatically. (There is one exception: When the temperature control dial is
turned fully counterclockwise, the recircu-
lation mode is automatically selected.)
When the outside air mode is selected, a“
”
indicator light appears on the dis-
play.
WARNING
Continued operation in the “
”
position may fog up the windows.
Switch to the “
”position as soon
as the outside dusty condition clears.
NOTE
When driving on a dusty road or behind
a vehicle that emits unpleasant exhaust
gases, set the air inlet selection button
to the “
”position.
From time to time, return the air inlet
selection button to the “
”position
to draw outside air into the passenger compartment. &
Temperature sensors
1) Solar sensor
2) Interior air temperature sensor
The automatic climate control system
employs several sensors. These sensors
are delicate. If they are treated incorrectly
and become damaged, the system may
not be able to control the interior tempera-
ture correctly. To avoid damaging the
sensors, observe the following precau-tions: – Do not subject the sensors to impact.
– Keep water away from the sensors.
– Do not cover the sensors.
The sensors are located as follows:– Solar sensor: beside windshield
defroster grille Climate control
4-11
– CONTINUED –
Page 190 of 444

4-12Climate control
–Interior air temperature sensor: on the
side of the driver-side part of the center panel – Outside temperature sensor: behind
front grille. Operating tips for heater and
air conditioner &
Cleaning ventilator grille
Always keep the front ventilator inlet grille
free of snow, leaves, or other obstructions
to ensure efficient heating and defrosting.
Since the condenser is located in front of
the radiator, this area should be kept clean
because cooling performance is impaired
by any accumulation of insects and leaves
on the condenser. &Efficient cooling after parking
in direct sunlight
After parking in direct sunlight, drive with
the windows open for a few minutes to
allow outside air to circulate into the heated interior. This results in quicker
cooling by the air conditioner. Keep the
windows closed during the operation of
the air conditioner for maximum cooling
efficiency. &
Lubrication oil circulation in
the refrigerant circuit
Operate the air conditioner compressor at
a low engine speed (at idle or low driving
speeds) a few minutes each month during
the off-season to circulate its oil. & Checking air conditioning
system before summer sea-son
Check the air conditioner unit for refriger-
ant leaks, hose conditions, and proper
operation each spring. Have your
SUBARU dealer perform this check. & Cooling and dehumidifying in
high humidity and low tem-
perature weather condition
Under certain weather conditions (high
relative humidity, low temperatures, etc.) a
small amount of water vapor emission
from the air outlets may be noticed. This
condition is normal and does not indicate
any problem with the air conditioningsystem.
Page 207 of 444
5-16Audio
no idle position in the magazine.
2. When the “LOAD ”indicator flashes,
insert the disc. Once you have inserted
the disc, the “LOAD ”indicator will go off.
The disc will then be automatically drawn
in, and the player will begin to play back
the first track of the disc. . To insert more discs in succession,
repeat Steps 1 and 2. The magazine will
be loaded with discs in the ascending
order of position number.
If you do not insert any disc in 15 seconds
after you have pressed the “LOAD ”button,
the player will begin to play back the first
track of the last disc you have inserted. . The disc indicator steadily lights up if a
disc is already inserted in the correspond-
ing position of the magazine. . While the player is in the loading mode,
if you press “FM AM ”, “SAT ”or “AUX ”
button, the player will enter the standby
mode. Press the “CD ”button to start
playback. !
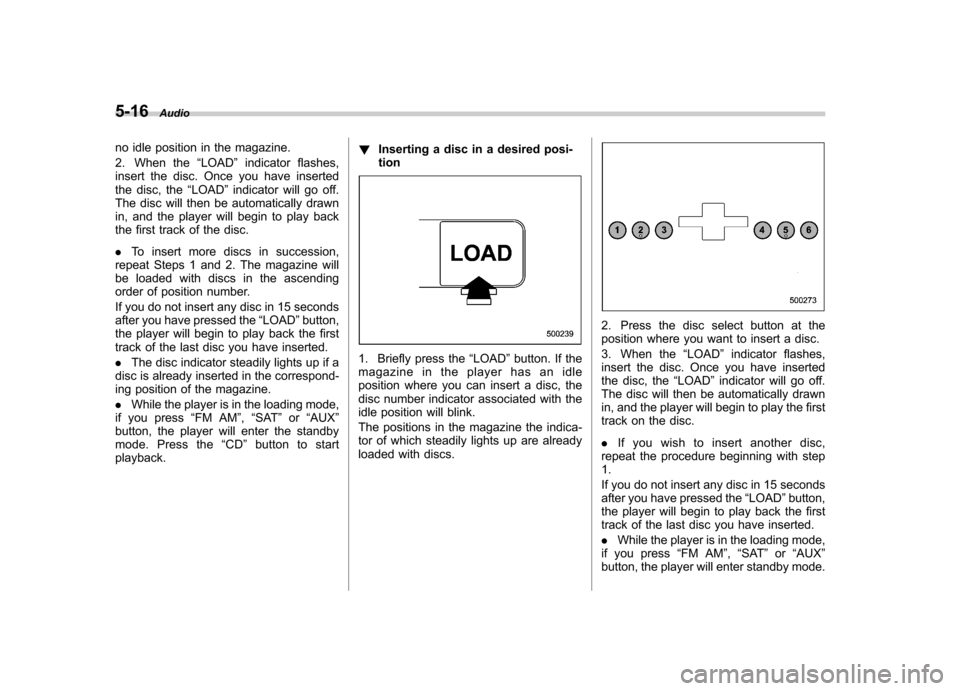
Inserting a disc in a desired posi-tion
1. Briefly press the “LOAD ”button. If the
magazine in the player has an idle
position where you can insert a disc, the
disc number indicator associated with the
idle position will blink.
The positions in the magazine the indica-
tor of which steadily lights up are already
loaded with discs.
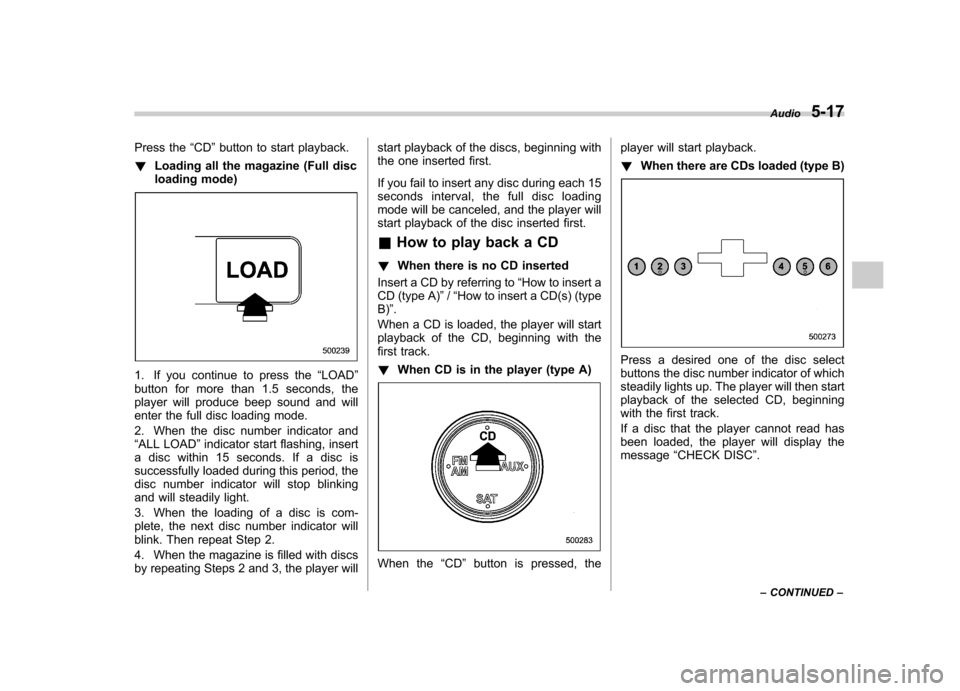
2. Press the disc select button at the
position where you want to insert a disc.
3. When the “LOAD ”indicator flashes,
insert the disc. Once you have inserted
the disc, the “LOAD ”indicator will go off.
The disc will then be automatically drawn
in, and the player will begin to play the first
track on the disc. . If you wish to insert another disc,
repeat the procedure beginning with step 1.
If you do not insert any disc in 15 seconds
after you have pressed the “LOAD ”button,
the player will begin to play back the first
track of the last disc you have inserted. . While the player is in the loading mode,
if you press “FM AM ”, “SAT ”or “AUX ”
button, the player will enter standby mode.
Page 208 of 444
Press the“CD ”button to start playback.
! Loading all the magazine (Full disc
loading mode)
1. If you continue to press the “LOAD ”
button for more than 1.5 seconds, the
player will produce beep sound and will
enter the full disc loading mode.
2. When the disc number indicator and “ ALL LOAD ”indicator start flashing, insert
a disc within 15 seconds. If a disc is
successfully loaded during this period, the
disc number indicator will stop blinking
and will steadily light.
3. When the loading of a disc is com-
plete, the next disc number indicator will
blink. Then repeat Step 2.
4. When the magazine is filled with discs
by repeating Steps 2 and 3, the player will start playback of the discs, beginning with
the one inserted first.
If you fail to insert any disc during each 15
seconds interval, the full disc loading
mode will be canceled, and the player will
start playback of the disc inserted first.
& How to play back a CD
! When there is no CD inserted
Insert a CD by referring to “How to insert a
CD (type A) ”/“How to insert a CD(s) (type
B) ”.
When a CD is loaded, the player will start
playback of the CD, beginning with the
first track. ! When CD is in the player (type A)
When the “CD ”button is pressed, the player will start playback. !
When there are CDs loaded (type B)
Press a desired one of the disc select
buttons the disc number indicator of which
steadily lights up. The player will then start
playback of the selected CD, beginning
with the first track.
If a disc that the player cannot read has
been loaded, the player will display themessage “CHECK DISC ”. Audio
5-17
– CONTINUED –