2008 Seat Leon 5D ESP
[x] Cancel search: ESPPage 14 of 96
Quick Reference Guide13
– Press the function button ,
, or
to open the corresponding
settings menu.
– Turn the setting knob or use the or function buttons to alter
the current setting. The graphic scale shows the adjustment of
the setting ⇒page 12, fig. 6 .
To give you an idea of the changes you are making when adjusting the volume
settings, the current audio source is played at the adjusted settings while you
make an adjustment.
Changes to tone, volume and volume distribution always apply to all audio
sources.
Functional description of speed- dependent volume control (GALA)
You can set the degree to which the volume increases with speed (GALA) on
a scale between 1 and 7. At 0, speed-dependent volume control is switched
off (display: Off).
The noise level in the vehicle increases with vehicle speed. The GALA function
automatically adjusts the volume in line with the speed of the vehicle.
If a low value is set, the volume rises only slightly when the speed of the
vehicle increases.
If a high value is set, the volume rises significantly when the speed of the
vehicle increases.
In this way you can always adjust the GALA function in each situation in the
most optimum manner (for example, if dr iving with the windows open or if the
vehicle is equipped with a roof carrier).
The basic volume is still changed with the volume control ⇒page 3, fig. 1
.
Switch-on volume
Traffic announcements (TP)
Navigation volume
Speed-dependent vol. adjustment SCV
+
-
A1
media_system_ingles.book Seite 13 Donnerstag, 5. Februar 2009 3:31 15
Page 22 of 96
RADIO function selection button21
Open the RADIO main menu ⇒ page 14 and disable radio text if
necessary ⇒page 21.
Selecting stations
– Switch on station button display as described ⇒page 19.
– You can mark the station button s in sequence by turning the
setting knob ⇒page 3, fig. 1 . The station store to the
marked station button appears on the screen.
– Briefly press the setting knob to select the station displayed on
the screen.
– You can directly select a station that is stored to a station button by briefly pressing the respective station button.
Selecting stored stations with the arrow buttons (SETUP)
–In the RADIO main menu, press the button to open the
Radio settings menu.
– Then press the function button and select
in the pop-up menu window ⇒page 20, fig. 16 . In
the RADIO main menu, “
” is then displayed at the top left
of the screen ⇒page 20, fig. 15 .
– Pressing the arrow buttons on the unit ⇒page 3, fig. 1 will
now only switch between the stations stored to the station
buttons. This also means that the unit will change to a station on
a different frequency band (FM/AM). Unused memory locations
will be ignored.
– To use the arrow buttons to switch between all receivable
stations again, go to the Radio settings menu and for
select . Deleting stored stations (SETUP)
–In the
RADIO main menu, press the button.
– Then press the function button ⇒page 20,
fig. 16 .
– Press one of the options to select whether to delete individual stations or all stored stations.
– To delete all stations stored to the station button, press .
– If you have selected , turn the setting knob ⇒page 3,
fig. 1 to mark a station button. The station currently stored to
that button will be displayed. Press the setting knob to delete the
station displayed on the screen.
It is only possible to play a stored station if it can be received at your currently
location.RDS (Radio Data System) and radio text
R DS i s u s ed t o t ra n s m i t p ro g ra mme identifiers and additional
service (e.g. radio text) and supports features such as “auto-
matic station tracking”.Open the RADIO main menu ⇒ page 14.
Switching radio text display on and off
– Press the button at the top right of the unit ⇒ page 3, fig. 1
to switch radio text display on or off.
A10
SETUP
arrow buttons
Memory list
A3
arrow buttons
Station list
SETUP
delete presets
All
Individual
A10
A7
media_system_ingles.book Seite 21 Donnerstag, 5. Februar 2009 3:31 15
Page 23 of 96
RADIO function selection button
22
– If the currently selected station supports radio text, the text will be displayed below the station name. Note that no station
buttons will appear while radio text is displayed.
– You can switch off radio text display by pressing the button again.
Adjusting station tracking settings (SETUP)
–In the RADIO main menu, press the button to open the Radio settings menu.
– The press the function button and press an
option to select or in the pop-up window by
pressing ⇒page 22, “Station tracking and RDS regional”.RDS and radio text
The station names of RDS-compatible radio stations are displayed on the
screen provided the reception is strong enough.
Some RDS-compatible stations also transmit additional text known as radio
text. Radio text can also be displayed on the screen.
Not all radio stations support RDS and radio text.
The individual radio station is responsible for the information displayed.
Changing stored radio station names
If an RDS-compatible radio station broadcasts additional information (radio
text) while the station is being stored, the name of the radio station may
subsequently be incorrectly displayed.
In this case, you can change the displayed station name manually.
Select the stored station and wait until the correct name appears on the
screen. If you then briefly press the setting knob, the text currently displayed
on the screen will be stored as the station name. Station tracking and RDS regional
FM radio stations broadcast under the same name on several different
regional frequencies. Some of these “
broadcasting stations” temporarily or
always broadcast different content a ccording to region under the name
name.
As the default setting, the automatic station tracking always switches auto-
matically to the radio station's frequency that offers the best reception, as the
vehicle travels from one area to the next (setting: ).
This can, however, result in a region al radio programme being interrupted as
the unit switches to another frequency with a better reception, on which the
same radio station is broadcast from a different regional broadcasting
station.
If you change the setting to when travelling through the broadcasting
range of a radio station, the radio-navi gation system will attempt for as long
as possible to tune only to alternat ive frequencies for the selected regional
broadcasting station.
SETUP
RDS RegionalFixed
Automatic
RDS regional
Automatic
Fixed
media_system_ingles.book Seite 22 Donnerstag, 5. Februar 2009 3:31 15
Page 25 of 96
RADIO function selection button
24Traffic announcements will interrupt the active audio mode. The radio will
switch to the traffic news station for the duration of the traffic announcement.
The media mode will be paused for the duration of the traffic announcement.
If no TP station can be received at any time, e.g. because radio reception is
generally poor, then No TP is displayed instead of TP. Keep in mind that in
covered garages, tunnels, areas with tall buildings or mountains, the radio
signal may encounter interference, perhaps even being lost completely.
On the AM frequency band, traffic news monitoring with the traffic news func-
tion is not possible. No TP is displayed permanently.
EON (Enhanced Other Network)
If the selected radio station does not broadcast its own traffic news, but does
support EON (Enhanced Other Network), the unit will temporarily switch over
to play traffic announcements from a corresponding traffic news station as
they are broadcast. This happens only when the traffic news function is
switched on and the corresponding traffic news station can be received.
If this is the case, pressing the button will not make the unit switch to a
traffic news station. The traffic news function remains active and TP is
displayed.
Search function and traffic news monitoring
If traffic news monitoring is switched on in FM mode, you will only be offered
traffic news stations when carrying out a station search with the arrow
buttons ⇒ page 15 or using the scan function ⇒page 17.
While the unit is in FM mode and the traffic news function is switched on, if
you select via the station buttons or manually tune to a radio station that does
not support the traffic news function, the text NO TP will flash on the display
for three seconds. NO TP is then displayed permanently. The unit will remain
tuned to the selected station. Only when you switch to media mode will the
unit automatically retune in the background to the next receivable traffic
news station and TP will appear again on the display.
In FM mode , the text NO TP will flash for three seconds when the reception of
the selected traffic news station is completely lost. NO TP is then displayed permanently. If you start the automatic station search with the arrow buttons
⇒
page 15, the unit searches for the next traffic news station it can receive.
In media mode the unit will automatically retune in the background to the
next receivable traffic news station when the selected traffic news station can
no longer be received.
Incoming traffic announcement
A pop-up window opens ⇒page 23, fig. 18 while a traffic announcement is
being played.
If you wish to stop the traffic announcement, press the function
button in the pop-up window. The traffic station function remains active and
plays the next traffic bulletin receiv ed. Press the function button to
fully deactivate the TP function.
The unit switches to a predefined volume for the duration of the traffic
announcement. You can adjust the predefined volume in the sound settings
main menu ⇒ page 12. During a traffic announcement, you can alter the
predefined volume with the volume control ⇒page 3, fig. 1 .
TP
Cancel
TP off
A1
media_system_ingles.book Seite 24 Donnerstag, 5. Februar 2009 3:31 15
Page 26 of 96
MEDIA function selection button25
MEDIA function selection buttonNotes and requirementsGeneral notes
A range of different audio file formats can be played from
various data media.The internal CD drive can be used to play CD-ROM, CD-R or CD-RW with the
format CD-DA (Digital Audio) and the SD card slot supports various different
SD memory cards ⇒page 25.
MP3 files can also be played ⇒page 26.
MP3 files on data media are often organised into folders and in playlists to
determine a certain playing order ⇒page 40, “Playing order of files and
folders”.
Copyright
Music files stored on data media are normally subject to national and inter-
national copyright laws. In certain countries, copying is prohibited, even for
personal use, without previous authorisation from the owner.
Respect the legislation in force related to intellectual property rights.
The previous limitations do not apply if you already have said rights for using
compositions or recordings or own them.Data mediaMP3 files can be played from the following data media: CD requirements
•
CD-ROM, CD-R and CD-RW with a capacity of 650 MB and 700 MB.
•
The CDs must conform to Standard ISO 9660 Level 1 or 2. This is the
customary international standard for the format logic of files and folders on a
CD-ROM.
•
CDs that comply with the Joliet file system (single session or multi-
session) can also be played.
•
CDs that have been wholly or partly recorded with “Packet writing” (UDF
7)
or Direct CD formats) cannot be played.
Memory card requirements
•
The memory card slot accepts memory cards with the dimensions
32 mm x 24 mm x 2.1 mm or 1.4 mm.
•
The unit can read SD memory cards (Secure Digital Memory Cards) and
MMC memory cards (Multimedia Cards) with a capacity of up to 4 GB.
•
The unit also supports SDHC memory cards (Secure Digital High-Capacity
Memory Cards) with a capacity of up to 32 GB.
Audio CDs with CD text
The unit can also play audio CDs with CD text. These CDs also contain text
information, which can be displayed on the screen, such as the track, the
album and the artist.
CDs with CD text are played just like normal audio CDs.
7)Windows Vista
® uses UDF format by default when recording onto CDs. Select the
“Mastered” format to create CDs in a format supported by the unit.
media_system_ingles.book Seite 25 Donnerstag, 5. Februar 2009 3:31 15
Page 29 of 96
MEDIA function selection button
28MEDIA main menuOverview
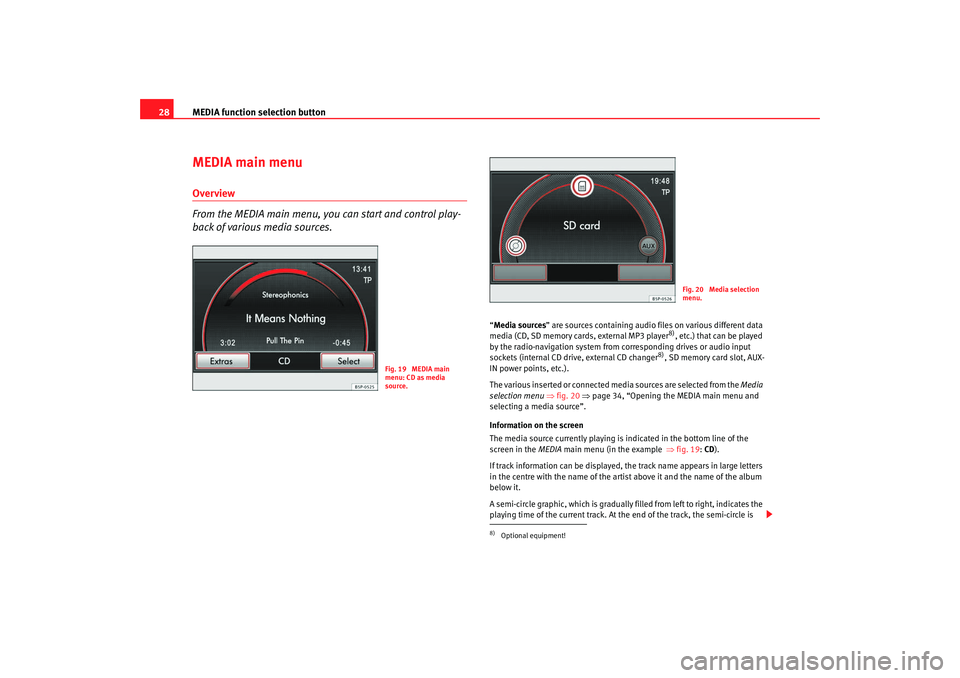
From the MEDIA main menu, you can start and control play-
back of various media sources.
“ Media sources ” are sources containing audio files on various different data
media (CD, SD memory cards, external MP3 player
8), etc.) that can be played
by the radio-navigation system from corresponding drives or audio input
sockets (internal CD drive, external CD changer
8), SD memory card slot, AUX-
IN power points, etc.).
The various inserted or connected media sources are selected from the Media
selection menu ⇒fig. 20 ⇒page 34, “Opening the MEDIA main menu and
selecting a media source”.
Information on the screen
The media source currently playing is indicated in the bottom line of the
screen in the MEDIA main menu (in the example ⇒fig. 19 : CD ).
If track information can be displayed, the track name appears in large letters
in the centre with the name of the artist above it and the name of the album
below it.
A semi-circle graphic, which is gradually filled from left to right, indicates the
playing time of the current track. At the end of the track, the semi-circle is
Fig. 19 MEDIA main
menu: CD as media
source.
8)Optional equipment!
Fig. 20 Media selection
menu.
media_system_ingles.book Seite 28 Donnerstag, 5. Februar 2009 3:31 15
Page 30 of 96
MEDIA function selection button29
completely filled. The elapsed playing time is displayed at the bottom left and
the remaining playing time at the bottom right of the screen in
minutes/seconds. The remaining playi ng time cannot be displayed for files
with variable bit rate (VBR).
Unit buttons (hard keys) for controlling the media sources
Press the function selec tion button opens the MEDIA main menu.
The arrow buttons on the unit ⇒page 3, fig. 1 or always refer to the
audio source you are currently listening to, whatever menu you are in at the
time.
– press briefly in the MEDIA main menu to open the Media selection
menu and press again to switch to the next available media source
⇒ page 34.
- press briefly to go to the beginni ng of the current track and press again
to go to the beginning of the previous track. Press and hold for fast reverse.
- briefly press to go to the beginning of the next track. Press and hold for
fast forward.
– press briefly to display or hide additional information on the audio file
currently playing (e.g. its loc ation on the data medium).
– press briefly to switch to the MEDIA main menu view.
Setting knob – turn to open the track list and display the track currently
playing ⇒page 36.
– press briefly to open the Media settings menu.
Function buttons in the MEDIA main menu: – press briefly to open a pop-up window with more function buttons
for selection of various play modes ⇒page 34.
– press briefly to open the track list and display the track currently
playing ⇒page 36.
Caution
Refer to the notes on requirements for data media, folders and playlists
⇒page 25.
Note
If any of the function buttons in the Media selection menu is disabled, this
means that no data medium for this sour ce is currently inserted or connected,
or the respective data medium cannot be read ⇒page 28, fig. 20 .Inserting a media sourceInserting or ejecting a CD
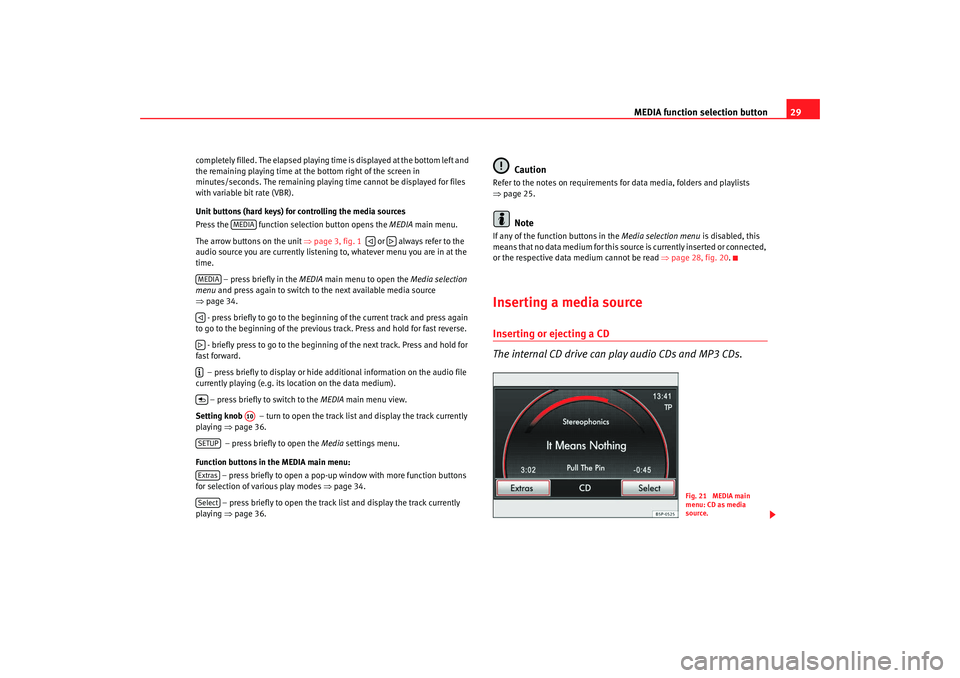
The internal CD drive can play audio CDs and MP3 CDs.
MEDIA
MEDIA
A10
SETUPExtrasSelect
Fig. 21 MEDIA main
menu: CD as media
source.
media_system_ingles.book Seite 29 Donnerstag, 5. Februar 2009 3:31 15
Page 40 of 96

MEDIA function selection button39
– Tick the checkbox in the function button if
you wish to include the current folder's subfolders in the selected
playback mode.
To include subfolders, this setting must be enabled before the playback
mode is selected.
Please also note the following points concerning selectable playback modes
⇒ page 40, “Playing order of files and folders”.
Scan
When scan is switched on, the track of the current folder (with its subfolders
depending on the settings) or the current media source are played in
sequence for 10 seconds each. Automatic playback commences with the
following track.
Alternatively, you can also start and stop the scan function by briefly pressing
the setting knob ⇒page 3, fig. 1 .
Mix (random play)
Random play remains activate for the corresponding media source until it is
closed for that source.
Mix (audio CD): The tracks on the currently playing audio CD will be played in
random order.
Mix folder (MP3 mode): The tracks contained in the currently playing folder
and in its subfolders depending on the settings will be played in random
order.
Mix all (MP3 mode): All tracks on the currently playing media source will be
played in random order ⇒page 38, fig. 30 .
Repeat
The repeat function remains active for the corresponding media source until
it is closed for that source. Repeat track
: When the current track has been played, it will be repeated until
this function is switched off.
Repeat folder (MP3 mode): The playback of all tracks contained in the
currently playing folder and in its subfolders depending on the settings will
be repeated.
Scan/mix/repeat inc
A10
media_system_ingles.book Seite 39 Donnerstag, 5. Februar 2009 3:31 15