2008 Seat Ibiza 5D ABS
[x] Cancel search: ABSPage 205 of 260
If and when203
Safety First
Operating instructions
Practical tips
Te c h n i c a l D a t a
If and whenVehicle tools, spare wheelVeh icle To ols
The vehicle onboard tools are located under the floor panel in
the luggage compartment.–Lift floor panel.
– Take the onboard tools out of the vehicle.The tool kit includes:•
Jack*
•
Hook to remove integral* trim and screw caps.
•
Box spanner for wheel bolts*
•
Reversible screwdriver with handle (i ncluding hexagonal interior) for the
wheel bolts. The screwdriver is a combination tool.
•
Towing ring*
•
Adapter for the anti-theft wheel bolts*
Some of the items listed are only provided in certain models / model years,
or are optional extras.
WARNING
•
Do not use the hexagonal socket in the screwdriver handle to tighten
the wheel bolts as with this it is not possible to tighten the bolts to the
required torque. Risk of accident.
•
The jack supplied by the factory is only designed for changing wheels
on this model. On no account attempt to use it for lifting heavier vehicles
or other loads. Risk of injury.
•
Use the jack only on a firm, level ground.
•
Never start the engine when the vehicle is on the jack. Risk of accident.
•
I f w o r k is t o b e ca r r i e d o ut un d e r n ea t h t h e v e h i cle , t h is m u st b e s e c ure d
by suitable means. Otherwise, there is a risk of injury.
Spare wheel (emergency wheel)*
The compact temporary spare wheel (emergency wheel)
should only be used for the absolute minimum time required.The temporary spare wheel is stored under the floor panel in the luggage
compartment and is attached by a thumbnut.
How to use the compact temporary spare wheel
If you have a puncture or loss of pressure, the emergency wheel is only
intended for temporary use until you re ach a workshop. Change it for a duty
wheel as soon as possible.
Please note the following restrictions when using the compact temporary
spare wheel. This spare wheel has been specially designed for your vehicle,
thus, it cannot be changed with the spare wheel from another vehicle.
No other type of tyre (normal summer or winter tyre) may be fitted on the
compact temporary spare wheel rim.
WARNING (continued)
Ibiza250_angles Seite 203 Dienstag, 5. August 2008 1:11 13
Page 215 of 260
If and when213
Safety First
Operating instructions
Practical tips
Te c h n i c a l D a t a
Fuses on left side of dash panelFuses
Number Consumer Amperes
1 Power steering/Engine operation 7,5
2 Instrument panel/Heate
r/Autoclima/Climatronic/Electro-chrome mirror/Air conditioning pressure switch/
Clima fan, Kisi 10
3 Petrol engine control unit/Flow meter/Diesel engine control unit/Relay coils/Engine operation 5
4 ABS/ESP switch (turning sensor) 10
5 Reverse light heating nozzle 10
6 Diagnosis 10
7 AIRBAG power supply 5
8 Petrol engine operation / Bi-turbo secondary water pump 10
9C le a n p um p 10
10 GRA (Cruise control)/Clutch (Petrol)/Brakes (all) 5
11 Vacant
12 Automatic gearbox 10
13 Coming Home 5
14 Left-hand AFS headlamps 15
15 Right-hand AFS headlamps 15
16 AFS headlamp control unit 15
17 Registration plate light + Di mmer + Position indicator light 5
18 Headlight control 5
19 Electronic control unit 5
20 Indicators 15
Ibiza250_angles Seite 213 Dienstag, 5. August 2008 1:11 13
Page 226 of 260
If and when
224Changing bulbs on rear lights– Remove the housing connector ⇒page 223, fig. 155 .– Remove the lamp holder, separating it from the casing. To do
this, press tabs in the direction of the arrows ⇒ fig. 156.
– Once the lamp holder has been removed, press in the direction of the arrow and at the same time, turn in the direction of the
arrow ⇒fig. 157 .
Side indicator lamps– Press the indicator to the left or to the right to remove the lamp.
– Remove the lamp holder from the indicator.
– Remove the failed bulb and replace with a new bulb.
– Insert the lamp holder in the indicator guide until it clicks into place.
Fig. 156 Changing bulbs
on rear lightsFig. 157 Changing bulbs
on rear lights
AA
AB
A1
A2
Fig. 158 Side indicators
Ibiza250_angles Seite 224 Dienstag, 5. August 2008 1:11 13
Page 227 of 260
If and when225
Safety First
Operating instructions
Practical tips
Te c h n i c a l D a t a
– First fit the indicator in the opening in the chassis, fastening the
tabs ⇒page 224, fig. 158, and then fit the lamp as shown by
the arrow ⇒page 224, fig. 158 .Number plate light– Insert the flat part of a screwdriver into the special slot and
remove the bulb.
– Remove the lamp holder, by turning it until it is free.
– Change the bulb.
– Replace the lamp holder, by turning it until it fits fully.
– Place the light into the space and press until you hear a “click”.
Interior light and front reading light To r e m o v e t h e g l a s s
– Insert a fine screwdriver between the casing and the glass ⇒fig. 159.
– Carefully remove the glass, levering it to avoid possible damage.
To replace the lamps
– Pull the lamps outwards.
– To remove the central lamp, hold and press to one side.
Assembly
– Proceed in the reverse order, pressing gently on the outer edge of the side light.
A1
A2
Fig. 159 Front reading
light
Ibiza250_angles Seite 225 Dienstag, 5. August 2008 1:11 13
Page 228 of 260
If and when
226
– First fit the glass with the fastening tabs over the frame of the switch. Next press the front part until the two long tabs click on
the support.Additional brake lights*Given the difficulty involved in the replacement of this light it should be done
by the Technical Service.Boot light*
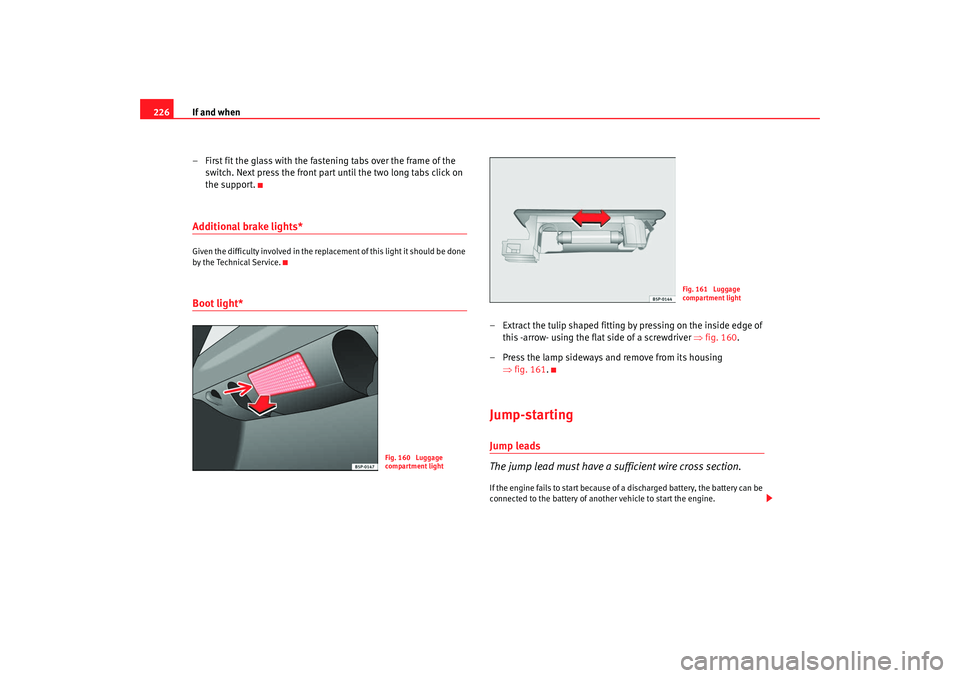
– Extract the tulip shaped fitting by pressing on the inside edge of this -arrow- using the flat side of a screwdriver ⇒ fig. 160.
– Press the lamp sideways and remove from its housing ⇒fig. 161.Jump-startingJump leads
The jump lead must have a sufficient wire cross section.If the engine fails to start because of a discharged battery, the battery can be
connected to the battery of anot her vehicle to start the engine.
Fig. 160 Luggage
compartment light
Fig. 161 Luggage
compartment light
Ibiza250_angles Seite 226 Dienstag, 5. August 2008 1:11 13
Page 251 of 260
Index249
Index
AABS . . . . . . . . . . . . . . . . . . . . . . . . . . . . . . . . . . . 150
Warning lamp . . . . . . . . . . . . . . . . . . . . . . . . . 61
Accessories . . . . . . . . . . . . . . . . . . . . . . . . . . . . 173
Acoustic signal . . . . . . . . . . . . . . . . . . . . . . . . . . 17
Acoustic warning . . . . . . . . . . . . . . . . . . . . . . . . 131
Adjustable service interval display . . . . . . . . . . 56
Air conditioning system Climatronic . . . . . . . . . . . . . . . . . . . . . . . . . . 124
General notes . . . . . . . . . . . . . . . . . . . . . . . . 127
Air conditioning* . . . . . . . . . . . . . . . . . . . . . . . . 121
Air outlets . . . . . . . . . . . . . . . . . . . . . . . . . . . . . . 120
Air recirculation Semi-automatic air conditi oning . . . . . . . . 123
Air recirculation mode Climatronic . . . . . . . . . . . . . . . . . . . . . . . . . . 126
Airbag system . . . . . . . . . . . . . . . . . . . . . . . . . . . 26 Curtain airbags . . . . . . . . . . . . . . . . . . . . . . . 35
Front airbags . . . . . . . . . . . . . . . . . . . . . . . . . 29
Side airbags . . . . . . . . . . . . . . . . . . . . . . . . . . 31
Warning lamp . . . . . . . . . . . . . . . . . . . . . . . . . 27
Alarm system Switching off . . . . . . . . . . . . . . . . . . . . . . . . . 80
Alternator Warning lamp . . . . . . . . . . . . . . . . . . . . . . . . . 66
Ambient temperature display . . . . . . . . . . . . 53, 55
Anti-freeze . . . . . . . . . . . . . . . . . . . . . . . . . . . . . 188 Anti-lock brake system . . . . . . . . . . . . . . . . . . . 150
Warning lamp . . . . . . . . . . . . . . . . . . . . . . . . . 61
Anti-theft alarm system . . . . . . . . . . . . . . . . . . . . 79 Switching off . . . . . . . . . . . . . . . . . . . . . . . . . 80
Anti-theft wheel bolts . . . . . . . . . . . . . . . . . . . . 206
Aquaplaning . . . . . . . . . . . . . . . . . . . . . . . . . . . 199
Automatic anti-dazzle interior mirror* Activating the anti-dazzle function . . . . . . 100
Deactivating anti-dazzle function . . . . . . . . 100
Automatic car washing tunnel . . . . . . . . . . . . . 165
Automatic gearbox . . . . . . . . . . . . . . . . . . . . . . 135 Kick-down feature . . . . . . . . . . . . . . . . . . . . 141
Selector lever positions . . . . . . . . . . . . . . . . 139
Automatic wiper/wash function for the rear window 99
AUX input connection/USB* . . . . . . . . . . . . . . . 115
Auxiliary audio input connection: AUX . . . . . . . 114
BBall coupling . . . . . . . . . . . . . . . . . . . . . . . . . . . 162
BAS . . . . . . . . . . . . . . . . . . . . . . . . . . . . . . . . . . . 149
Battery Changing . . . . . . . . . . . . . . . . . . . . . . . . . . . 196
Charging . . . . . . . . . . . . . . . . . . . . . . . . . . . . 196
Winter conditions . . . . . . . . . . . . . . . . . . . . 195
Belt tension device Disposal . . . . . . . . . . . . . . . . . . . . . . . . . . . . . 25
Warning lamp . . . . . . . . . . . . . . . . . . . . . . . . . 27 Belt tension devices . . . . . . . . . . . . . . . . . . . . . . 25
Biodiesel . . . . . . . . . . . . . . . . . . . . . . . . . . . . . . 180
Biodiesel fuel . . . . . . . . . . . . . . . . . . . . . . . . . . . 180
Bonnet . . . . . . . . . . . . . . . . . . . . . . . . . . . . . . . . 183
Boot . . . . . . . . . . . . . . . . . . . . . . . . . . . . . . . . . . 115
Boot* . . . . . . . . . . . . . . . . . . . . . . . . . . . . . . 96, 226
Brake Assist System
Warning lights auto matic lighting . . . . . . . 149
Brake fluid . . . . . . . . . . . . . . . . . . . . . . . . . . . . . 193 Changing . . . . . . . . . . . . . . . . . . . . . . . . . . . 194
Brake pads . . . . . . . . . . . . . . . . . . . . . . . . . . . . . 153
Brake servo . . . . . . . . . . . . . . . . . . . . . . . 149, 153
Brake system . . . . . . . . . . . . . . . . . . . . . . . . . . . 193 Warning lamp . . . . . . . . . . . . . . . . . . . . . . . . 63
Brakes . . . . . . . . . . . . . . . . . . . . . . . . . . . . . . . . 153
Braking distance . . . . . . . . . . . . . . . . . . . . . . . . 153
Bulb changes general notes . . . . . . . . . . . . . . . . . . . . . . . . 218
Bulb defect Indicator . . . . . . . . . . . . . . . . . . . . . . . . . . . . . 61
Buzzer . . . . . . . . . . . . . . . . . . . . . . . . . . . . . . 94, 131
CCar phone . . . . . . . . . . . . . . . . . . . . . . . . . . . . . . 174
Catalytic converter . . . . . . . . . . . . . . . . . . . . . . . 154
Ibiza250_angles Seite 249 Dienstag, 5. August 2008 1:11 13