Page 131 of 317

Seats and stowage129
Safety First
Operating instructions
Tips and Maintenance
Te c h n i c a l D a t a
Head restraintsCorrect adjustment of head restraints
Properly adjusted head restraints are an important part of
occupant protection and can redu ce the risk of injuries in
most accident situations.
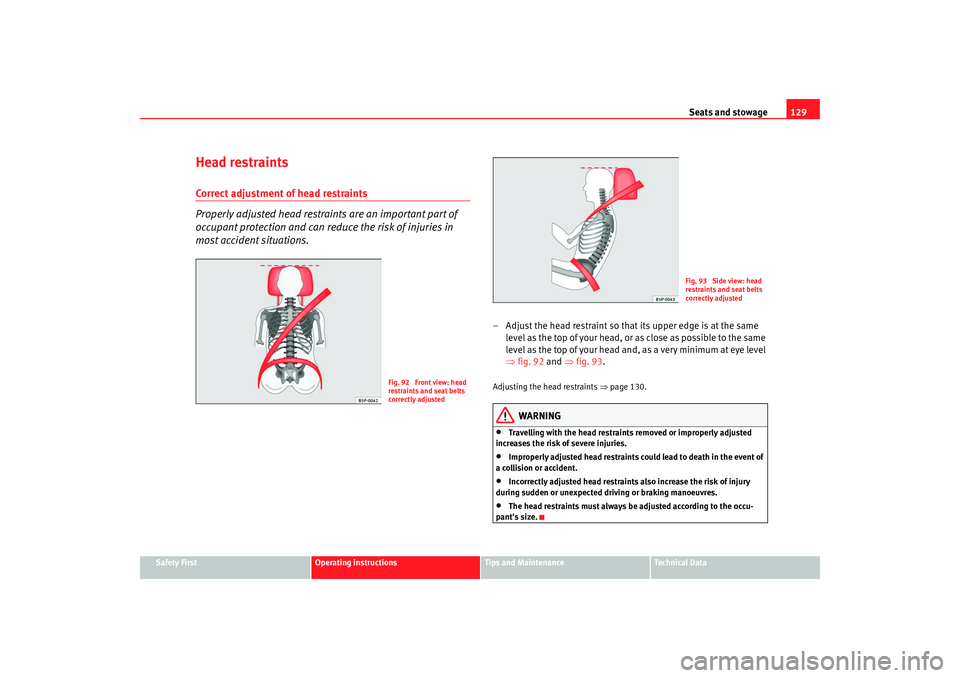
– Adjust the head restraint so that its upper edge is at the same
level as the top of your head, or as close as possible to the same
level as the top of your head and, as a very minimum at eye level
⇒fig. 92 and ⇒ fig. 93.Adjusting the head restraints ⇒page 130.
WARNING
•
Travelling with the head restrain ts removed or improperly adjusted
increases the risk of severe injuries.
•
Improperly adjusted head restraints could lead to death in the event of
a collision or accident.
•
Incorrectly adjusted head restraints also increase the risk of injury
during sudden or unexpected driving or braking manoeuvres.
•
The head restraints must always be adjusted according to the occu-
pant's size.
Fig. 92 Front view: head
restraints and seat belts
correctly adjusted
Fig. 93 Side view: head
restraints and seat belts
correctly adjusted
altea_XL ingles.book Seite 129 Donnerstag, 13. September 2007 10:36 10
Page 133 of 317

Seats and stowage131
Safety First
Operating instructions
Tips and Maintenance
Te c h n i c a l D a t a
Front seatsAdjustment of the front seatsThe control elements in ⇒ fig. 95 are mirrored for the front right-
hand seat.
Adjusting the seat forwards and backwards
– Pull up the grip and move the seat forwards or backwards.
– Then release the grip and move the seat further until the catch engages.
Adjusting the seat height*
– Pull the lever up or push down (several times if necessary) from its home position. This adjusts the seat height in stages. Adjusting the backrest angle
– Take your weight off the backrest and turn the hand wheel.
Adjusting the lumbar support*
– Take your weight off the backrest and turn the hand wheel to adjust the lumbar support.
The backrest curvature of the cushioned area is determined by the settings
made in the lumbar region. This supports the natural curvature of the spine
very effectively.
WARNING
•
Never adjust the driver or front passenger seat while the vehicle is in
motion. While adjusting your seat, you will assume an incorrect sitting
position. Risk of fatal accidents. Adjust the driver or front passenger seat
only when the vehicle is stationary.
•
To reduce the risk of injury to the driver and front passenger during
sudden braking manoeuvres or an accide nt, never drive with the backrest
tilted far to the rear. The maximum pr otection of the seat belt can be
achieved only when the backrests are in an upright position and the driver
and front passenger have properly adjusted their seat belts. The further
the backrests are tilted to the rear, the greater the risk of injury due to
improper positioning of the belt web!
•
Exercise caution when adjusting the seat height or forwards/back-
wards position. Injuries can be caused if the backrest is tilted without due
care and attention.
Fig. 95 Front left seat
controls
A1
A1
A2
A3A4
altea_XL ingles.book Seite 131 Donnerstag, 13. September 2007 10:36 10
Page 135 of 317

Seats and stowage133
Safety First
Operating instructions
Tips and Maintenance
Te c h n i c a l D a t a
The seats may be moved forwards or backwards independently. The
movement can be 1/3 or 2/3 of the seat. There are various possible
positions.
Adjusting reach
– In the seated position, unlock the lever in the direction of the
arrow ⇒page 132, fig. 97 .
– Move the seat cushion forwards or backwards to the desired position.
Backrest angle adjustment
– Hold the backrest at the top. Pull the loop on the side of the seat ⇒page 132, fig. 98 in the direction of the arrow and hold the
loop in this position. Push the backrest to the required position
and release the loop.
WARNING
•
Adjust the seat only when the vehicle is stationary. Otherwise your seat
could move unexpectedly while the vehicle is moving. This could increase
the risk of an accident and therefore injury.
•
Do not push the seatbacks down until th e seat is moved, this is to avoid
damage to the centre console.
•
Ensure that the seat, once moved, is fixed in position.Note
•
In order to maintain the maximum luggage compartment space, put the
seatbacks in position normal, without moving.
•
In order to maintain the maximum space without putting the seatbacks
down, move the seats forward to the desired position.
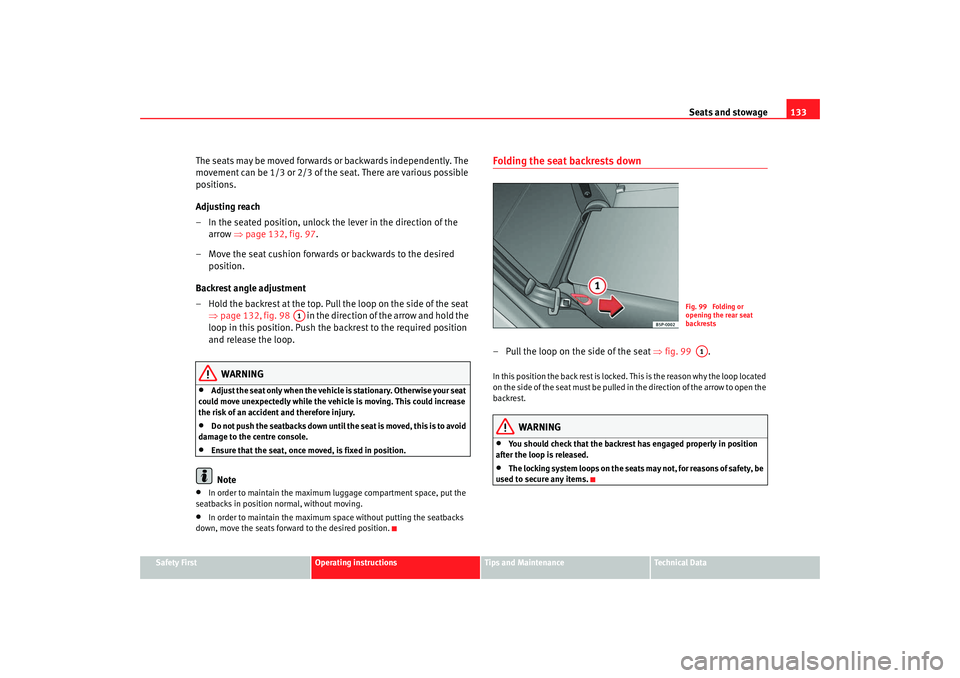
Folding the seat backrests down – Pull the loop on the side of the seat ⇒fig. 99 .In this position the back rest is locked. This is the reason why the loop located
on the side of the seat must be pulled in the direction of the arrow to open the
backrest.
WARNING
•
You should check that the backrest has engaged properly in position
after the loop is released.
•
The locking system loops on the seats may not, for reasons of safety, be
used to secure any items.
A1
Fig. 99 Folding or
opening the rear seat
backrestsA1
altea_XL ingles.book Seite 133 Donnerstag, 13. September 2007 10:36 10
Page 137 of 317

Seats and stowage135
Safety First
Operating instructions
Tips and Maintenance
Te c h n i c a l D a t a
Centre arm rest at front with stowage area
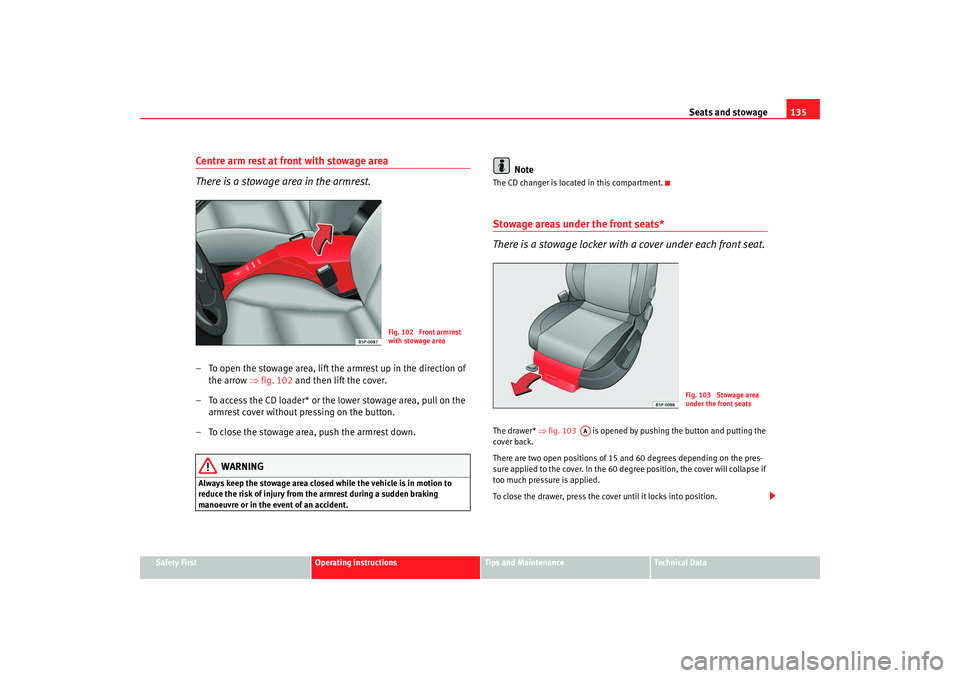
There is a stowage area in the armrest.– To open the stowage area, lift the armrest up in the direction of
the arrow ⇒fig. 102 and then lift the cover.
– To access the CD loader* or the lower stowage area, pull on the armrest cover without pressing on the button.
– To close the stowage area, push the armrest down.
WARNING
Always keep the stowage area closed while the vehicle is in motion to
reduce the risk of injury from the armrest during a sudden braking
manoeuvre or in the event of an accident.
Note
The CD changer is located in this compartment.Stowage areas under the front seats*
There is a stowage locker with a cover under each front seat.The drawer* ⇒fig. 103 is opened by pushing th e button and putting the
cover back.
There are two open positions of 15 and 60 degrees depending on the pres-
sure applied to the cover. In the 60 degree position, the cover will collapse if
too much pressure is applied.
To close the drawer, press the cover until it locks into position.
Fig. 102 Front armrest
with stowage area
Fig. 103 Stowage area
under the front seats
AA
altea_XL ingles.book Seite 135 Donnerstag, 13. September 2007 10:36 10
Page 139 of 317

Seats and stowage137
Safety First
Operating instructions
Tips and Maintenance
Te c h n i c a l D a t a
– Press the button on the cover to open these compartments
⇒page 136, fig. 105 . The cover will then open.
– To close the cover, press it up until it engages.
WARNING
Always keep the stowage area cover closed while the vehicle is in motion
to reduce the risk of injury during a sudden braking manoeuvre or in the
event of an accident and to prevent any items from being thrown through
the vehicle interior.Stowage in the luggage compartment*
There is a variable stowage area* in the luggage compart-
ment floor.
– Lift the luggage compartment floor and fold it back all the way ⇒fig. 106.
–Fit the separator ⇒ fig. 107, into the side grooves depending
on the size of the objects to be transported. The onboard tool kit
and the spare wheel are located underneath the luggage
compartment.
– Secure luggage in the luggage compartment with suitable straps on the fastening rings.
Note•
The folding table is designed for a maximum load of 50 kg. For heavier
loads fold up the table and remove.
•
Do not exceed the maximum authorised weight for the vehicle
⇒ page 279.
Fig. 106 Variable floor
boot stowage compart-
ment
Fig. 107 Variable floor
boot stowage compart-
ment
AA
altea_XL ingles.book Seite 137 Donnerstag, 13. September 2007 10:36 10
Page 141 of 317
Seats and stowage139
Safety First
Operating instructions
Tips and Maintenance
Te c h n i c a l D a t a
Drinks holders at the frontIn the centre console, in front of the gear lever, there are two drink holders
⇒fig. 109 .
WARNING
•
Never place hot drinks in the drink holders. During normal or sudden
driving manoeuvres, sudden braking or an accident, the hot drink could be
spilled. Danger of scalding.
•
Never use rigid materials (for example, glass or ceramic), these could
cause injury in the case of an accident.
Rear drink holder*/ Armrest*
Fig. 109 Front drink
holder
Fig. 110 Opening the
rear drink holdersFig. 111 Rear
armrest/drink holder
altea_XL ingles.book Seite 139 Donnerstag, 13. September 2007 10:36 10
Page 143 of 317
Seats and stowage141
Safety First
Operating instructions
Tips and Maintenance
Te c h n i c a l D a t a
– Place the mobile stowage compartment onto the foam of the
central seat.
– Set both mounting pieces together ⇒page 140, fig. 112 ,
with both mounting rings ⇒page 140, fig. 113 and press
hard until both the clips completely connect with the rings.
Removing mobile stowage compartment
– Pull each of the buttons ⇒page 140, fig. 112 on the clips
(red buttons) forwards, until they snap out of place.
– Fold the larger seat down and remove the mobile stowage compartment mounting plate.
Multi-purpose* mobile stowage compartment - General information
This stowage compartment may only be placed in the central
area of the rear seat
AE
AG
AF
Fig. 114 Mobile stowage
compartment OpeningFig. 115 Mobile stowage
compartment Duties
altea_XL ingles.book Seite 141 Donnerstag, 13. September 2007 10:36 10
Page 145 of 317

Seats and stowage143
Safety First
Operating instructions
Tips and Maintenance
Te c h n i c a l D a t a
Ashtrays*, cigarette lighter* and electrical
socketsAshtray* Opening and closing the ashtray
– To open the ashtray, lift the cover ⇒fig. 116 .
– To close, lower the cover.
Emptying the ashtray
– Extract the ashtray and empty.
WARNING
Never put paper in the ashtray. Hot ash could ignite the paper in the
ashtray.
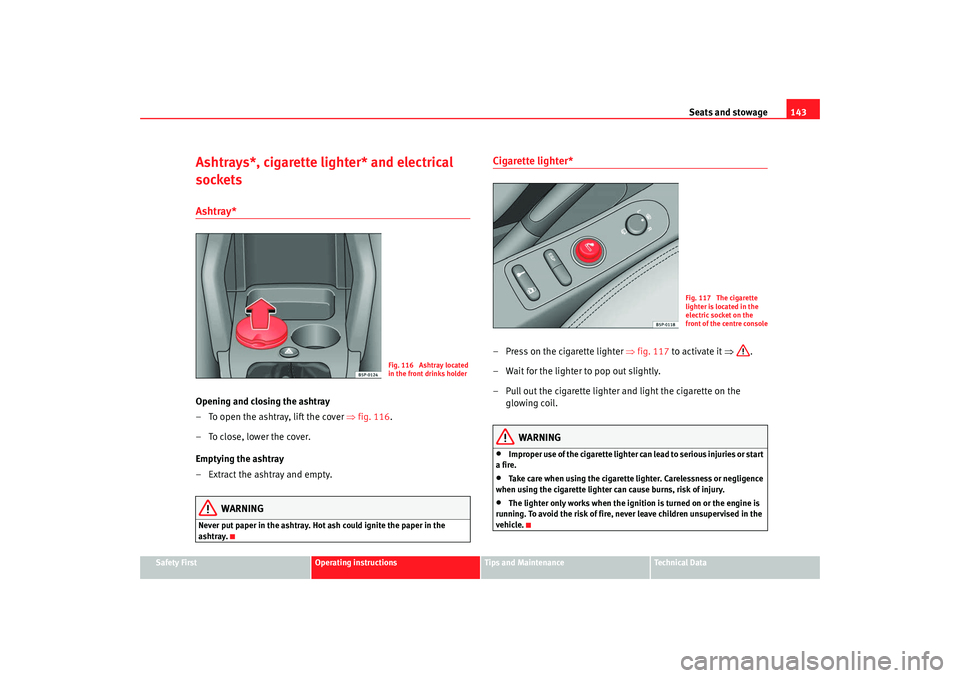
Cigarette lighter* – Press on the cigarette lighter ⇒fig. 117 to activate it ⇒.
– Wait for the lighter to pop out slightly.
– Pull out the cigarette lighter and light the cigarette on the glowing coil.
WARNING
•
Improper use of the cigarette lighter can lead to serious injuries or start
a fire.
•
Take care when using the cigarette lighter. Carelessness or negligence
when using the cigarette lighter can cause burns, risk of injury.
•
The lighter only works when the ignition is turned on or the engine is
running. To avoid the risk of fire, never leave children unsupervised in the
vehicle.
Fig. 116 Ashtray located
in the front drinks holder
Fig. 117 The cigarette
lighter is located in the
electric socket on the
front of the centre console
altea_XL ingles.book Seite 143 Donnerstag, 13. September 2007 10:36 10