2008 NISSAN XTERRA lights
[x] Cancel search: lightsPage 102 of 320
CAUTION
Use the headlights with the engine run-
ning to avoid discharging the vehicle
battery.
Headlight beam select
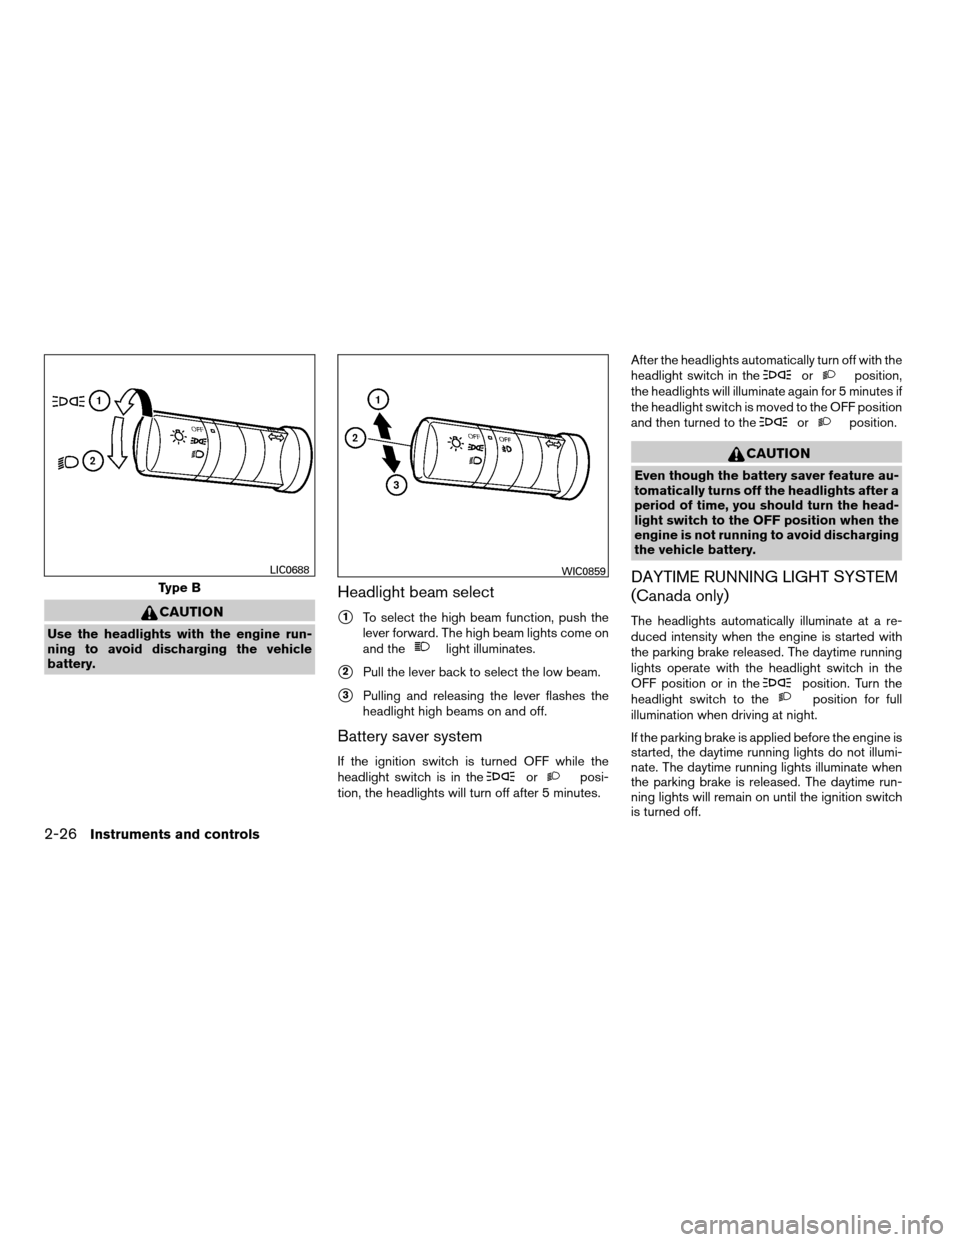
s1To select the high beam function, push the
lever forward. The high beam lights come on
and the
light illuminates.
s2Pull the lever back to select the low beam.
s3Pulling and releasing the lever flashes the
headlight high beams on and off.
Battery saver system
If the ignition switch is turned OFF while the
headlight switch is in theorposi-
tion, the headlights will turn off after 5 minutes.After the headlights automatically turn off with the
headlight switch in the
orposition,
the headlights will illuminate again for 5 minutes if
the headlight switch is moved to the OFF position
and then turned to the
orposition.
CAUTION
Even though the battery saver feature au-
tomatically turns off the headlights after a
period of time, you should turn the head-
light switch to the OFF position when the
engine is not running to avoid discharging
the vehicle battery.
DAYTIME RUNNING LIGHT SYSTEM
(Canada only)
The headlights automatically illuminate at a re-
duced intensity when the engine is started with
the parking brake released. The daytime running
lights operate with the headlight switch in the
OFF position or in the
position. Turn the
headlight switch to theposition for full
illumination when driving at night.
If the parking brake is applied before the engine is
started, the daytime running lights do not illumi-
nate. The daytime running lights illuminate when
the parking brake is released. The daytime run-
ning lights will remain on until the ignition switch
is turned off.
Type B
LIC0688WIC0859
2-26Instruments and controls
ZREVIEW COPYÐ2008 Xterra(xtr)
Owners ManualÐUSA_English(nna)
06/26/07Ðdebbie
X
Page 103 of 320
WARNING
When the daytime running light system is
active, tail lights on your vehicle are not
on. It is necessary at dusk to turn on your
headlights. Failure to do so could cause
an accident injuring yourself and others.
INSTRUMENT BRIGHTNESS
CONTROL
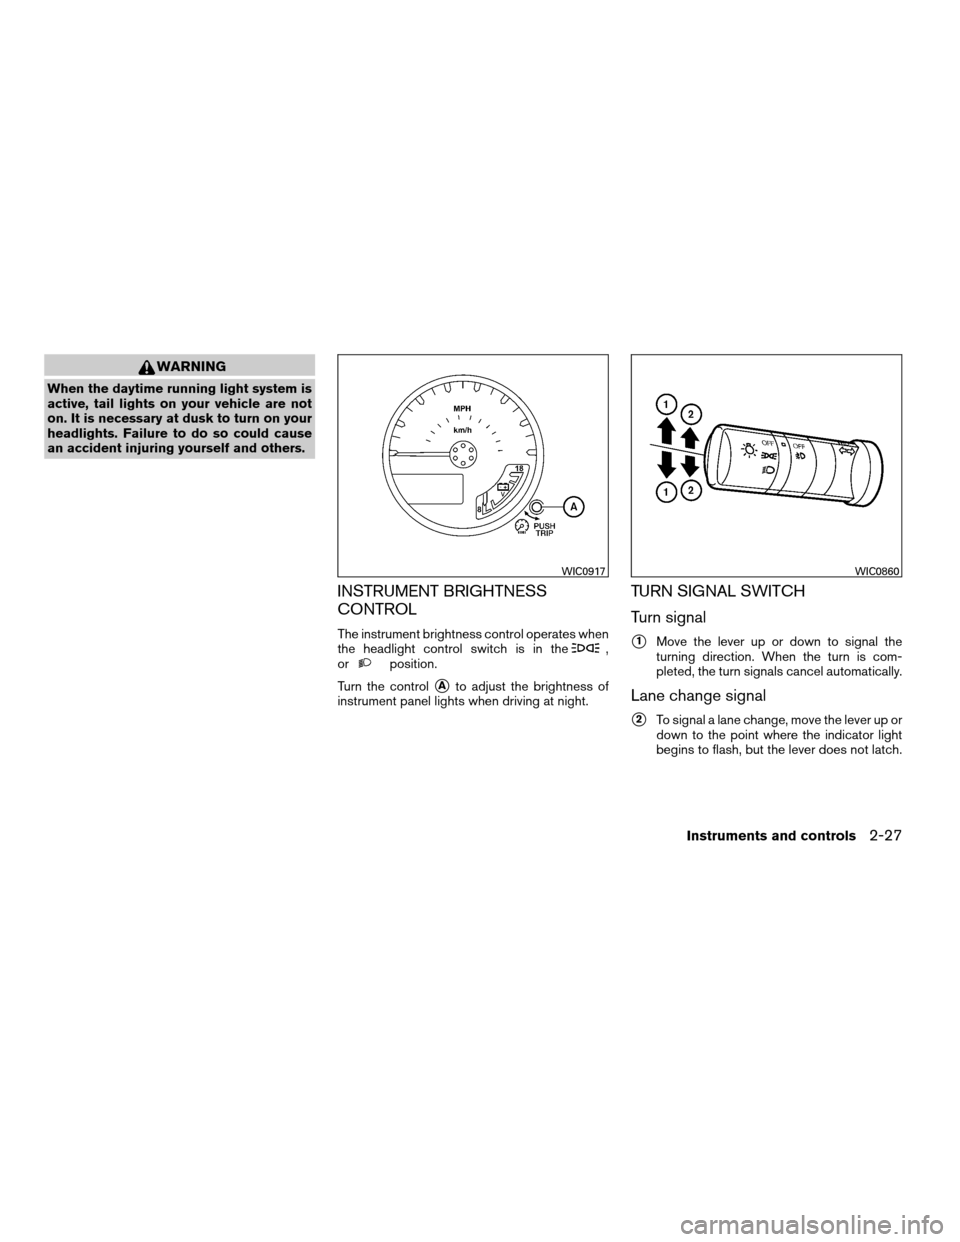
The instrument brightness control operates when
the headlight control switch is in the,
orposition.
Turn the control
sAto adjust the brightness of
instrument panel lights when driving at night.
TURN SIGNAL SWITCH
Turn signal
s1Move the lever up or down to signal the
turning direction. When the turn is com-
pleted, the turn signals cancel automatically.
Lane change signal
s2To signal a lane change, move the lever up or
down to the point where the indicator light
begins to flash, but the lever does not latch.
WIC0917WIC0860
Instruments and controls2-27
ZREVIEW COPYÐ2008 Xterra(xtr)
Owners ManualÐUSA_English(nna)
06/26/07Ðdebbie
X
Page 104 of 320
FOG LIGHT SWITCH (if so equipped)
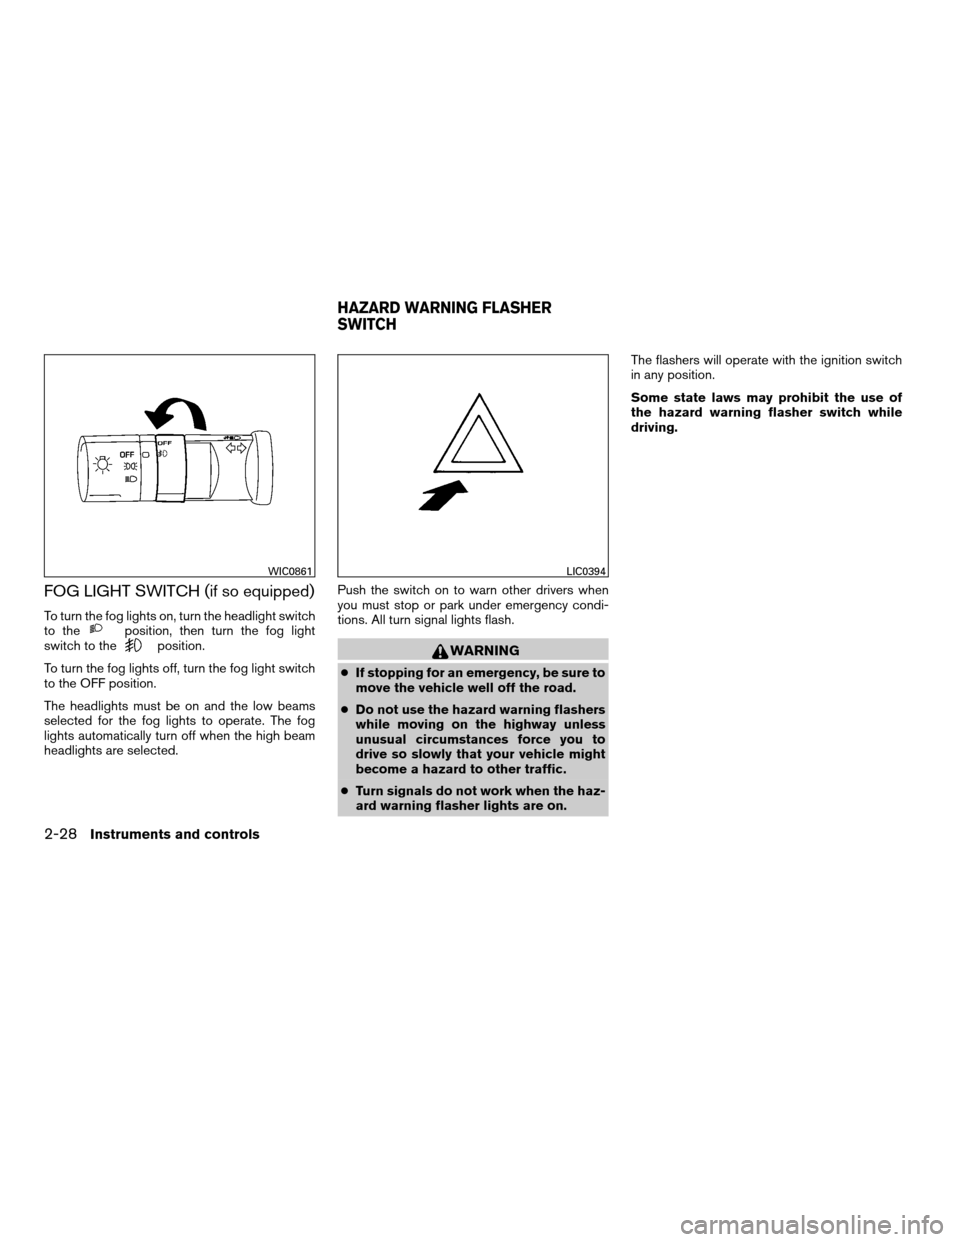
To turn the fog lights on, turn the headlight switch
to theposition, then turn the fog light
switch to theposition.
To turn the fog lights off, turn the fog light switch
to the OFF position.
The headlights must be on and the low beams
selected for the fog lights to operate. The fog
lights automatically turn off when the high beam
headlights are selected.Push the switch on to warn other drivers when
you must stop or park under emergency condi-
tions. All turn signal lights flash.WARNING
cIf stopping for an emergency, be sure to
move the vehicle well off the road.
cDo not use the hazard warning flashers
while moving on the highway unless
unusual circumstances force you to
drive so slowly that your vehicle might
become a hazard to other traffic.
cTurn signals do not work when the haz-
ard warning flasher lights are on.The flashers will operate with the ignition switch
in any position.
Some state laws may prohibit the use of
the hazard warning flasher switch while
driving.
WIC0861LIC0394
HAZARD WARNING FLASHER
SWITCH
2-28Instruments and controls
ZREVIEW COPYÐ2008 Xterra(xtr)
Owners ManualÐUSA_English(nna)
06/26/07Ðdebbie
X
Page 106 of 320
cThe hill descent control may not control
the vehicle speed on a hill under all load
or road conditions. Always be prepared
to depress the brake pedal to control
vehicle speed. Failure to do so may re-
sult in a collision or serious personal
injury.
CAUTION
When the hill descent control system op-
erates continuously for a long time, the
temperature of the brake pads may in-
crease and the hill descent control system
may be temporarily disabled (the indicator
light will blink) . If the indicator light does
not come on continuously after blinking,
stop using the system.
The hill descent control system is designed to
reduce driver workload when going down steep
hills. The hill descent control system helps to
control vehicle speed so the driver can concen-
trate on steering the vehicle.
To activate the hill descent control system:
cthe automatic transmission selector lever
must be in forward or reverse gear,
cthe 4WD switch must be in the 4L position
and the vehicle speed must be under 15
mph (25 km/h) orcthe 4WD switch must be in the 4H position
and the vehicle speed must be under 21
mph (35 km/h) , and
cthe hill descent control system switch must
be ON.
The hill descent control indicator light will come
on when the system is activated. Also, the
stop/tail lights illuminate while the hill descent
control system applies the brakes to control ve-
hicle speed.
If the accelerator or brake pedal is depressed
while the hill descent control system is on, the
system will stop operating temporarily. As soon
as the accelerator or brake pedal is released, the
hill descent control system begins to function
again if the hill descent control operating condi-
tions are fulfilled.
The hill descent control indicator light blinks if the
switch is on and all conditions for system activa-
tion are not met or if the system becomes disen-
gaged for any reason.
To turn off the hill descent control system, push
the switch to the OFF position.
For additional information, see “Hill descent con-
trol system on indicator light” earlier in this sec-
tion and “Hill descent control system” in the
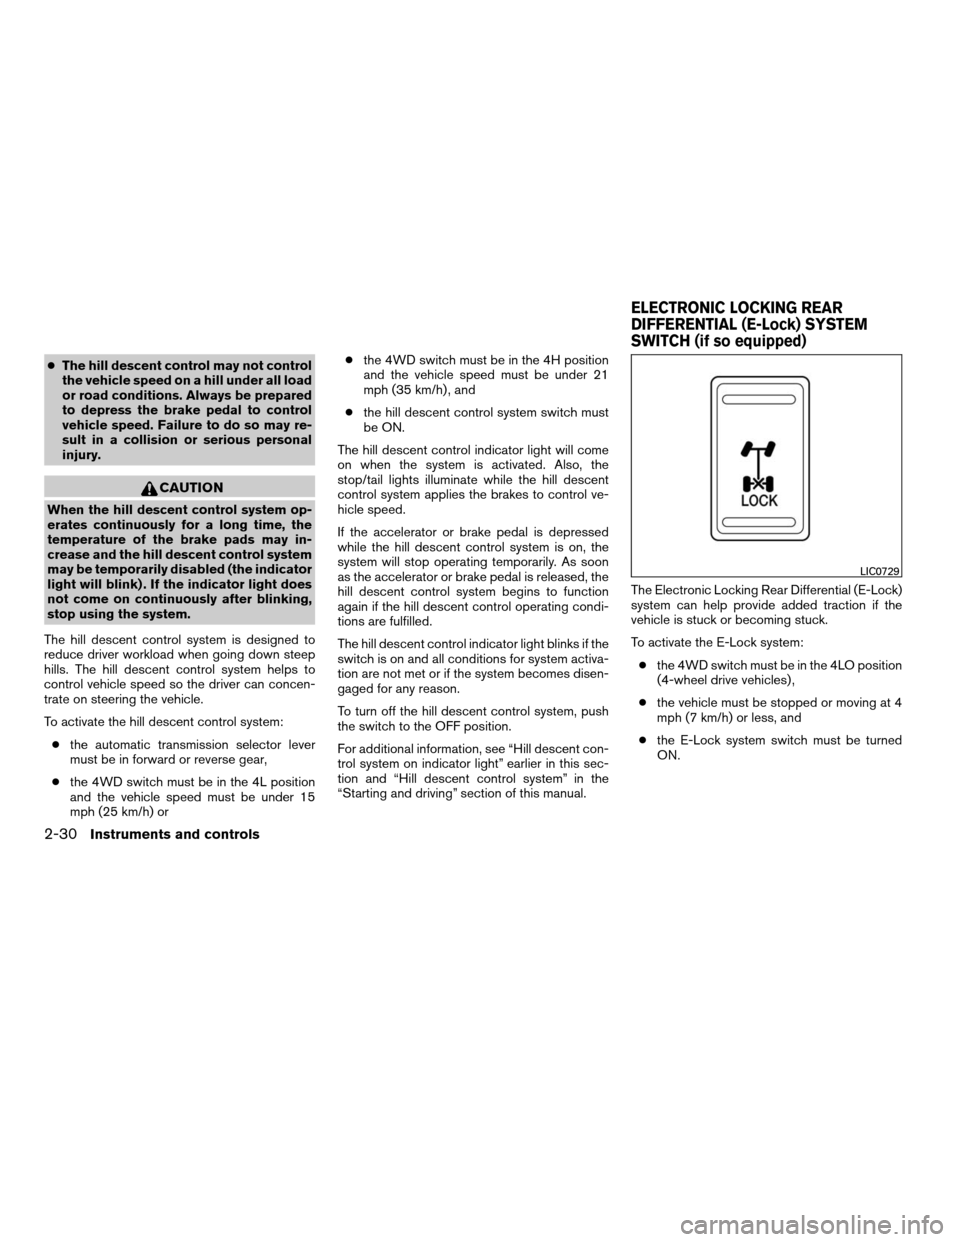
“Starting and driving” section of this manual.The Electronic Locking Rear Differential (E-Lock)
system can help provide added traction if the
vehicle is stuck or becoming stuck.
To activate the E-Lock system:
cthe 4WD switch must be in the 4LO position
(4-wheel drive vehicles) ,
cthe vehicle must be stopped or moving at 4
mph (7 km/h) or less, and
cthe E-Lock system switch must be turned
ON.
LIC0729
ELECTRONIC LOCKING REAR
DIFFERENTIAL (E-Lock) SYSTEM
SWITCH (if so equipped)
2-30Instruments and controls
ZREVIEW COPYÐ2008 Xterra(xtr)
Owners ManualÐUSA_English(nna)
06/26/07Ðdebbie
X
Page 109 of 320
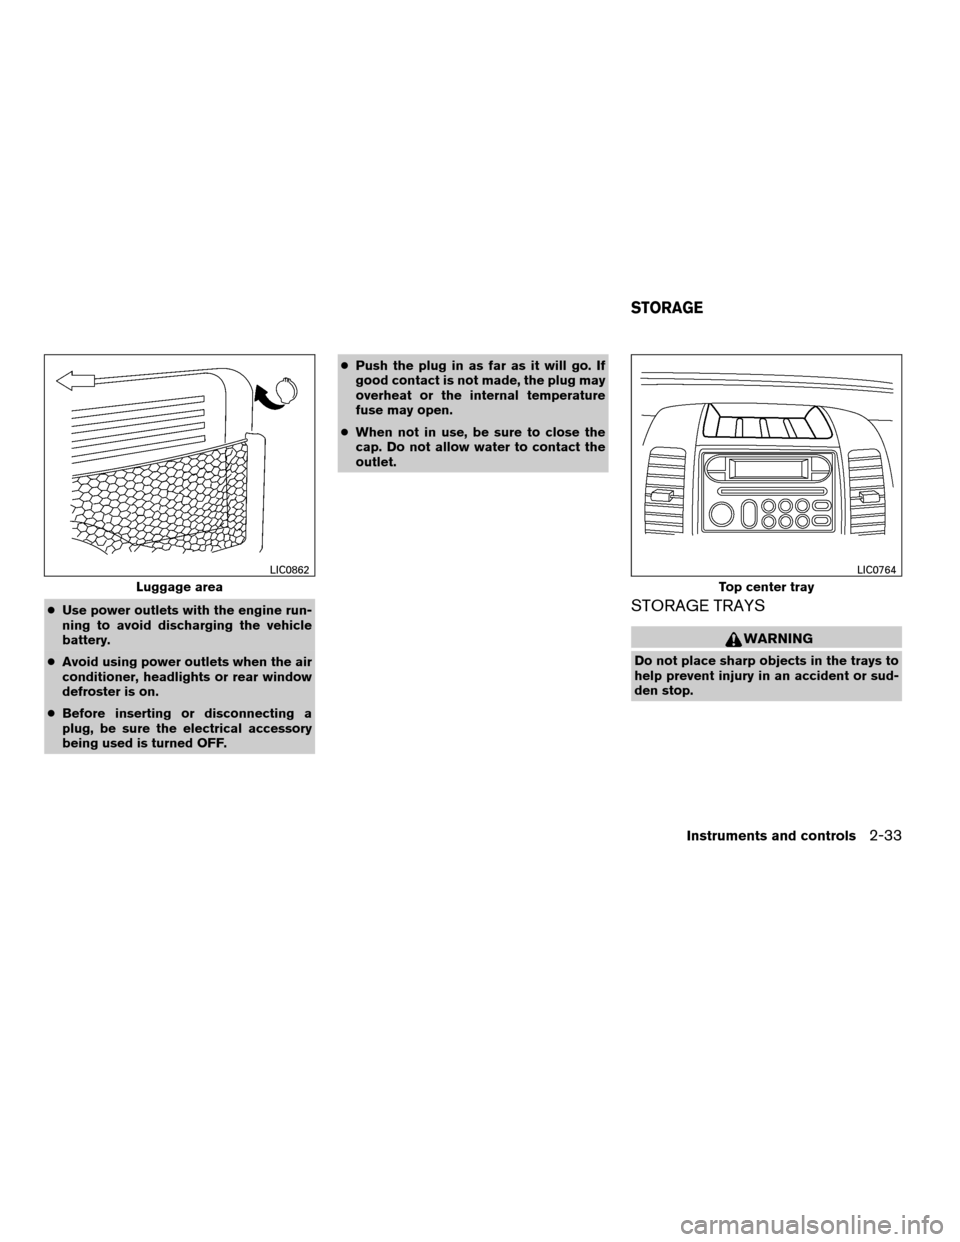
cUse power outlets with the engine run-
ning to avoid discharging the vehicle
battery.
cAvoid using power outlets when the air
conditioner, headlights or rear window
defroster is on.
cBefore inserting or disconnecting a
plug, be sure the electrical accessory
being used is turned OFF.cPush the plug in as far as it will go. If
good contact is not made, the plug may
overheat or the internal temperature
fuse may open.
cWhen not in use, be sure to close the
cap. Do not allow water to contact the
outlet.STORAGE TRAYS
WARNING
Do not place sharp objects in the trays to
help prevent injury in an accident or sud-
den stop.
Luggage area
LIC0862
Top center tray
LIC0764
STORAGE
Instruments and controls2-33
ZREVIEW COPYÐ2008 Xterra(xtr)
Owners ManualÐUSA_English(nna)
06/26/07Ðdebbie
X
Page 121 of 320

Rear power window switch
The rear power window switches open or close
only the corresponding windows. To open the
window, push the switch and hold it down
s1.To
close the window, pull the switch up
s2.
Locking passengers’ windows
When the window lock button is depressed, only
the driver’s side window can be opened or
closed. Push it again to cancel the window lock
function.
Automatic operation
To fully open a window equipped with automatic
operation, press the window switch down to the
second detent and release it; it need not be held.
The window automatically opens all the way. To
stop the window, lift the switch up while the
window is opening.The interior lights have a three-position switch
and operate regardless of ignition switch posi-
tion.
When the switch is in the ON position
s1, the
interior lights illuminate, regardless of door posi-
tion. The lights will go off after about 30 minutes
unless the ignition key is in the ACC or ON
position.
WIC0874LIC0410
Type A
LIC0792
INTERIOR LIGHTS
Instruments and controls2-45
ZREVIEW COPYÐ2008 Xterra(xtr)
Owners ManualÐUSA_English(nna)
06/26/07Ðdebbie
X
Page 122 of 320
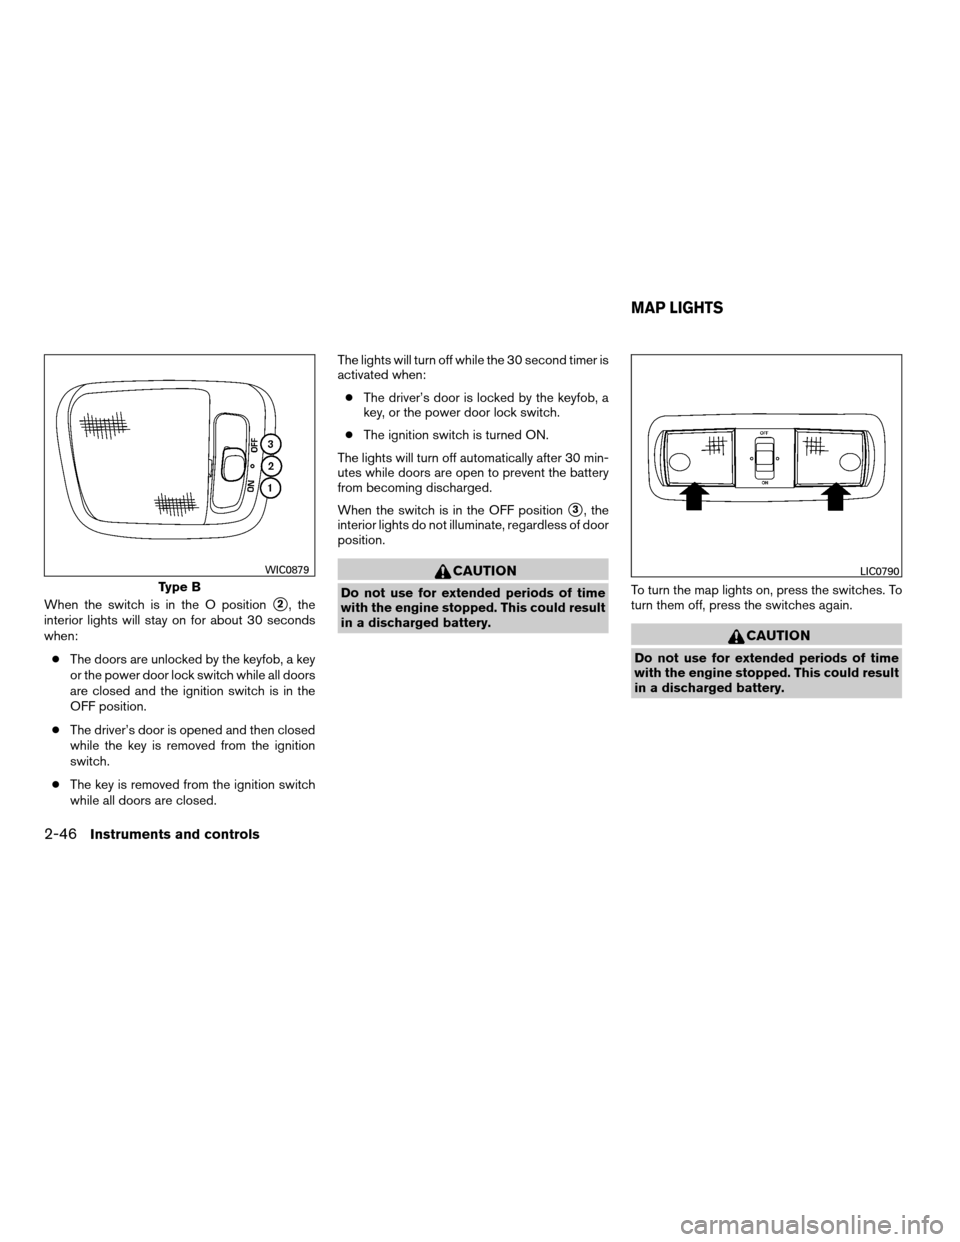
When the switch is in the O positions2, the
interior lights will stay on for about 30 seconds
when:
cThe doors are unlocked by the keyfob, a key
or the power door lock switch while all doors
are closed and the ignition switch is in the
OFF position.
cThe driver’s door is opened and then closed
while the key is removed from the ignition
switch.
cThe key is removed from the ignition switch
while all doors are closed.The lights will turn off while the 30 second timer is
activated when:
cThe driver’s door is locked by the keyfob, a
key, or the power door lock switch.
cThe ignition switch is turned ON.
The lights will turn off automatically after 30 min-
utes while doors are open to prevent the battery
from becoming discharged.
When the switch is in the OFF position
s3, the
interior lights do not illuminate, regardless of door
position.
CAUTION
Do not use for extended periods of time
with the engine stopped. This could result
in a discharged battery.To turn the map lights on, press the switches. To
turn them off, press the switches again.
CAUTION
Do not use for extended periods of time
with the engine stopped. This could result
in a discharged battery.
Type B
WIC0879LIC0790
MAP LIGHTS
2-46Instruments and controls
ZREVIEW COPYÐ2008 Xterra(xtr)
Owners ManualÐUSA_English(nna)
06/26/07Ðdebbie
X
Page 129 of 320
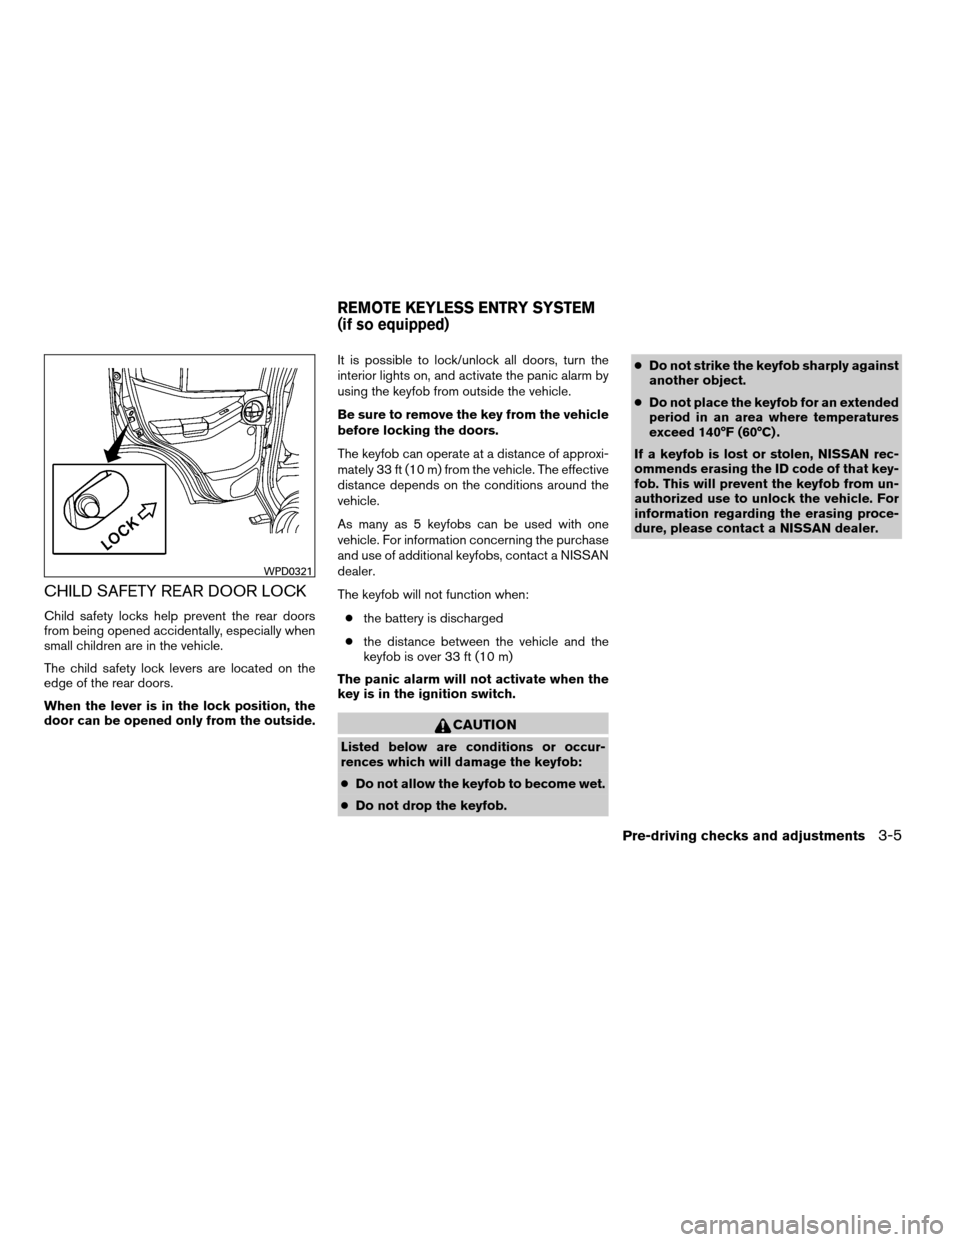
CHILD SAFETY REAR DOOR LOCK
Child safety locks help prevent the rear doors
from being opened accidentally, especially when
small children are in the vehicle.
The child safety lock levers are located on the
edge of the rear doors.
When the lever is in the lock position, the
door can be opened only from the outside.It is possible to lock/unlock all doors, turn the
interior lights on, and activate the panic alarm by
using the keyfob from outside the vehicle.
Be sure to remove the key from the vehicle
before locking the doors.
The keyfob can operate at a distance of approxi-
mately 33 ft (10 m) from the vehicle. The effective
distance depends on the conditions around the
vehicle.
As many as 5 keyfobs can be used with one
vehicle. For information concerning the purchase
and use of additional keyfobs, contact a NISSAN
dealer.
The keyfob will not function when:
cthe battery is discharged
cthe distance between the vehicle and the
keyfob is over 33 ft (10 m)
The panic alarm will not activate when the
key is in the ignition switch.
CAUTION
Listed below are conditions or occur-
rences which will damage the keyfob:
cDo not allow the keyfob to become wet.
cDo not drop the keyfob.cDo not strike the keyfob sharply against
another object.
cDo not place the keyfob for an extended
period in an area where temperatures
exceed 140°F (60°C) .
If a keyfob is lost or stolen, NISSAN rec-
ommends erasing the ID code of that key-
fob. This will prevent the keyfob from un-
authorized use to unlock the vehicle. For
information regarding the erasing proce-
dure, please contact a NISSAN dealer.
WPD0321
REMOTE KEYLESS ENTRY SYSTEM
(if so equipped)
Pre-driving checks and adjustments3-5
ZREVIEW COPYÐ2008 Xterra(xtr)
Owners ManualÐUSA_English(nna)
06/26/07Ðdebbie
X