2008 NISSAN XTERRA battery
[x] Cancel search: batteryPage 122 of 320
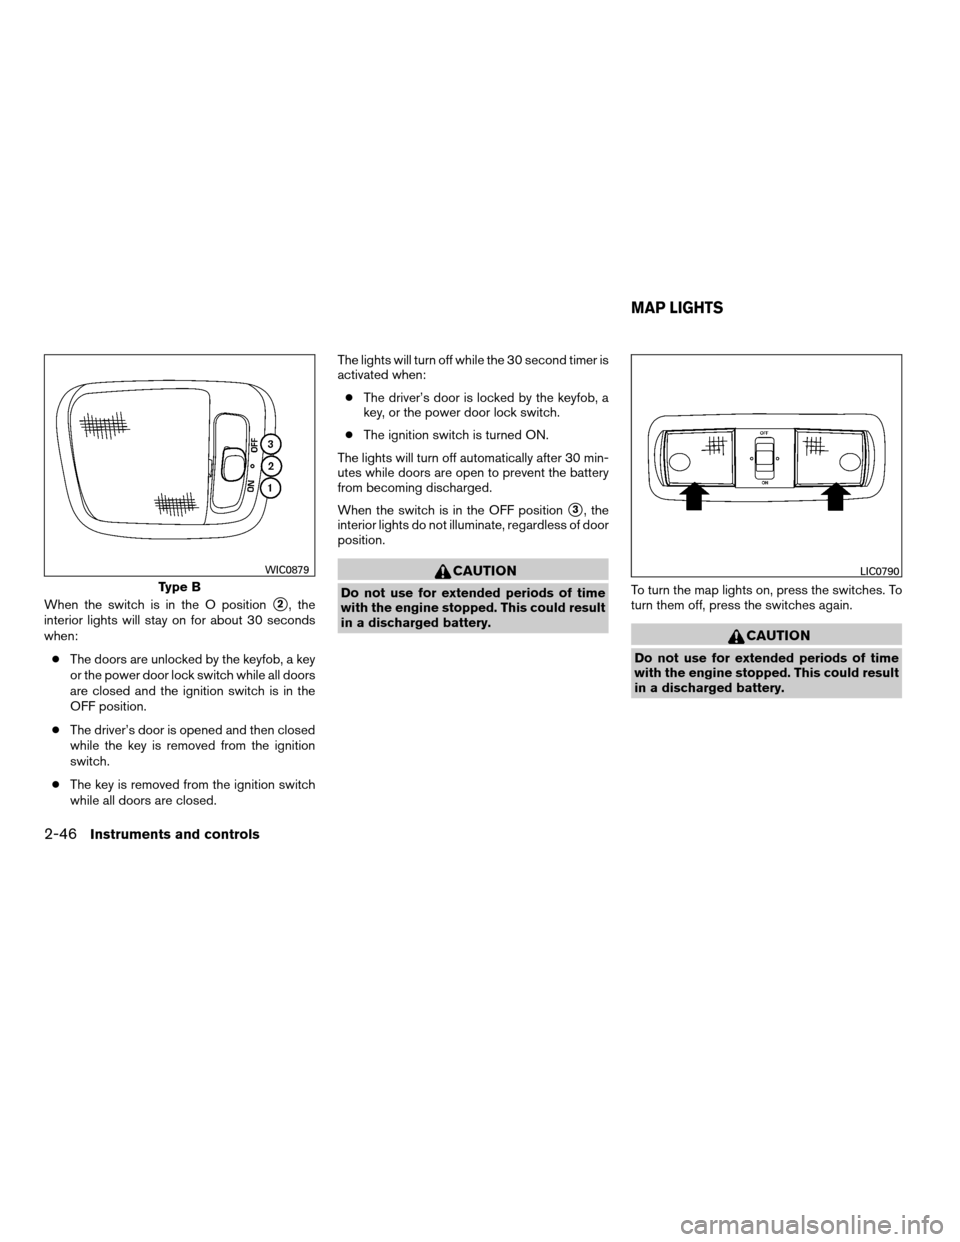
When the switch is in the O positions2, the
interior lights will stay on for about 30 seconds
when:
cThe doors are unlocked by the keyfob, a key
or the power door lock switch while all doors
are closed and the ignition switch is in the
OFF position.
cThe driver’s door is opened and then closed
while the key is removed from the ignition
switch.
cThe key is removed from the ignition switch
while all doors are closed.The lights will turn off while the 30 second timer is
activated when:
cThe driver’s door is locked by the keyfob, a
key, or the power door lock switch.
cThe ignition switch is turned ON.
The lights will turn off automatically after 30 min-
utes while doors are open to prevent the battery
from becoming discharged.
When the switch is in the OFF position
s3, the
interior lights do not illuminate, regardless of door
position.
CAUTION
Do not use for extended periods of time
with the engine stopped. This could result
in a discharged battery.To turn the map lights on, press the switches. To
turn them off, press the switches again.
CAUTION
Do not use for extended periods of time
with the engine stopped. This could result
in a discharged battery.
Type B
WIC0879LIC0790
MAP LIGHTS
2-46Instruments and controls
ZREVIEW COPYÐ2008 Xterra(xtr)
Owners ManualÐUSA_English(nna)
06/26/07Ðdebbie
X
Page 129 of 320
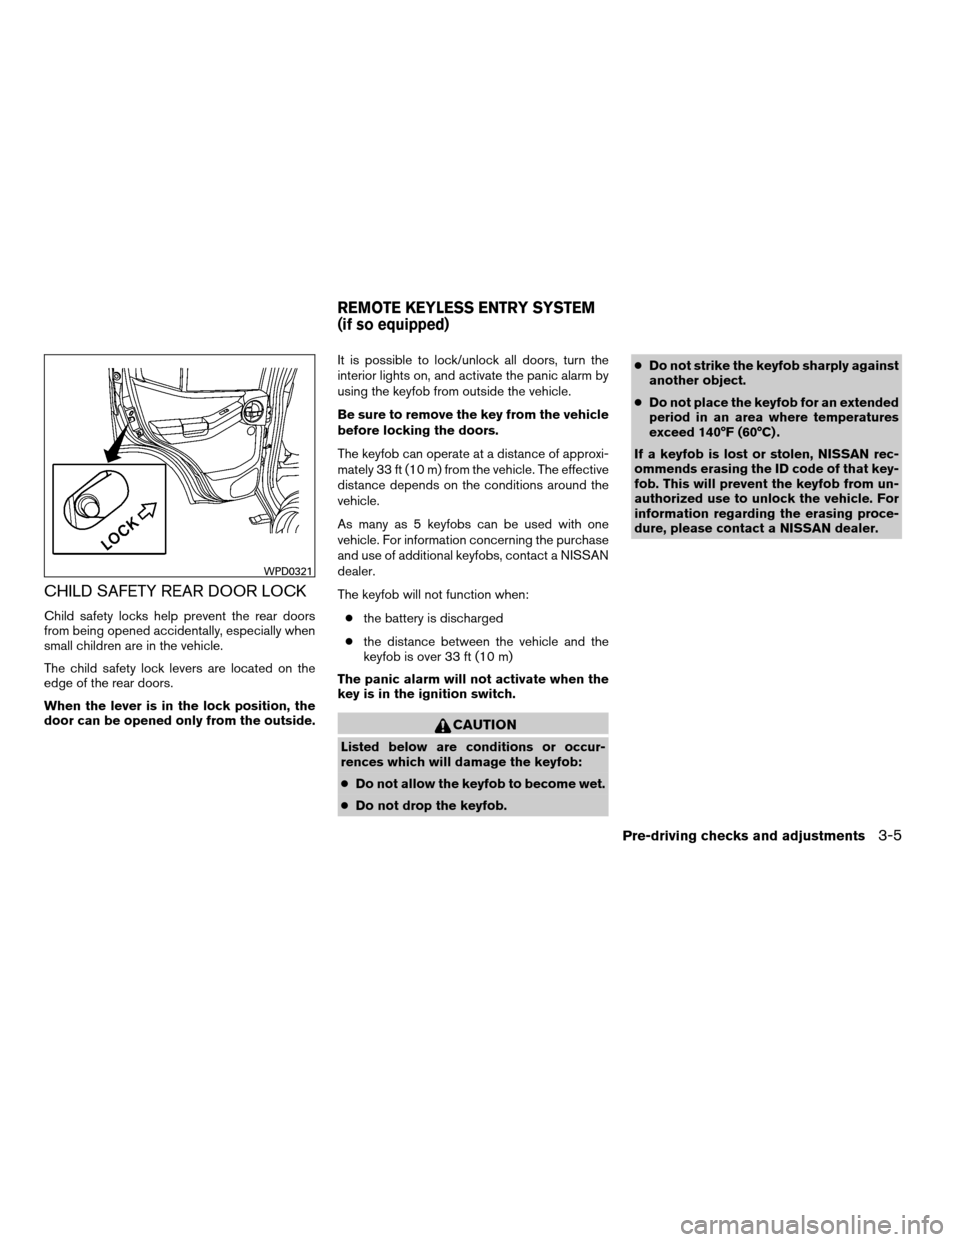
CHILD SAFETY REAR DOOR LOCK
Child safety locks help prevent the rear doors
from being opened accidentally, especially when
small children are in the vehicle.
The child safety lock levers are located on the
edge of the rear doors.
When the lever is in the lock position, the
door can be opened only from the outside.It is possible to lock/unlock all doors, turn the
interior lights on, and activate the panic alarm by
using the keyfob from outside the vehicle.
Be sure to remove the key from the vehicle
before locking the doors.
The keyfob can operate at a distance of approxi-
mately 33 ft (10 m) from the vehicle. The effective
distance depends on the conditions around the
vehicle.
As many as 5 keyfobs can be used with one
vehicle. For information concerning the purchase
and use of additional keyfobs, contact a NISSAN
dealer.
The keyfob will not function when:
cthe battery is discharged
cthe distance between the vehicle and the
keyfob is over 33 ft (10 m)
The panic alarm will not activate when the
key is in the ignition switch.
CAUTION
Listed below are conditions or occur-
rences which will damage the keyfob:
cDo not allow the keyfob to become wet.
cDo not drop the keyfob.cDo not strike the keyfob sharply against
another object.
cDo not place the keyfob for an extended
period in an area where temperatures
exceed 140°F (60°C) .
If a keyfob is lost or stolen, NISSAN rec-
ommends erasing the ID code of that key-
fob. This will prevent the keyfob from un-
authorized use to unlock the vehicle. For
information regarding the erasing proce-
dure, please contact a NISSAN dealer.
WPD0321
REMOTE KEYLESS ENTRY SYSTEM
(if so equipped)
Pre-driving checks and adjustments3-5
ZREVIEW COPYÐ2008 Xterra(xtr)
Owners ManualÐUSA_English(nna)
06/26/07Ðdebbie
X
Page 149 of 320
SATELLITE RADIO RECEPTION (if so
equipped)
When the satellite radio is first installed or the
battery has been replaced, the satellite radio may
not work properly. This is not a malfunction. Wait
more than 10 minutes with satellite radio ON and
the vehicle outside of any metal or large building
for satellite radio to receive all of the necessary
data.
No satellite radio reception is available and “NO
SAT” is displayed when the SAT band option is
selected unless optional satellite receiver and
antenna are installed and an XMTsatellite radio
service subscription is active. Satellite radio can
only be installed in vehicles that were factory
pre-wired for satellite radio. Satellite radio is not
available in Alaska, Hawaii and Guam.
Satellite radio performance may be affected if
cargo carried on the roof blocks the satellite radio
signal.
If possible, do not put cargo over the satellite
antenna.
A build up of ice on the satellite radio antenna can
affect satellite radio performance. Remove the
ice to restore satellite radio reception
AUDIO OPERATION PRECAUTIONSCompact disc (CD) player
CAUTION
cDo not force a compact disc into the CD
insert slot. This could damage the CD
and/or CD changer/player.
cTrying to load a CD with the CD door
closed could damage the CD and/or CD
changer.
cOnly one CD can be loaded into the CD
player at a time.
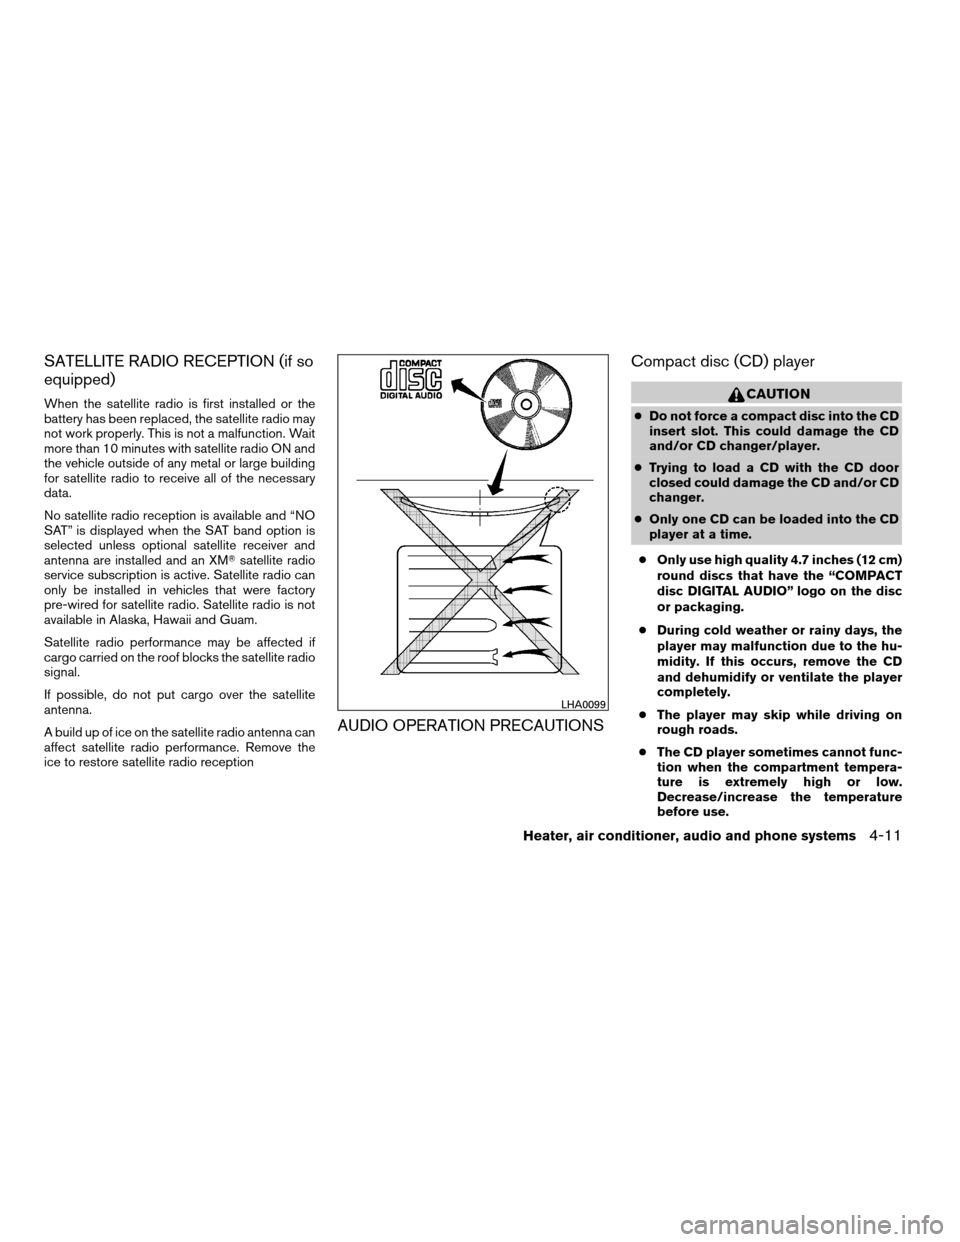
cOnly use high quality 4.7 inches (12 cm)
round discs that have the “COMPACT
disc DIGITAL AUDIO” logo on the disc
or packaging.
cDuring cold weather or rainy days, the
player may malfunction due to the hu-
midity. If this occurs, remove the CD
and dehumidify or ventilate the player
completely.
cThe player may skip while driving on
rough roads.
cThe CD player sometimes cannot func-
tion when the compartment tempera-
ture is extremely high or low.
Decrease/increase the temperature
before use.
LHA0099
Heater, air conditioner, audio and phone systems4-11
ZREVIEW COPYÐ2008 Xterra(xtr)
Owners ManualÐUSA_English(nna)
06/26/07Ðdebbie
X
Page 156 of 320

for 5 seconds. When scanning, SCAN illumi-
nates in the display and the radio station blinks.
When temporarily stopped on a station, SCAN
blinks and the radio station display is solid.
Pressing the SEEK/TRACK button
oragain during this 5 second period stops
scan tuning and the radio remains tuned to that
radio station.
Station memory operations:
18 stations can be set for the FM and AM radio to
the A, B and C preset button in any combination
of AM or FM stations.
1. Press the PRESET A·B·C button to change
between storage banks. The radio displays
the icon A, B or C to indicate which set of
presets are active.
2. Tune to the desired station using manual
TUNE or SEEK tuning. Press and hold any of
the desired station memory buttons (1 – 6)
until a beep sound is heard. (The radio mutes
when the select button is pressed.)
3. The channel indicator will then come on and
the sound will resume. Programming is now
complete.
4. Other buttons can be set in the same man-
ner.If the battery cable is disconnected, or if the fuse
opens, the radio memory will be canceled. In that
case, reset the desired stations.
Compact disc (CD) player operation
Turn the ignition key to the ACC or ON position,
and carefully insert the compact disc into the slot
with the label side up. The compact disc is auto-
matically pulled into the slot and starts to play.
If the radio is already operating, it automatically
turns off and the compact disc begins to play.
CD button:
When the CD button is pressed with a compact
disc loaded and the radio playing, the radio turns
off and the compact disc starts to play.
SEEK/TRACK button:
When the SEEK/TRACK button
is
pressed while the compact disc is playing, the
next track following the present one starts to play
from the beginning. Press SEEK/TRACK
button
several times to skip several tracks.
Each time the button is pressed, the CD ad-
vances 1 additional track. The track number ap-
pears in the display window. (When the last track
on the compact disc is skipped, the first track is
played.)When SEEK/TRACK button
is pressed,
the track being played returns to the beginning.
Press SEEK/TRACK button
several times
to skip back several tracks. Each time the button
is pressed the CD moves back 1 track.
SEEK/TRACK (FF/REV)
button:
Press and hold the SEEK/TRACK button
orwhile a compact disc is playing, the
compact disc plays at an increased speed while
fast forwarding or rewinding. When the button is
released, the compact disc returns to normal play
speed.
MENU button:
When the MENU button is pressed while the
compact disc is playing, the play pattern changes
as follows:
RPTÃ!MIXÃ!Normal
RPT: The track that is currently playing will be
repeated.
MIX: The order of the tracks on the disc will be
mixed during play, not following the sequence on
the compact disc. The same track may be re-
peated twice. Press the
button while in the
MIX mode and tracks will be chosen at random.
When a new compact disc is inserted, the play
pattern automatically changes to normal.
4-18Heater, air conditioner, audio and phone systems
ZREVIEW COPYÐ2008 Xterra(xtr)
Owners ManualÐUSA_English(nna)
06/26/07Ðdebbie
X
Page 161 of 320

If a compact disc is playing when the RADIO
button is pushed, the compact disc will automati-
cally be turned off and the last radio station
played will come on.
The FM stereo indicator ST will glow during FM
stereo reception. When the stereo broadcast
signal is weak, the radio will automatically change
from stereo to monaural reception.
CAT FOLDER (tuning)
button:
To manually tune the radio, press the CAT
FOLDER button
oror turn the tun-
ing knob to right or left.
To move quickly through the channels, press and
hold either the
orbutton down for
more than 1.5 seconds.
SEEK/TRACK tuning
button:
Press the SEEK/TRACK button
orfor less than 1.5 seconds to tune from high to low
or low to high frequencies and stop at the next
broadcasting station.
To seek quickly through the channels, press and
hold the SEEK/TRACK button for more than 1.5
seconds. When the button is released the radio
will seek to the next broadcasting station.SCAN RPT tuning (Type A, B and D only):
Press the SCAN RPT button for more than 1.5
seconds to stop at each broadcasting station
(AM, FM or SAT if so equipped) for 5 seconds.
Pressing the button again during this 5 second
period will stop scan tuning and the radio will
remain tuned to that station. If the SCAN RPT
button is not pressed within 5 seconds, scan
tuning moves to the next station.
PRESET A·B·C (Station memory opera-
tions):
18 stations can be set for the FM, AM and SAT
(satellite, if so equipped) radio to the A, B and C
preset button in any combination of FM, AM or
SAT stations.
1. Choose preset bank A, B or C using the
PRESET A·B·C select button.
2. Select the desired FM, AM or SAT station
band.
3. Tune to the desired station using manual,
SEEK or SCAN tuning. Press and hold any
of the desired station memory buttons (1 –
6) until a beep sound is heard.
4. The channel indicator will then come on and
the sound will resume. Programming is now
complete.5. Other buttons can be set in the same man-
ner.
If the battery cable is disconnected, or if the fuse
opens, the radio memory will be canceled. In that
case, reset the desired stations.
Radio data system (RDS):
RDS stands for Radio Data System, and is a data
information service transmitted by some radio
stations on the FM band (not AM band) . Cur-
rently, most RDS stations are in large cities, but
many stations are now considering broadcasting
RDS data.
RDS can display:
cStation call sign, such as “WHFR 98.3”.
cStation name, such as “The Groove”.
cMusic or programming type such as “Clas-
sical”, “Country”, or “Rock”.
cArtist and song information.
If the station broadcasts RDS information, the
RDS icon is displayed.
Compact disc (CD) changer operation
Turn the ignition key to the ACC or ON position
and insert the compact disc into the slot with the
label side facing up. The compact disc will be
Heater, air conditioner, audio and phone systems4-23
ZREVIEW COPYÐ2008 Xterra(xtr)
Owners ManualÐUSA_English(nna)
06/26/07Ðdebbie
X
Page 165 of 320
Next/Previous track (CD):
Push the tuning switch
orfor less
than 1.5 seconds to return to the beginning of the
present track or skip to the next track. Push
several times to skip back or skip through tracks.
Change disc (CD) (if so equipped):
Push the SEEK tuning switch
orfor
more than 1.5 seconds to change the playing
disc up or down.
ANTENNA
The antenna cannot be shortened, but can be
removed. When you need to remove the antenna,
turn the antenna rod counterclockwise.
To install the antenna rod, turn the antenna clock-
wise. Tighten the antenna rod to specification
using a suitable tool such as an open-end
wrench. The antenna rod tightening specification
is 2.0 – 2.6 N·m (18 – 23 in-lb) . Do not use pliers
to tighten the antenna as they can leave marks on
the antenna surface. The antenna rod cannot be
hand tightened to the proper specification.
CAUTION
Always properly tighten the antenna rod
during installation or the antenna rod may
break during vehicle operation.When installing a CB, ham radio or car phone in
your NISSAN, be sure to observe the following
precautions, otherwise the new equipment may
adversely affect the engine control system and
other electronic parts.
WARNING
cA cellular telephone should not be used
while driving so full attention may be
given to vehicle operation. Some juris-
dictions prohibit the use of cellular tele-
phones while driving.
cIf you must make a call while your ve-
hicle is in motion, the hands free cellu-
lar phone operational mode (if so
equipped) is highly recommended. Ex-
ercise extreme caution at all times so
full attention may be given to vehicle
operation.
cIf a conversation in a moving vehicle
requires you to take notes, pull off the
road to a safe location and stop your
vehicle before doing so.
CAUTION
cKeep the antenna as far away as pos-
sible from the electronic control
modules.
cKeep the antenna wire more than 8 in
(20 cm) away from the electronic con-
trol system harnesses. Do not route the
antenna wire next to any harness.
cAdjust the antenna standing-wave ratio
as recommended by the manufacturer.
cConnect the ground wire from the CB
radio chassis to the body.
cFor details, consult a NISSAN dealer.
cDo not ground electrical accessories
directly to the battery terminal. Doing
so, will bypass the variable voltage con-
trol system and the vehicle battery may
not charge completely. Refer to “Vari-
able voltage control system” in the
“Maintenance and do-it-yourself” sec-
tion later in this manual.
cUse electrical accessories with the en-
gine running to avoid discharging the
vehicle battery.
CAR PHONE OR CB RADIO
Heater, air conditioner, audio and phone systems4-27
ZREVIEW COPYÐ2008 Xterra(xtr)
Owners ManualÐUSA_English(nna)
06/26/07Ðdebbie
X
Page 166 of 320
WARNING
cUse a phone after stopping your vehicle
in a safe location. If you have to use a
phone while driving, exercise extreme
caution at all times so full attention may
be given to vehicle operation.
cIf you are unable to devote full attention
to vehicle operation while talking on
the phone, pull off the road to a safe
location and stop your vehicle.
CAUTION
To avoid discharging the vehicle battery,
use a phone after starting the engine.
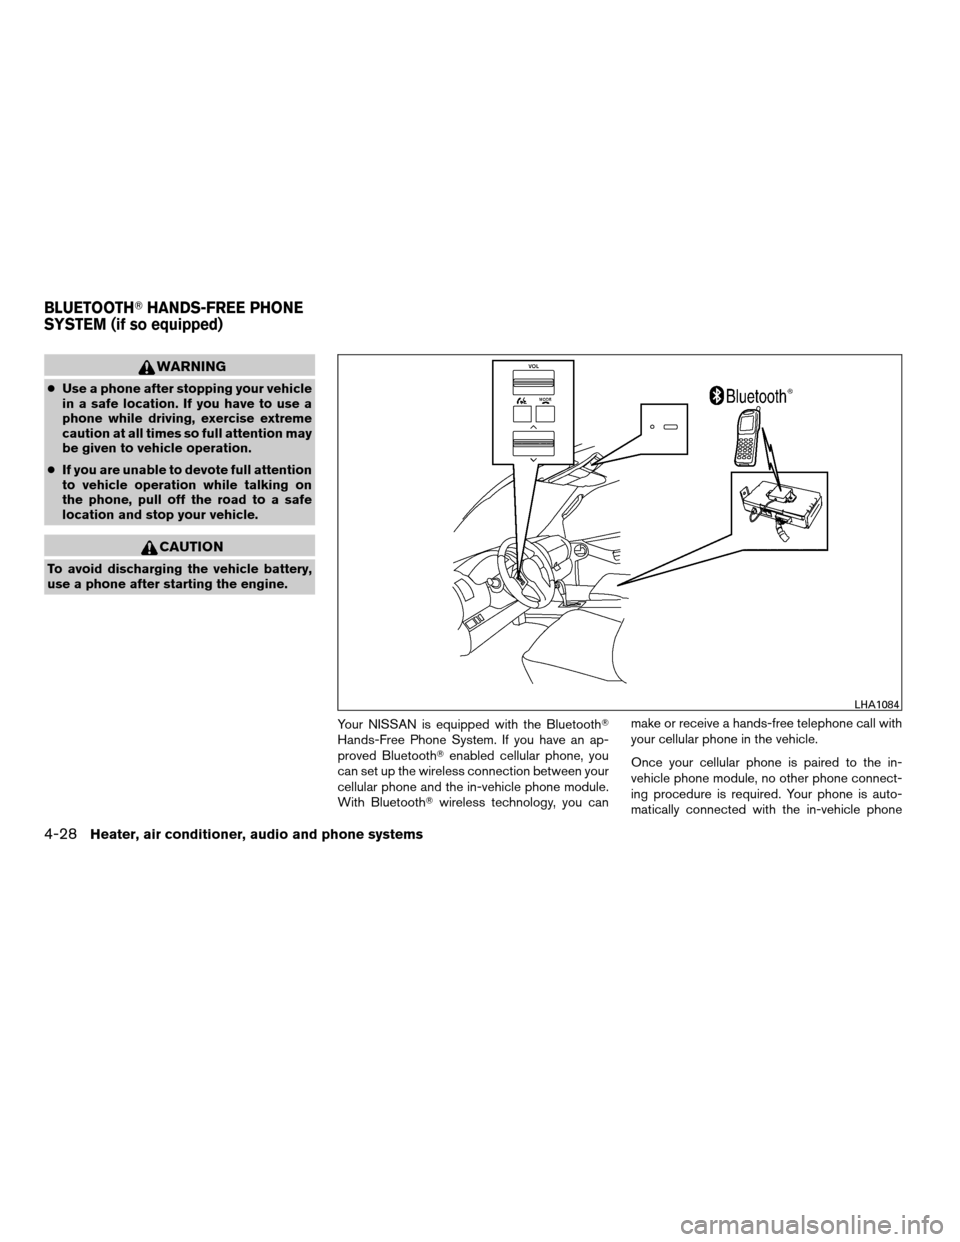
Your NISSAN is equipped with the BluetoothT
Hands-Free Phone System. If you have an ap-
proved BluetoothTenabled cellular phone, you
can set up the wireless connection between your
cellular phone and the in-vehicle phone module.
With BluetoothTwireless technology, you canmake or receive a hands-free telephone call with
your cellular phone in the vehicle.
Once your cellular phone is paired to the in-
vehicle phone module, no other phone connect-
ing procedure is required. Your phone is auto-
matically connected with the in-vehicle phone
LHA1084
BLUETOOTHTHANDS-FREE PHONE
SYSTEM (if so equipped)
4-28Heater, air conditioner, audio and phone systems
ZREVIEW COPYÐ2008 Xterra(xtr)
Owners ManualÐUSA_English(nna)
06/26/07Ðdebbie
X
Page 181 of 320

5 Starting and driving
Precautions when starting and driving................5-2
Exhaust gas (carbon monoxide)..................5-2
Three-way catalyst..............................5-2
Tire Pressure Monitoring System (TPMS)..........5-3
On-pavement and off-road driving
precautions....................................5-5
Avoiding collision and rollover....................5-5
Drinking alcohol/drugs and driving................5-6
Driving safety precautions.......................5-6
Ignition switch.....................................5-8
Automatic transmission..........................5-8
Manual transmission............................5-9
Key positions.................................5-10
Nissan Vehicle Immobilizer System
(if so equipped)...............................5-10
Before starting the engine.........................5-10
Starting the engine...............................5-11
Driving the vehicle................................5-12
Automatic transmission.........................5-12
Manual transmission (if so equipped)............5-15
Parking brake....................................5-17
Cruise control....................................5-18
Precautions on cruise control...................5-18
Cruise control operations.......................5-19Break-in schedule................................5-20
Increasing fuel economy...........................5-20
Using four wheel drive (4WD).............5-21
Transfer case shifting procedures...............5-22
Electronic locking rear differential (E-Lock) system
(if so equipped)..................................5-27
Parking/parking on hills............................5-29
Power steering...................................5-30
Brake system....................................5-30
Brake precautions.............................5-30
Anti-lock Braking System (ABS).................5-31
Active brake limited slip (ABLS) system
(if so equipped)..................................5-32
Vehicle Dynamic Control (VDC) system.............5-32
Hill descent control system (if so equipped).........5-34
Hill start assist system (if so equipped)..............5-34
Cold weather driving..............................5-35
Freeing a frozen door lock......................5-35
Anti-freeze....................................5-35
Battery.......................................5-35
Draining of coolant water.......................5-35
Tire equipment................................5-35
Special winter equipment.......................5-36
Driving on snow or ice.........................5-36
Engine block heater (if so equipped).............5-36
ZREVIEW COPYÐ2008 Xterra(xtr)
Owners ManualÐUSA_English(nna)
06/26/07Ðdebbie
X