Page 2 of 36
HEADLIGHT AND TURN SIGNAL CON-
TROLLOW TIRE PRESSURE WARNING LIGHTWINDSHIELD WIPER/WASHER SWITCHSTEERING WHEEL SWITCHES FOR AU-
DIO CONTROL/BLUETOOTH �
CRUISE CONTROLLIGHTS ON DEMANDVEHICLE DYNAMIC CONTROL (VDC)
OFF SWITCHREAR SONAR SYSTEM OFF SWITCH
TILT AND TELESCOPIC STEERING COL-
UMNCONTROL PANEL DISPLAYCLIMATE CONTROLSFRONT PASSENGER AIR BAG STATUS
LIGHT
HAZARD WARNING SWITCH*AUDIO SYSTEMAUXILIARY AUDIO INPUT JACK*
*See your Owner’s Manual for more information.
Page 7 of 36

The interior lights and puddle lamps will turn off while the 30-second timer is activated when: � The driver’s door is locked by the keyfob, a key, or the power door lock switch.
� The ignition switch is turned on.
The lights will turn off automatically after 30 minutes while the doors are open to prevent the
battery from becoming discharged.
Push the OFFportion of the switch and the interior lights and puddle lamps will not illuminate.
� The lights can be turned off so sleeping passengers are not disturbed when the doors
are opened.
� The lights on the front doors will turn on when the front doors are opened.
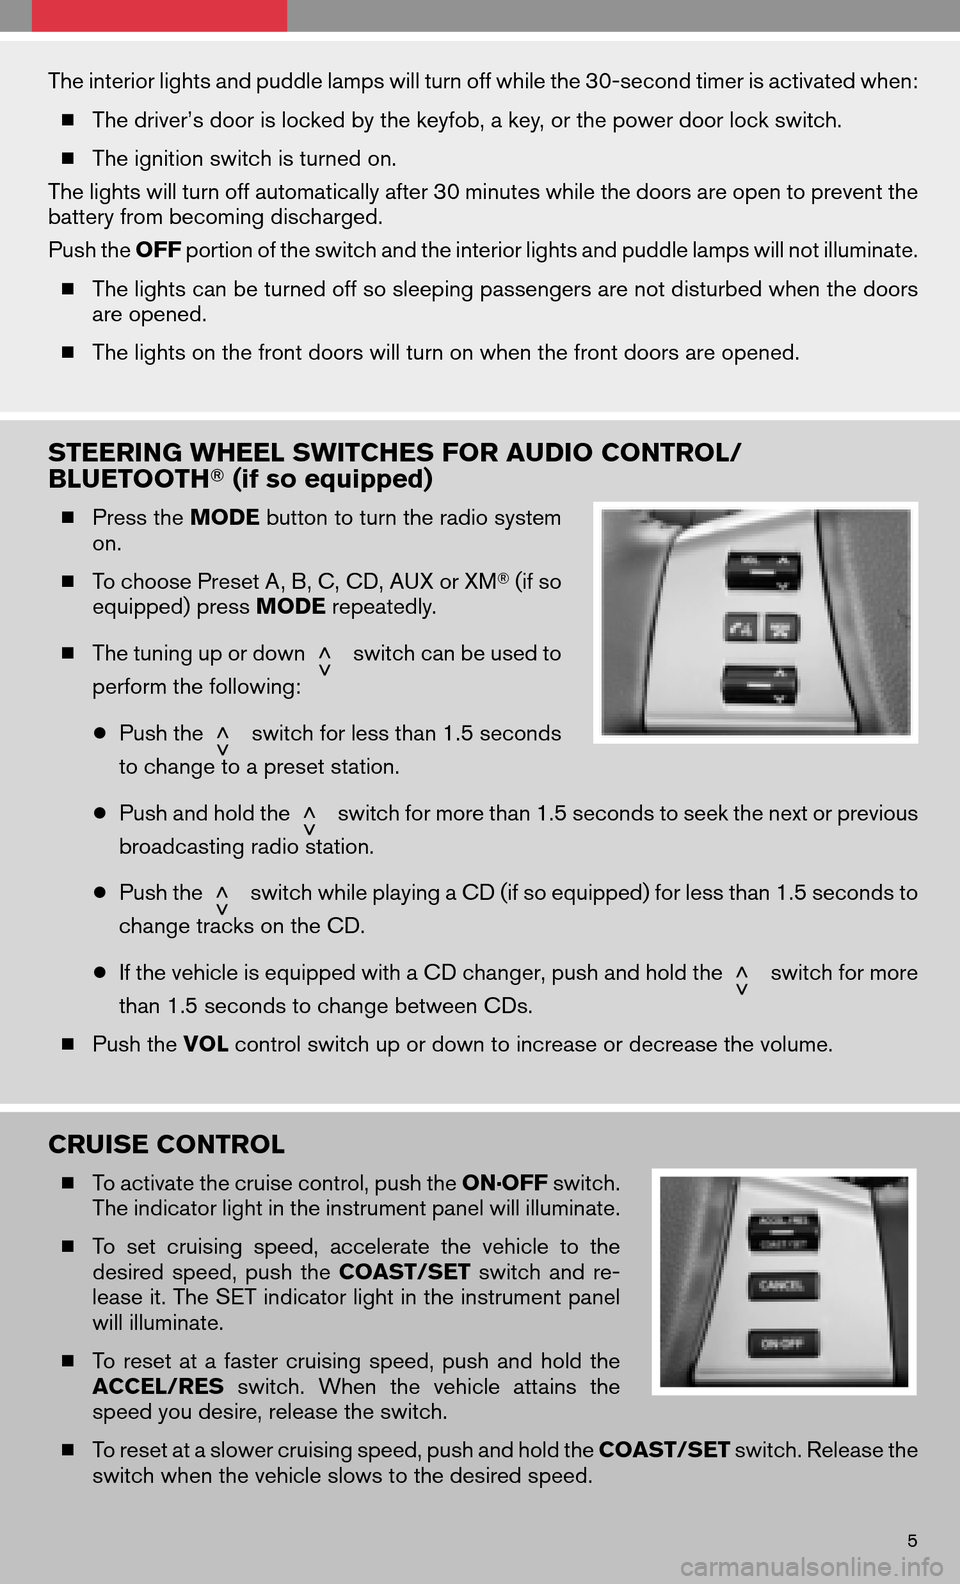
STEERING WHEEL SWITCHES FOR AUDIO CONTROL/
BLUETOOTH � (if so equipped)
�Press the MODEbutton to turn the radio system
on.
� To choose Preset A, B, C, CD, AUX or XM �(if so
equipped) press MODErepeatedly.
� The tuning up or down
switch can be used to
perform the following:
● Push the
switch for less than 1.5 seconds
to change to a preset station.
● Push and hold the
switch for more than 1.5 seconds to seek the next or previous
broadcasting radio station.
● Push the
switch while playing a CD (if so equipped) for less than 1.5 seconds to
change tracks on the CD.
● If the vehicle is equipped with a CD changer, push and hold the
switch for more
than 1.5 seconds to change between CDs.
� Push the VOLcontrol switch up or down to increase or decrease the volume.
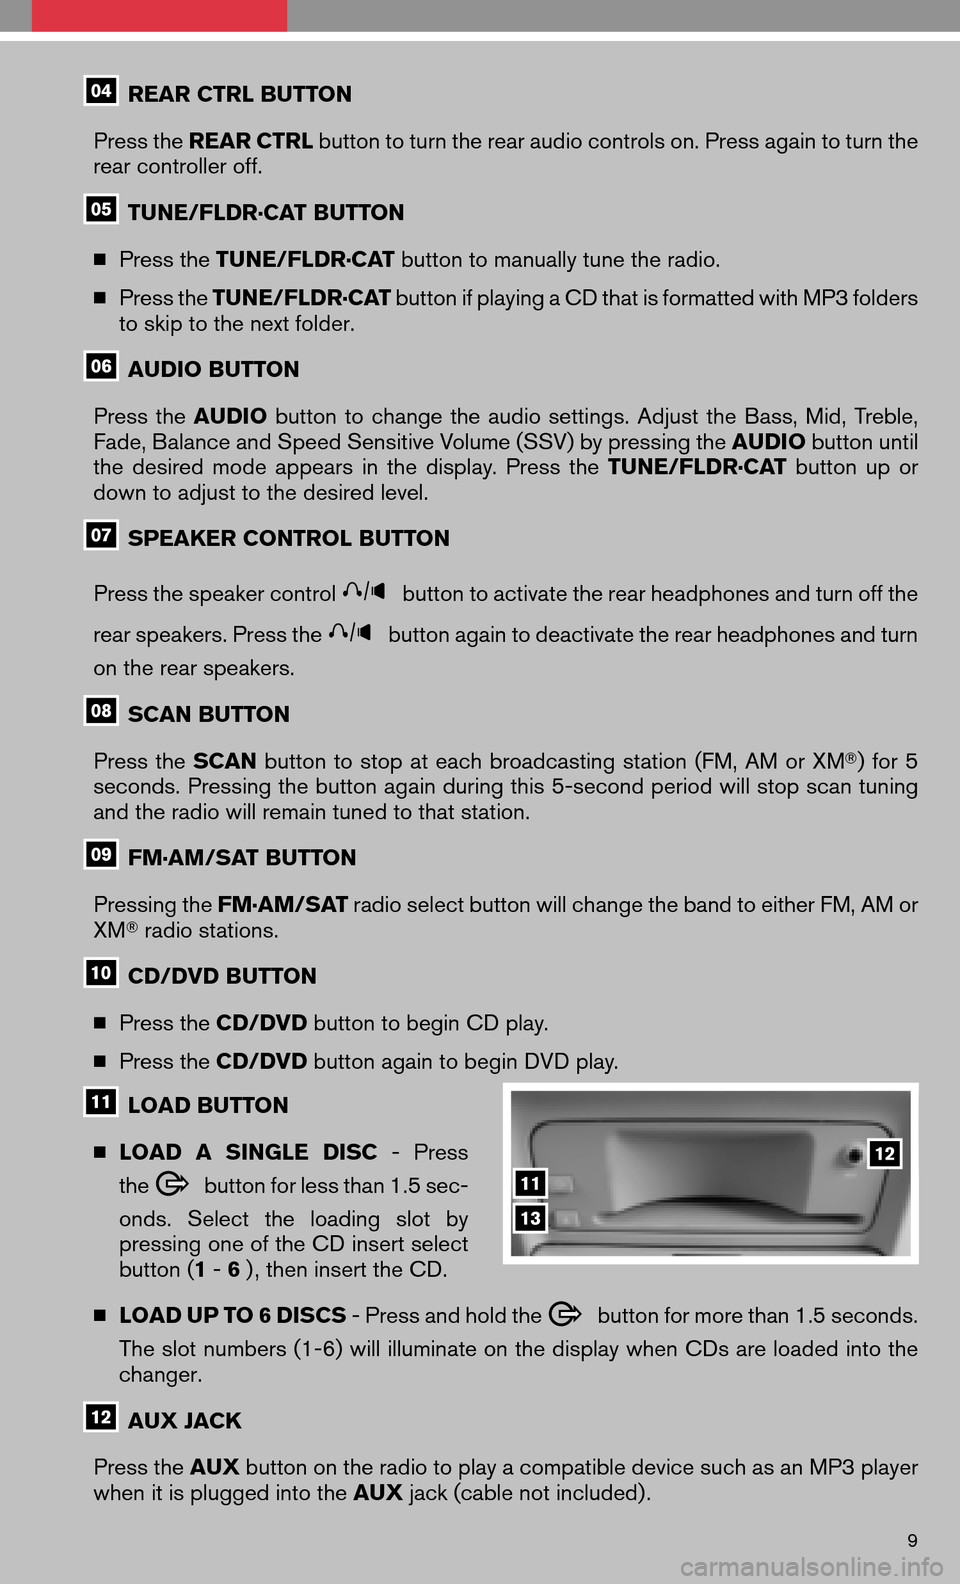
CRUISE CONTROL
�To activate the cruise control, push the ON·OFFswitch.
The indicator light in the instrument panel will illuminate.
� To set cruising speed,accelerate thevehicle tothe
desired speed,pushthe COAST/SET switchandre-
lease it. The SET indicator light in the instrument panel
will illuminate.
� Toreset atafaster cruising speed,pushandhold the
ACCEL/RES switch.Whenthevehicle attainsthe
speed you desire, release the switch.
� To reset at a slower cruising speed, push and hold the COAST/SETswitch. Release the
switch when the vehicle slows to the desired speed.
5
Page 11 of 36

REAR CTRL BUTTON
Press the REAR CTRL button to turn the rear audio controls on. Press again to turn the
rear controller off.
TUNE/FLDR·CAT BUTTON
� Press the TUNE/FLDR·CAT button to manually tune the radio.
� Press the TUNE/FLDR·CAT button if playing a CD that is formatted with MP3 folders
to skip to the next folder.
AUDIO BUTTON
Press the AUDIO buttontochange theaudio settings. AdjusttheBass, Mid,Treble,
Fade, Balance and Speed Sensitive Volume (SSV) by pressing the AUDIObutton until
the desired modeappears inthe display. Pressthe TUNE/FLDR·CAT buttonupor
down to adjust to the desired level.
SPEAKER CONTROL BUTTON
Press the speaker control
button to activate the rear headphones and turn off the
rear speakers. Press the
button again to deactivate the rear headphones and turn
on the rear speakers.
SCAN BUTTON
Press the SCAN buttontostop ateach broadcasting station(FM,AMorXM �)for 5
seconds. Pressing the button again during this 5-second period will stop scan tuning
and the radio will remain tuned to that station.
FM·AM/SAT BUTTON
Pressing the FM·AM/SAT radio select button will change the band to either FM, AM or
XM � radio stations.
CD/DVD BUTTON
� Press the CD/DVD button to begin CD play.
� Press the CD/DVD button again to begin DVD play.
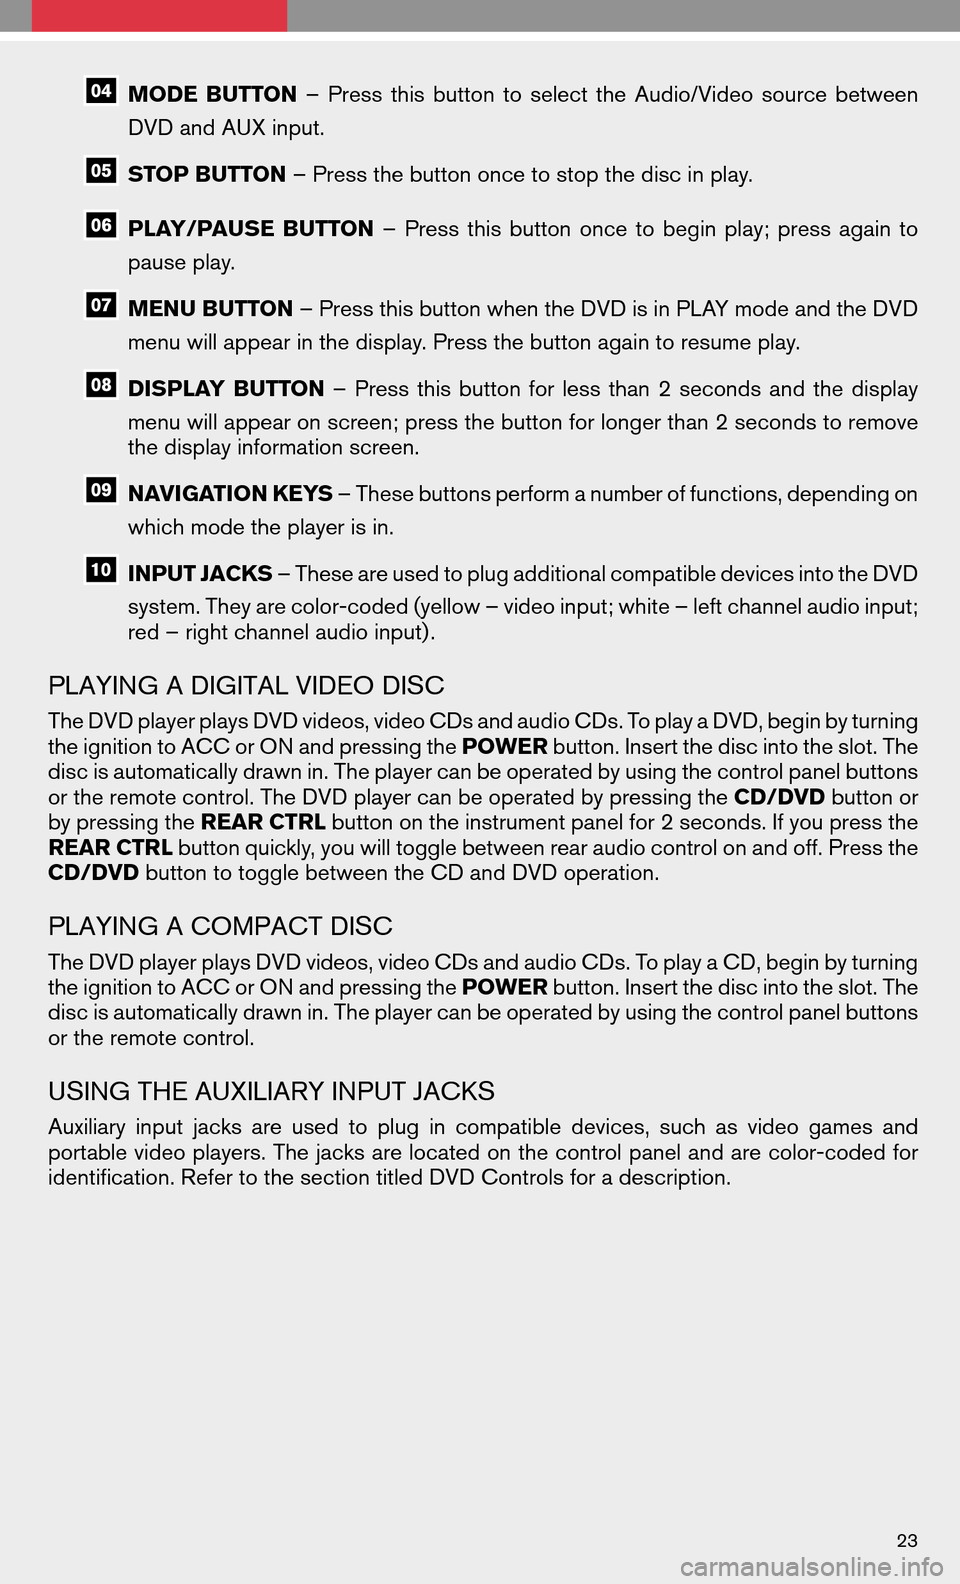
LOAD BUTTON
� LOAD ASINGLE DISC-Press
the
button for less than 1.5 sec-
onds. Select theloading slotby
pressing one of the CD insert select
button ( 1-6 ) , then insert the CD.
� LOAD UP TO 6 DISCS - Press and hold the
button for more than 1.5 seconds.
The slot numbers (1-6) will illuminate on the display when CDs are loaded into the
changer.
AUX JACK
Press the AUXbutton on the radio to play a compatible device such as an MP3 player
when it is plugged into the AUXjack (cable not included) .
9
Page 25 of 36

MODEBUTTON –Press thisbutton toselect theAudio/Video sourcebetween
DVD and AUX input.
STOP BUTTON – Press the button once to stop the disc in play.
PLAY/PAUSEBUTTON–Press thisbutton oncetobegin play;press againto
pause play.
MENU BUTTON – Press this button when the DVD is in PLAY mode and the DVD
menu will appear in the display. Press the button again to resume play.
DISPLAY BUTTON –Press thisbutton forless than 2seconds andthedisplay
menu will appear on screen; press the button for longer than 2 seconds to remove
the display information screen.
NAVIGATION KEYS – These buttons perform a number of functions, depending on
which mode the player is in.
INPUT JACKS – These are used to plug additional compatible devices into the DVD
system. They are color-coded (yellow – video input; white – left channel audio input;
red – right channel audio input) .
PLAYING A DIGITAL VIDEO DISC
The DVD player plays DVD videos, video CDs and audio CDs. To play a DVD, begin by turning
the ignition to ACC or ON and pressing the POWERbutton. Insert the disc into the slot. The
disc is automatically drawn in. The player can be operated by using the control panel buttons
or the remote control. The DVD player can be operated by pressing the CD/DVDbutton or
by pressing the REAR CTRLbutton on the instrument panel for 2 seconds. If you press the
REAR CTRL button quickly, you will toggle between rear audio control on and off. Press the
CD/DVD button to toggle between the CD and DVD operation.
PLAYING A COMPACT DISC
The DVD player plays DVD videos, video CDs and audio CDs. To play a CD, begin by turning
the ignition to ACC or ON and pressing the POWERbutton. Insert the disc into the slot. The
disc is automatically drawn in. The player can be operated by using the control panel buttons
or the remote control.
USING THE AUXILIARY INPUT JACKS
Auxiliary inputjacks areused toplug incompatible devices,suchasvideo games and
portable video players. The jacks are located on the control panel and are color-coded for
identification. Refer to the section titled DVD Controls for a description.
23