2008 NISSAN QUEST warning light
[x] Cancel search: warning lightPage 167 of 376
In case of low tire pressure, a message “LOW
PRESSURE” or “CHECK ALL TIRES” is dis-
played on the screen:
LOW PRESSURE — CHECK ALL TIRES.
WARNING
cWhen a spare tire is mounted or a wheel
is replaced, tire pressure will not be
indicated, the Tire Pressure Monitoring
System (TPMS) will not function and
the low tire pressure warning light will
flash for approximately 1 minute. The
light will remain on after 1 minute. Con-
tact your NISSAN dealer as soon as
possible for tire replacement and/or
system resetting.
cReplacing tires with those not originally
specified by NISSAN could affect the
proper operation of the TPMS.
HOW TO USE THE SETTING
BUTTON
Pressing the SETTING button will change the
settings menu as follows:
Backlight!Day Mode Brightness!Night
Mode Brightness!Clock Adjust HOURS!Clock Adjust MINUTES!Units!Lang!MP3
Disp Type (if so equipped)!Audio or OFF!
Backlight
Backlight
To turn off the screen, select “OFF” of the Back-
light mode by pressing the TUNE button.
The message “Press SETTINGS to resume” will
display for approximately 5 seconds then the
screen will turn off.
To turn on the screen, press the SETTING button
and select “ON” by pressing the TUNE button.
When any button besides SETTING is pressed
with the screen off, the screen turns on for further
operation. The screen will turn off automatically
after the operation is finished.
Day mode brightness
The brightness of the screen during the day can
be changed by pressing the TUNE button.
For additional information, see “
button”
later in this section.
Night mode brightness
The brightness of the screen during the night can
be changed by pressing the TUNE button.
For additional information, see “
button”
later in this section.
Clock operation
The digital clock displays time when the ignition
key is in ACC or ON.
If the power supply is disconnected, the
clock will not indicate the correct time.
Readjust the time.
Clock adjust hours
Press the SETTING button until Clock Adjust
HOURS is shown in the display. Press the TUNE
button up or down to adjust the hour.
Clock adjust minutes
Press the SETTING button again Clock Adjust
Minutes is shown in the display. Press the TUNE
button up or down to adjust the minutes.
To exit the clock adjustment, press the SETTING
button repeatedly. The screen will return to the
audio display if the audio is on. If the audio is not
on, the screen will return to a blank display.
Units
To change the units press the TUNE button to
select “ENGLISH” or “METRIC”.
Unit: US — MI, °F, MPG
Metric — km, °C, L/100 km
Display screen, heater, air conditioner, audio and phone systems4-5
ZREVIEW COPYÐ2008 Quest(van)
Owners ManualÐUSA_English(nna)
06/29/07Ðdebbie
X
Page 168 of 376

Language
The language can be changed to “ENGLISH” or
“FRANÇAIS” by pressing the TUNE button.
MP3 display type (if so equipped)
To change how MP3 discs are displayed, press
the TUNE button to select “DISC NUMBER” or
“FOLDER NUMBER”.
Disc number mode will display the file number in
the disc.
Folder number mode will display the file number
in the current folder.
For additional information, see “Audio System”
later in this section.
BUTTON
To change the display brightness, press
thebutton. Pressing the button with the
headlights off will prompt the “BRIGHTNESS
NIGHT (MANUAL)” or “BRIGHTNESS AUTO-
MATIC”. If “BRIGHTNESS NIGHT (MANUAL)” is
selected, the brightness of the screen will not be
affected by the headlight operation. The bright-
ness of the screen will be dependent on the
settings in the Night Mode Brightness, described
earlier in this section.Pressing the button with the headlights on will
prompt the “BRIGHTNESS DAY (MANUAL)” or
“BRIGHTNESS AUTOMATIC”. If “BRIGHT-
NESS DAY (MANUAL)” is selected the bright-
ness of the screen will not be affected by the
headlight operation. The brightness of the screen
will be dependent on the settings in the Day
Mode Brightness, described earlier in this sec-
tion.
DOOR WARNING
The DOOR OPEN screen will be automatically
displayed as shown when both of the following
conditions are met:
cThe vehicle is driven with a door(s) open for
longer than 2.5 seconds.
cThe vehicle speed is greater than 3 MPH (5
km/h) .
Beeping will occur during the door warning; to
disable the beeping press any button. If a change
in any door condition occurs during the time the
beep is cancelled, a warning will return.
LHA0643
4-6Display screen, heater, air conditioner, audio and phone systems
ZREVIEW COPYÐ2008 Quest(van)
Owners ManualÐUSA_English(nna)
06/29/07Ðdebbie
X
Page 173 of 376
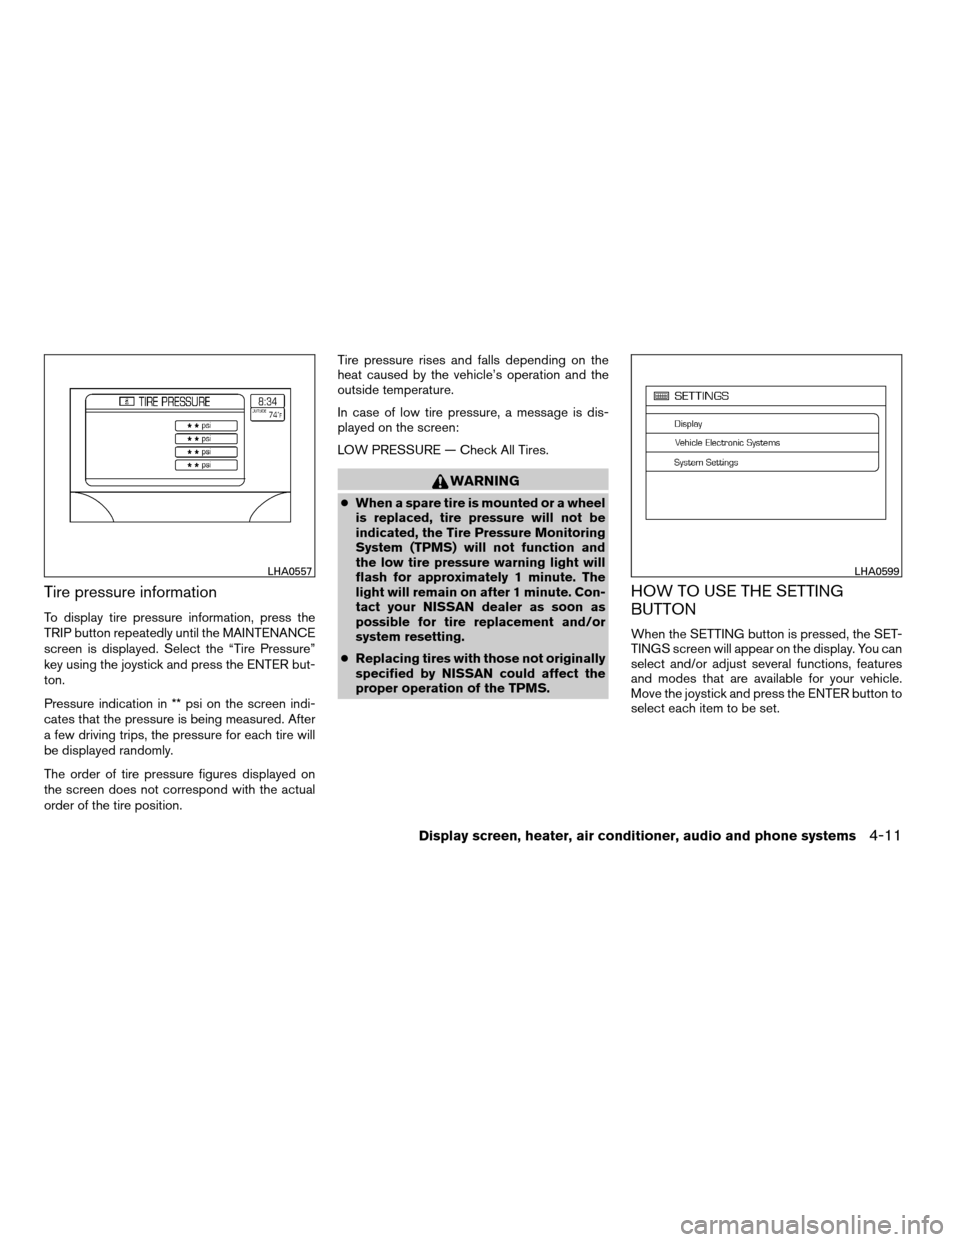
Tire pressure information
To display tire pressure information, press the
TRIP button repeatedly until the MAINTENANCE
screen is displayed. Select the “Tire Pressure”
key using the joystick and press the ENTER but-
ton.
Pressure indication in ** psi on the screen indi-
cates that the pressure is being measured. After
a few driving trips, the pressure for each tire will
be displayed randomly.
The order of tire pressure figures displayed on
the screen does not correspond with the actual
order of the tire position.Tire pressure rises and falls depending on the
heat caused by the vehicle’s operation and the
outside temperature.
In case of low tire pressure, a message is dis-
played on the screen:
LOW PRESSURE — Check All Tires.
WARNING
cWhen a spare tire is mounted or a wheel
is replaced, tire pressure will not be
indicated, the Tire Pressure Monitoring
System (TPMS) will not function and
the low tire pressure warning light will
flash for approximately 1 minute. The
light will remain on after 1 minute. Con-
tact your NISSAN dealer as soon as
possible for tire replacement and/or
system resetting.
cReplacing tires with those not originally
specified by NISSAN could affect the
proper operation of the TPMS.
HOW TO USE THE SETTING
BUTTON
When the SETTING button is pressed, the SET-
TINGS screen will appear on the display. You can
select and/or adjust several functions, features
and modes that are available for your vehicle.
Move the joystick and press the ENTER button to
select each item to be set.
LHA0557LHA0599
Display screen, heater, air conditioner, audio and phone systems4-11
ZREVIEW COPYÐ2008 Quest(van)
Owners ManualÐUSA_English(nna)
06/29/07Ðdebbie
X
Page 183 of 376
cThe ignition key is turned ON the next time
the vehicle will be driven.
To return to the previous display after the MAIN-
TENANCE NOTICE screen is displayed, press
the BACK button.
The MAINTENANCE NOTICE screen displays
each time the key is turned ON until one of the
following conditions are met:
c“Reset” key is selected.
c“Display Maintenance Notification” is set to
OFF.
cThe maintenance interval is set again.
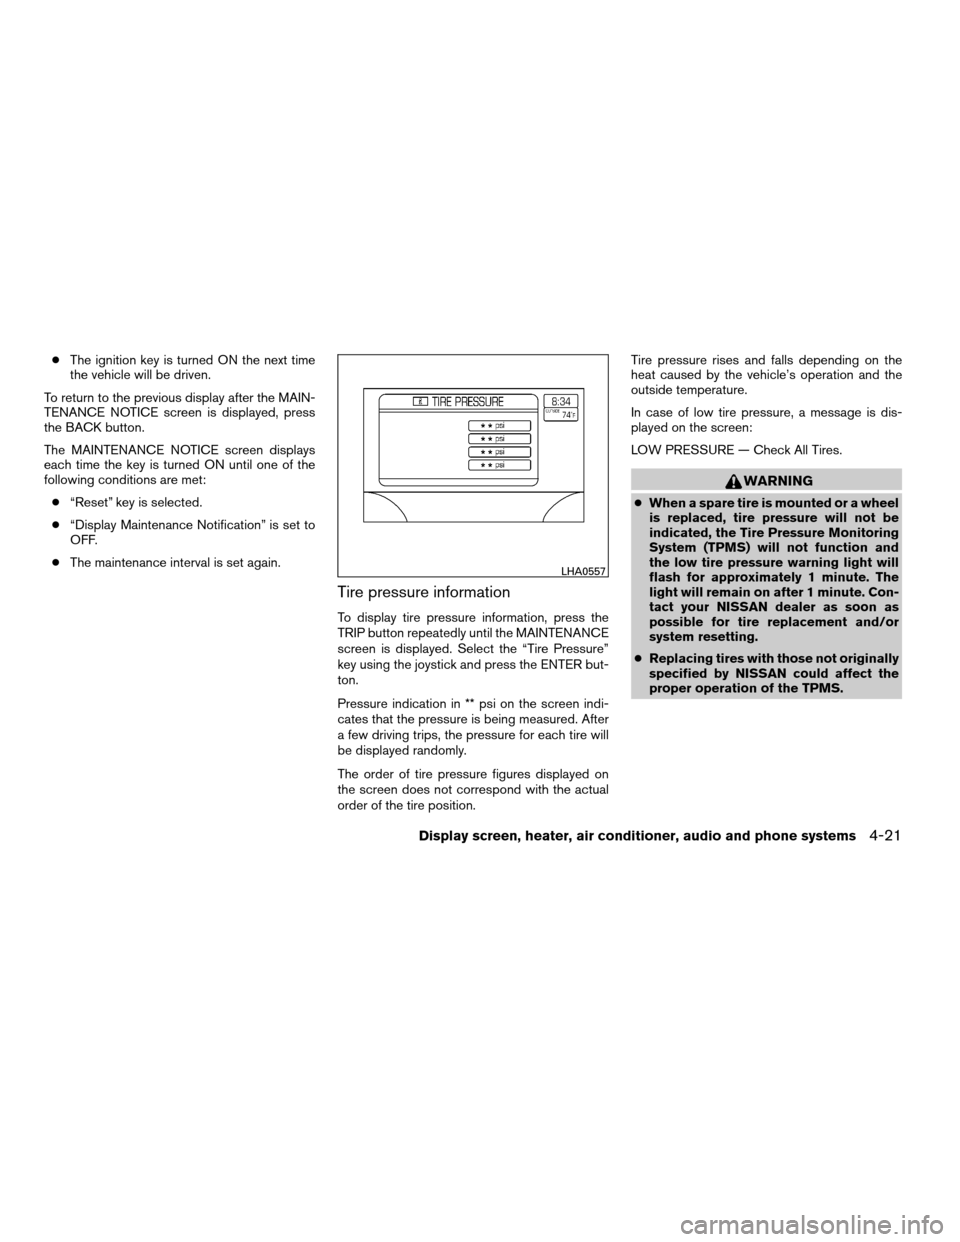
Tire pressure information
To display tire pressure information, press the
TRIP button repeatedly until the MAINTENANCE
screen is displayed. Select the “Tire Pressure”
key using the joystick and press the ENTER but-
ton.
Pressure indication in ** psi on the screen indi-
cates that the pressure is being measured. After
a few driving trips, the pressure for each tire will
be displayed randomly.
The order of tire pressure figures displayed on
the screen does not correspond with the actual
order of the tire position.Tire pressure rises and falls depending on the
heat caused by the vehicle’s operation and the
outside temperature.
In case of low tire pressure, a message is dis-
played on the screen:
LOW PRESSURE — Check All Tires.
WARNING
cWhen a spare tire is mounted or a wheel
is replaced, tire pressure will not be
indicated, the Tire Pressure Monitoring
System (TPMS) will not function and
the low tire pressure warning light will
flash for approximately 1 minute. The
light will remain on after 1 minute. Con-
tact your NISSAN dealer as soon as
possible for tire replacement and/or
system resetting.
cReplacing tires with those not originally
specified by NISSAN could affect the
proper operation of the TPMS.
LHA0557
Display screen, heater, air conditioner, audio and phone systems4-21
ZREVIEW COPYÐ2008 Quest(van)
Owners ManualÐUSA_English(nna)
06/29/07Ðdebbie
X
Page 190 of 376
The GPS time (manual time) corresponding to
the selected zone will be displayed. Pacific zone
has been set as the initial (default) setting.
Beep setting
With this option ON, a beep will sound if any
audio button is pressed.
Navigation settings
Refer to the separate Navigation System Own-
er’s Manual for information regarding these set-
tings.
Guidance voice settings
Refer to the separate Navigation System Own-
er’s Manual for information regarding these set-
tings.
BUTTON
To change the display brightness, press
thebutton. Pressing the button again will
change the display to “DAY” or “NIGHT” display.
Then, adjust the brightness by moving the joy-
stick right or left.
If no operation is done within 10 seconds, or if the
BACK button is pressed, the display will return to
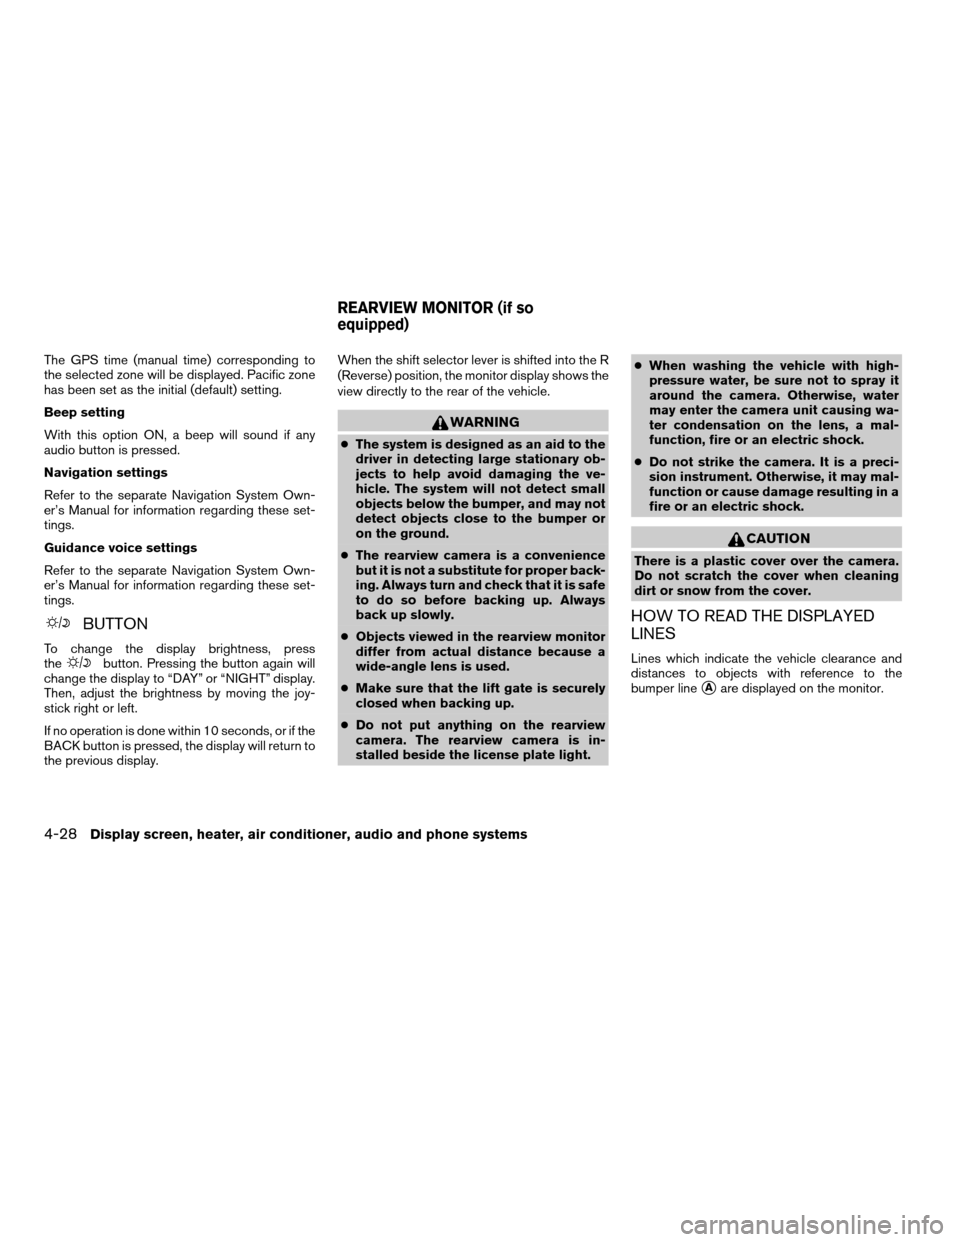
the previous display.When the shift selector lever is shifted into the R
(Reverse) position, the monitor display shows the
view directly to the rear of the vehicle.
WARNING
cThe system is designed as an aid to the
driver in detecting large stationary ob-
jects to help avoid damaging the ve-
hicle. The system will not detect small
objects below the bumper, and may not
detect objects close to the bumper or
on the ground.
cThe rearview camera is a convenience
but it is not a substitute for proper back-
ing. Always turn and check that it is safe
to do so before backing up. Always
back up slowly.
cObjects viewed in the rearview monitor
differ from actual distance because a
wide-angle lens is used.
cMake sure that the lift gate is securely
closed when backing up.
cDo not put anything on the rearview
camera. The rearview camera is in-
stalled beside the license plate light.cWhen washing the vehicle with high-
pressure water, be sure not to spray it
around the camera. Otherwise, water
may enter the camera unit causing wa-
ter condensation on the lens, a mal-
function, fire or an electric shock.
cDo not strike the camera. It is a preci-
sion instrument. Otherwise, it may mal-
function or cause damage resulting in a
fire or an electric shock.
CAUTION
There is a plastic cover over the camera.
Do not scratch the cover when cleaning
dirt or snow from the cover.
HOW TO READ THE DISPLAYED
LINES
Lines which indicate the vehicle clearance and
distances to objects with reference to the
bumper line
sAare displayed on the monitor.
REARVIEW MONITOR (if so
equipped)
4-28Display screen, heater, air conditioner, audio and phone systems
ZREVIEW COPYÐ2008 Quest(van)
Owners ManualÐUSA_English(nna)
06/29/07Ðdebbie
X
Page 227 of 376
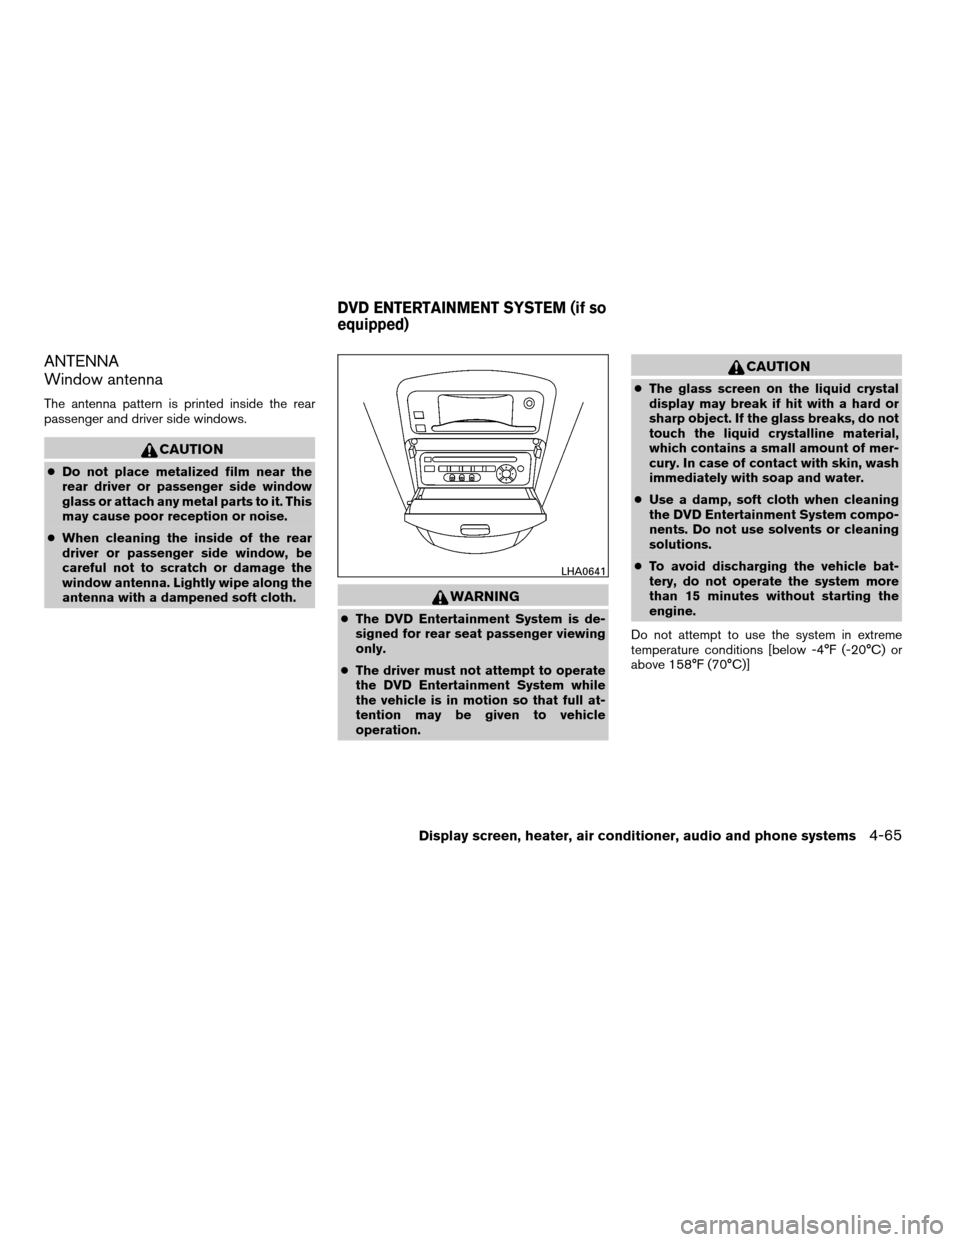
ANTENNA
Window antenna
The antenna pattern is printed inside the rear
passenger and driver side windows.
CAUTION
cDo not place metalized film near the
rear driver or passenger side window
glass or attach any metal parts to it. This
may cause poor reception or noise.
cWhen cleaning the inside of the rear
driver or passenger side window, be
careful not to scratch or damage the
window antenna. Lightly wipe along the
antenna with a dampened soft cloth.
WARNING
cThe DVD Entertainment System is de-
signed for rear seat passenger viewing
only.
cThe driver must not attempt to operate
the DVD Entertainment System while
the vehicle is in motion so that full at-
tention may be given to vehicle
operation.
CAUTION
cThe glass screen on the liquid crystal
display may break if hit with a hard or
sharp object. If the glass breaks, do not
touch the liquid crystalline material,
which contains a small amount of mer-
cury. In case of contact with skin, wash
immediately with soap and water.
cUse a damp, soft cloth when cleaning
the DVD Entertainment System compo-
nents. Do not use solvents or cleaning
solutions.
cTo avoid discharging the vehicle bat-
tery, do not operate the system more
than 15 minutes without starting the
engine.
Do not attempt to use the system in extreme
temperature conditions [below -4°F (-20°C) or
above 158°F (70°C)]
LHA0641
DVD ENTERTAINMENT SYSTEM (if so
equipped)
Display screen, heater, air conditioner, audio and phone systems4-65
ZREVIEW COPYÐ2008 Quest(van)
Owners ManualÐUSA_English(nna)
06/29/07Ðdebbie
X
Page 256 of 376
cThe low tire pressure warning light does not
automatically turn off when the tire pressure
is adjusted. After the tire is inflated to the
recommended pressure, the vehicle must be
driven at speeds above 16 MPH (25 km/h)
to activate the TPMS and turn off the low tire
pressure warning light. Use a tire pressure
gauge to check the tire pressure.
cTire pressure rises and falls depending on
the heat caused by the vehicle’s operation
and the outside temperature. Low outside
temperature can lower the temperature of
the air inside the tire which can cause a
lower tire inflation pressure. This may cause
the low tire pressure warning light to illumi-
nate. If the warning light illuminates in low
ambient temperature, check the tire pres-
sure for all four tires.
cYou can also check the pressure of all tires
(except the spare tire) on the display screen.
The order of the tire pressure figures dis-
played on the screen does not correspond
with the actual order of the tire position. See
“Tire pressure information” in the “Display
screen, heater, air conditioner and audio and
phone systems” section.For additional information, see “Low tire pressure
warning light” in the “Instruments and controls”
section and “Tire Pressure Monitoring System
(TPMS)” in the “In case of emergency” section.
WARNING
cIf the low tire pressure warning light
illuminates while driving, avoid sudden
steering maneuvers or abrupt braking,
reduce vehicle speed, pull off the road
to a safe location and stop the vehicle
as soon as possible. Driving with under-
inflated tires may permanently damage
the tires and increase the likelihood of
tire failure. Serious vehicle damage
could occur and may lead to an acci-
dent and could result in serious per-
sonal injury. Check the tire pressure for
all four tires. Adjust the tire pressure to
the recommended COLD tire pressure
shown on the Tire and Loading Informa-
tion label to turn the low tire pressure
warning light OFF. If you have a flat tire,
replace it with a spare tire as soon as
possible. (See “Flat tire” in the “In case
of emergency” section for changing a
flat tire.)cWhen a spare tire is mounted or a wheel
is replaced, tire pressure will not be
indicated, the TPMS will not function
and the low tire pressure warning light
will flash for approximately 1 minute.
The light will remain on after 1 minute.
Contact your NISSAN dealer as soon as
possible for tire replacement and/or
system resetting.
cReplacing tires with those not originally
specified by NISSAN could affect the
proper operation of the TPMS.
cDo not inject any tire liquid or aerosol
tire sealant into the tires, as this may
cause a malfunction of the tire pressure
sensors.
CAUTION
Do not place metalized film or any metal
parts (antenna, etc.) on the windows. This
may cause poor reception of the signals
from the tire pressure sensors, and the
TPMS will not function properly.
Some devices and transmitters may temporarily
interfere with the operation of the TPMS and
cause the low tire pressure warning light to illu-
minate.
5-4Starting and driving
ZREVIEW COPYÐ2008 Quest(van)
Owners ManualÐUSA_English(nna)
06/29/07Ðdebbie
X
Page 258 of 376
WARNING
Never remove or turn the key to the LOCK
position while driving. The steering wheel
will lock. This may cause the driver to lose
control of the vehicle and could result in
serious vehicle damage or personal injury.
AUTOMATIC TRANSMISSION
The ignition lock is designed so the key cannot be
turned to the LOCK position and removed until
the shift selector lever is moved to the P (Park)
position.
When removing the key from the ignition, make
sure the shift selector lever is in the P (Park)
position.
If the selector lever is not returned to P (Park)
position, the key cannot be moved to the LOCK
position.
When the key cannot be turned to the LOCK
position, proceed as follows to remove the key.1. Move the shift selector lever into the P (Park)
position.
2. Turn the ignition key slightly toward the ON
position.
3. Turn the key to the LOCK position.
4. Remove the key.
The shift selector lever is designed so it cannot
be moved out of P (Park) and into any of the other
gear positions if the ignition key is turned to OFF
position or if the key is removed from the switch.
The shift selector lever can be moved if the
ignition switch is in the ON position and the
foot brake pedal is depressed.
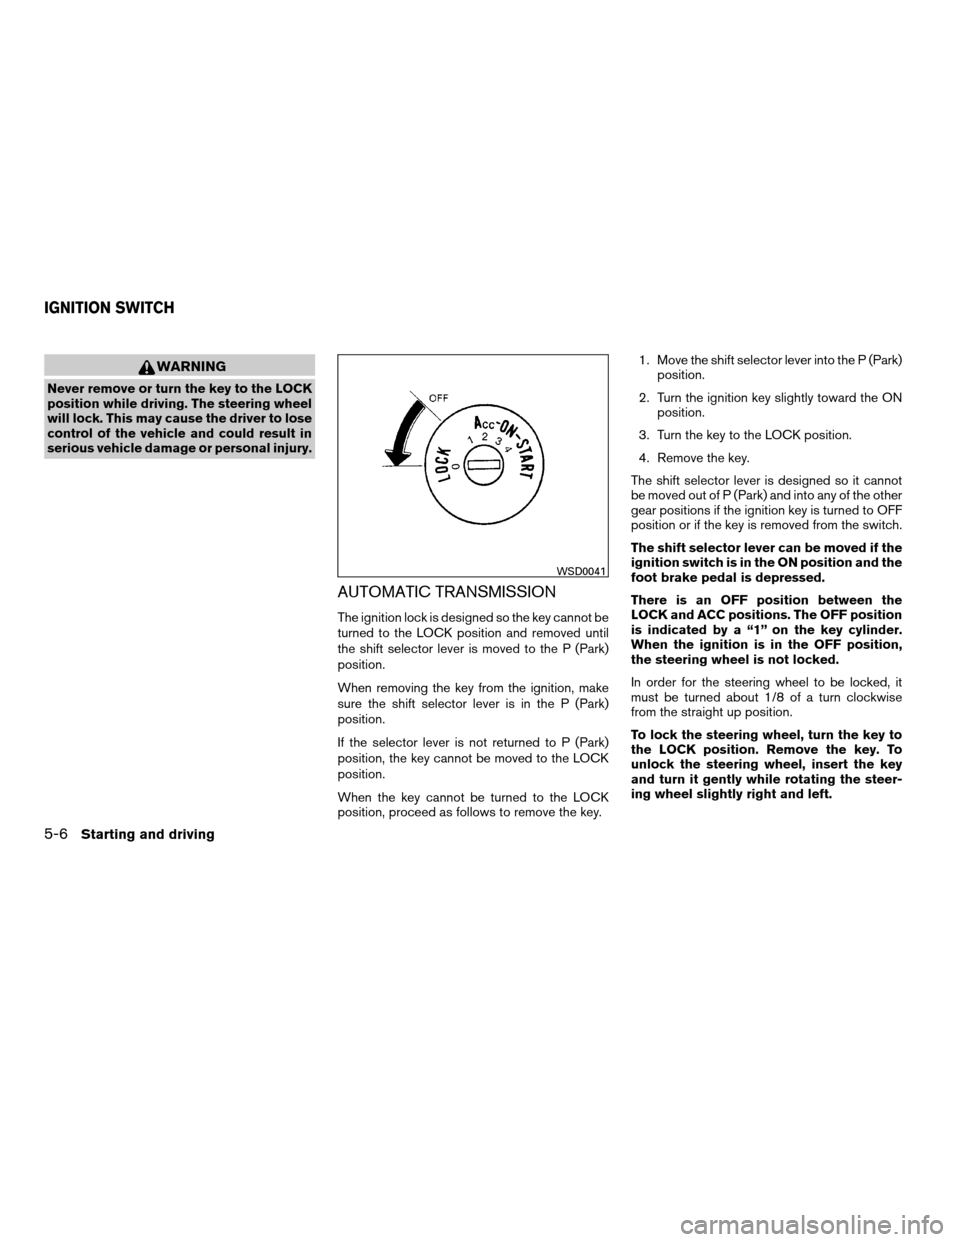
There is an OFF position between the
LOCK and ACC positions. The OFF position
is indicated by a “1” on the key cylinder.
When the ignition is in the OFF position,
the steering wheel is not locked.
In order for the steering wheel to be locked, it
must be turned about 1/8 of a turn clockwise
from the straight up position.
To lock the steering wheel, turn the key to
the LOCK position. Remove the key. To
unlock the steering wheel, insert the key
and turn it gently while rotating the steer-
ing wheel slightly right and left.
WSD0041
IGNITION SWITCH
5-6Starting and driving
ZREVIEW COPYÐ2008 Quest(van)
Owners ManualÐUSA_English(nna)
06/29/07Ðdebbie
X