2008 NISSAN QUEST light
[x] Cancel search: lightPage 177 of 376

NOTE:
If you change the horn beep or the lamp
flash feature with the keyfob, the mode will
not be changed with the display. Use the
keyfob to return to the previous mode and
re-enable the display control.
Auto re-lock time:Select to set the length of
time before doors automatically re-lock.
Sensitivity of automatic headlights:Select
to change the sensitivity setting of the automatic
headlights:
cLower: less sensitive, automatic headlights
will take longer to come on when the head-
light sensor senses less ambient light.
cHigher: more sensitive, automatic headlights
will come on quicker when the headlight
sensor senses less ambient light.
Automatic headlights off delay:Select to
change the setting for the length of time the
automatic headlights remain on after exiting the
vehicle.
Speed dependent wiper:Select to turn on or
turn off the driving speed dependent intermittent
wiper function.
Return all settings to default:Select to
change all VEHICLE ELECTRONICS SYSTEMS
to their default settings.
System settings
Select the “System Settings” key by using the
joystick and pressing the ENTER button. The
SYSTEM SETTINGS menu will be displayed.
Language/unit
The LANGUAGE/UNIT screen will appear when
selecting the “Language/Unit” key and pressing
the ENTER button.
Language: English or French
Unit: US — mile, °F, MPG
Metric — km, °C, L/100 kmYou can select the language and unit using the
joystick or pressing the ENTER button.
The settings are automatically saved when you
exit the menu by pressing the BACK button or
any other mode button.
LHA0561
Display screen, heater, air conditioner, audio and phone systems4-15
ZREVIEW COPYÐ2008 Quest(van)
Owners ManualÐUSA_English(nna)
06/29/07Ðdebbie
X
Page 179 of 376

1. ROUTE button*
2. DEST button*
3. MAP button*
4. BACK (previous) button (P. 4-18)
5.
zoom out button*6. Joystick and ENTER button (P. 4-17)
7.
zoom in button*
8. VOICE button*
9. SETTING button (P. 4-22)10.
brightness control button
(P. 4-28)
11. TRIP button (P. 4-18)
*For Navigation system control buttons, refer to
the separate Navigation System Owner’s
Manual.
If you use the system with the engine not
running (ignition ON or ACC) for a long
time, it will use up all the battery power,
and the engine will not start.
Reference symbols:
ENTER button — This is a button on the control
panel. By pressing this button you can select the
item or perform the action.
“Display” key — This is a select key on the screen.
By selecting this key you can proceed to the next
function.
HOW TO USE THE JOYSTICK AND
ENTER BUTTON
Use the joystick to choose an item on the display
screen. Move the joystick up, down, left or right to
highlight an item. Then press the ENTER button
to select the item or perform the action.Display screen with navigation
LHA0631
CONTROL PANEL BUTTONS —
COLOR SCREEN WITH NAVIGATION
SYSTEM (if so equipped)
Display screen, heater, air conditioner, audio and phone systems4-17
ZREVIEW COPYÐ2008 Quest(van)
Owners ManualÐUSA_English(nna)
06/29/07Ðcathy
X
Page 183 of 376

cThe ignition key is turned ON the next time
the vehicle will be driven.
To return to the previous display after the MAIN-
TENANCE NOTICE screen is displayed, press
the BACK button.
The MAINTENANCE NOTICE screen displays
each time the key is turned ON until one of the
following conditions are met:
c“Reset” key is selected.
c“Display Maintenance Notification” is set to
OFF.
cThe maintenance interval is set again.
Tire pressure information
To display tire pressure information, press the
TRIP button repeatedly until the MAINTENANCE
screen is displayed. Select the “Tire Pressure”
key using the joystick and press the ENTER but-
ton.
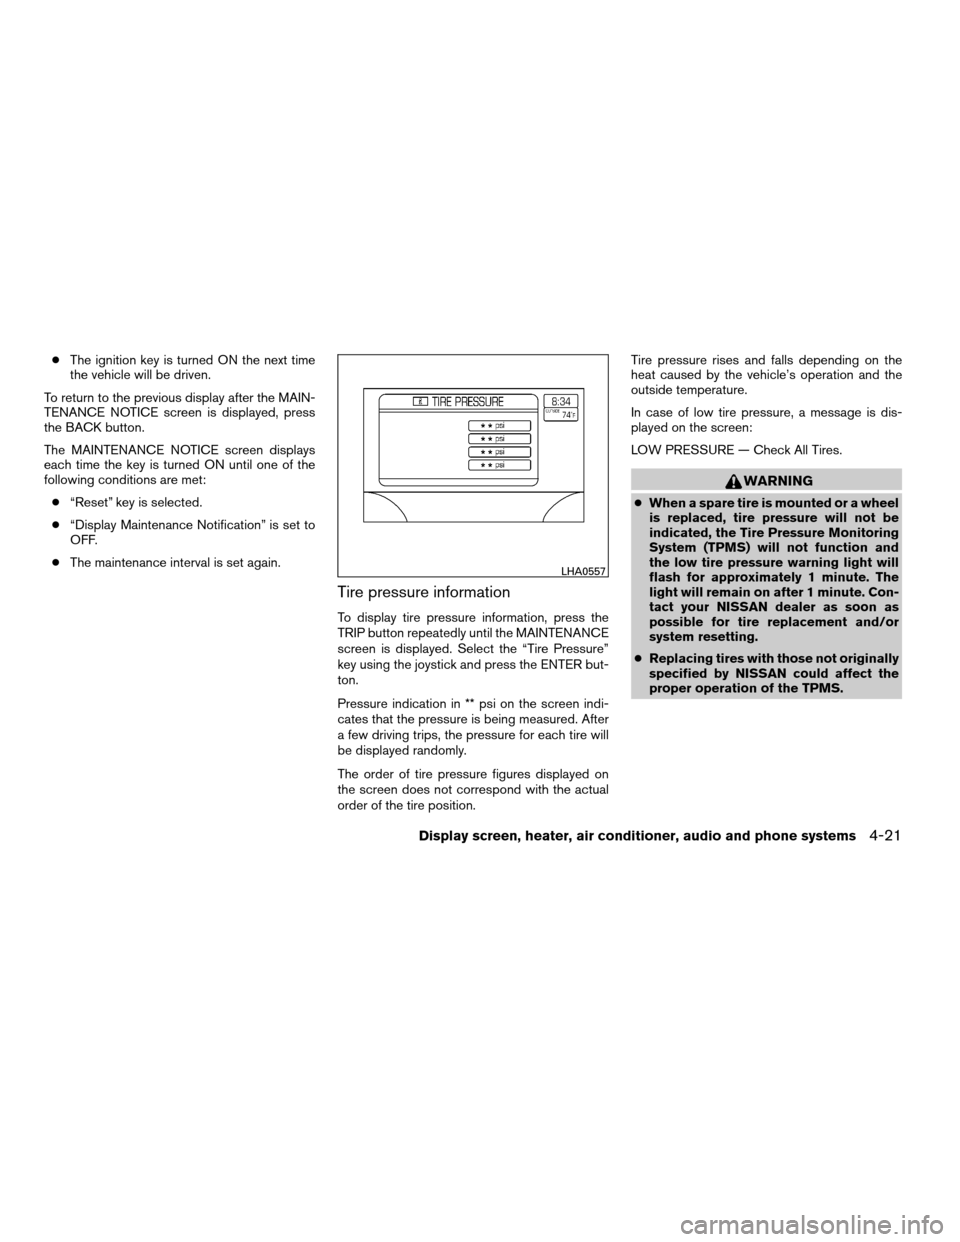
Pressure indication in ** psi on the screen indi-
cates that the pressure is being measured. After
a few driving trips, the pressure for each tire will
be displayed randomly.
The order of tire pressure figures displayed on
the screen does not correspond with the actual
order of the tire position.Tire pressure rises and falls depending on the
heat caused by the vehicle’s operation and the
outside temperature.
In case of low tire pressure, a message is dis-
played on the screen:
LOW PRESSURE — Check All Tires.
WARNING
cWhen a spare tire is mounted or a wheel
is replaced, tire pressure will not be
indicated, the Tire Pressure Monitoring
System (TPMS) will not function and
the low tire pressure warning light will
flash for approximately 1 minute. The
light will remain on after 1 minute. Con-
tact your NISSAN dealer as soon as
possible for tire replacement and/or
system resetting.
cReplacing tires with those not originally
specified by NISSAN could affect the
proper operation of the TPMS.
LHA0557
Display screen, heater, air conditioner, audio and phone systems4-21
ZREVIEW COPYÐ2008 Quest(van)
Owners ManualÐUSA_English(nna)
06/29/07Ðdebbie
X
Page 186 of 376

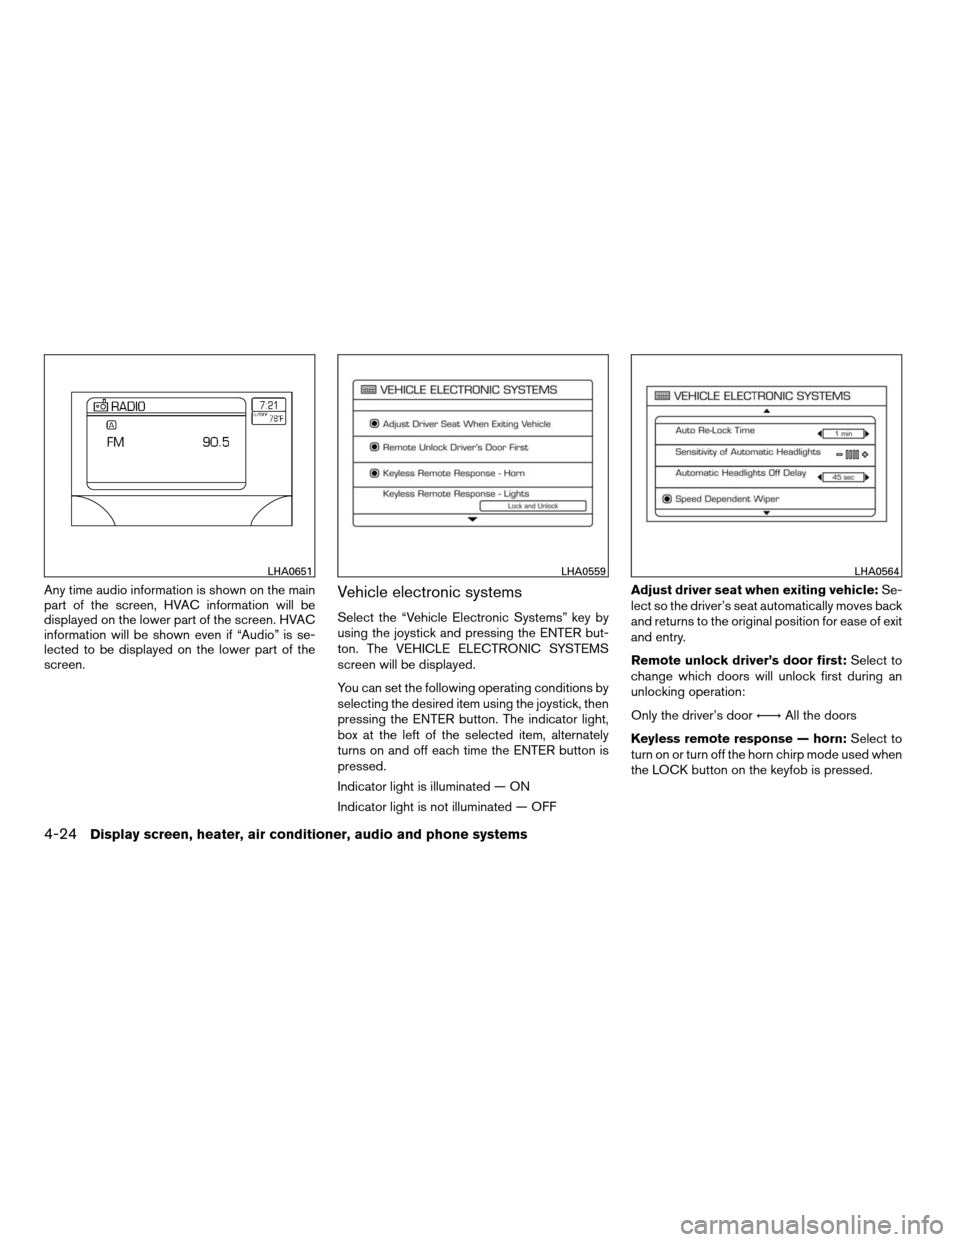
Any time audio information is shown on the main
part of the screen, HVAC information will be
displayed on the lower part of the screen. HVAC
information will be shown even if “Audio” is se-
lected to be displayed on the lower part of the
screen.Vehicle electronic systems
Select the “Vehicle Electronic Systems” key by
using the joystick and pressing the ENTER but-
ton. The VEHICLE ELECTRONIC SYSTEMS
screen will be displayed.
You can set the following operating conditions by
selecting the desired item using the joystick, then
pressing the ENTER button. The indicator light,
box at the left of the selected item, alternately
turns on and off each time the ENTER button is
pressed.
Indicator light is illuminated — ON
Indicator light is not illuminated — OFFAdjust driver seat when exiting vehicle:Se-
lect so the driver’s seat automatically moves back
and returns to the original position for ease of exit
and entry.
Remote unlock driver’s door first:Select to
change which doors will unlock first during an
unlocking operation:
Only the driver’s doorÃ!All the doors
Keyless remote response — horn:Select to
turn on or turn off the horn chirp mode used when
the LOCK button on the keyfob is pressed.
LHA0651LHA0559LHA0564
4-24Display screen, heater, air conditioner, audio and phone systems
ZREVIEW COPYÐ2008 Quest(van)
Owners ManualÐUSA_English(nna)
06/29/07Ðdebbie
X
Page 187 of 376

NOTE:
If you change the horn beep or the lamp
flash feature with the keyfob, the display
screen will not show the current mode. Use
the keyfob to return to the previous mode
and re-enable the display screen control.
Keyless remote response — lights:Select to
turn on or turn off the hazard indicator flash mode
used when the LOCK or UNLOCK button on the
keyfob is pressed.
NOTE:
If you change the horn beep or the lamp
flash feature with the keyfob, the mode will
not be changed with the display. Use the
keyfob to return to the previous mode and
re-enable the display control.
Auto re-lock time:Select to set the length of
time before doors automatically re-lock.
Sensitivity of automatic headlights:Select
to change the sensitivity setting of the automatic
headlights:
cLower: less sensitive, automatic headlights
will take longer to come on when the head-
light sensor senses less ambient light.cHigher: more sensitive, automatic headlights
will come on quicker when the headlight
sensor senses less ambient light.
Automatic headlights off delay:Select to
change the setting for the length of time the
automatic headlights remain on after exiting the
vehicle.
Speed dependent wiper:Select to turn on or
turn off the driving speed dependent intermittent
wiper function.
Return all settings to default:Select to
change all VEHICLE ELECTRONICS SYSTEMS
to their default settings.
System settings
Select the “System Settings” key by using the
joystick and pressing the ENTER button. The
SYSTEM SETTINGS screen will be displayed.
Language/unit
The LANGUAGE/UNIT screen will appear when
selecting the “Language/Unit” key and pressing
the ENTER button.
Language: English or French
Unit: US — mile, °F, MPG
Metric — km, °C, L/100 km
LHA0561
Display screen, heater, air conditioner, audio and phone systems4-25
ZREVIEW COPYÐ2008 Quest(van)
Owners ManualÐUSA_English(nna)
06/29/07Ðdebbie
X
Page 188 of 376

You can select the language and unit using the
joystick or pressing the ENTER button.
The settings are automatically saved when you
exit the menu by pressing the BACK button or
any other mode button.
Clock
Adjusting the time:
Select the “Hours” or “Minutes” key and move the
joystick to the right or left to adjust the time.
The time will change step by step.
The new settings are automatically saved when
you exit the setting screen by pressing the BACK
button or any other mode button.Setting daylight savings time:
Use the “Daylight Saving Time” key to adjust the
clock to daylight savings time.
ON: Automatically adjusts for daylight savings
time.
OFF: The current time is displayed.
LHA0562LHA0566
4-26Display screen, heater, air conditioner, audio and phone systems
ZREVIEW COPYÐ2008 Quest(van)
Owners ManualÐUSA_English(nna)
06/29/07Ðdebbie
X
Page 190 of 376

The GPS time (manual time) corresponding to
the selected zone will be displayed. Pacific zone
has been set as the initial (default) setting.
Beep setting
With this option ON, a beep will sound if any
audio button is pressed.
Navigation settings
Refer to the separate Navigation System Own-
er’s Manual for information regarding these set-
tings.
Guidance voice settings
Refer to the separate Navigation System Own-
er’s Manual for information regarding these set-
tings.
BUTTON
To change the display brightness, press
thebutton. Pressing the button again will
change the display to “DAY” or “NIGHT” display.
Then, adjust the brightness by moving the joy-
stick right or left.
If no operation is done within 10 seconds, or if the
BACK button is pressed, the display will return to
the previous display.When the shift selector lever is shifted into the R
(Reverse) position, the monitor display shows the
view directly to the rear of the vehicle.
WARNING
cThe system is designed as an aid to the
driver in detecting large stationary ob-
jects to help avoid damaging the ve-
hicle. The system will not detect small
objects below the bumper, and may not
detect objects close to the bumper or
on the ground.
cThe rearview camera is a convenience
but it is not a substitute for proper back-
ing. Always turn and check that it is safe
to do so before backing up. Always
back up slowly.
cObjects viewed in the rearview monitor
differ from actual distance because a
wide-angle lens is used.
cMake sure that the lift gate is securely
closed when backing up.
cDo not put anything on the rearview
camera. The rearview camera is in-
stalled beside the license plate light.cWhen washing the vehicle with high-
pressure water, be sure not to spray it
around the camera. Otherwise, water
may enter the camera unit causing wa-
ter condensation on the lens, a mal-
function, fire or an electric shock.
cDo not strike the camera. It is a preci-
sion instrument. Otherwise, it may mal-
function or cause damage resulting in a
fire or an electric shock.
CAUTION
There is a plastic cover over the camera.
Do not scratch the cover when cleaning
dirt or snow from the cover.
HOW TO READ THE DISPLAYED
LINES
Lines which indicate the vehicle clearance and
distances to objects with reference to the
bumper line
sAare displayed on the monitor.
REARVIEW MONITOR (if so
equipped)
4-28Display screen, heater, air conditioner, audio and phone systems
ZREVIEW COPYÐ2008 Quest(van)
Owners ManualÐUSA_English(nna)
06/29/07Ðdebbie
X
Page 191 of 376

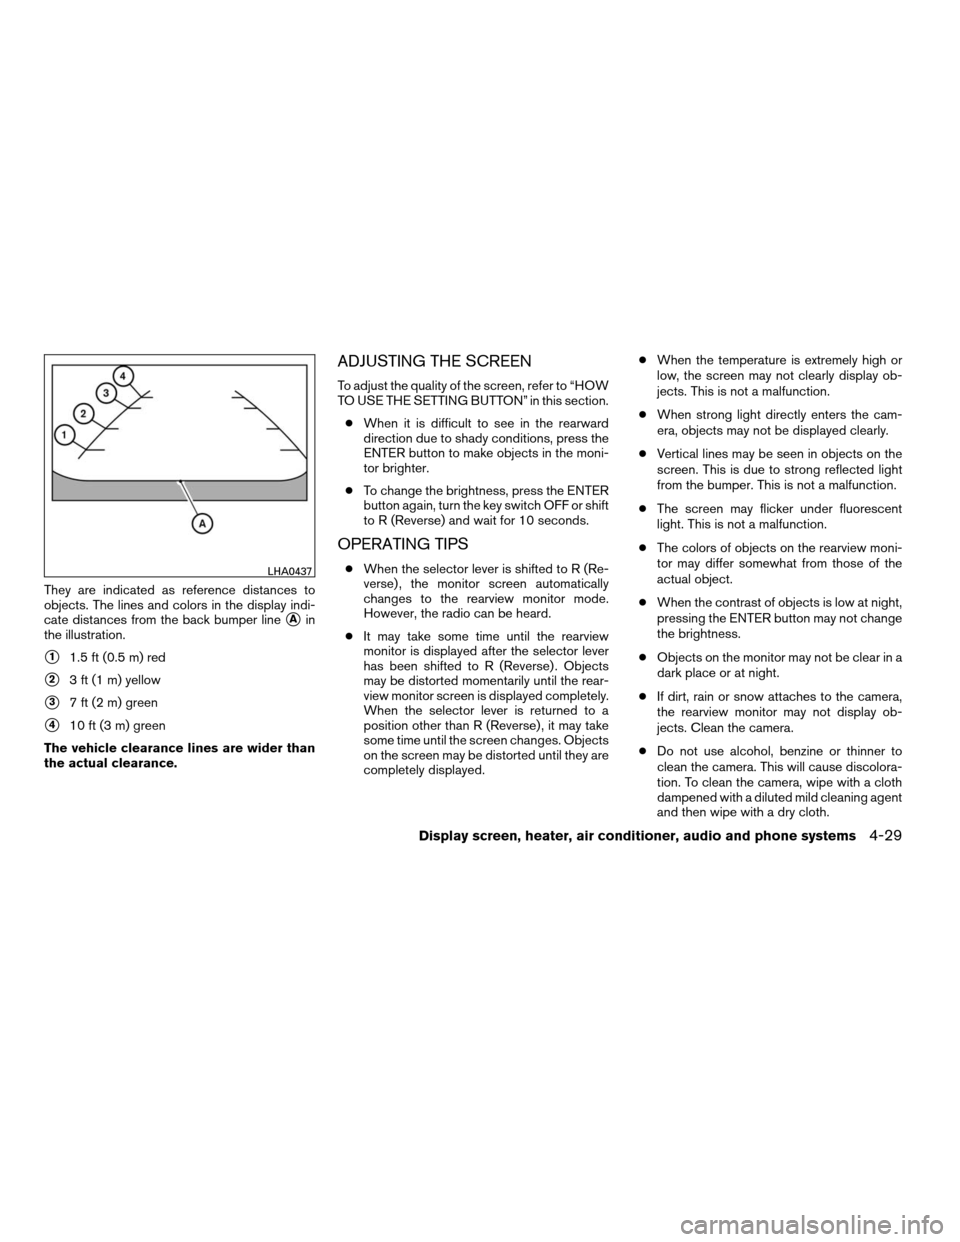
They are indicated as reference distances to
objects. The lines and colors in the display indi-
cate distances from the back bumper line
sAin
the illustration.
s11.5 ft (0.5 m) red
s23 ft (1 m) yellow
s37 ft (2 m) green
s410 ft (3 m) green
The vehicle clearance lines are wider than
the actual clearance.
ADJUSTING THE SCREEN
To adjust the quality of the screen, refer to “HOW
TO USE THE SETTING BUTTON” in this section.
cWhen it is difficult to see in the rearward
direction due to shady conditions, press the
ENTER button to make objects in the moni-
tor brighter.
cTo change the brightness, press the ENTER
button again, turn the key switch OFF or shift
to R (Reverse) and wait for 10 seconds.
OPERATING TIPS
cWhen the selector lever is shifted to R (Re-
verse) , the monitor screen automatically
changes to the rearview monitor mode.
However, the radio can be heard.
cIt may take some time until the rearview
monitor is displayed after the selector lever
has been shifted to R (Reverse) . Objects
may be distorted momentarily until the rear-
view monitor screen is displayed completely.
When the selector lever is returned to a
position other than R (Reverse) , it may take
some time until the screen changes. Objects
on the screen may be distorted until they are
completely displayed.cWhen the temperature is extremely high or
low, the screen may not clearly display ob-
jects. This is not a malfunction.
cWhen strong light directly enters the cam-
era, objects may not be displayed clearly.
cVertical lines may be seen in objects on the
screen. This is due to strong reflected light
from the bumper. This is not a malfunction.
cThe screen may flicker under fluorescent
light. This is not a malfunction.
cThe colors of objects on the rearview moni-
tor may differ somewhat from those of the
actual object.
cWhen the contrast of objects is low at night,
pressing the ENTER button may not change
the brightness.
cObjects on the monitor may not be clear in a
dark place or at night.
cIf dirt, rain or snow attaches to the camera,
the rearview monitor may not display ob-
jects. Clean the camera.
cDo not use alcohol, benzine or thinner to
clean the camera. This will cause discolora-
tion. To clean the camera, wipe with a cloth
dampened with a diluted mild cleaning agent
and then wipe with a dry cloth.LHA0437
Display screen, heater, air conditioner, audio and phone systems4-29
ZREVIEW COPYÐ2008 Quest(van)
Owners ManualÐUSA_English(nna)
06/29/07Ðdebbie
X