2008 NISSAN PATHFINDER change time
[x] Cancel search: change timePage 11 of 36
coMpact Flash ™ (cF)
player operation
(if so equipped)
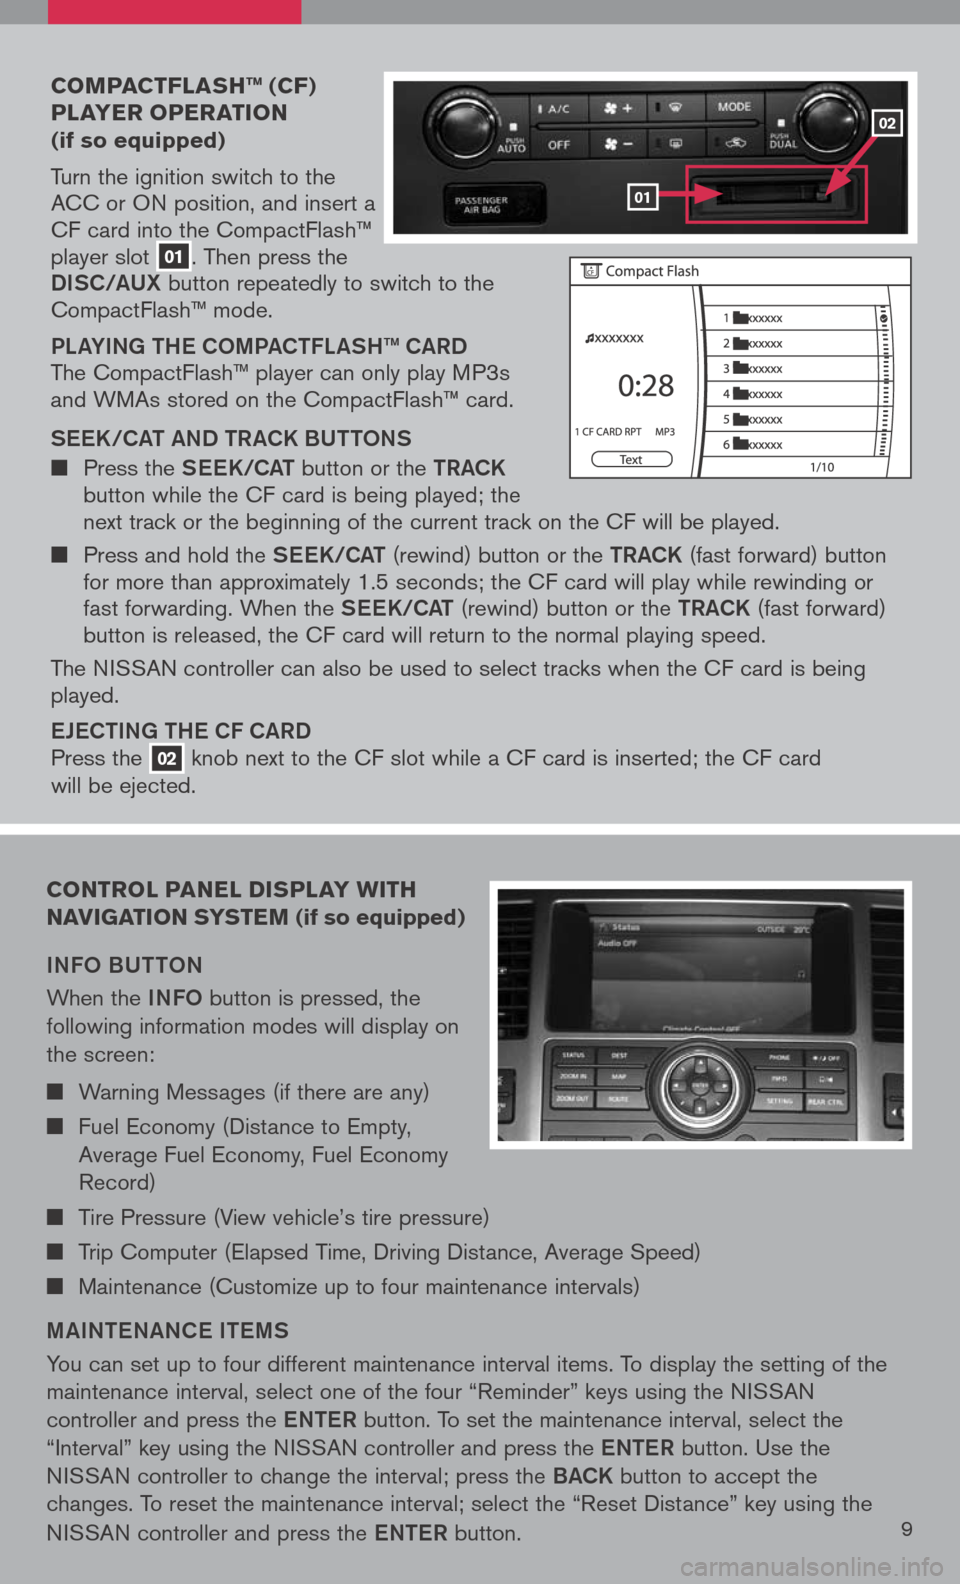
Turn the ignition switch to the ACC or ON position, and insert a CF card into the CompactFlash™ player slot 01. Then press the
Di SC/a UX button repeatedly to switch to the CompactFlash™ mode.
PLaY iN g the COmPa C tFL aS h ™ C aRD
The CompactFlash™ player can only play MP3s and WMAs stored on the CompactFlash™ card.
S ee K/C at a ND tR aCK BU ttONS
Press the See K/C at button or the tRaCK button while the CF card is being played; the next track or the beginning of the current track on the CF will be played.
Press and hold the See K/C at (rewind) button or the tRaCK (fast forward) button for more than approximately 1.5 seconds; the CF card will play while rewinding or fast forwarding. When the See K/C at (rewind) button or the tRaCK (fast forward) button is released, the CF card will return to the normal playing speed.
The NISSAN controller can also be used to select tracks when the CF card is being played.
eJe C ti Ng the CF C aRD
Press the 02 knob next to the CF slot while a CF card is inserted; the CF card
will be ejected.
control panel display W ith
navigation syste M (if so equipped)
iNFO BU ttON
When the iNFO button is pressed, the
following information modes will display on
the screen:
Warning Messages (if there are any)
Fuel Economy (Distance to Empty,
Average Fuel Economy, Fuel Economy
Record)
Tire Pressure (View vehicle’s tire pressure)
Trip Computer (Elapsed Time, Driving Distance, Average Speed)
Maintenance (Customize up to four maintenance intervals)
mai Nte NaNC e item S
You can set up to four different maintenance interval items. To display the setting of the
maintenance interval, select one of the four “Reminder” keys using the NISSAN
controller and press the eNte R button. To set the maintenance interval, select the
“Interval” key using the NISSAN controller and press the eNte R button. Use the
NISSAN controller to change the interval; press the BaCK button to accept the
changes. To reset the maintenance interval; select the “Reset Distance” key using the
NISSAN controller and press the eNte R button.9
01
02
Page 12 of 36
clock set/ad Just Ment
( n on navigation system only)
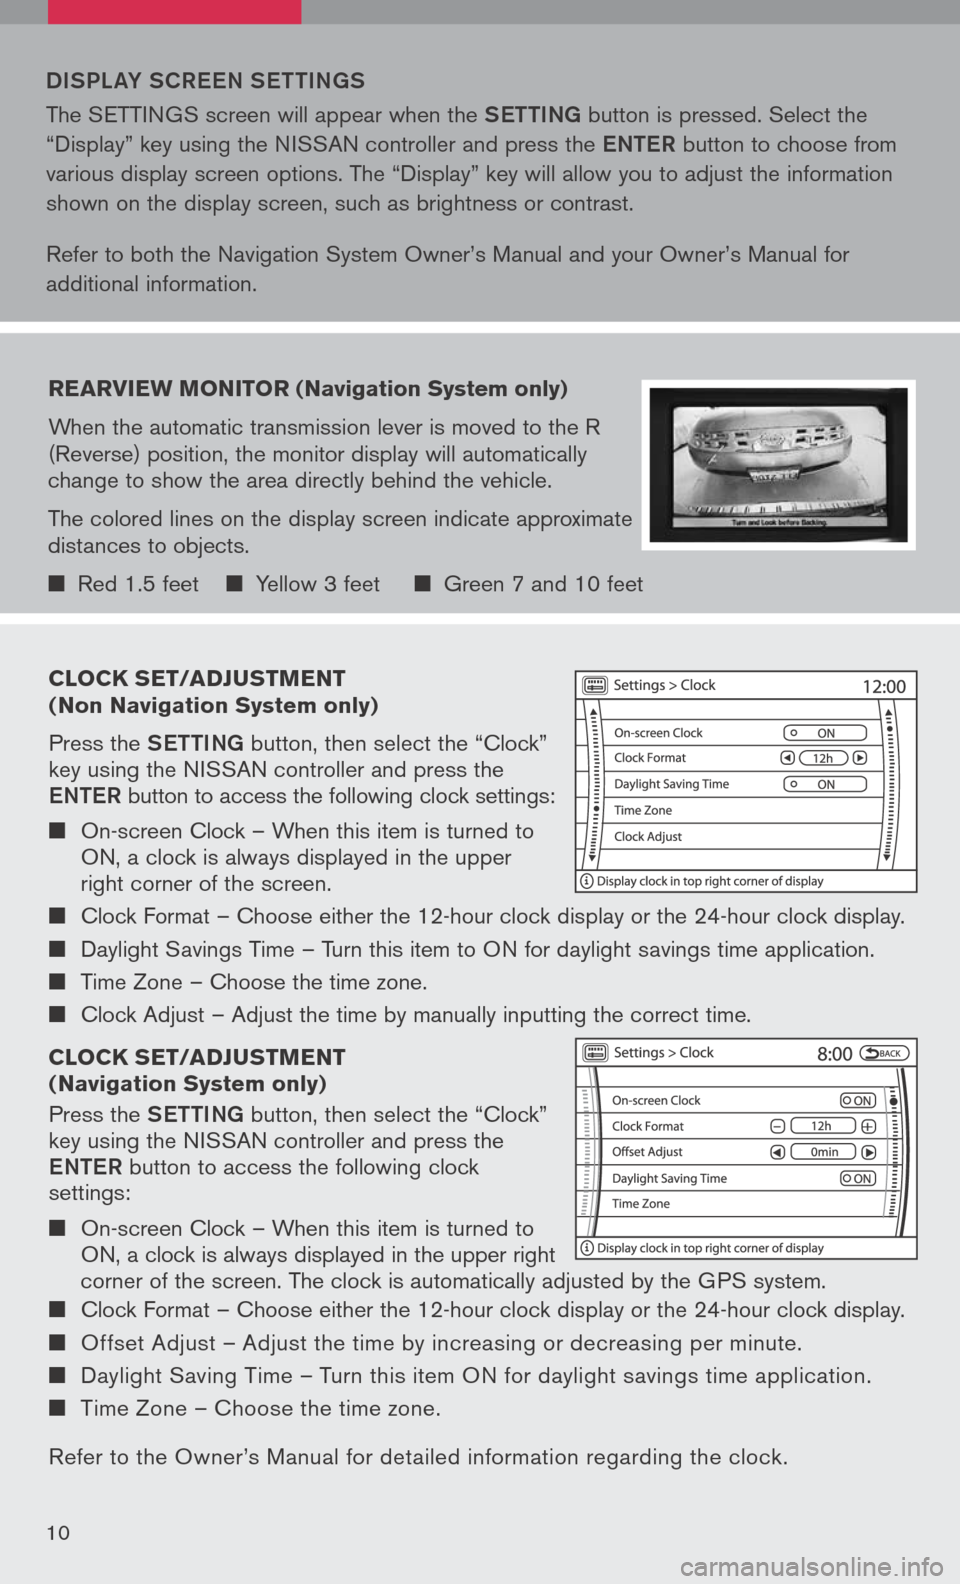
Press the Setti Ng button, then select the “Clock” key using the NISSAN controller and press the
eN te R button to access the following clock settings:
On-screen Clock – When this item is turned to ON, a clock is always displayed in the upper right corner of the screen.
Clock Format – Choose either the 12-hour clock display or the 24-hour clock display.
Daylight Savings Time – Turn this item to ON for daylight savings time application.
Time Zone – Choose the time zone.
Clock Adjust – Adjust the time by manually inputting the correct time.
clock set/ad Just Ment
( n avigation system only)
Press the Setti Ng button, then select the “Clock” key using the NISSAN controller and press the
eNte R button to access the following clock settings:
On-screen Clock – When this item is turned to ON, a clock is always displayed in the upper right
corner of the screen. The clock is automatically adjusted by the GPS system.
Clock Format – Choose either the 12-hour clock display or the 24-hour clock display.
Offset Adjust – Adjust the time by increasing or decreasing per minute.
Daylight Saving Time – Turn this item ON for daylight savings time application.
Time Zone – Choose the time zone.
Refer to the Owner’s Manual for detailed information regarding the clock.
DiSPL aY SCR eeN S etti Ng S
The SETTINGS screen will appear when the Setti Ng button is pressed. Select the
“Display” key using the NISSAN controller and press the eNte R button to choose from
various display screen options. The “Display” key will allow you to adjust the information
shown on the display screen, such as brightness or contrast.
Refer to both the Navigation System Owner’s Manual and your Owner’s Manual for
additional information.
rearvie W Monitor (n avigation system only)
When the automatic transmission lever is moved to the R (Reverse) position, the monitor display will automatically change to show the area directly behind the vehicle.
The colored lines on the display screen indicate approximate distances to objects.
Red 1.5 feet Yellow 3 feet Green 7 and 10 feet
10
Page 13 of 36
instruMent brightness control /trip change button
The instrument brightness control operates when the headlight control switch is in the or position.
Turn the control to adjust the brightness of the instrument panel lights.
Press the change button to select trip computer features. See above for more information on the trip computer.
trip coMputer (if so equipped)
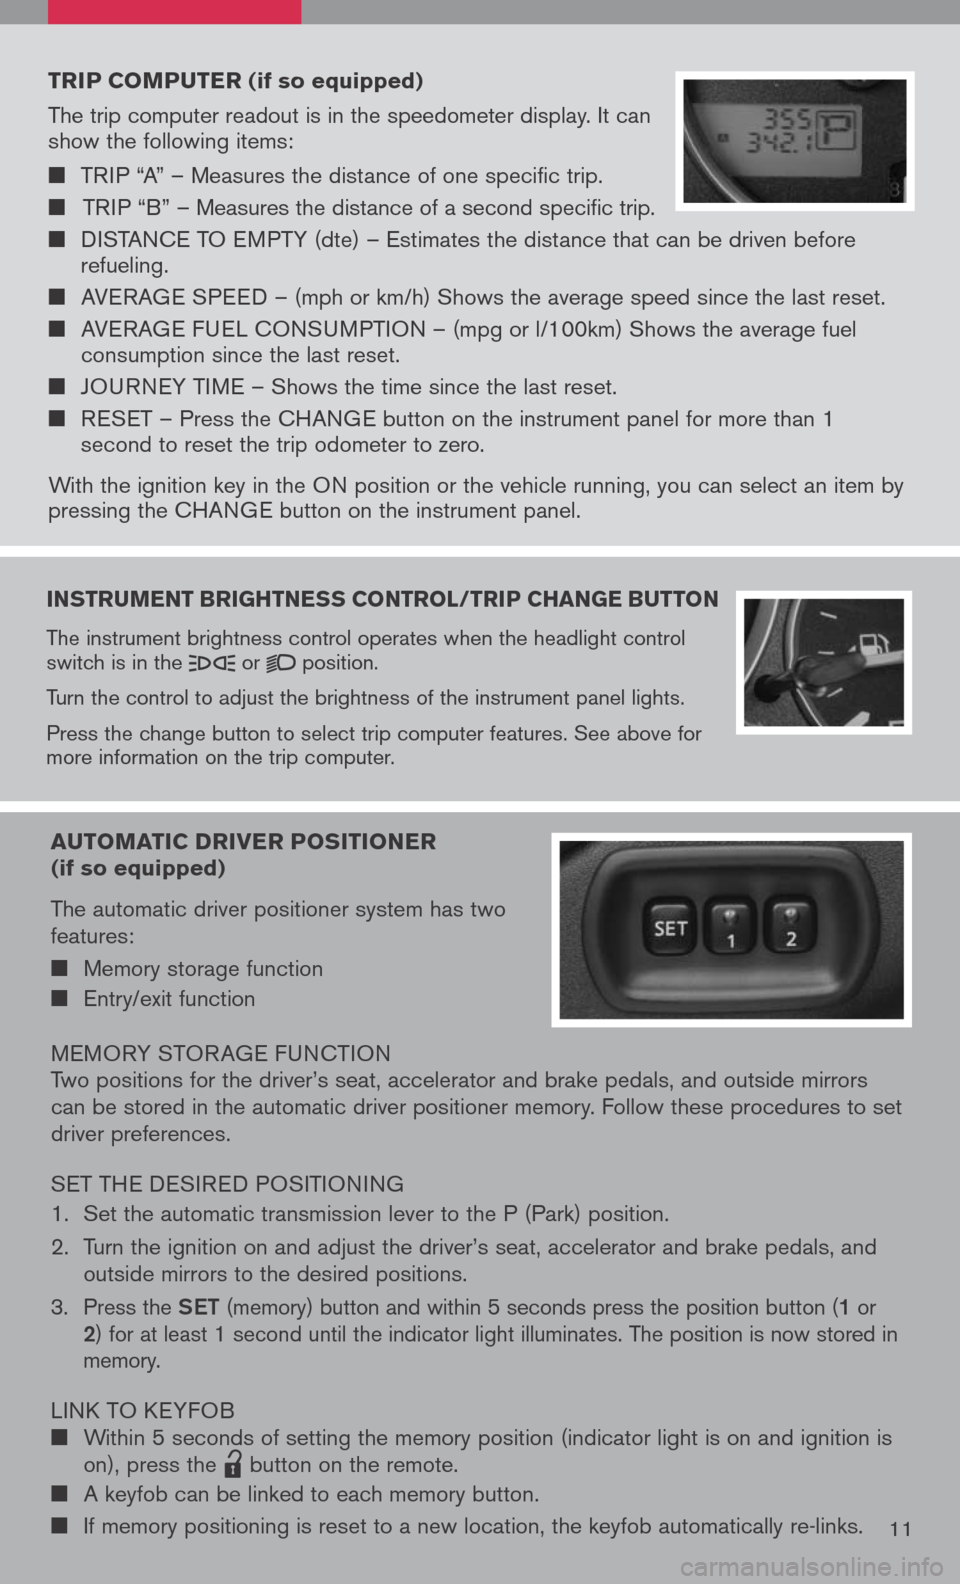
The trip computer readout is in the speedometer display. It can show the following items:
TRIP “A” – Measures the distance of one specific trip.
TRIP “B” – Measures the distance of a second specific trip.
DISTANCE TO EMPTY (dte) – Estimates the distance that can be driven before refueling.
AVERAGE SPEED – (mph or km/h) Shows the average speed since the last reset.
AVERAGE FUEL CONSUMPTION – (mpg or l/100km) Shows the average fuel consumption since the last reset.
JOURNEY TIME – Shows the time since the last reset.
RESET – Press the CHANGE button on the instrument panel for more than 1 second to reset the trip odometer to zero.
With the ignition key in the ON position or the vehicle running, you can select an item by pressing the CHANGE button on the instrument panel.
auto Matic driver positioner (if so equipped)
The automatic driver positioner system has two features:
Memory storage function
Entry/exit function
MEMORY STOR AGE FUNCTIONTwo positions for the driver’s seat, accelerator and brake pedals, and outside mirrors can be stored in the automatic driver positioner memory. Follow these procedures to set driver preferences.
SET THE DESIRED POSITIONING
1. Set the automatic transmission lever to the P (Park) position.
2. Turn the ignition on and adjust the driver’s seat, accelerator and brake pedals, and
outside mirrors to the desired positions.
3. Press the Set (memory) button and within 5 seconds press the position button (1 or 2) for at least 1 second until the indicator light illuminates. The position is now stored in memory.
LINK TO KEYFOB Within 5 seconds of setting the memory position (indicator light is on and ignition is on), press the
lpd0151
button on the remote.
A keyfob can be linked to each memory button.
If memory positioning is reset to a new location, the keyfob automatically re-links.11
Page 15 of 36
Four -Wheel drive (4W d) shi Ft sW itch
(if so equipped)
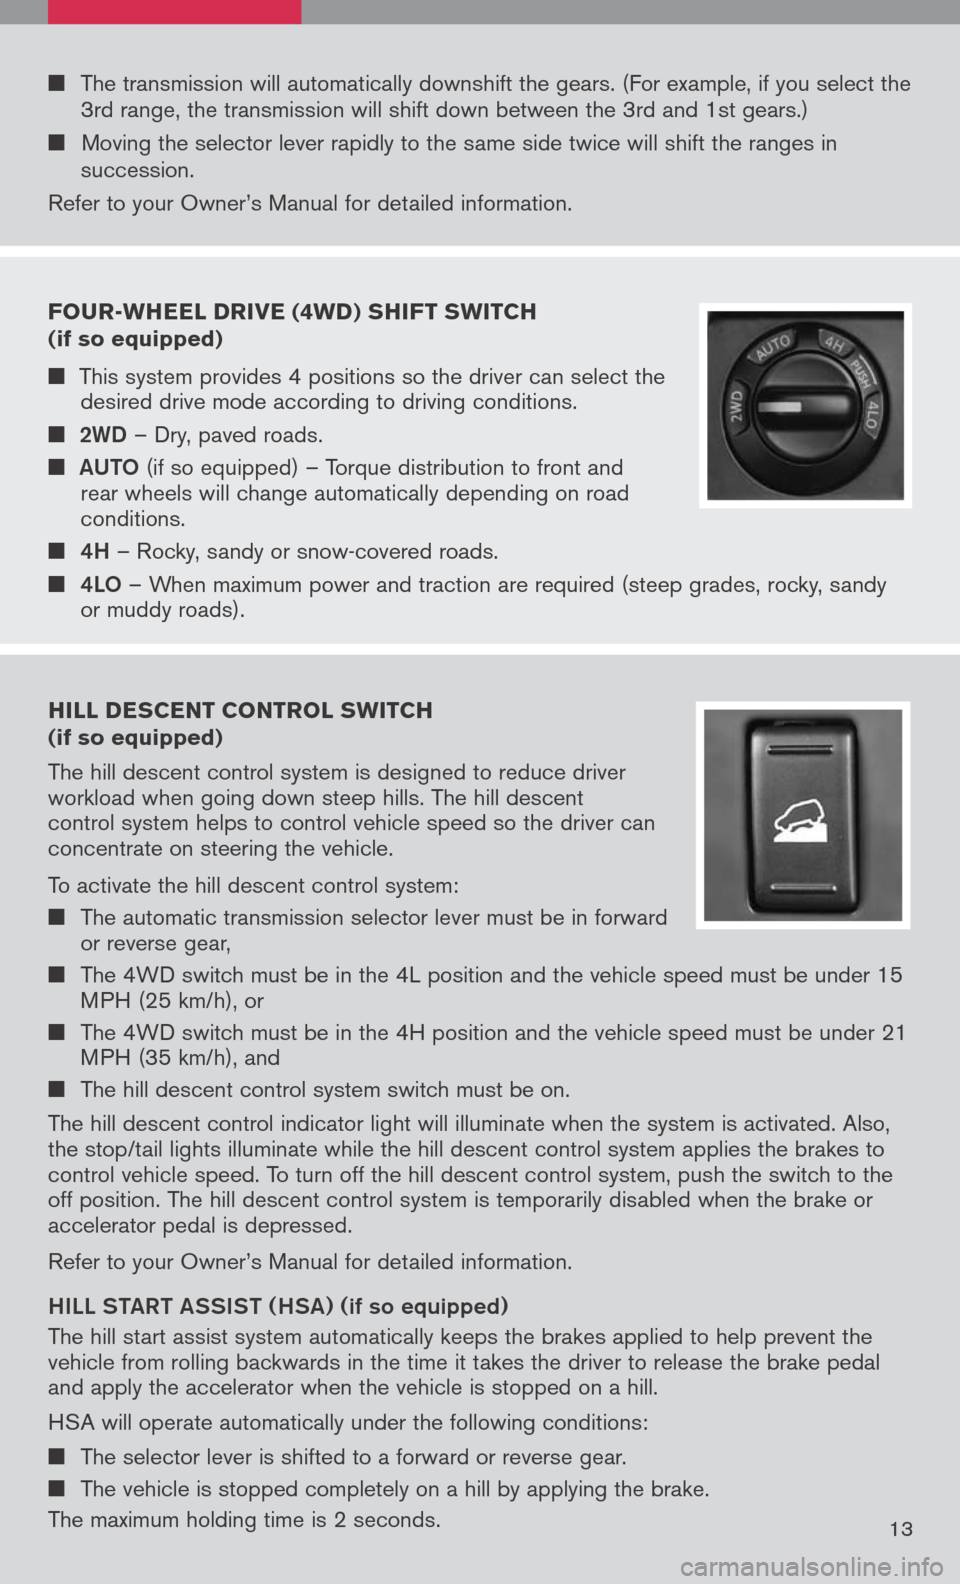
This system provides 4 positions so the driver can select the desired drive mode according to driving conditions.
2WD – Dry, paved roads.
aUt O
(if so equipped) – Torque distribution to front and rear wheels will change automatically depending on road conditions.
4h – Rocky, sandy or snow-covered roads.
4LO – When maximum power and traction are required (steep grades, rocky, sandy or muddy roads).
hill descent control s W itch (if so equipped)
The hill descent control system is designed to reduce driver workload when going down steep hills. The hill descent control system helps to control vehicle speed so the driver can concentrate on steering the vehicle.
To activate the hill descent control system:
The automatic transmission selector lever must be in forward or reverse gear,
The 4WD switch must be in the 4L position and the vehicle speed must be under 15 MPH (25 km/h), or
The 4WD switch must be in the 4H position and the vehicle speed must be under 21 MPH (35 km/h), and
The hill descent control system switch must be on.
The hill descent control indicator light will illuminate when the system is activated. Also, the stop/tail lights illuminate while the hill descent control system applies the brakes to control vehicle speed. To turn off the hill descent control system, push the switch to the off position. The hill descent control system is temporarily disabled when the brake or accelerator pedal is depressed.
Refer to your Owner’s Manual for detailed information.
hiLL Sta Rt aSS iS t ( hSa) (
if so equipped)
The hill start assist system automatically keeps the brakes applied to help prevent the vehicle from rolling backwards in the time it takes the driver to release the brake pedal and apply the accelerator when the vehicle is stopped on a hill.
HSA will operate automatically under the following conditions:
The selector lever is shifted to a forward or reverse gear.
The vehicle is stopped completely on a hill by applying the brake.
The maximum holding time is 2 seconds.13
The transmission will automatically downshift the gears. (For example, if you select the 3rd range, the transmission will shift down between the 3rd and 1st gears.)
Moving the selector lever rapidly to the same side twice will shift the ranges in succession.
Refer to your Owner’s Manual for detailed information.
Page 21 of 36
19
Pai RiN g YOUR P hON e
Before using the hands-free feature, you need to set-up, or pair, the system to recognize your cellular phone(s). Up to 5 Bluetooth®-enabled phones can be paired to this system. After the initial one-time set-up, the system automatically connects with a paired phone when the ignition switch is in the ACC or ON position, as long as the phone is in range and within the vehicle cabin.
Pai RiN g PROC eDUR e
NOTE: The vehicle must be stationary when pairing the phone.
iN itia L PaiRiN g
NOTE: This procedure can only be used to pair the first phone to the system.
1. Press the Ph ON e
button on the instrument panel.
2. A message is displayed. Press the Ph ON e
button again.
3. The system will direct you to SETTING
–> Phone –> Bluetooth Setup –> Pair Phone.
4. Touch one of the “None (Add New)” keys.
5. Initiate pairing from the phone.
The pairing procedure for cellular phones varies according to each cellular phone model. For detailed pairing instructions and compatible phones, please visit www.nissanusa.com/bluetooth.
The PIN code will appear on the screen; enter “1234” from the handset. (The PIN code is assigned by NISSAN and cannot be changed.)
6. When the pairing is complete, the screen will show the phone’s listed name on the paired
phone list screen.
P ai RiN g a DD itiON aL P hON eS/ iN itia L PaiRiN g
NOTE: This procedure can be used to pair the first phone and other additional phones to the system.
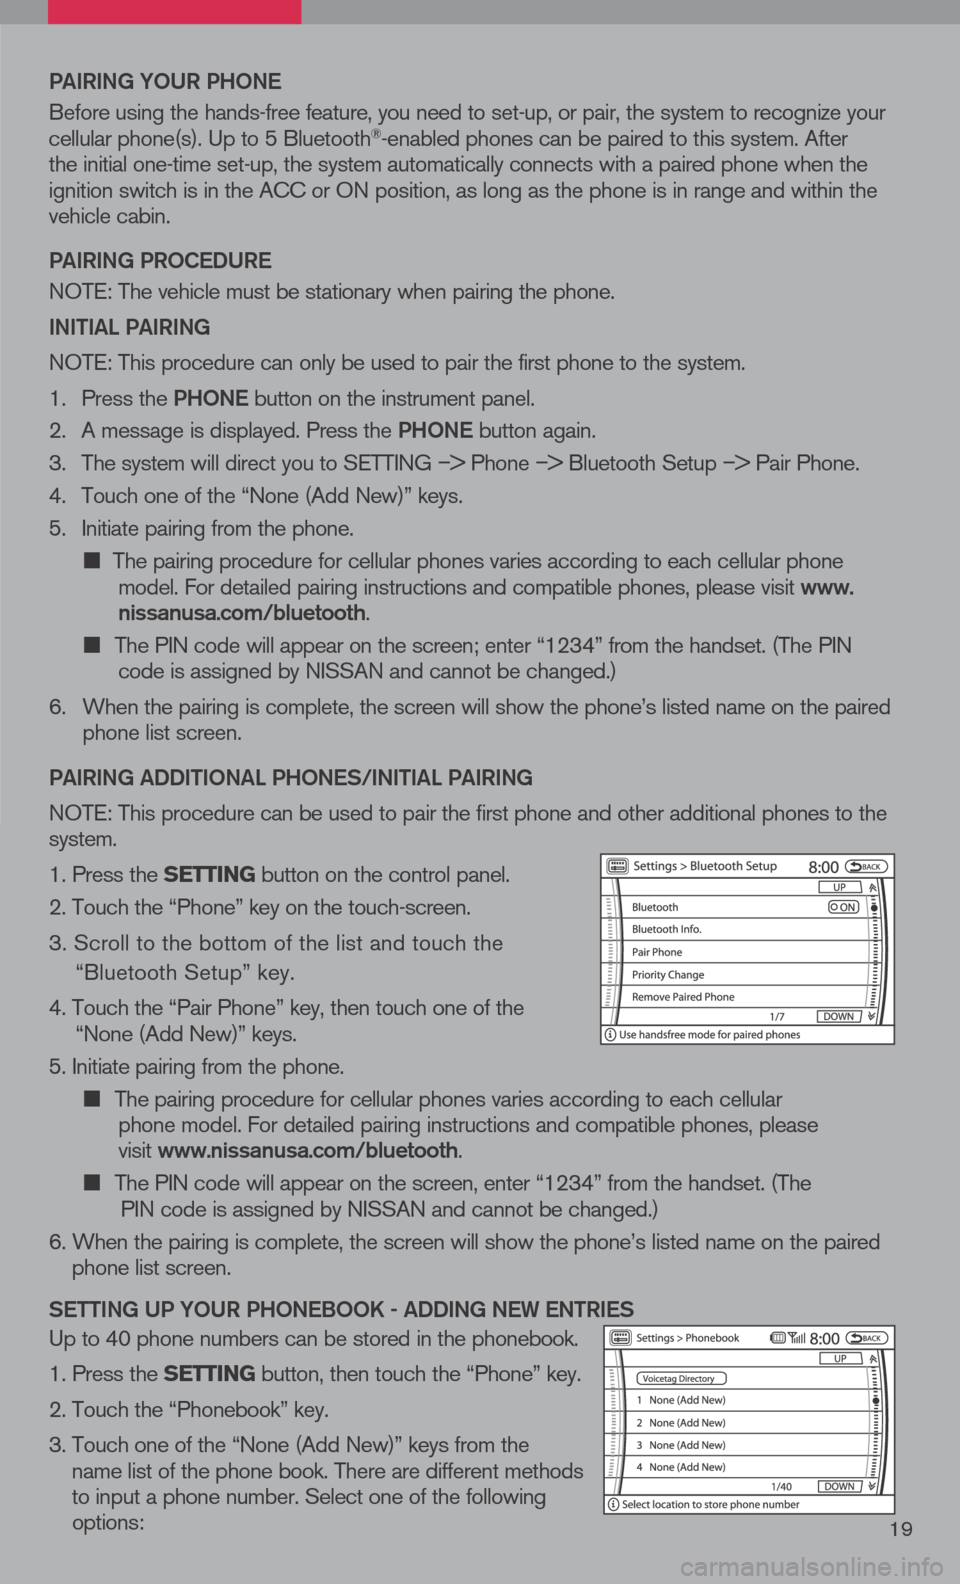
1. Press the setting button on the control panel.
2. Touch the “Phone” key on the touch-screen.
3. Scroll to the bottom of the list and touch the
“Bluetooth Setup” key.
4. Touch the “Pair Phone” key, then touch one of the “None (Add New)” keys.
5. Initiate pairing from the phone.
The pairing procedure for cellular phones varies according to each cellular
phone model. For detailed pairing instructions and compatible phones, please
visit www.nissanusa.com/bluetooth.
The PIN code will appear on the screen, enter “1234” from the handset. (The
PIN code is assigned by NISSAN and cannot be changed.)
6. When the pairing is complete, the screen will show the phone’s listed name on the paired
phone list screen.
S etti Ng UP YOUR P hON eBOOK - aDD iN g N eW eN tR ie S
Up to 40 phone numbers can be stored in the phonebook.
1. Press the setting button, then touch the “Phone” key.
2. Touch the “Phonebook” key.
3. Touch one of the “None (Add New)” keys from the
name list of the phone book. There are different methods to input a phone number. Select one of the following options: